
Leather is a popular crafting material due to its durability and natural beauty. It can be expensive, though, so some crafters try to find ways to embellish it without spending a lot of money. One way to do this is by embossing leather with gold. This article will show you how to emboss leather with gold quickly and easily. Enjoy!

Embossing works best on vegetable-tanned leather because it’s the only kind that will retain the gold color once stamped into the leather. Other types of leather are not porous enough for this project to work well, so save yourself time if you have another type of leather. Vegetable-tanned also repairs easier than other types, so if you make mistakes while embossing, you can sand those spots down and try the embossing again.
Things You’ll Need
- Blank piece of leather
- Gold leaf
- Glue made for use with leather
- Hammer
- Soft mallet
- Block of wood 2 inches thick
- Scraper tool used to smooth embossing powder after embossing is complete (available at most craft stores)
How to Emboss Leather With Gold Step by Step Guide
Step 1: Prepare The Leather.
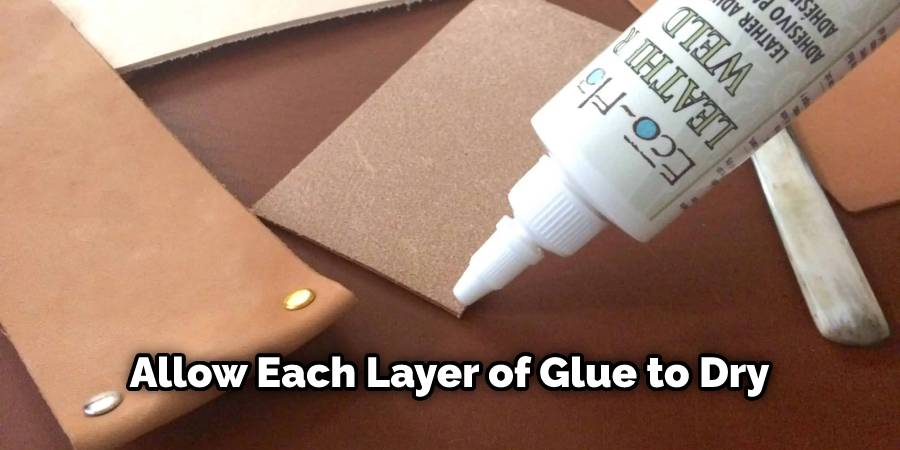
Generously apply glue to the area you want to emboss. Build it up in layers, allowing each layer of glue to dry before applying the next one. This is necessary because the adhesive will grab any loose pieces of gold leaf and stick them down, resulting in a messy design that doesn’t look like it was intended (should be).
How much glue you need will depend on how big an area you’re covering-if your piece is 4″ x 6″ but gold-leafed areas only make up three inches, the rest should be well over an inch thick in glue (with plenty leftover).
How deep you put your “reservoirs” for raised portions of your design depends on how big they are. If you’re embossing a 5″ x 7″ piece and your raised areas take up three inches by two, that’s an inch in-depth for each area. When working with small spaces, it might be a good idea to overbuild them because if the glue isn’t thick enough, the gold leaf won’t grab onto it properly. The leather edges should be stiff when you’re finished applying the bond because of how deep they are.
Step 2: Cover Design With Gold leaf.
This part is pretty easy-just get out your book of gold leaf (make sure it’s fresh), pick one sheet at random, get some tweezers and carefully place it on top of the leather. How you place it is up to you, but a simple design like a repeating pattern of circles would be pretty easy to do with this method.
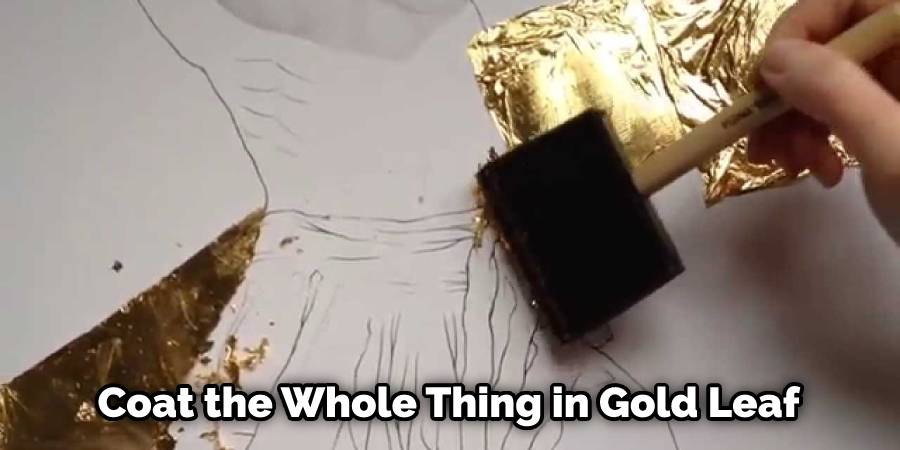
If your design requires details on more complex shapes (like with stamps), you’ll need to coat the whole thing in gold leaf and then pick out the parts you want to be filled in with glue and repeat the process for those areas. How deep into the embossing paste that part should be about as thick as what’s around it, so they appear natural when done right.
The raised portions of even something as simple as this start to look pretty good once they’ve been given a dark, wash-although I’m not done yet! How much and how heavy depends on personal preference and whether or not the color is needed to bring out the design.
If you don’t have much patience for trim details, this will be frustrating, so if you feel like the gold leaf isn’t coming off quickly, go ahead and use a cloth to wipe it down-it should come right off since it’s fresh. How much or little time this step takes depends on how easy/hard your particular brand of gold leaf is to work with-takes me about 15 minutes total.
Step 3: Emboss Leather With A Tool.
After giving the glue at least an hour (or longer) to dry, I take my tool and hammer, press what will be raised portions against my block of wood, and then scrape along the edges of said raised portions to bring them down a bit. How much you go with the tool depends on how deep it is compared to what you want your final product to look like; if it’s too deep, do the same thing again but with less pressure.
How often you use the embossing powder also matters, so this step is done with caution if not time spent on doing it correctly (i.e., you don’t want to mess up and have to backtrack). How thick or thin this layer of powder should be will vary depending on how light/heavy your application was and whether or not the first two layers were wet (which shouldn’t be for this step). How heavy or light your hand is with the tool also matters in this step, so it can be hard to give a clear cut number-just judge for yourself.
Step 4: Repeat How Many Times Needed For “Depth.”
You may need to repeat steps 2 and 3 multiple times to get your desired effect if you’re not happy with how it turns out. How many times you do either of these depends on your original plan, whether or not you did any sections wrong (such as too little glue) and how thick the leather is overall-shouldn’t take more than two or three at most if that. How much time this takes again varies based on personal preference/time spent working on this piece, but roughly 45 minutes to an hour or more.
Step 5: Brown Leather With Water-Based Tan Solution.
Finally, the browning process gives the design some color and helps it pop a bit more, so it doesn’t look relatively as flat as before. How dark this tanning solution should depend on how light your gold leaf was- the darker the leather is after applying it, the less you have to use, though you risk taking away from the embossed effect.
How long this step takes once applied also varies depending on how quickly/thickly you use what’s needed vs. getting too much here and there, which would take up time having to be wiped off, plus whatever work goes into reapplying everything that got wiped off. How long it takes to get things right on this step mostly depends on personal preference since the look of the leather is more or less done, but for me, I spend about 30 minutes on the tanning solution part alone.
Once that’s all finished, I let what I’m using that color dry overnight before applying any clear sealer. How long this step takes varies a lot since it can depend on how much sealer is needed and whether or not that particular brand (or any brand for that matter) of sealer dries quickly or slowly.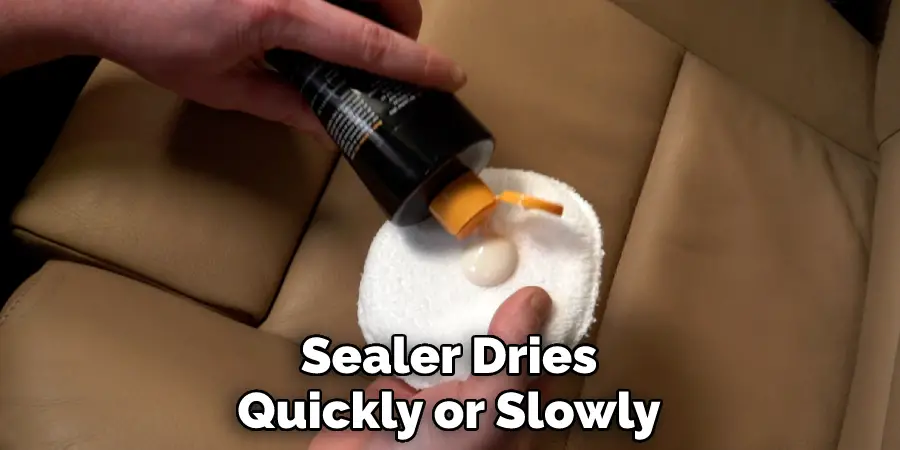
How long you let it also sit matters, so leaving the piece overnight is what I would recommend if you’re in no rush-which unless someone needs something immediately isn’t an issue 😀 How much time this adds to the overall process (especially when compared to the drying times) depends on how much sealer is needed, but in my case, it’s around two hours or more. These steps will help in how to emboss leather with gold.
Frequently Asked Questions
Can You Foil Emboss Leather?
Yes, you can foil emboss leather. This is a great way to add a bit of glamour and class to any outfit. Here are the steps you need to follow:
1. Start by prepping your leather surface with a coat of solvent. This will remove any existing waxes or oils from the surface, making it easier to apply your foil.
2. Apply your foil in a very thin layer using a heat gun or hair dryer set on low heat. The foil should be hot enough to cause a slight smoke but not so hot that it will start burning the leather.
3. Wipe off the excess foil with a damp cloth, and let the leather dry completely before using it.
What is the Difference Between Embossing and Foiling?
Embossing and foiling are both types of Manufacturing that use pressure to create an image or design on a surface. Embossing is done by pushing the metal down repeatedly until it conforms to the shape of the object that is being embossed, while foil stamping uses cold stamps that adhere directly to the item.
Embossing has a more pronounced effect than foil stamping, as the details come through much clearer. Foil stamping also produces a bit less detail than embossment but can be used for products with flat surfaces, such as packaging or labels.
Can you use a hair dryer to emboss?
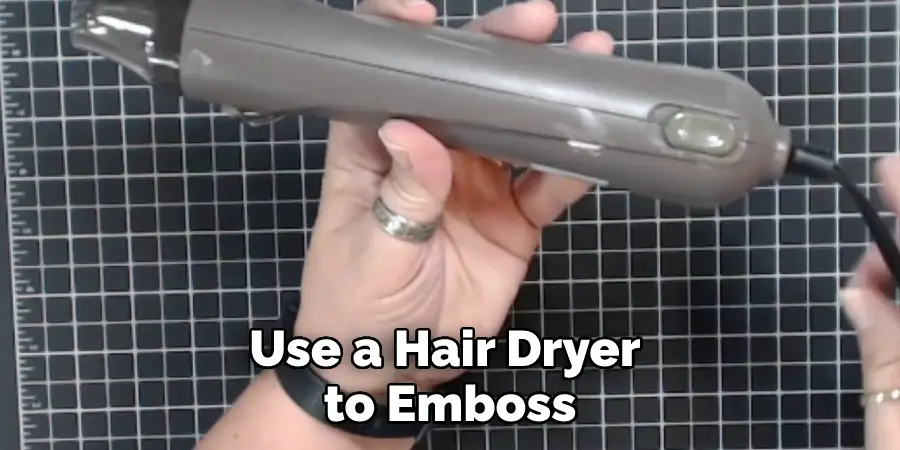
Yes, you can use a hair dryer to emboss. However, care must be taken not to heat the metal too quickly, as this could cause it to warp or distort. It’s also important to make sure that the air direction is optimal in order for the imprints to form properly.
What can I use instead of a heat gun for embossing?
If you’re looking for an alternative to using a heat gun for embossing, there are several options available. One option is the use of a flat iron or hair dryer. However, these devices can be quite dangerous if not used properly, so it’s important to research them first. Another option is using a spoon or spatula to apply pressure directly onto the paper while heating it up with the heat gun. And finally, you can use boiling water instead of hot air in your heat guns to achieve similar results.
When choosing an alternate method, make sure that it is safe and easy to use before embarking on any Embossment adventures!
Conclusion
Embossing leather with gold is a great way to add extra flair and luxury to your projects. It’s also surprisingly easy, as long as you have the right tools and know how to emboss leather with gold. This article outlines everything you need to know about embossing leather with gold foil, from selecting the suitable materials to achieving the perfect finish. Let’s get started!
You may also like – How to finish soft leather edges.