
Creating a leather jacket is an intricate process that combines craftsmanship, quality materials, and attention to detail. A staple in fashion, leather jackets have remained timeless due to their durability and versatility.
This guide on how to make a leather jacket will walk you through the essential steps to produce a leather jacket, from selecting the right leather to finishing touches, ensuring that the final product is both stylish and functional. Whether you’re an experienced artisan or a beginner, this process will help you understand what goes into crafting this iconic piece of apparel.
Why Choose Leather?
Before diving into the process of making a leather jacket, it’s essential to understand why leather is the material of choice for this type of garment. Leather is not only stylish and durable, but it also offers excellent protection against the elements.
Leather jackets are typically made from animal hides, with cowhide being the most commonly used due to its strength and availability. Other types of leather used for jackets include lambskin, goatskin, and bison hide. These different types offer varying degrees of softness, durability, and texture, allowing for versatility in design.
Furthermore, leather is a biodegradable, renewable resource that can last for decades if properly cared for. It also develops a unique patina over time, giving each jacket its distinct character and story.
Materials Needed
To create a leather jacket, you will need the following materials:
Leather Hide
As mentioned earlier, cowhide is the most commonly used leather for jackets, but you can choose any other type based on your preference.
Lining Fabric
This fabric will line the inside of the jacket and provide a comfortable layer against your skin. Choose a lightweight and breathable material like cotton or silk.
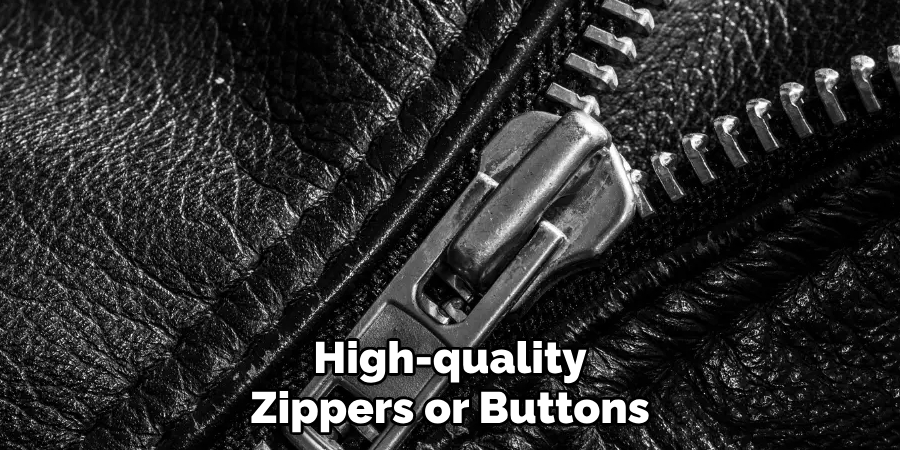
Zippers/Button Fasteners
These are essential for closing your jacket and adding details to its design. Opt for high-quality zippers or buttons that match the style of your jacket.
Sewing Thread
Choose a strong thread that can withstand the weight of the leather and won’t easily break while sewing.
Leather Needle
A specialized needle designed specifically for sewing through thick materials like leather.
Sewing Machine
Although it’s possible to hand-sew a leather jacket, using a sewing machine will make the process more efficient and precise.
Leather Adhesive
This is used for gluing edges and seams before stitching them together, providing extra strength to your jacket.
Leather Shears
Specialized scissors are designed to cut through leather easily and precisely. Regular scissors may struggle with the thickness of leather.
8 Steps on How to Make a Leather Jacket
Step 1: Design Your Jacket
The first step in creating a leather jacket is to design it. Decide on the style and features you want your jacket to have. Consider the type of jacket, such as a classic biker, bomber, or fitted style, and sketch your ideas on paper. Pay attention to details like the type and placement of pockets, collar design, sleeve length, and fit.

This is also the time to choose the color and texture of the leather you’ll be using. A well-thought-out design ensures that the final product aligns with your vision and serves as a blueprint for the crafting process.
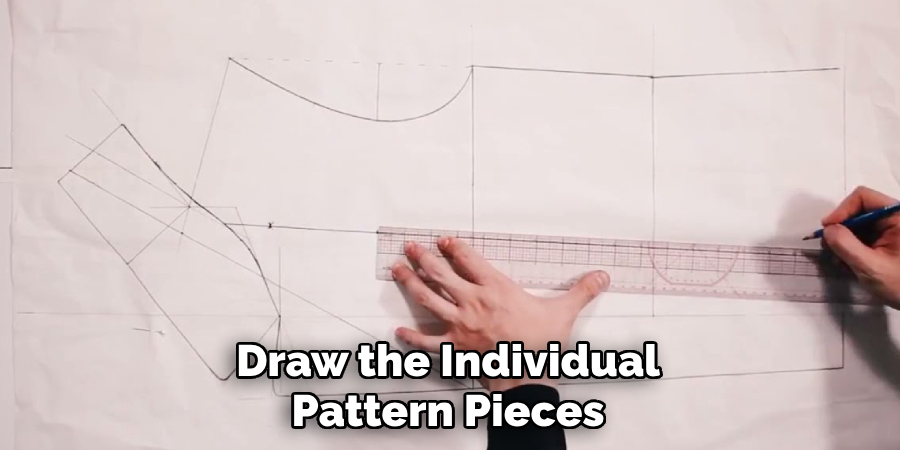
Step 2: Create a Pattern
Once you’ve finalized your jacket design, the next step is to create a pattern. A pattern serves as a guide for cutting the leather into the proper shapes and sizes needed for assembly. Start by taking precise measurements of the person who will wear the jacket, ensuring accurate dimensions for the chest, shoulders, sleeves, and length.
Using these measurements, draw the individual pattern pieces onto craft paper or cardboard. Include components such as the front panels, back panel, sleeves, collar, and pockets. Be sure to label each piece and mark any seam allowances or other details. If this is your first time creating a pattern, you may also use a pre-made jacket pattern as a reference. This step is crucial for ensuring that all parts of the jacket will fit together perfectly during assembly.
Step 3: Cut the Leather
Once you have a pattern, it’s time to cut the leather. Place your pattern pieces on top of the leather hide and trace around them using a chalk or fabric pen. Use leather shears to carefully cut along the traced lines, keeping in mind any seam allowances or other details indicated on the pattern. Cutting through leather can be challenging, so take your time and use steady hands for precise cuts.
You will need to cut two sets of each pattern piece – one for the outer shell and one for the lining fabric.
Step 4: Prepare the Lining
With the leather pieces cut, the next step is to prepare the lining for your jacket. Start by cutting the lining fabric using the same pattern pieces you used for the leather. This will ensure that the lining matches the dimensions of the outer shell precisely. Make sure to select a fabric that is both comfortable and durable, as it will serve as the interior layer of your jacket.
Once the lining pieces are cut, finish the edges of the fabric to prevent fraying. You can use a serger or a zigzag stitch on a sewing machine to secure the edges. Next, assemble the lining by sewing the pieces together, following the design of your jacket. For example, join the front and back panels, attach the sleeves, and sew any pocket areas that require lining. Leave a small opening in one of the seams to turn the lining right-side-out later.
Step 5: Sew the Leather Shell
With both the leather pieces and lining ready, it’s time to sew your jacket together. Start by assembling the front panels with the back panel using a leather adhesive or clips to hold them in place before stitching. Next, attach the sleeves and pockets as desired.
When sewing through thick materials like leather, it’s essential to use a leather needle on your sewing machine and adjust its tension accordingly. This will ensure that your stitches are strong enough to hold the leather together without breaking.
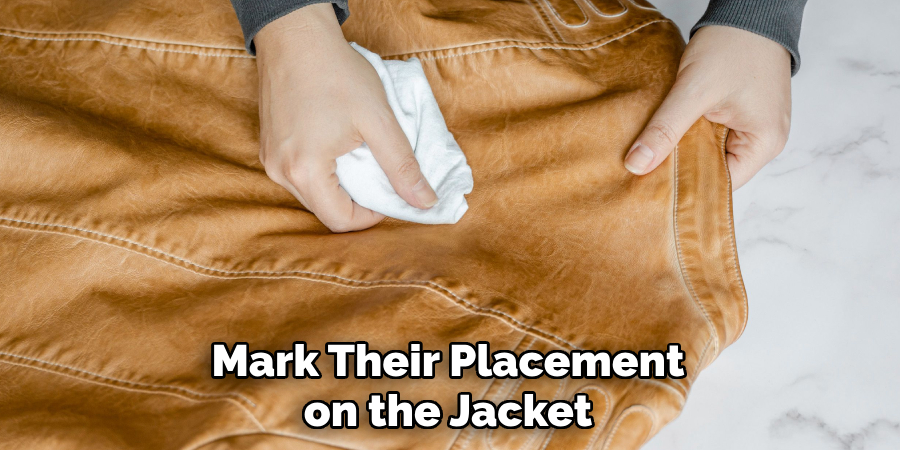
Step 6: Add Zippers or Buttons
Once the main part of the jacket is sewn together, it’s time to add zippers or buttons for closure. Make sure to select high-quality fasteners that match your desired style and are durable enough to withstand regular use.
You will need to install zippers using a zipper foot attachment on your sewing machine. Follow the manufacturer’s instructions for proper installation and make sure they are securely attached.
If using buttons, mark their placement on the jacket and create buttonholes by hand or with a specially designed attachment for your sewing machine.
Step 7: Finish the Jacket
With all the major components in place, it’s time to finish your leather jacket. Turn both the outer shell and lining right-side-out and carefully insert the lining into the jacket. Align all edges and seams, then sew them together along the bottom edge, leaving a small opening for turning.
To give your jacket a professional touch, add topstitching around the collar, sleeves, and other areas as desired. This will also help reinforce any weak spots in the stitching.
Step 8: Try On Your Jacket
Congratulations! You’ve successfully made a leather jacket from scratch. The final step is to try it on and make any necessary adjustments for fit or style. Once you’re satisfied with your creation, press it gently using a pressing cloth to flatten any creases or wrinkles in the leather.
Your custom-made leather jacket is now ready to be worn and enjoyed! With proper care and maintenance, it will last for many years as a stylish and timeless addition to your wardrobe. So grab your leather shears and get started on designing your dream jacket today!
Following these steps on how to make a leather jacket, you can create a unique and personalized leather jacket that fits your specific style and preferences. Whether you’re going for a classic look or something more modern and edgy, making your own leather jacket allows you to have complete control over the design and quality of materials used.
Additional Tips
- Experiment with different types of leather, such as cowhide, lambskin, or suede, for unique looks.
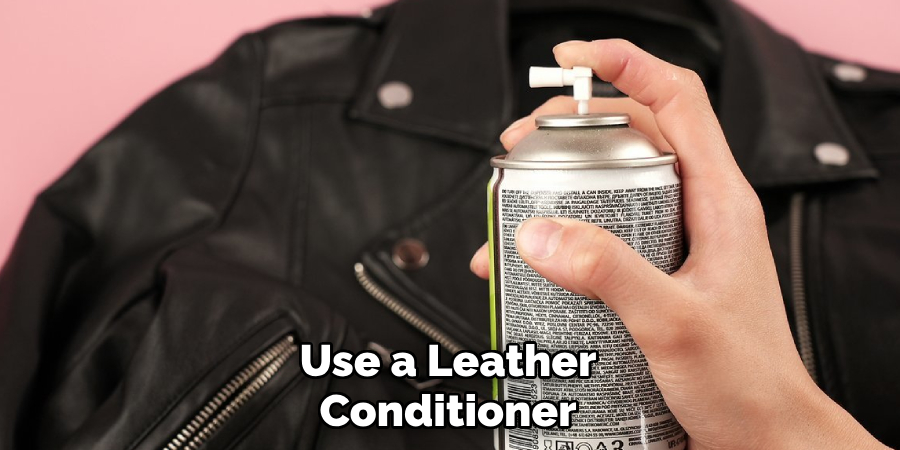
- Use a leather conditioner to keep the material soft and supple over time.
- Practice on scraps of leather before starting on your jacket to get a feel for working with the material and make any mistakes without ruining your project.
- Consider adding lining to the inside of the jacket for added comfort, warmth, and durability.
- Personalize your jacket with custom embroidery or patches for a one-of-a-kind look.
By following these tips and steps, you can create a high-quality leather jacket that will be a staple piece in your wardrobe for years to come.
Frequently Asked Questions
Q1: Is It Difficult to Sew Leather?
A1: Sewing leather can be challenging, especially for beginners. It is thicker and less forgiving than other fabrics and requires special tools and techniques. However, with patience and practice, anyone can learn how to sew leather successfully.
Q2: How Long Will It Take to Make a Leather Jacket?
A2: The time it takes to make a leather jacket will vary depending on factors such as skill level, complexity of the design, and availability of materials. On average, it can take anywhere from 8-12 hours to complete.
Q3: What Type of Sewing Machine Do I Need for Leather?
A3: A heavy-duty sewing machine with a leather needle is recommended for sewing leather. This type of machine has the strength and power needed to handle the thickness and density of leather fabric.
Q4: Can I Alter the Design of My Leather Jacket?
A4: Yes, one of the benefits of making your own leather jacket is that you can customize it to your liking. You can alter design features such as pockets, zippers, and collar styles to create a unique look. However, keep in mind that changing the design may also affect the fit and overall construction of the jacket. So, make sure to carefully plan and test any alterations before implementing them on your final project.
Conclusion
Making a leather jacket from scratch may seem like an intimidating task, but with the right materials, tools, and guidance, it can be a rewarding and enjoyable experience. By following these steps and tips on how to make a leather jacket, you can create a high-quality leather jacket that is not only stylish but also tailored to your individual preferences.
So why settle for store-bought jackets when you can make your own unique piece? Grab your materials and start sewing! Stay creative and keep learning new skills in the world of DIY fashion!