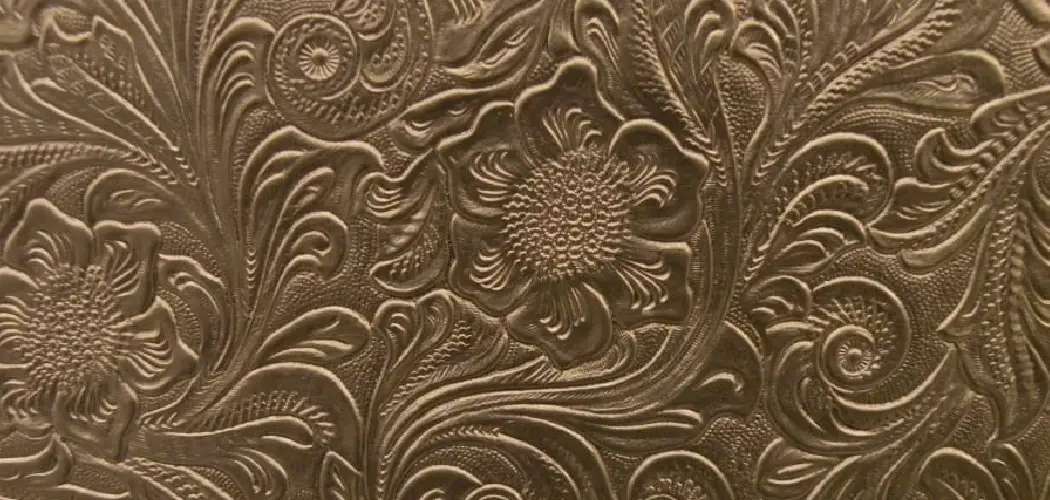
Adding color to embossed leather is a great way to enhance the overall look of your leather projects. It adds depth, dimension and a touch of personalization to your pieces. Whether you’re creating leather goods for yourself or for others, adding color can take your work to the next level. The main advantage of learning to add color to emboss leather is that you can create unique and personalized items.

With the ability to add any color or design, you can make one-of-a-kind pieces that truly reflect your style and personality. Moreover, by mastering this skill, you open up a world of possibilities for creating custom gifts for loved ones or selling your creations on specialized platforms. You can also use this technique to repair or restore old leather items, giving them a new and improved look. In this blog post, You will learn in detail how to add color to emboss leather.
Preparing for Leather Coloring Before Adding Color to Emboss Leather
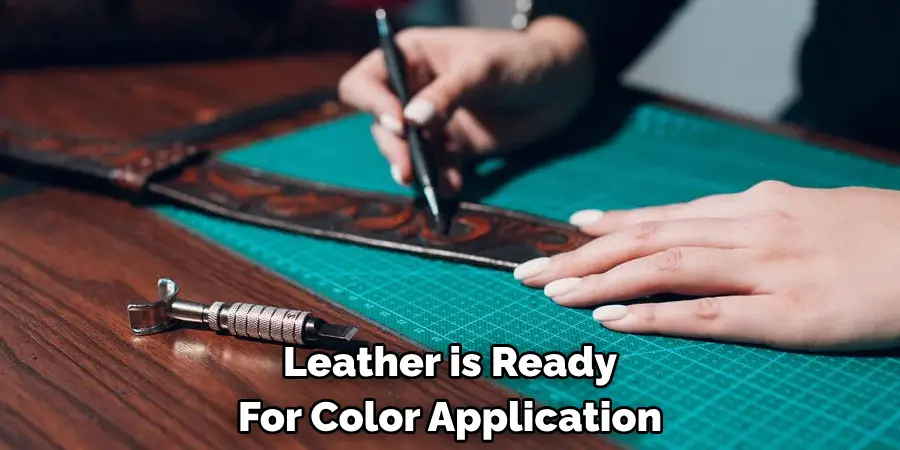
After embossing a leather piece, the next step is to prepare it for coloring. This process involves several steps that ensure the leather is ready for color application and helps achieve the desired results. Firstly, it is essential to clean the leather thoroughly before adding any color. Dust, dirt, grease or other impurities can prevent proper penetration of the dye and result in an uneven or blotchy color. Use a damp cloth to wipe the leather surface and remove any residue. If the leather is heavily soiled, use a mild soap solution and gently clean it with a soft brush.
Once the leather is clean, let it air dry completely. Avoid using heat sources such as hairdryers or direct sunlight, as they can cause discoloration or shrinkage of the leather. It is recommended to let the leather dry naturally for at least 24 hours. After drying, it is essential to prepare the leather surface for dye application by sanding it lightly. This step helps to open up the pores of the leather and allows better penetration of the color. Use a fine-grit sandpaper and gently sand in circular motions. Be careful not to overdo it, as excessive sanding can damage the leather.
Step-by-step Instructions for How to Add Color to Emboss Leather
Step 1: Inspect the Leather
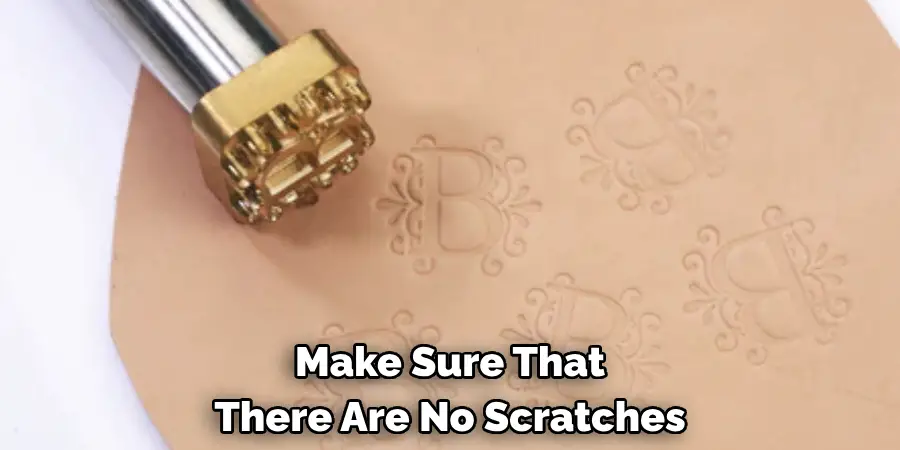
Inspect the leather before adding color to it. Make sure that there are no scratches, cuts or marks on the surface of the leather. If there are any, use a leather cleaner and gently rub them away.
Step 2: Gather your Supplies
To add color to embossed leather, you will need a few supplies such as:
- Leather dye or paint
- Leather finish or sealant
- Soft cloth or sponge
- Painter’s tape
- Brush (if using leather dye)
Make sure that the leather dye or paint you choose is suitable for use on leather and specifically designed for embossed leather.
Step 3: Prepare your Workspace
Choose a well-ventilated area with enough space to work comfortably. Lay down a protective surface such as a plastic sheet to avoid any spills or stains on your work area. Use a soft cloth or sponge and gently clean the leather surface with warm water and mild soap. This will remove any dirt, dust or oils that may interfere with the dye’s application.
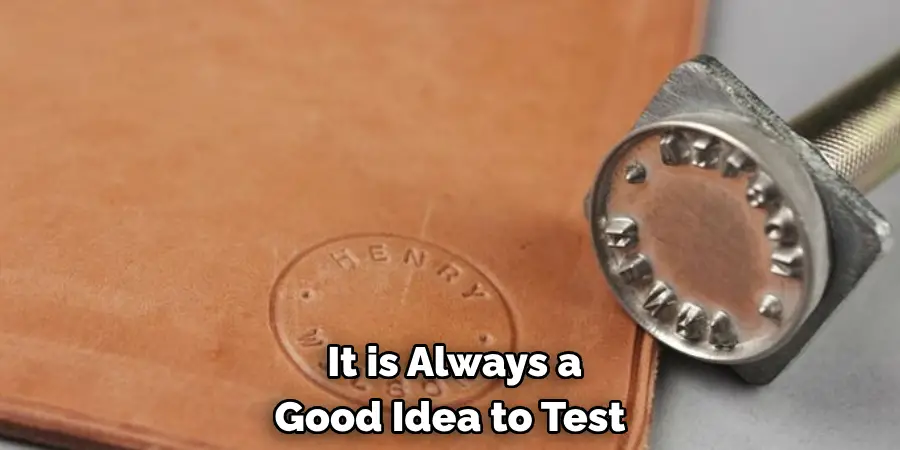
Step 4: Test the Color
Before applying the color to your leather, it is always a good idea to test it on a small inconspicuous area first. This will help you determine if the color is right for your project and allows you to adjust the shade if needed.
For leather dye, use a brush or sponge and apply the dye evenly over the embossed design. For leather paint, use a small brush and carefully fill in the crevices of the embossed pattern. Make sure to follow the direction of the embossed lines for a clean finish.
Step 5: Allow Drying Time
Once you have applied the color, allow it to dry completely before moving on to the next step. This usually takes 30 minutes to an hour, but it is best to refer to the product’s instructions for specific drying times.
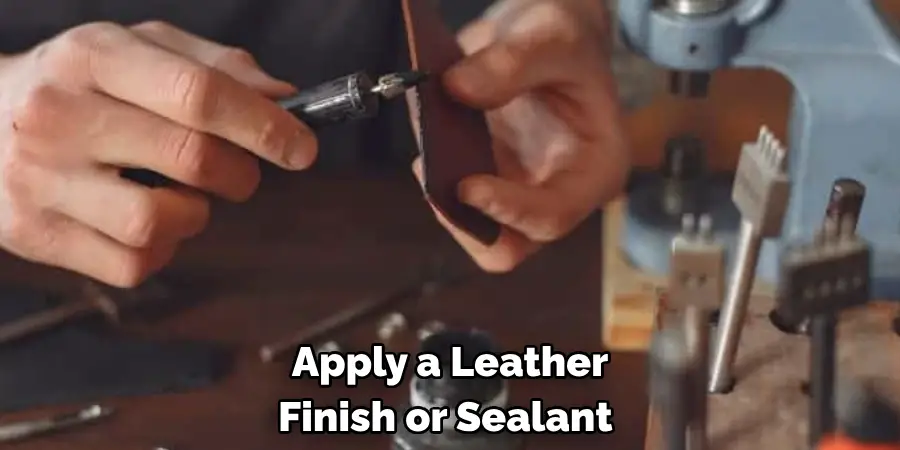
To protect the color and add shine, apply a leather finish or sealant over the dyed surface. Use a clean cloth or sponge and gently spread the finish evenly over the leather. Allow it to dry completely before handling.
Step 6: Remove Painter’s Tape
If you used painter’s tape to protect certain areas of the leather, carefully remove it once the color and finish have completely dried. This will ensure clean edges and prevent any accidental smudging.
Once all the steps are complete, you can now enjoy your beautifully colored embossed leather! Use it for various projects such as making wallets, bags, or even clothing accessories. With proper care and maintenance, the color will last for a long time.
By following these step-by-step instructions, you can easily add color to embossed leather and create stunning pieces with a personalized touch. Experiment with different colors and designs to make your leather creations truly unique.
Safety Tips for How to Add Color to Emboss Leather
- Always wear protective gloves and a mask when working with leather dye or paint to avoid any skin irritation or inhalation of harmful fumes.
- Work in a well-ventilated area to prevent any potential health hazards from the chemicals in the dye or paint.
- Use caution when handling sharp tools such as leather cleaners or sealants to avoid accidental cuts or injuries.
- Keep children and pets away from your work area to prevent any accidents or ingestion of harmful substances.
- Read the labels and instructions carefully before using any products to ensure safe and proper usage.
- If you have any allergies or sensitivities, test the products on a small area first before proceeding with the project.
- Dispose of any leftover materials in accordance with local regulations. Do not pour them down the drain or throw them in the trash.
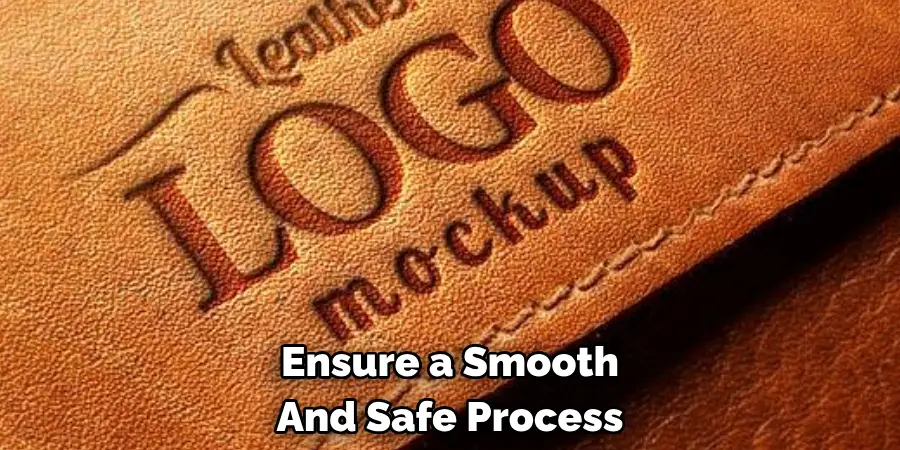
By following these safety tips, you can ensure a smooth and safe process while adding color to embossed leather. Remember to always prioritize your health and well-being when working with any chemicals or tools.
Finishing Touches and Detailing After Adding Color to Emboss Leather
After adding color to emboss leather, there are still some finishing touches and detailing that can be done to truly make your piece stand out. These extra steps will help enhance the overall appearance and quality of your work.
1. Sanding and Finishing
One common step in finishing leather is sanding. This process involves using sandpaper or a sanding tool to smooth out any rough or uneven areas on the leather. This is particularly useful after adding color to emboss leather, as sometimes the dye can cause the surface of the leather to become raised or bumpy.
After sanding, it’s important to apply a finish to your piece. There are many different types of finishes available for leather, such as wax, oil, or acrylic sealers. The finish not only helps protect the color and design on your embossed leather, but it also adds a professional and polished look to your work.
2. Burnishing
Another technique that can give your embossed leather a beautiful finished look is burnishing. This involves using a tool such as a bone folder or slicker to rub the edges of the leather until they become smooth and shiny. This step is particularly important for edges that have been cut or trimmed, as it helps prevent fraying and gives a clean, professional look.
3. Adding Details
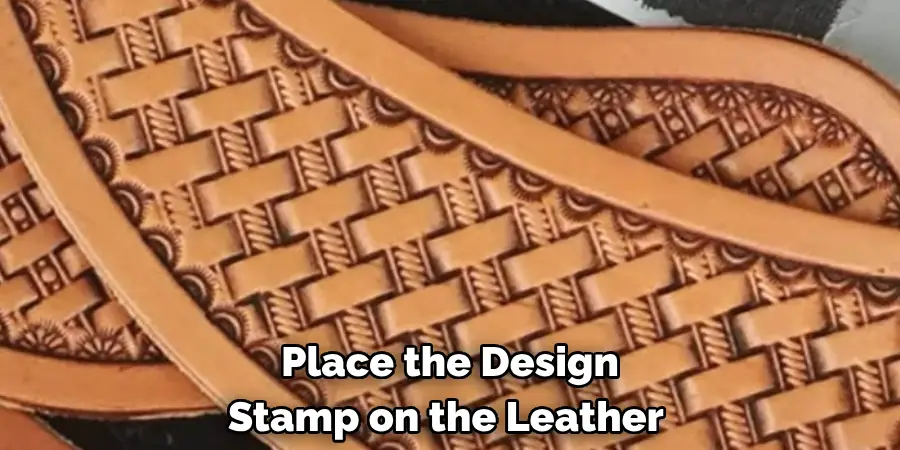
Once the overall color has been applied to your embossed leather, you can also add more detailed designs or accents using various techniques. For example, you could use a stamping tool to create additional texture or patterns on the leather. You could also use a tool called a beveller to create decorative lines or borders around your embossed design.
Additionally, you can also add highlights or shading to your design by lightly brushing on a lighter or darker shade of dye in certain areas. This technique can help bring out the depth and dimension in your embossed design.
By completing these final steps, you can truly elevate and enhance your embossed leather piece. The sanding, finishing, burnishing, and detailing techniques all contribute to creating a professional and polished finished product.
Troubleshooting and Tips for Adding Color to Emboss Leather
While adding color to emboss leather can be a fun and creative process, it can also come with its share of challenges. Here are some troubleshooting tips and helpful hints to keep in mind while working on your project:
1. Prepare and Protect Your Workspace
Before starting any project, always make sure you have a clean and well-ventilated workspace. Leather dye can be messy and have a strong odor, so it’s important to protect your surroundings and yourself. Wear gloves and an apron or old clothes to avoid staining your skin and clothing.
2. Test the Dye on Scrap Leather
If you are unsure about the color or technique you want to use, it’s always a good idea to test it out on scrap leather first. This will help you get a feel for how the dye will look and behave before applying it to your final piece. You can also use this opportunity to experiment with different techniques and combinations of colors.
3. Use Thin Layers of Dye
When applying color to emboss leather, it’s best to start with thin layers and gradually build up the intensity. This will help prevent any streaking or blotchiness in the final result. You can always add more dye if needed, but it’s harder to remove too much dye once it has been applied.
4. Clean and Maintain Your Tools
Properly cleaning and maintaining your tools is essential for achieving a clean and smooth finish on your embossed leather. Make sure to wipe down any stamping or carving tools after each use to prevent dye buildup. It’s also important to regularly sharpen any cutting tools and replace them when necessary.
5. Have Patience and Practice
Adding color to emboss leather is a skill that takes time and practice to perfect. Don’t get discouraged if your first few attempts don’t turn out exactly as you envisioned. Keep practicing, experimenting with different techniques, and learning from mistakes. With patience and persistence, you will be able to create beautiful and unique embossed leather pieces that you can be proud of.
Troubleshooting tips and helpful hints can assist in achieving the desired outcome and improve your overall skills in working with leather. With practice and patience, you can create stunning embossed leather pieces that showcase your creativity and dedication to the craft.
Long-term Maintenance and Care After Adding Color to Emboss Leather
After you have successfully added color to your embossed leather, it is important to properly maintain and care for it in order to ensure its longevity. Here are some tips for long-term maintenance and care:
1. Protect from Sun Exposure
Direct sunlight can cause fading and discoloration of your colored embossed leather. To prevent this, make sure to keep your leather away from direct sunlight or use a leather protector spray with UV protection.
2. Clean Regularly
Dirt, dust, and other particles can accumulate on your colored embossed leather over time. To prevent buildup and potential damage, it is important to clean your leather regularly. Use a soft cloth or brush to gently remove any dirt or debris from the surface of the leather.
3. Use Leather Conditioner
To keep your embossed leather supple and prevent cracking, it is important to use a leather conditioner on a regular basis. This will also help to maintain the color and shine of your colored leather.
4. Avoid Harsh Chemicals
Avoid using harsh chemicals or cleaning products on your colored embossed leather as they can strip the color and damage the leather. Stick to mild, leather-specific cleaners or gentle soap and water.
5. Store Properly
When not in use, it is important to store your colored embossed leather in a cool, dry place to prevent mold and mildew growth. Avoid folding or creasing the leather as this can cause cracking and damage.
6. Handle with Care
Colored embossed leather can be more delicate than regular leather, so it is important to handle it with care. Avoid dragging or pulling on the leather and be gentle when handling and storing it.
7. Touch Up as Needed
Over time, the color of your embossed leather may fade or wear in certain areas. To keep it looking its best, touch up the color as needed with a leather dye or paint specifically designed for use on leather.
By following these tips, you can ensure that your colored embossed leather stays looking vibrant and beautiful for years to come. Regular maintenance and care will not only preserve the appearance of your leather but also extend its lifespan.

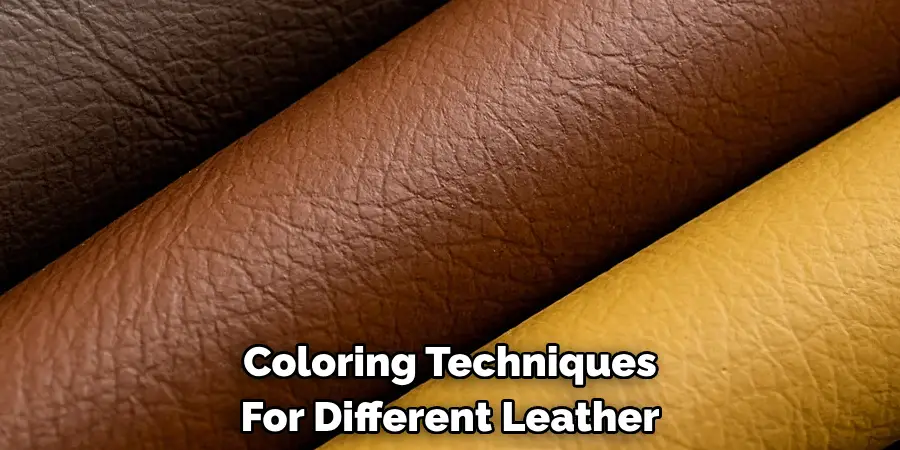
Adapting Coloring Techniques for Different Leather Projects
As mentioned previously, leather coloring techniques can vary depending on the specific project you are working on. In this section, we will explore some of the different types of leather projects and how to adapt your coloring techniques accordingly.
- Accessories – When it comes to small accessories such as wallets, belts or keychains, precision is key. To achieve a clean and professional finish, it is important to use a steady hand and apply thin layers of dye, allowing each layer to dry completely before adding another. This will prevent the color from bleeding or smudging. Additionally, be sure to choose a dye that is specifically formulated for leather accessories as they often require different types of dyes compared to larger projects.
- Shoes – Leather shoes require a durable coloring technique as they are constantly exposed to friction and wear. One recommended method is to use an alcohol-based dye, which penetrates the leather fibers deeply and creates a long-lasting color. It is also important to apply a finisher after coloring to protect the color from fading or rubbing off.
- Bags – Coloring techniques for leather bags can vary depending on the type of leather used. For smooth leather, using a dye that forms a glossy finish can enhance the luxurious look of the bag. On the other hand, suede or nubuck leather may require a more delicate approach, such as using a spritz bottle to apply the dye for an even and subtle color.
- Furniture – Leather furniture often requires more coverage and a consistent color throughout the entire piece. In this case, using a sponge or brush to apply the dye can provide better control and coverage compared to using a spritz bottle. It is also recommended to seal the color with a clear finisher for added protection.
- Clothing – Leather clothing can be tricky to dye as it is often made of thin and delicate leather. To avoid damaging the fabric, it is best to use a dye specifically made for garments, which is formulated to be gentle and non-toxic. It is also important to test the dye on a small inconspicuous area before applying it to the entire garment.
Overall, adapting your coloring techniques for different leather projects requires attention to detail and understanding the specific needs of each project. With practice and experimentation, you can achieve beautiful and long-lasting results for all your leather projects. Remember to always choose high-quality dyes and finishes, and to follow the instructions carefully for best results.
Conclusion
In conclusion, learning to add color to emboss leather can greatly enhance your leather crafting skills. While it may seem challenging at first, with practice and the right techniques, you can achieve professional-looking results for all your leather projects. Some of the key factors to keep in mind when coloring embossed leather include choosing the right type of dye and finish for the specific project, understanding the properties of the leather, and adapting your techniques accordingly.
By paying attention to these details and following the proper steps, you can achieve beautiful and long-lasting color that will elevate your leather creations to the next level. I hope this article has been beneficial for learning how to add color to emboss leather. Make Sure the precautionary measures are followed chronologically.