
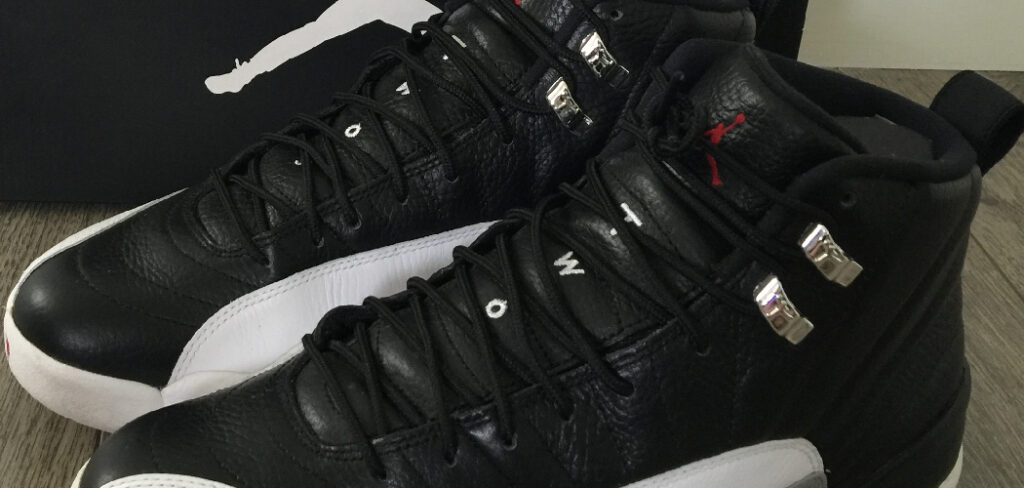
A pair of leather Jordans is more than just footwear; it’s a piece of culture, a collector’s item, and a style statement. Whether you’re rocking classic retros or the latest release, keeping them clean is essential to preserving their value and iconic look.
Scuffs, dirt, and stains are inevitable, but they don’t have to be permanent. Many sneakerheads are hesitant to clean their prized possessions, fearing they might cause damage. The good news is that with the right materials and a gentle technique, it’s easy to restore their original glory. This guide will provide simple, effective instructions on how to clean leather jordans, ensuring you can wear them with confidence.
Maintaining the pristine condition of your leather Jordans doesn’t have to be intimidating. With a little patience and the proper approach, you can keep your sneakers looking as good as new.
Cleaning leather requires attention to detail and the use of appropriate tools to avoid damage, but the process can be straightforward and rewarding. Whether you’re dealing with minor scuffs or stubborn stains, following the right steps will make all the difference in preserving the longevity and appeal of your favorite sneakers.
Tips for Cleaning Leather Sneakers
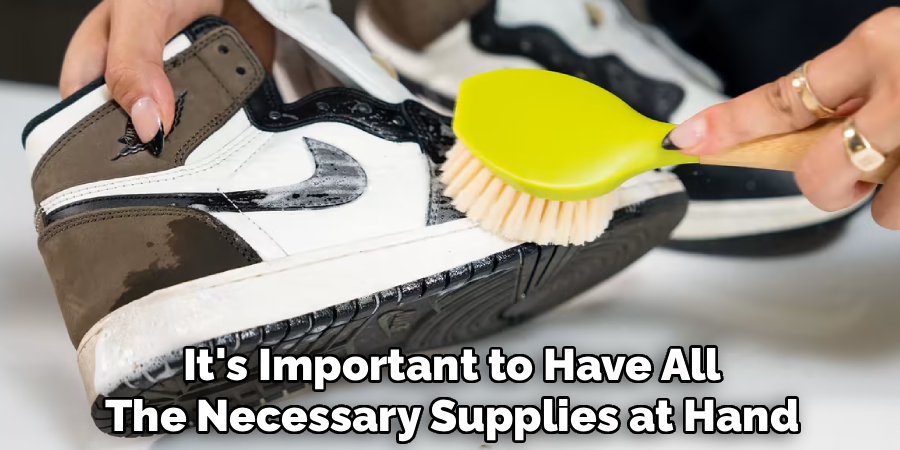
1. Gather the necessary supplies
Before starting the cleaning process, it’s important to have all the necessary supplies at hand. This will ensure you don’t miss any steps and can complete the task efficiently. Some essential items include a soft-bristled brush, leather cleaner or soap, warm water, a clean cloth, and a conditioner or protectant (if desired).
2. Remove excess dirt and debris
The first step in cleaning your leather sneakers is to remove any excess dirt or debris on the surface of the shoe. You can do this by using a soft-bristled brush or damp cloth to gently brush off any loose particles. It’s essential to be gentle to avoid scratching or damaging the leather.
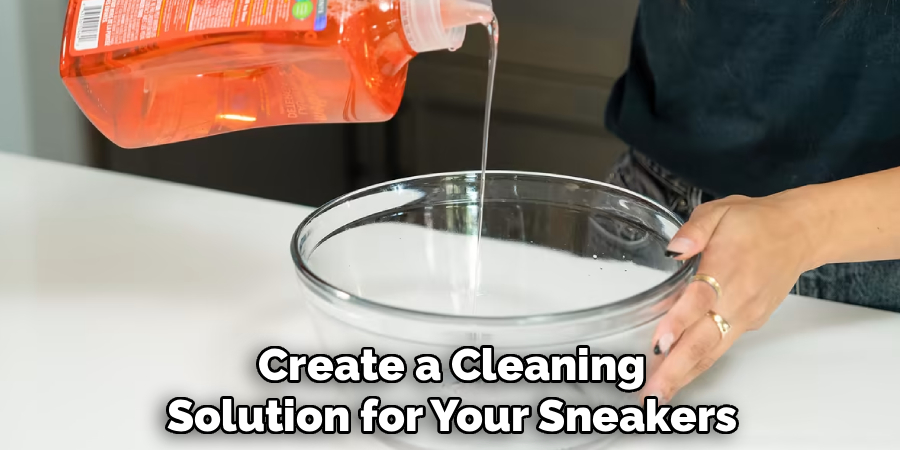
3. Prepare a cleaning solution
Next, you’ll need to create a cleaning solution for your sneakers. You can either purchase a specialized leather cleaner or make one at home using mild soap and warm water. Avoid harsh chemicals or abrasive cleaners as they can damage the leather.
To make your own cleaning solution, mix a few drops of mild soap with warm water in a bowl or bucket. Make sure not to use too much soap as it can leave residue on the leather. Stir the mixture until suds form.
The Ultimate Guide on How to Clean Leather Jordans
Step 1: Gather Your Cleaning Supplies
Before you begin, gather all the necessary tools for the job. You will need a few soft-bristle brushes of various sizes, a microfiber towel, a bowl of warm water, and a quality sneaker cleaning solution. If you don’t have a dedicated sneaker cleaner, a small amount of mild dish soap mixed with water can work as a substitute.
It’s also wise to have a magic eraser on hand for tough scuffs on the midsole. Having everything prepared and within reach will make the cleaning process much smoother and more efficient, preventing you from having to search for items with dirty hands.
Step 2: Prepare Your Jordans for Cleaning
The first hands-on step is to prepare your sneakers. Remove the laces from both shoes and set them aside to be cleaned separately. This allows you to access the entire tongue and the eyelets, areas where dirt often accumulates.
Next, use a dry, soft-bristle brush to gently brush off any loose surface dirt, dust, and debris from the leather upper, midsole, and outsole. This preliminary step prevents you from turning dry dirt into mud and rubbing it deeper into the material once you introduce water, making the rest of the cleaning process much more effective.
Step 3: Clean the Uppers
Now it’s time to focus on the leather uppers. Mix a small amount of your cleaning solution with warm water. Dip a soft-bristle brush into the solution, tap off any excess liquid, and begin to gently scrub the leather in small, circular motions. Work on one section at a time, creating a light foam as you clean.
Be gentle and let the cleaning solution and the brush do the work; applying too much pressure can damage the leather. Once you’ve scrubbed the entire upper, use a clean, damp microfiber towel to wipe away all the soap and grime.
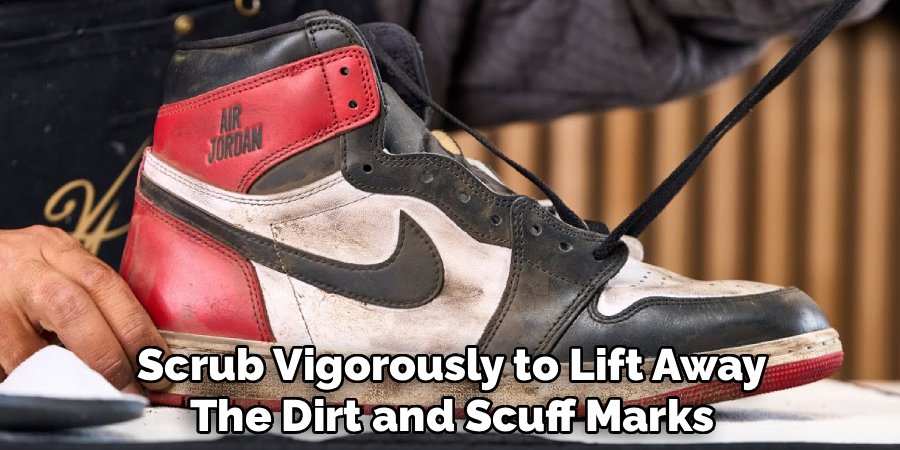
Step 4: Focus on the Midsole and Outsole
The midsole, typically made of rubber or foam, is where scuffs and marks are most visible. For this area, you can use a slightly stiffer brush. Apply your cleaning solution and scrub vigorously to lift away the dirt and scuff marks. For particularly stubborn marks, a magic eraser can work wonders.
Simply dampen the magic eraser and rub it gently on the scuff until it disappears. Afterward, move to the outsole. Use a stiff brush to scrub the grooves and remove any trapped dirt, rocks, or grime, then wipe both the midsole and outsole clean.
Step 5: Wash the Laces
Don’t forget the laces, as clean laces make a huge difference in the overall appearance of your shoes. You can wash them by hand or in a washing machine.
To hand wash, place the laces in a bowl with warm water and a bit of your cleaning solution or laundry detergent. Let them soak for about 20 minutes, then agitate them with your hands and rinse thoroughly. If using a washing machine, place the laces in a small mesh laundry bag to prevent them from tangling, and wash them with a load of light-colored laundry.
Step 6: Address Tough Stains and Scuffs
Sometimes, a general cleaning isn’t enough to remove deep stains or scuffs on the leather. For minor scuffs, a simple pencil eraser can sometimes lift the mark without damaging the leather. For ink stains or more persistent marks, you may need a specialized leather cleaner or a spot treatment.
Always test any new product on a small, inconspicuous area of the shoe first to ensure it doesn’t cause discoloration. Apply the product with a cotton swab, gently dab at the stain, and wipe clean according to the product’s instructions.
Step 7: Allow Your Jordans to Air Dry Completely
This is a critical final step that requires patience. After cleaning, you must let your Jordans air dry naturally. Stuff the inside of the shoes with paper towels or shoe trees to help them hold their shape and absorb internal moisture. Place them in a well-ventilated room, away from direct sunlight or any direct heat sources like a radiator or vent. Using a hairdryer or placing them in the sun can cause the leather to dry out, crack, or yellow. A full drying process can take up to 24 hours.
Diy Cleaning Solutions
For DIY cleaning solutions, you can rely on common household items to effectively clean your Jordans. A simple mixture of mild dish soap and warm water works wonders for removing dirt and stains from most materials. For stubborn scuffs on rubber soles, try using a magic eraser or a paste made from baking soda and water.
White vinegar diluted with water can also be used to tackle tougher stains, especially on white or light-colored areas. When using these solutions, always perform a spot test on a small, inconspicuous area to ensure there’s no damage to the material. Avoid harsh chemicals or bleach, as these can weaken or discolor the fabric and leather.
Frequently Asked Questions (FAQs)
Can I Put My Leather Jordans in the Washing Machine?
No, you should never put leather Jordans in a washing machine. The combination of intense water submersion, tumbling, and high heat can be catastrophic for the shoe. It can warp the leather, weaken the adhesives holding the shoe together, cause colors to bleed, and ultimately destroy the structure and integrity of your sneakers. Always opt for hand-cleaning methods.

What Can I Use if I Don’t Have Sneaker Cleaner?
If you don’t have a specialized sneaker cleaning solution, you can create a gentle and effective alternative at home. Mix a few drops of mild dish soap (like Dawn) or even baby shampoo into a bowl of warm water. Another option is to mix equal parts water and white vinegar. Avoid using harsh household cleaners, bleach, or detergents, as these can strip the leather of its natural oils and cause damage.
How Do I Get Creases Out of My Leather Jordans?
You can reduce the appearance of creases with a simple ironing method. First, stuff the shoe tightly with socks or paper to push the crease out from the inside. Then, place a damp towel or cloth over the creased area of the toe box. Set an iron to a low-to-medium heat setting and gently iron over the damp towel for a few seconds at a time. This uses steam to soften the leather and smooth out the crease.
How Often Should I Clean My Jordans?
The frequency of cleaning depends on how often you wear them. For regular wear, a light cleaning every couple of weeks is a good habit to maintain their appearance. This could be as simple as wiping them down with a damp cloth. A deep clean, following the steps in this guide, should be done whenever they get noticeably dirty or stained.
What Is the Best Way to Protect My Jordans After Cleaning?
Once your Jordans are clean and completely dry, applying a sneaker protectant spray is an excellent final step. These sprays create an invisible hydrophobic barrier that helps repel water and stains, making future cleanings much easier. Be sure to choose a protectant spray that is specifically formulated for use on leather and follow the application instructions on the can.
Conclusion
Keeping your leather Jordans in pristine condition is a rewarding process that protects your investment and honors their iconic design. The key is to be consistent and gentle, using the right tools and techniques.
By preparing your shoes, cleaning them in sections, and allowing them to dry properly, you can easily tackle everything from everyday dust to stubborn stains. There’s no need to fear wearing your favorite pair when you have a solid cleaning routine. With this newfound knowledge of how to clean leather jordans, you can ensure your collection stays looking fresh for years to come.