
Are you tired of seeing mold on your favorite leather belt? Well, you’re not alone. Many people struggle with keeping their leather belts mold-free, especially in humid or moist environments.
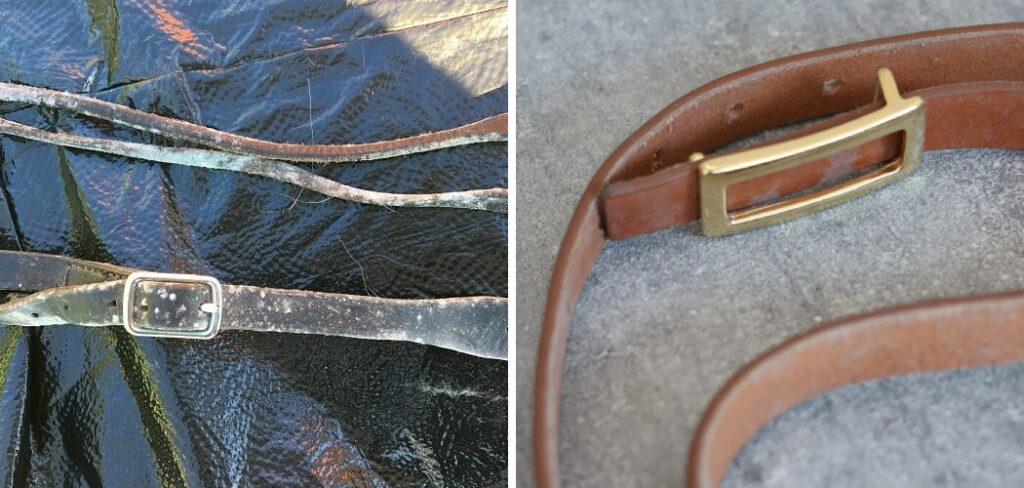
Mold on a leather belt can be both an eyesore and a potential cause of damage to the material if left untreated. Leather is a delicate natural material that requires proper care to maintain quality, and tackling mold requires a gentle yet effective approach.
This guide on how to clean mold on leather belt will provide you with simple and safe steps to remove mold from your leather belt while preserving its integrity and ensuring it looks as good as new. With the right tools and techniques, you can restore your leather belt to its original condition and prevent future mold growth.
What Are the Benefits of Cleaning Mold on Leather Belt?
Besides improving the appearance of your leather belt, there are other benefits to cleaning mold off it.
- Prevents Damage to Leather: Mold can cause damage to leather if left untreated for a long time. It can discolor and weaken the material, leading to cracks or tears in severe cases. Regularly cleaning mold off your leather belt helps prevent such damage and extends its lifespan.
- Eliminates Unpleasant Odor: Mold growth on a leather belt can produce a musty smell that is unpleasant and difficult to eliminate. By removing the mold, you eliminate the source of the odor and restore freshness to your leather belt.
- Maintains Hygiene: Mold is a type of fungus that can cause health issues if it comes into contact with your skin. Regularly cleaning mold off your leather belt helps maintain proper hygiene and prevents potential health risks.
- Saves Money: By regularly cleaning mold off your leather belt, you prevent the need for costly repairs or replacements in the future. This saves you money and ensures your leather belt remains in good condition for a long time.
What Will You Need?
Before cleaning mold off your leather belt, you will need to gather the following items:
- Soft cloth or sponge
- White vinegar
- Lemon juice (optional)
- Baking soda (optional)
- Leather conditioner
- Water
Once you have all the necessary supplies, you can proceed with cleaning.
8 Easy Steps on How to Clean Mold on Leather Belt
Step 1. Remove Loose Mold:
Using a soft cloth or sponge, gently wipe the surface of the leather belt to remove any loose mold. This step is essential to prevent the mold from spreading further or being rubbed deeper into the leather during cleaning. Doing this outdoors or in a well-ventilated area is recommended to avoid inhaling mold spores, as they can cause respiratory irritation.
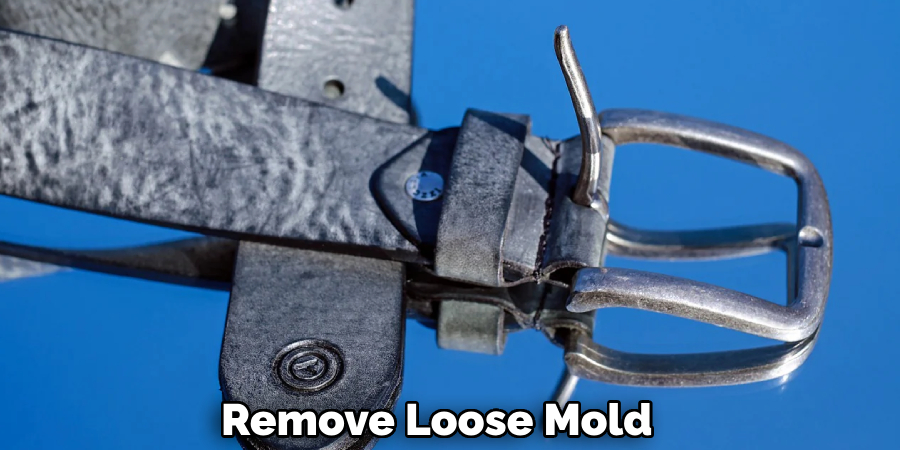
Be gentle during this step to prevent scratching or damaging the leather surface. If the mold is stubborn and clings to the surface, avoid applying excessive pressure; instead, proceed to the next step to address it more thoroughly.
Step 2. Prepare a Cleaning Solution:
Mix equal white vinegar and water in a small bowl or container. You can add a few drops of lemon juice for its natural mold-fighting and freshening properties if desired. This solution is effective in killing mold and preventing its regrowth.
Make sure to stir the mixture well to ensure it’s evenly combined. This solution will be your primary cleaning agent for the next steps.
Step 3. Clean the Leather Surface:
Dip a clean, soft cloth into the vinegar and water solution, ensuring the fabric is damp but not overly saturated. Gently wipe the affected leather surface, focusing on areas with visible mold. Use a circular motion to lift the mold without spreading it further. If needed, re-dip the cloth into the solution and wring it out to maintain consistent moisture levels.
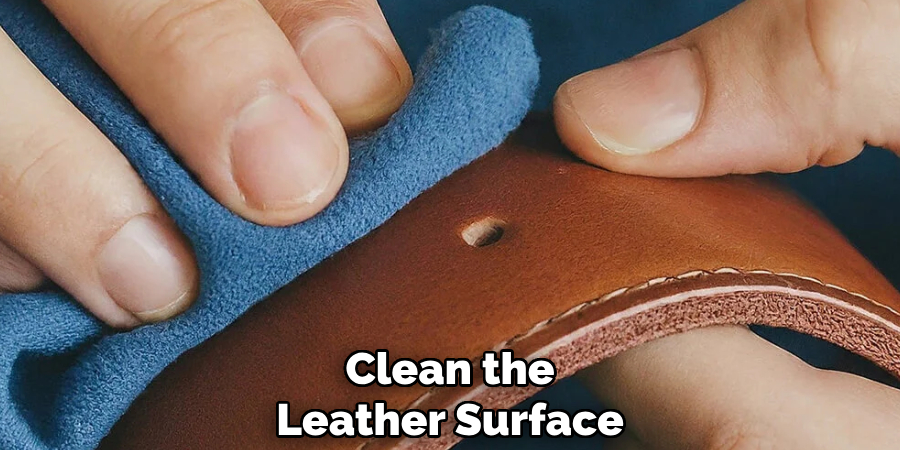
Avoid soaking the leather, as excessive moisture can damage the material. Once all visible mold has been removed, allow the leather to air-dry entirely in a well-ventilated area, away from direct sunlight or heat sources that could cause cracking or fading.
Step 4. Condition the Leather:
After the leather has completely dried, apply a leather conditioner to restore its natural oils and prevent it from becoming dry or brittle. Use a high-quality leather conditioner appropriate for your specific type of leather. Apply a small amount to a clean, soft cloth and gently rub it into the leather using circular motions.
Allow the conditioner to be absorbed fully, then lightly buff the surface with a dry cloth to achieve a polished finish. Conditioning helps maintain the leather’s durability and appearance while protecting it from future wear and tear.
Step 5. Protect and Store the Leather:
To keep your leather items in optimal condition, take measures to protect them from future damage. Consider applying a leather protectant spray designed to repel water, dirt, and stains. This extra layer of protection can extend the life of your leather products. Store the leather in a cool, dry place away from direct sunlight, damp conditions, or heat sources when not in use.
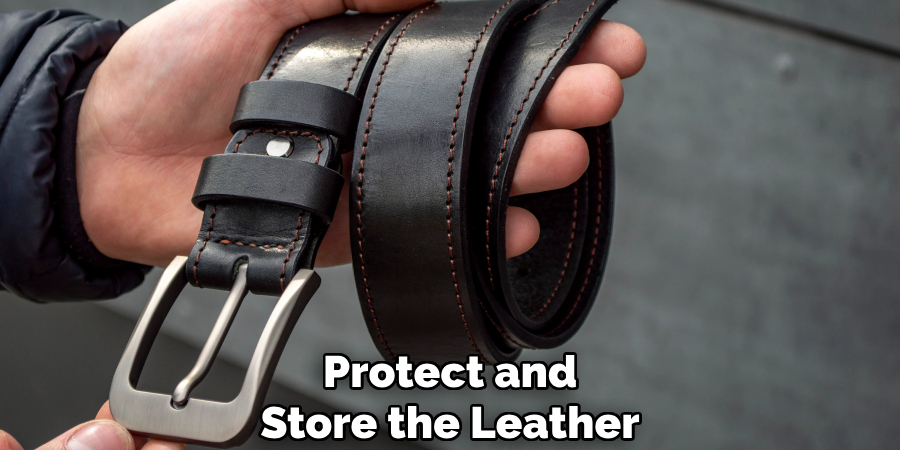
Use a breathable fabric bag or cover to prevent dust accumulation and allow proper airflow around the leather. Avoid storing leather items in plastic, as this can trap moisture and lead to mold or mildew growth. Regular care and mindful storage will ensure your leather continues to look its best over time.
Step 6. Regular Maintenance and Inspection:
To preserve the quality of your leather items, make regular maintenance a part of your routine. Inspect your leather goods periodically for wear, cracks, or dryness. Clean them gently with a soft cloth or leather cleaner to remove surface dirt. Reapply leather conditioner every few months or more frequently if the leather is exposed to harsh conditions.
Regular maintenance keeps your leather looking pristine and prevents minor issues from escalating into significant damage, ensuring long-lasting durability.
Step 7. Professional Cleaning and Repairs:
For more advanced care, consider professional cleaning and repairs when necessary. Deep stains, scuffs, or structural damage can often be addressed by trained leather specialists with the tools and expertise to restore your leather goods.
Avoid attempting extensive repairs at home, as improper techniques might worsen the damage. By investing in professional care, you can extend the life of your leather items and maintain their original beauty and function.
Step 8. Keep an Eye Out for Mold:
After cleaning mold off your leather belt, monitoring the leather regularly for any signs of regrowth is essential. Keep an eye out for discolored patches, musty odors, or changes in texture that could indicate the presence of mold. If you notice any signs, quickly take action and follow the steps outlined above to prevent further spreading. Regularly cleaning and maintaining your leather items will keep them looking their best and help you avoid potential health risks associated with mold exposure.
By following these steps, you can effectively clean mold from your leather belt and maintain its quality over time.
5 Things You Should Avoid
- Using Harsh Chemicals: Using harsh chemicals such as bleach, ammonia, or hydrogen peroxide to clean mold on a leather belt may seem like an easy solution, but it can damage the leather. These chemicals are too strong and can cause discoloration, dryness, and even breakage of the leather. It’s best to avoid using these harsh chemicals and opt for more natural cleaning solutions.
- Using Excessive Water: Leather is a porous material; excess water can seep into the pores, causing damage and discoloration. When cleaning mold on a leather belt, it’s important to use minimal water and quickly dry the affected area. Avoid soaking the entire belt in water, as this can lead to more problems.
- Scrubbing too Hard: While washing away the mold on your leather belt may be tempting, it can cause more harm than good. Scrubbing too hard can strip off the protective coating on the leather and damage its surface. Instead, gently dab the affected area with a soft cloth or sponge.
- Not Testing Cleaning Solutions: Any cleaning solution on your leather belt must be tested on a small, inconspicuous area. Different types of leather may react differently to cleaning solutions, so it’s best to ensure that the solution doesn’t cause any discoloration or damage before using it on the entire belt.
- Not Properly Drying the Belt: After cleaning mold on your leather belt, it’s crucial to ensure it is adequately dried before using or storing it. Excess moisture can lead to the growth of mold and mildew, undoing all your efforts. Use a clean cloth to dry the affected area and leave it in a well-ventilated area to air out completely.
When it comes to cleaning mold on leather belts, prevention is key. Make sure to store your leather belts in a cool, dry place and avoid leaving them in damp or humid areas for extended periods of time.
Conclusion
How to clean mold on leather belt requires careful attention and the right techniques to ensure the belt remains in good condition.
By following the steps outlined above—removing the mold gently, using a suitable cleaning solution, and ensuring proper drying—you can effectively restore your belt without causing damage. Additionally, taking preventive measures by storing your leather belts in dry, well-ventilated areas will help avoid mold growth.
With proper care and maintenance, your leather belt can retain its quality and longevity for years.