Maintaining your horse’s tack in pristine condition is more than just a matter of presentation—it’s an essential aspect of horsemanship that ensures the safety, comfort, and performance of both rider and horse. Regular cleaning and conditioning of tack prolongs its life and prevents the build-up of dirt, sweat, and bacteria, which can lead to skin irritation or deterioration of the material.
In the following sections, we will guide you through the steps of how to clean tack, spotlighting the importance of each step and offering tips to maintain the suppleness and integrity of the leather.

From bridles and saddles to girths and stirrup leathers, this guide aims to equip you with the knowledge to keep your equipment in top-notch condition, ensuring your equestrian gear remains both functional and beautiful for years to come.
What are the Reasons for Cleaning Tack?
Cleaning tack serves more than just aesthetic purposes. Here are some of the main reasons why regularly cleaning your horse’s equipment is crucial:
- Preventing Bacterial Growth: Dirt, sweat, and grime can accumulate on a tack with frequent use, creating the perfect breeding ground for bacteria. These bacteria can cause skin irritations and infections in both the horse and rider.
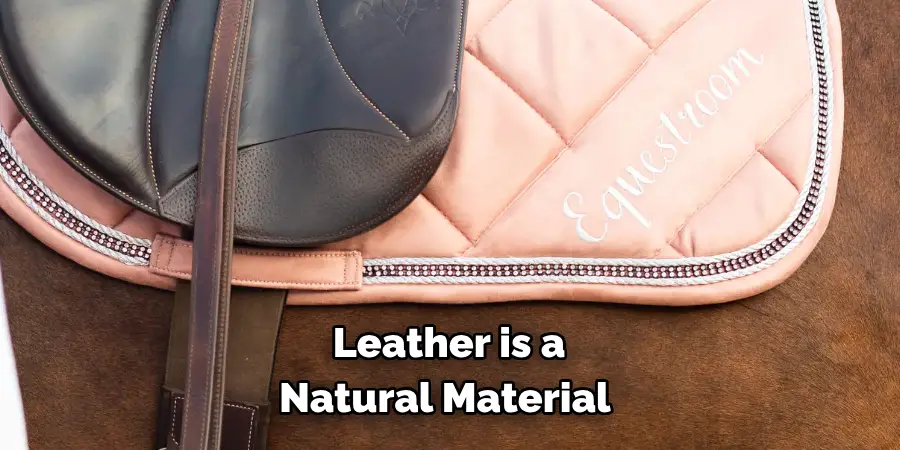
- Prolonging Tack Lifespan: Leather is a natural material that can deteriorate over time if not properly maintained. Cleaning and conditioning your tack regularly can help prevent cracking, drying out, and other forms of damage, thus extending its lifespan.
- Ensuring Proper Fit: Dirty or stiff leather can cause discomfort for both the horse and rider, leading to poor performance and potentially dangerous situations. Cleaning tack keeps it supple and pliable, ensuring a comfortable fit for both horse and rider.
- Maintaining Safety: Regular cleaning of hardware such as buckles, snaps, and stirrup irons ensures they are in good working condition. This reduces the risk of them breaking or malfunctioning during use, which can lead to accidents.
- Presentation: Clean and well-maintained tack is functional and adds to the overall appearance of a horse and rider. It shows respect for the sport and reflects good horsemanship.
These are just a few reasons why it is essential to clean your tack regularly. Neglecting this task can affect the performance and safety of both horse and rider and result in expensive repairs or replacements.
What Will You Need?
Before we dive into the steps of cleaning tack, let’s first gather all the necessary supplies:
- Saddle Soap: A gentle soap specifically designed for leather to remove dirt and grime without stripping away the natural oils.
- Leather Conditioner: A moisturizing product that restores the suppleness of leather and helps protect it from drying out.
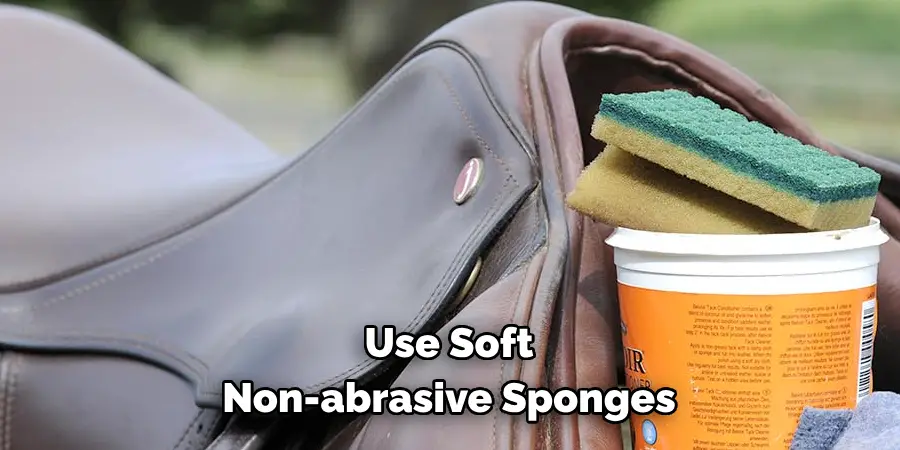
- Soft Sponges or Cloths: Use soft, non-abrasive sponges or cloths to avoid scratching the leather surface.
- Water: You’ll need a small amount of water to dampen your sponge or cloth before cleaning.
- Small Brush: Use a small brush with soft bristles for detailed cleaning, such as stitching and crevices.
Once you have all your supplies, let’s get started!
10 Easy Steps on How to Clean Tack
Step 1: Remove Dirt and Debris
The first step in cleaning your tack is to thoroughly remove any dirt, dust, and debris that has accumulated. Begin by using a soft brush to gently but effectively brush away loose dirt from all surfaces of your tack. Pay extra attention to crevices and stitching where dirt can easily get trapped.
This preliminary cleaning helps prepare the leather for a deeper clean and ensures that you’re not rubbing the dirt deeper into the material when you move on to the next steps. A clean, dry cloth can also be used for this purpose, especially on smoother surfaces where a brush might not be necessary. Remember, this initial step is crucial for maintaining the integrity of the leather and preventing scratches or damage that can occur if abrasive dirt is not properly removed before the cleaning process.
Step 2: Apply Saddle Soap
Once all surface dirt and debris have been removed, dampen your soft sponge or cloth slightly with water. Then, take a small amount of saddle soap and apply it to the dampened sponge or cloth. Gently rub the leather in a circular motion, working the soap into a light lather.
Ensure you cover all areas, including the undersides of straps and hidden sections. Saddle soap not only cleans the leather but also starts the conditioning process, so it’s important to work it into every part of the tack. After thoroughly soaping each piece, take another clean, damp cloth to wipe away any loosening lather and dirt. This step not only cleans the leather but begins the important process of conditioning, keeping the material soft and preventing drying and cracking.
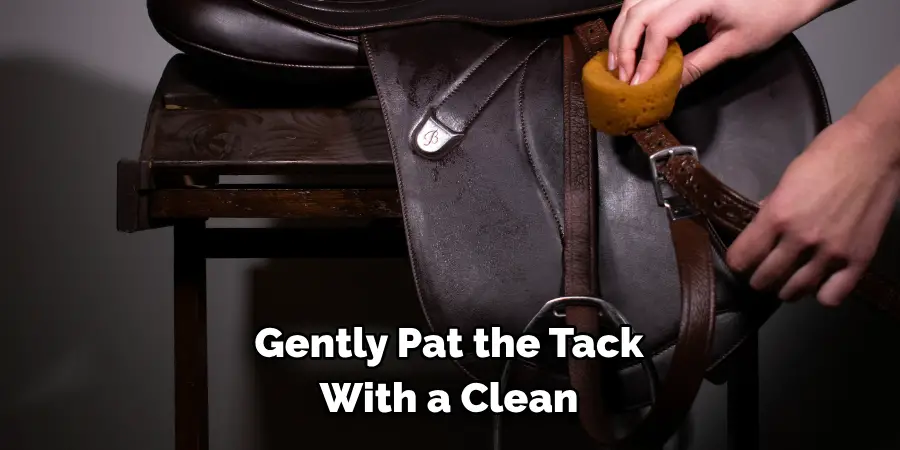
Step 3: Dry the Tack
After removing excess saddle soap and dirt, allowing the tack to dry properly is crucial before moving on to conditioning. Lay out all cleaned pieces in an area with good air circulation, avoiding direct sunlight or heat sources, which can cause the leather to dry out too quickly and become brittle.
Gently pat the tack with a clean, dry cloth to remove any excess moisture before letting it air dry. This step ensures that the leather is ready to absorb the conditioner evenly, restoring its natural flexibility and strength. Patience during the drying process can significantly enhance the effectiveness of the subsequent conditioning step.
Step 4: Apply Leather Conditioner
Once your tack is completely dry, it’s time to nourish the leather by applying a quality leather conditioner. Use a clean, soft cloth or sponge to gently apply the conditioner in small, circular motions, making sure to cover every part of the tack evenly. Focus on areas that tend to experience more wear and tear, such as stirrup leathers and girth straps, to ensure they remain flexible and strong.
Allow the conditioner to penetrate the leather for several minutes before gently buffing off any excess with another clean cloth. This step is vital for replenishing the natural oils lost during cleaning, keeping the leather supple, and preventing it from becoming dry and brittle. Regular conditioning helps extend the life of your tack significantly and maintains its aesthetic appeal.
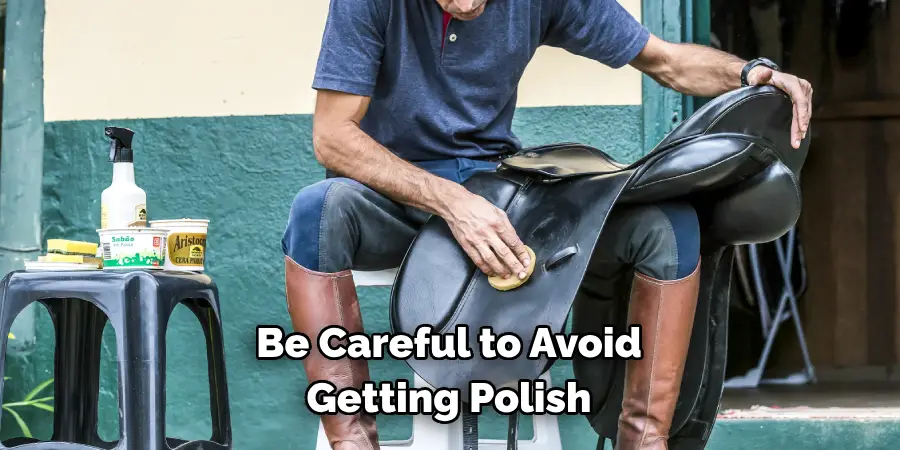
Step 5: Polish Metal Fittings
After taking care of the leather components of your tack, it’s important to pay attention to the metal fittings. Buckles, snaps, stirrup irons, and other hardware should be polished to remove any tarnish and restore their shine. Use a small amount of metal polish on a soft cloth and gently rub each metal piece.
Be careful to avoid getting polish on the leather, as it can cause damage. Once you’ve polished all the metal parts, use a clean, dry cloth to buff away any residue, revealing a bright, gleaming finish. This step not only enhances the overall appearance of your tack but also helps prevent corrosion and wear on the metal components, ensuring they remain functional and safe for use.
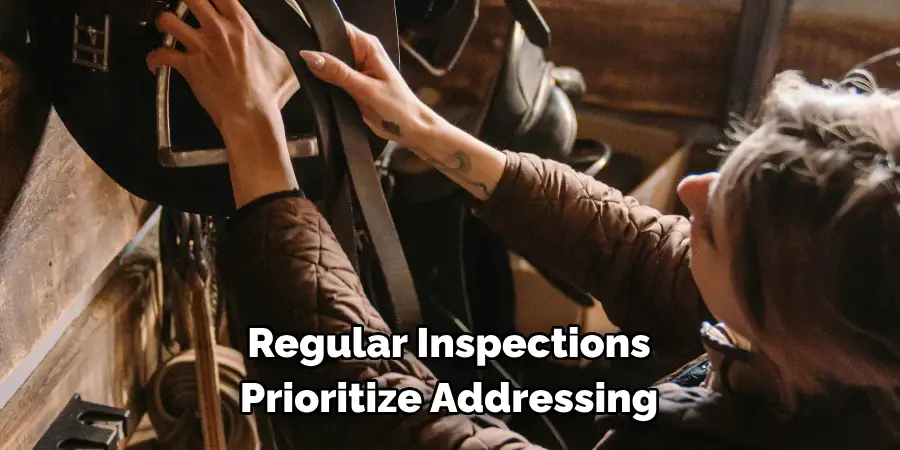
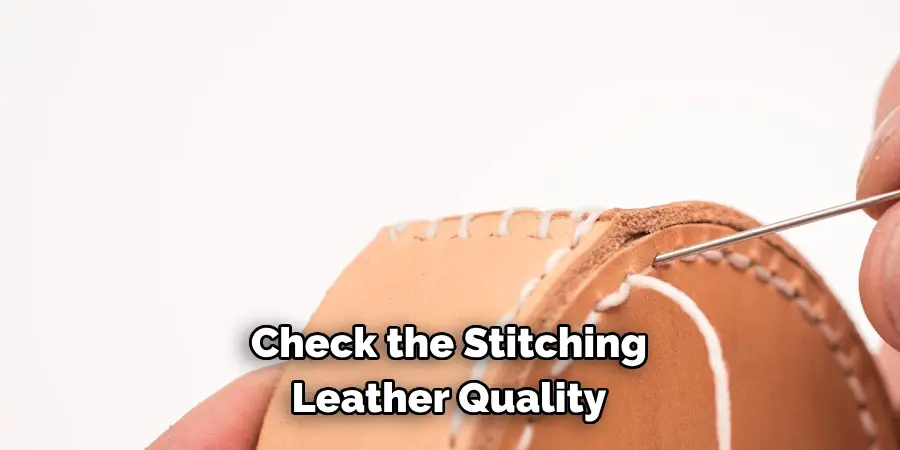
Step 6: Inspect for Damage and Wear
Before you finish the cleaning process, it’s essential to carefully inspect your tack for any signs of damage or excessive wear. Check the stitching, leather quality, buckles, and any points of stress to ensure everything is in good condition. This step is key for identifying any issues that could compromise the safety or performance of your tack during use.
If you discover any cracks, loose stitching, or other concerns, set those items aside for further inspection by a professional or consider repairing or replacing them. Regular inspection as part of your cleaning routine can prevent small issues from becoming major problems, ensuring your tack remains safe and reliable for every ride.
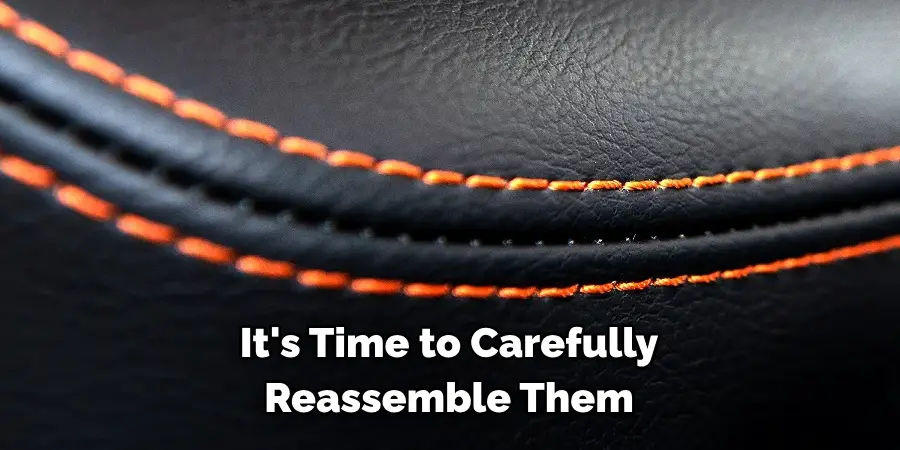
Step 7: Reassemble and Store Properly
Once all components of your tack are clean, conditioned, polished, and inspected for any damages, it’s time to carefully reassemble them. Ensure every piece fits together as it should and all buckles or snaps are securely fastened. Proper reassembly is crucial for maintaining the functionality and safety of your tack.
After reassembling, store your tack in a cool, dry place away from direct sunlight or damp conditions to prevent the leather from deteriorating or growing mold. Using a tack cover can help protect it from dust and scratches. Proper storage keeps your tack ready for your next use and extends its life by protecting it from environmental factors.
Step 8: Regular Maintenance Schedule
To ensure your tack remains in top condition, establish a regular maintenance schedule based on the frequency of use and the conditions it’s exposed to. Regular cleaning and conditioning, typically after every use or at least weekly for tack used daily, can significantly prolong its durability and appearance. A thorough cleaning and inspection every few weeks may suffice for less frequently used tack.
Additionally, before and after every ride, do a quick check for any signs of wear or damage. Adhering to a maintenance schedule not only keeps your tack safe and functional but also allows you to enjoy a better riding experience.
Step 9: Address Repairs Promptly
Upon identifying any damage or wear during your regular inspections, prioritize addressing these issues promptly to prevent further deterioration. For minor repairs, such as replacing a buckle or mending a stitch, consider handling them yourself if you have the necessary skills and tools.
However, for more significant damages like deep cracks in the leather, professional repairs may be required to ensure the integrity and safety of your tack. Delaying repairs can lead to more severe problems, potentially compromising your safety and that of your horse. Regularly attending to repairs extends the longevity of your tack and maintains its performance and appearance.
Step 10: Monitor Environmental Conditions
Lastly, it’s important to monitor the environmental conditions where your tack is stored. Extreme temperatures, high humidity, or excessive dryness can all adversely affect the quality and longevity of the leather and metal components of your tack.
Use dehumidifiers in damp conditions to prevent mold and mildew growth, and avoid storing your tack near heat sources, which can cause leather to crack and dry out. Implementing controls to maintain a stable, moderate environment will protect your tack from premature aging and damage, ensuring it remains in excellent condition for years to come. Remember, the environment plays a significant role in the preservation of your tack.
By following these ten steps, you can effectively clean and maintain your tack to ensure its longevity, performance, and aesthetic appeal.
5 Additional Tips and Tricks
- Use a Toothbrush for Hard-to-Reach Areas: A soft-bristled toothbrush can be an excellent tool for removing dirt and grime from the crevices of buckles and the intricate designs of tack hardware.
- Condition While Leather is Still Damp: The best time to apply the conditioner is after cleaning when the leather is still slightly damp. This allows the leather to absorb the conditioner more effectively, keeping it supple and preventing cracking.
- Remember to Clean Metal Parts: Use a small amount of metal polish on a soft cloth to clean and protect the metal parts of your tack. This prevents tarnish and keeps the metal sparkling and looking like new.
- Store Tack Properly: After cleaning and conditioning, ensure your tack is stored in a cool, dry place away from direct sunlight. Hanging it on a properly shaped tack hanger will help maintain its shape and prevent deformities.
- Regular Inspection is Key: While cleaning your tack, inspect it for any signs of wear or damage. Catching issues early can save you from costly repairs or replacements down the line.
With these additional tips and tricks, you can ensure your tack stays in top condition for years to come.
5 Things You Should Avoid
- Avoid Using Water Excessively: While water is necessary for cleaning, using too much can saturate the leather, leading to potential warping, stretching, or mildew growth. Always use water sparingly and dry your tack thoroughly afterward.
- Do Not Use Harsh Chemicals or Detergents: Harsh chemicals and household cleaners can strip natural oils from the leather, causing it to dry out, crack, or deteriorate over time. Stick to products specifically designed for leather care.
- Never Dry Leather in Direct Sunlight: Allow your tack to dry naturally in a well-ventilated area after cleaning. Drying leather in direct sunlight can cause it to fade and become brittle, significantly shortening its lifespan.
- Avoid Oil Overuse: While conditioning your tack is crucial, applying too much oil can attract dirt and dust, and make the leather overly soft, losing its form and strength. It’s important to use conditioner sparingly and only when necessary.
- Skip Cleaning Metal Parts With Abrasive Materials: While keeping metal parts clean is important, using abrasive materials or steel wool can scratch and damage the surface. Instead, opt for a soft cloth with metal polish for a gentle yet effective clean.
By avoiding these common mistakes, you can ensure that your tack remains in top condition and lasts for years to come.
What Can Damage Tack?
There are a few things that can damage tack, including:
- Improper Storage: Storing your tack in a damp or humid environment can cause the leather to mold and mildew, leading to potential deterioration.
- Harsh Chemicals: As mentioned earlier, using harsh chemicals or household cleaners on your tack can strip away its natural oils and cause it to dry out and crack.
- Exposure to Sunlight: Leaving your tack in direct sunlight for extended periods can cause the leather to fade, become brittle, and potentially crack or break.
- Incorrect Use of Oil: Using too much oil on your tack can attract dust and dirt, making it difficult to clean and causing the leather to lose its form and strength.
- Neglecting Regular Cleaning and Maintenance: Failure to clean and maintain your tack can lead to a buildup of dirt, sweat, and grime, which can cause damage to the leather over time.
By avoiding these potential sources of damage and properly caring for your tack, you can ensure it stays in top condition for years to come.
How Do You Make Homemade Tack Cleaner?
Making a homemade tack cleaner is easy and cost-effective. Here’s a simple recipe you can try at home:
Ingredients:
- 1 cup of warm water
- 1/4 cup of white vinegar
- 2 tbsp of castile soap (or mild dish soap)
- 1 tbsp of olive oil (optional for conditioning)
Instructions:
- In a small bowl, mix together the warm water, white vinegar, and castile soap.
- Add in the olive oil if desired for conditioning.
- Dip a clean cloth or soft-bristled brush into the mixture and gently scrub your tack.
- Use a damp cloth to wipe away any excess cleaner.
- Let your tack air dry completely before conditioning or storing.
By using this homemade tack cleaner, you can effectively remove dirt and grime without harsh chemicals, keeping your tack clean and well-maintained.
Conclusion
In conclusion, how to clean tack requires attention to detail and a commitment to regular care.
By following the outlined steps, utilizing the additional tips and tricks, and avoiding common pitfalls, you can ensure your tack remains in excellent condition, providing safety, comfort, and durability for both rider and horse.
Remember, the time and effort invested in tack maintenance not only preserves its quality and extends its lifespan but also enhances your equestrian experience. Whether you opt for commercial leather care products or prefer homemade cleaning solutions, the key is consistency and proper technique. Happy riding!