
Taking proper care of leather gloves is essential to maintain their durability, appearance, and comfort. Leather is a natural material that requires specific conditioning practices to prevent it from drying out, cracking, or losing its softness over time. With the right care, a quality pair of leather gloves can last for many years, providing reliable protection and style.

In this guide on how to condition leather gloves, we will explore the steps and products necessary for conditioning leather gloves, ensuring they remain supple and attractive through seasons of use. Whether you’re a seasoned leather enthusiast or a newcomer, understanding how to treat your accessories will enhance their longevity and functionality.
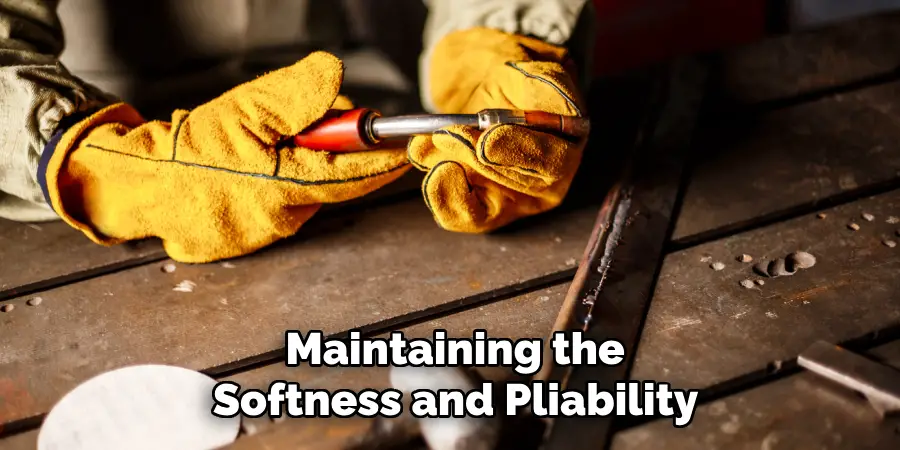
Why is Conditioning Leather Gloves Important?
Conditioning leather gloves is crucial because it helps preserve the material’s natural qualities, such as flexibility and resilience. Leather, being organic, can become dry and brittle if not cared for properly, leading to cracks and reduced effectiveness in protection.
Regular conditioning replenishes essential oils that leather loses over time, ensuring the gloves remain pliable and comfortable to wear.
This maintenance also enhances the gloves’ appearance by retaining their sheen and preventing unsightly blemishes or discoloration. Moreover, conditioned leather gloves are better equipped to withstand the impacts of weather and regular usage, significantly extending their lifespan and value.
Needed Materials
Leather Gloves:
To condition your leather gloves, you’ll need a high-quality pair made with genuine leather. Genuine leather is a natural material that comes from animal hide and has been treated with tanning processes to prevent decomposition. It’s essential to choose gloves made of genuine leather for the best results when conditioning them.
Leather Conditioner:
A good quality leather conditioner is vital in maintaining the softness and pliability of your gloves. Look for a product specifically designed for use on leather accessories, as it will have the right formulation to nourish and protect the material. Avoid using household oils or petroleum-based products as they can cause damage to the leather over time.
Soft Cloth:
A soft cloth such as a microfiber or flannel cloth is necessary for applying the leather conditioner. Avoid using rough or abrasive fabrics that can scratch or damage the leather surface.
8 Step-by-step Guidelines on How to Condition Leather Gloves
Step 1: Prepare Your Leather Gloves
Before you begin conditioning your leather gloves, it’s important to ensure they are clean and free from any dust or dirt. Use a soft cloth to gently wipe the surface of the gloves, removing any particles that could interfere with the conditioning process. Be sure not to soak the leather, as excess moisture can cause damage.
Once clean, allow the gloves to air dry naturally in a cool, shaded area away from direct sunlight or heat sources, as exposure can lead to drying and potential cracking of the leather. This preparation step sets the foundation for effective conditioning and ensures the longevity of your gloves.
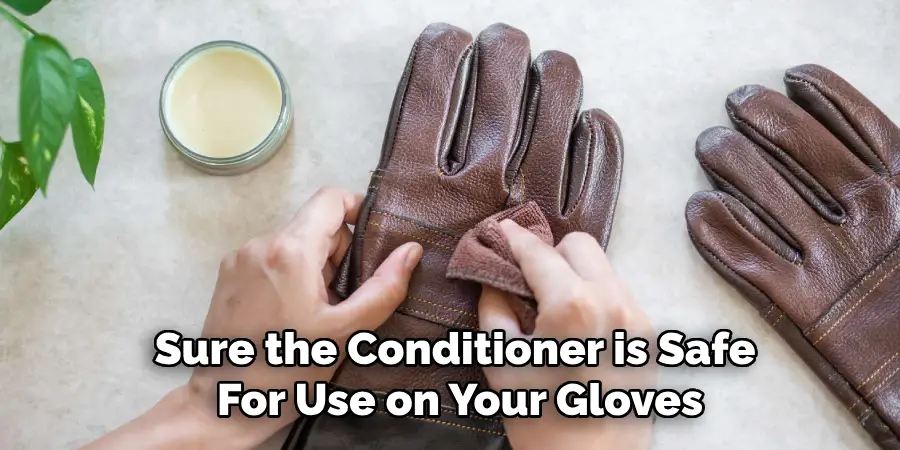
Step 2: Test the Leather Conditioner
Before applying the leather conditioner to the whole glove, it’s prudent to test it on a small, inconspicuous area first. This will help you check for any adverse reactions, such as discoloration or damage, which different leather types or dyes might have.
Take a tiny amount of the conditioner on your soft cloth and gently rub it onto an area like the inside of the cuff or a similar hidden part.
Observe the test spot for any changes or issues after it’s allowed to dry, typically 24 hours. Testing first ensures that the selected conditioner is suitable and safe for use on your specific leather gloves, preventing potential mishaps during the overall conditioning process.
Step 3: Apply the Leather Conditioner
After testing, and once you’re sure the conditioner is safe for use on your gloves, it’s time to condition them. Take a small amount of the leather conditioner on your soft cloth and gently rub it onto one glove at a time. Start with a light layer, gradually increasing the amount as needed. Use gentle circular motions, ensuring even coverage over all parts of the glove.
Be careful not to apply too much conditioner, as it can cause the leather to become overly saturated and lead to damage. It’s better to apply in thin layers and repeat the process than risk over-conditioning your gloves.
Step 4: Work the Conditioner into the Leather
After applying the conditioner, use your fingers or a soft-bristled brush to work the product into all areas of the glove. This helps distribute the conditioner evenly and allows it to penetrate deep into the leather pores for maximum effect. Be gentle and avoid using excessive force that can damage or stretch out delicate areas.
The goal here is to ensure the conditioner reaches all parts of the leather, restoring its oils and replenishing its softness. Working the product in also helps remove any excess that might be sitting on the surface.
Step 5: Allow the Gloves to Rest
After you’ve applied and worked in the conditioner, give your gloves some time to rest and absorb the product thoroughly. Place them in a cool, dry place away from direct sunlight or heat sources, as these can cause damage by drying out the leather too quickly.
The amount of time needed for absorption varies depending on factors such as humidity and temperature – typically, about 24 hours should suffice. The aim is to allow enough time for the conditioner to penetrate deep into the leather pores, ensuring optimal results.
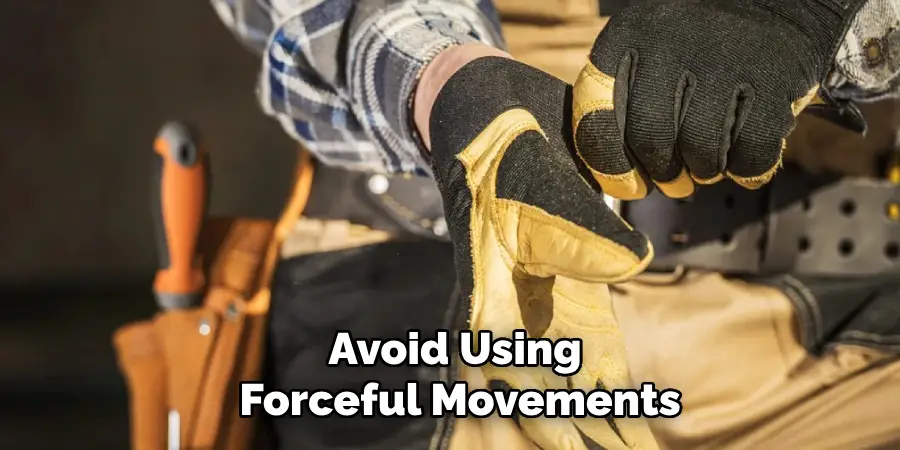
Step 6: Wipe Off Any Excess Conditioner
After allowing your gloves to rest, use a clean, soft cloth to gently wipe off any excess conditioner still on the surface. This step helps remove any build-up that might lead to stickiness or tackiness and leaves behind a natural finish.
Be gentle and avoid using forceful movements that can cause damage. You can also use a clean brush with soft bristles to help remove stubborn residue in crevices or hard-to-reach areas.
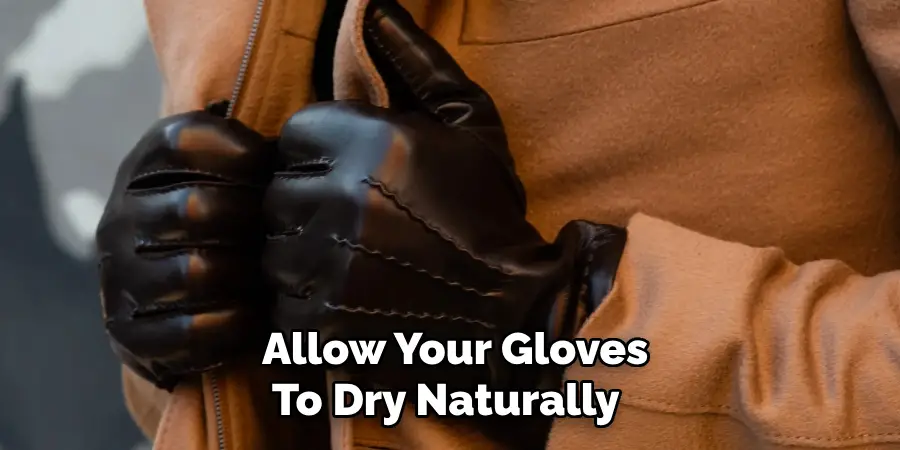
Step 7: Allow the Gloves to Dry Naturally
Once you have wiped off any excess conditioner, it’s essential to let your leather gloves dry naturally. Place them in a well-ventilated area away from direct sunlight or any heat source, as exposure can cause the leather to dry too quickly and potentially crack. Ensure the gloves are in a position that allows air to circulate freely around them to promote even drying.
Patience is key in this step, as rushing the drying process with external heat sources may result in damage to the leather. Allowing the gloves to dry naturally helps to maintain their integrity and ensure they remain supple and ready for use.
Step 8: Aftercare Maintenance
Regular conditioning is key to maintaining the softness and longevity of your leather gloves. How often you condition them depends on factors such as frequency of use, climate, and storage conditions.
During periods of heavy use or prolonged exposure to harsh elements, it may be necessary to condition more frequently. In contrast, gloves used less often or stored in ideal conditions may require less frequent treatments.
As a general rule, aim to condition your leather gloves at least once per year, following the same steps on how to condition leather gloves outlined above. However, if they start feeling stiff or looking dull sooner than expected, it’s best to apply conditioner immediately.
Other Tips for Maintaining Leather Gloves
- Avoid exposing your leather gloves to direct sunlight or heat sources as they can cause drying and cracking of the material.
- Store you gloves in a cool, dry place when not in use to prevent moisture build-up and potential mold or mildew growth.
- Avoid using harsh chemicals or abrasives on your leather gloves, as these can cause damage to the material.
- If your gloves become wet, allow them to dry naturally before applying any conditioner. Do not use heat sources to speed up the drying process.
- Use a leather protectant spray for added protection against water and other elements. Be sure to test it first on a small area before applying it to the whole glove.
By following these simple steps and tips on how to condition leather gloves, you can keep your leather gloves looking and feeling their best for years to come. Just remember always to handle them with care and use quality leather conditioners for optimal results. Happy conditioning!
Frequently Asked Questions
Q: Can I Use Any Conditioner on My Leather Gloves?
A: It’s best to use a conditioner specifically designed for leather goods. Avoid using household products or conditioners with harsh chemicals that can damage the material.
Q: Can I Condition My Leather Gloves Too Often?
A: Yes, over-conditioning your gloves can lead to saturation, causing them to become overly soft and prone to damage. It’s best to follow a regular conditioning schedule and only apply more when necessary.
Q: How Do I Know if My Gloves Need Conditioning?
A: If your gloves feel dry, stiff, or look dull, it may be time for some conditioning. However, always test the product first before applying it to the whole glove.
Q: Can I Use Heat Sources Like a Hairdryer to Speed Up the Drying Process?
A: No, it’s best to allow your gloves to dry naturally at room temperature. Using heat sources can cause damage and affect the integrity of the leather.
Conclusion
Caring for your leather gloves with regular conditioning ensures their durability and maintains their luxurious feel over time.
By following the detailed steps and tips on how to condition leather gloves provided, you can effectively restore the natural oils and suppleness of the leather, preventing it from becoming dry or cracked. It’s crucial to use the right products and allow nature to take its course when it comes to drying and absorbing conditioners.
Patience in this process will pay off, leaving you with gloves that not only stand the test of time but also add a touch of elegance to your wardrobe. With consistent maintenance and a gentle approach, your leather gloves will continue to serve their purpose beautifully for many years to come.