
Leather is an amazing material that can make any object or clothing look luxurious and sophisticated. But working with leather can also prove to be a challenging task, especially if you don’t know how to cut it properly.
It’s important to learn the proper techniques to avoid wasting material, damaging your tools, and getting frustrated. In this blog post, we’ll teach you the basics of how to cut leather and some useful tips to make the process easier.
Can You Cut Leather?
As a material known for its durability and strength, it can be surprising to wonder if you can cut leather alone. The answer is a resounding yes! While it may sound daunting, cutting leather isn’t as difficult as you might think. However, it does require a bit of patience and the right tools.
With a sharp utility knife or rotary cutter, a cutting mat, and maybe a ruler or template, you can easily create a custom leather design to suit your needs. Whether you’re looking to craft a chic leather purse or personalize a leather jacket, cutting leather can be a fun and satisfying way to unleash your creativity and add a touch of luxury to your DIY projects.
Why Should You Cut Leather?
Leather is one of the most versatile and durable materials used for centuries. It has been used for making clothes, shoes, bags, and accessories that can withstand the test of time.
However, the process of cutting leather can be quite tricky and intimidating and might require a lot of practice. But why is cutting leather so important? Cutting leather is crucial for any leather project as it determines the quality of your final product, how durable it will be, and how neat it will look.
A straight and precise cut ensures that your finished product will fit perfectly and maintain its shape for years. With the right tools, techniques, and practice, mastering the art of cutting leather can take your leather crafting skills to the next level.
Your Ultimate Guide on How to Cut Leather
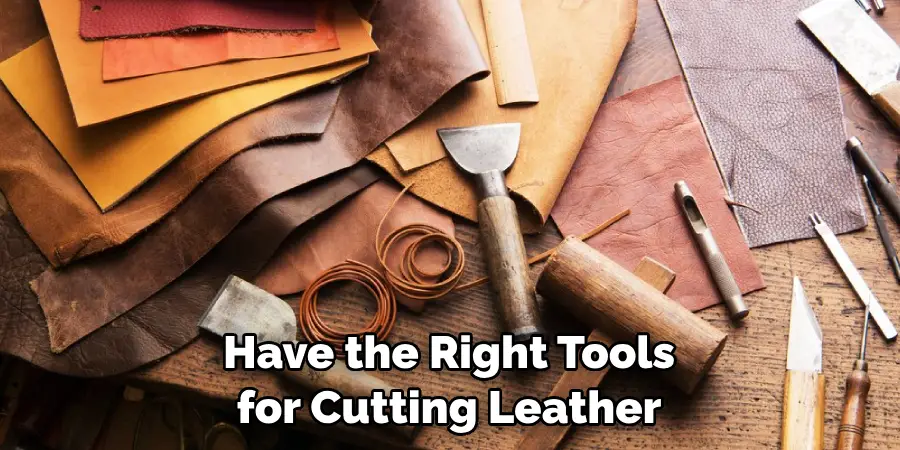
1. Choose the Right Tools
It’s important to have the right tools for cutting leather. You’ll need a sharp rotary cutter, a cutting mat, and a ruler. A rotary cutter is a circular blade that cuts through leather cleanly, and a cutting mat will protect your work surface. A ruler helps you in making precise cuts. Leather scissors may be used for small intricate cuts, but they tend to leave rough edges that need to be finished off.
2. Preparing the Leather
Before starting, ensure your leather is prepped and ready for cutting. Leather must be conditioned and flat before being cut. This involves trimming any loose or uneven edges, then laying it flat and pressing it with a flat iron at 90 degrees.
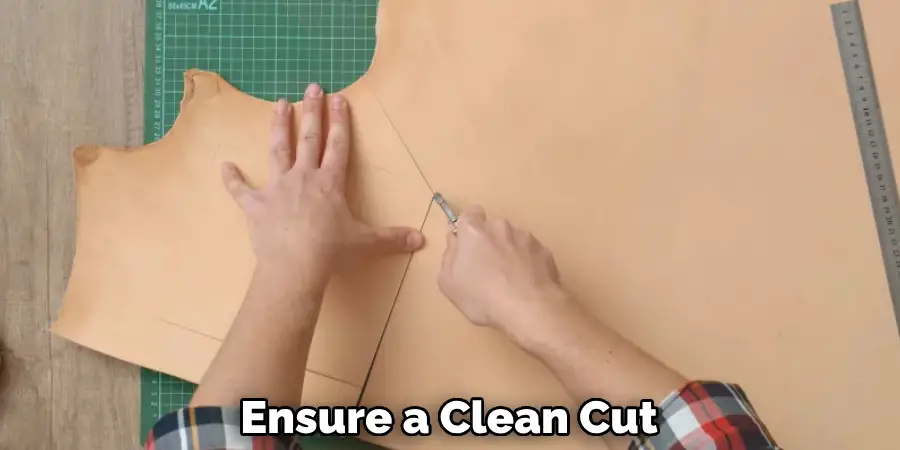
3. Cutting Straight Lines
The best way to cut leather in a straight line is to use a ruler and a rotary cutter. Place the leather on a cutting mat and line up the ruler to where you want to cut. Hold the ruler firmly and slowly roll the rotary cutter along the ruler’s edge. Be sure not to push the cutter too hard or twist the blade in the wrong direction. Repeat this process until you have the desired length.
4. Cutting Curves
For curves, it’s best to use a compass or a set square, place the device along the path you want to cut, and use your rotary cutter to follow along carefully. Don’t worry if you can’t cut the perfect curve the first time. You can always make small adjustments afterward by cutting bits off the rough edges.
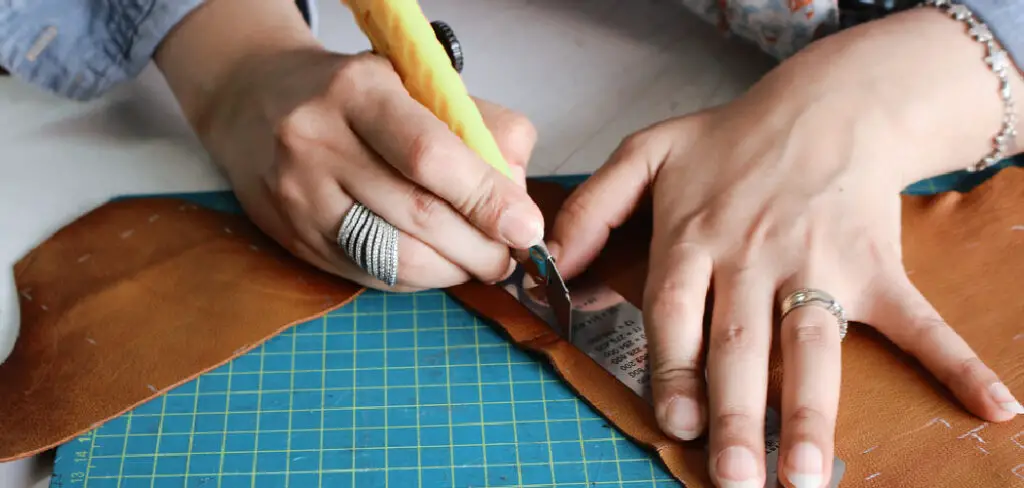
5. Cutting Intricate Shapes
Cutting intricate shapes can be difficult, especially if you’re not used to working with leather. For this kind of cut, use a sharp pair of scissors and trim as close to the edge as possible. Blunt scissors tend to stretch the leather, which is likely to create rough edges and ruin the texture. Once done, remember to polish up the edges with sandpaper or a burnishing tool.
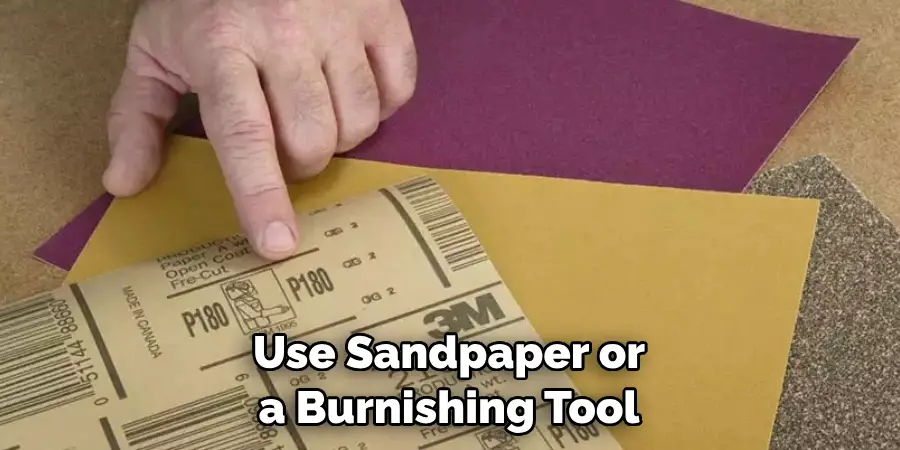
6. Finishing the Edges
After cutting, the edges of your leather may need some finishing touches to create a smooth and professional look. You can use sandpaper or a burnishing tool to smooth out any rough edges. If you want a glossy finish, you can also add beeswax or saddle soap on the edges.
7. Practice Makes Perfect
Cutting leather takes time and practice to perfect. Don’t be discouraged if your first few attempts don’t turn out as expected. Keep practicing and experimenting with different techniques until you find what works best for you.
Remember that even professionals make mistakes, so don’t be too hard on yourself! With patience and perseverance, you’ll soon be cutting leather like a pro. So, get your tools ready and start creating beautiful leather crafts today!
That’s it! You’ve now learned the basics of how to cut leather. Remember to always use the right tools, prepare your leather properly, and practice. With time and practice, you can master this skill and create beautiful and durable leather products that will last a lifetime.
5 Considerations Things When You Need to Cut Leather
1. Safety First
When cutting leather, it is essential to always prioritize safety first. This means wearing protective gloves and glasses to protect your hands and eyes from any sharp edges or debris created during the process. Additionally, it is important to use a sharp blade that is specifically designed for cutting leather in order to minimize the risk of injury.
2. Choose the Right Type of Leather
When choosing a piece of leather to cut, it is important to consider the type of leather you are working with. Different types of leather require different tools and techniques for cutting, so it is essential to select the right type of leather for the project at hand.
For example, vegetable-tanned leather is best suited for projects that require intricate detail work, while chrome-tanned leather is better suited for projects that require strength and durability.
3. Select Appropriate Tools
The next consideration when cutting leather is selecting the appropriate tools for the job. It is important to choose tools that are designed specifically for working with leather in order to ensure a clean cut without damaging the material. Commonly used tools include an X-Acto knife, rotary cutter, and skiving knife.
4. Mark Out Your Pattern
Before beginning any project involving cutting leather, it is important to mark out your pattern on the material beforehand using a marker or other marking tool such as an awl or chisel point marker. This will help you achieve accurate cuts while also reducing waste due to misalignment or incorrect measurements.
5. Practice Proper Cutting Technique
Finally, when cutting leather, it is important to practice proper technique to achieve clean cuts without damaging the material or risking injury from sharp edges or pieces of debris flying off during the process.
When using an X-Acto knife or rotary cutter, keep your movements steady and consistent while also making sure not to press too hard into the material, as this can cause tearing or fraying along cut lines.
Benefits of Cut Leather
Cut leather is a durable and versatile material used for centuries in various ways. In addition to its aesthetic appeal, cut leather has many practical benefits. It is easy to clean and maintain, making it an ideal choice for furniture, car seats, and other items that get a lot of use.
Cut leather also has natural insulating properties, which can help keep you warm in the winter and cool in the summer. Moreover, cut leather is resistant to cracking, fading, and staining, making it an excellent choice for long-lasting and durable products. Whether you’re looking for a stylish jacket or a comfortable sofa, cut leather is a great material that will stand the test of time.
Some Common Mistakes People Make When Trying to Cut Leather
Cutting leather can be a tricky task, but it’s essential when creating leather goods. Unfortunately, individuals often make common mistakes that can damage the leather and waste both time and materials. One of the biggest mistakes is not using the right tools – dull blades or scissors can cause ragged edges, and utility knives can create uneven cuts.
Another common mishap is not paying attention to the direction of the leather’s grain – cutting against the grain can result in flawed cuts. Lastly, people often forget to use a proper cutting surface, such as a cutting mat or thick cardboard, which can protect both the leather and the work surface underneath.
By avoiding these mistakes and taking the time to learn proper cutting techniques, you’ll be able to master the art of cutting leather and create beautiful, professional-quality products.
Conclusion
Congratulations, you now know how to cut leather! Simple, right? Don’t forget to choose the right tools, prep your leather, and be patient with the process. Remember always to position yourself well and avoid cutting any unnecessary bits of leather. Working with leather is a passion that requires some practice, but it can be so satisfying in the end. Good luck with your next leather project!