Debossing leather is a popular technique used to imprint designs, patterns, or text onto leather surfaces, creating a stylish and professional finish. This process involves pressing a design into the leather using heat and pressure, leaving a recessed imprint that enhances the material’s aesthetic appeal.
Whether you’re personalizing wallets, journals, or belts, debossing is an excellent way to add a bespoke touch to leather items. With the right tools and preparation, anyone can achieve stunning results, making it an ideal project for both hobbyists and professionals.
In this blogpost on how to deboss leather, we’ll cover the basic steps and techniques to get you started on this exciting craft.
Required Tools and Materials
Before getting started, make sure you have all the necessary tools and materials. Here’s a list of what you’ll need:
Leather Item:
The first step is to select the leather item you want to deboss. It’s important to choose high-quality, smooth leather with minimal texture for best results.
Heat Press or Debossing Machine:
A heat press or a debossing machine is essential for this technique. These machines apply pressure and heat evenly, ensuring a crisp and clean imprint on the leather surface.
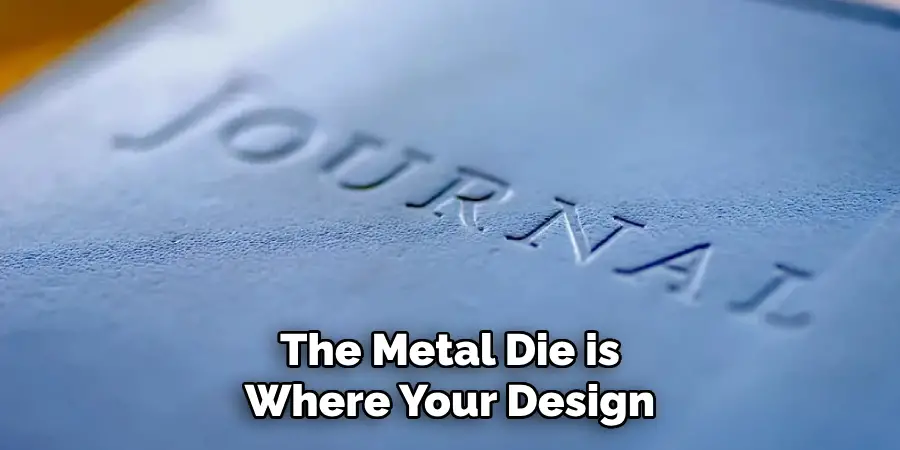
Metal Die:
The metal die is where your design or text will be engraved. You can purchase pre-made dies in various designs, or you can have one custom-made according to your preferences.
Leather Stamp Pad:
Leather stamp pads are specially formulated with ink that adheres well to leather surfaces, making them perfect for debossing.
Optional: Heat-resistant gloves, leather conditioner
Heat presses and debossing machines can get hot, so it’s recommended to wear heat-resistant gloves to protect your hands. Additionally, a leather conditioner can be used to restore the moisture and suppleness of the leather after the debossing process.
8 Step-by-step Guidelines on How to Deboss Leather
Step 1: Choose Your Design or Text
Begin by selecting the design or text you want to deboss onto your leather item. This could be a name, logo, intricate pattern, or even a minimalist graphic. Think about the purpose of the leather item and the overall aesthetic you want to achieve. If you’re using a custom metal die, ensure your design is finalized before it’s created.
For pre-made dies or stamps, choose one that complements the item you’re working on. Taking time to carefully choose your design ensures the final product has a polished and personalized look.
Step 2: Prepare Your Leather Item
Once you’ve chosen your design or text, the next step is to prepare your leather item for debossing. Start by cleaning the leather surface with a soft, damp cloth to remove any dirt, dust, or oils. This helps ensure a smooth and even imprint. Allow the leather to dry completely before proceeding.
If your leather is particularly dry, consider applying a small amount of leather conditioner to soften it and improve its ability to hold the design. Make sure the surface is flat and free of wrinkles or imperfections to achieve the best results. Proper preparation at this stage sets the foundation for a successful debossing outcome.
Step 3: Set Up Your Heat Press or Debossing Machine
Follow the manufacturer’s instructions to set up your heat press or debossing machine. This typically involves adjusting the temperature and pressure settings according to the type and thickness of your leather item.

It’s recommended to start with a lower temperature and pressure, gradually increasing if needed, to avoid damaging the leather surface. It’s also important to allow the machine to reach its optimal temperature before use.
For debossing machines, you’ll need to insert your metal die into the designated slot on the machine.
Step 4: Apply Ink onto Metal Die
If you are using ink to enhance your design, apply a thin layer of leather stamp ink onto the surface of the metal die. Use a small applicator or a brush to ensure even coverage and avoid excess ink, as this can lead to smudging or an unclean imprint.
Be meticulous in this step to highlight fine details in your design. If your debossing is being done without ink, you can skip this step and proceed to the positioning phase. When applying ink, work quickly but carefully before the ink begins to dry for the best transfer results.
Step 5: Position Your Leather Item
Place your leather item onto the heat press or debossing machine. Ensure that it is positioned correctly, with the leather surface facing up and the metal die directly on top of it. You can use tape or clamps to keep the item in place if necessary.
You can also experiment with different angles and placements to achieve a unique debossed effect. Once you’re happy with the positioning, close the heat press or debossing machine, applying even pressure onto the leather item.
Step 6: Apply Heat and Pressure
Depending on your machine’s instructions, apply heat and pressure for the recommended time duration. This step is crucial in ensuring a clean and permanent imprint.
It’s important not to rush this step as removing the leather before it has cooled down could result in a distorted design or smudged ink.
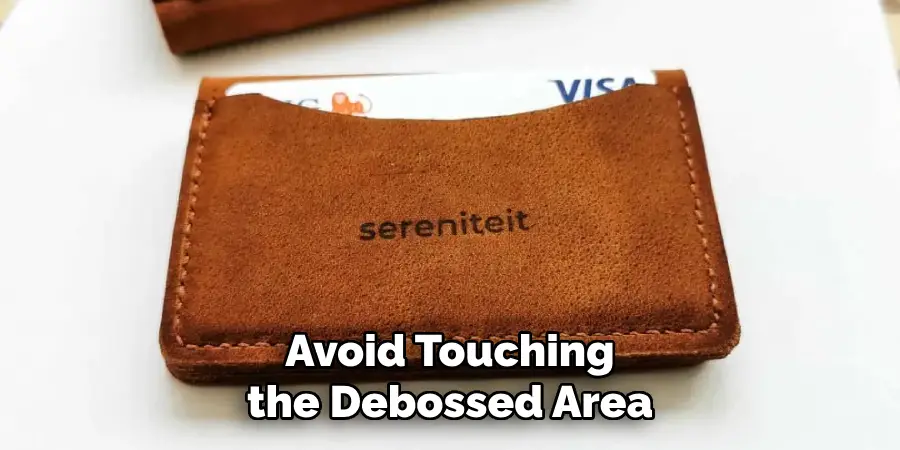
Step 7: Remove the Leather Item from the Machine
Once the time duration has passed, carefully remove your leather item from the machine. Avoid touching the debossed area until it has completely cooled down and set, as this could cause smudging or distortion.
If you are not satisfied with the outcome, you can reapply heat and pressure for a longer duration.
Step 8: Clean Up
After your leather item has fully cooled down, remove any excess ink or residue from the surface using a clean cloth. You can also apply a small amount of leather conditioner to restore moisture and shine to the leather.
With these easy steps on how to deboss leather, you can successfully deboss any leather item and add a personal touch to your belongings. Experiment with different designs and techniques to create unique and stylish pieces. Remember to always properly clean and store your metal die for future use. Happy debossing!
Things to Remember
- Proper preparation of the leather surface is crucial for a successful debossing outcome.
- Experiment with different placement and angles to achieve unique designs.
- Allow the leather item to cool before handling it to avoid smudging or distortion.
- Clean and store your metal die properly for future use.
- Always wear heat-resistant gloves when working with heat presses or debossing machines.
- After the debossing process, a leather conditioner is used to restore moisture and suppleness to the leather surface.
- Take your time and be precise in each step for the best results.
Additional Tips
- Practice on scrap pieces of leather before attempting to deboss a valuable or expensive item.
- Consider using multiple metal dies for more intricate designs or patterns.
- For large-scale production, invest in a durable and reliable heat press or debossing machine.
- Always follow the manufacturer’s instructions for optimal results and to ensure the longevity of your leather item.
- Consider using different colored inks for a unique and personalized touch.
- Before debossing, test the ink on a small area of the leather to ensure it adheres well and dries properly.
- Have fun with debossing by experimenting with different fonts, sizes, and placements of text or designs.
- If you are creating a custom metal die, consider adding texture or depth to your design for a more visually interesting result.
- Don’t be afraid to mix debossing techniques with other methods such as embroidery or painting, to create a multi-dimensional look.
- Always take your time and be patient throughout the debossing process for the best outcomes. Remember, practice makes perfect!
- Properly store your leather item in a dry and cool place to maintain its quality and prevent the debossed design from fading or deteriorating over time.
- Regularly clean and condition your leather items to keep them looking their best. Debossed designs can last for years if properly cared for.
- Have fun and get creative with debossing – there are endless possibilities for personalized and unique leather items! Keep exploring and experimenting to create one-of-a-kind pieces. So, grab your leather item, metal die, and ink, and let’s get debossing! Happy crafting!
Conclusion
Debossing leather is a rewarding and creative process that allows you to personalize leather items with intricate designs and meaningful details. By following the outlined steps and tips on how to deboss leather, you can achieve professional-looking results and enhance the value and uniqueness of your leather goods. Whether you’re crafting a one-of-a-kind gift or adding a custom touch to your personal belongings, debossing provides an opportunity to showcase your creativity and craftsmanship.
With practice, attention to detail, and patience, you can transform ordinary leather items into timeless creations. Always remember to care for your leather to preserve its beauty and the longevity of your designs. Happy debossing!