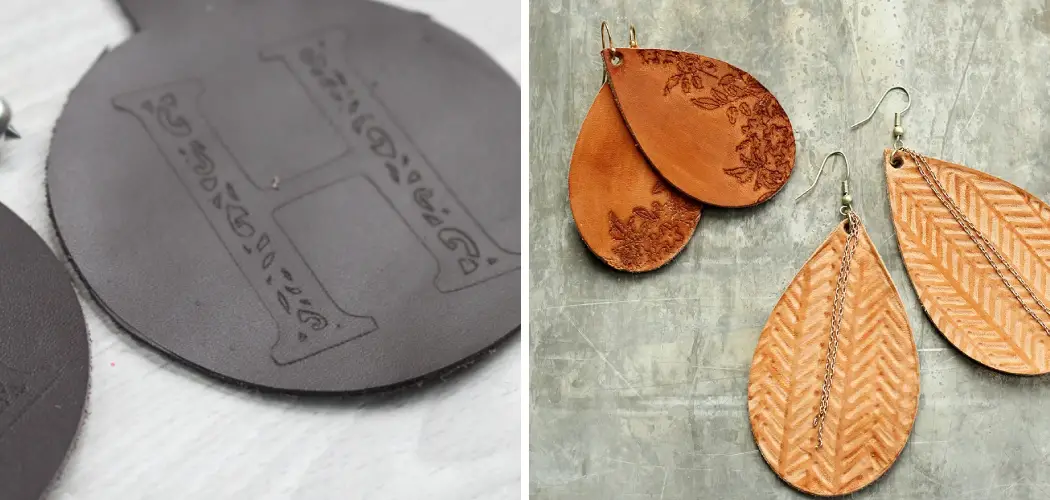
Engraving leather with a Cricut machine opens up new possibilities for customizing and personalizing leather projects. Whether you’re a seasoned crafter or a beginner, using Cricut tools to etch intricate designs or monograms onto leather surfaces adds an elegant touch to your creations.
The process involves preparing your leather materials, selecting suitable designs, and utilizing the correct Cricut settings to ensure precision and clean results. As you embark on this creative journey, you’ll discover the joys of turning simple leather items into unique, artistic expressions.

In this guide on how to engrave leather with cricut, we will walk you through the essential steps and tips for successfully engraving leather with a Cricut.
Benefits of Engraving Leather with Cricut
Engraving leather with a Cricut has several advantages, making it a popular choice for crafters and artists alike. Some of these benefits include:
Precision:
With the use of advanced technology and tools, Cricut machines allow for intricate designs and precise etching on leather surfaces. This level of precision is hard to achieve with traditional hand engraving methods.
Versatility:
Cricut machines offer a wide range of design options, including premade templates and the ability to create your own designs using software or apps. This allows for endless possibilities when it comes to engraving leather.
Time-saving:
Engraving by hand can be a time-consuming process, especially when working with complex designs. With Cricut machines, you can complete projects in a fraction of the time without compromising on quality.
Needed Materials:
Before you begin engraving leather with a Cricut, make sure you have the following materials:
- A Cricut Machine (Compatible Models Include Explore Air 2, Maker, and Joy)
- Fine Point or Deep Point Blade (Depending on the Thickness of Your Leather)
- Leather Cutting Mat
- Genuine Leather or Faux Leather Sheets
- Design Software or Cricut Design Space App
- Optional: Transfer Tape, Scissors, and Weeding Tools
7 Simple Step-by-step Guidelines on How to Engrave Leather With Cricut
Step 1: Prepare Your Leather
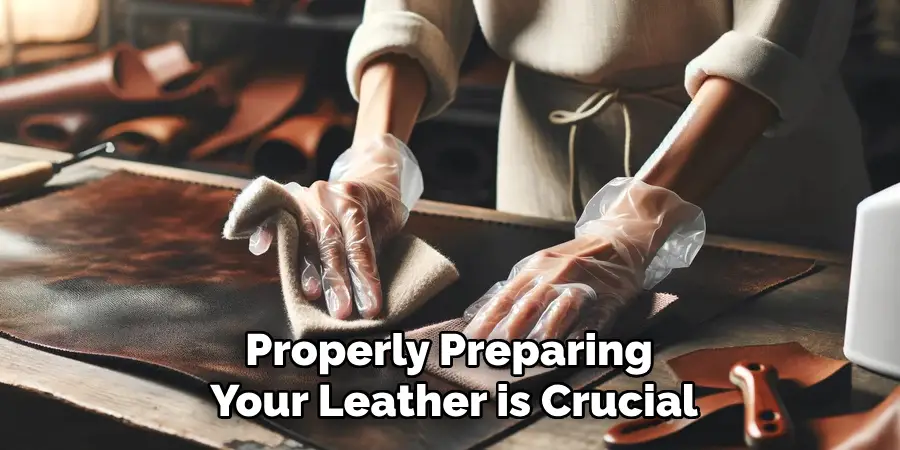
Before starting the engraving process, properly preparing your leather is crucial for achieving the best results. Begin by selecting the right type of leather; genuine leather is often recommended for its durability and quality finish.
Make sure your leather piece is clean and dry to ensure the engraving is crisp and precise. If necessary, lightly dampen the leather using a clean, damp cloth to help soften it, making it easier to engrave.
Lay your leather flat on a stable surface, ensuring any wrinkles or folds are smoothed out. If using faux leather, ensure it’s suitable for cutting and engraving with your Cricut model. Proper preparation will set the foundation for a successful engraving project.
Step 2: Choose Your Design
Once your leather is prepared, it’s time to choose the design you want to engrave. Begin by browsing through the available templates in the Cricut Design Space app, which offers a wide variety of designs ranging from simple shapes to intricate patterns. You can also create your own custom design using design software compatible with Cricut.
Consider the complexity of the design and ensure it matches the capabilities of your Cricut machine and the type of leather you are using. When selecting your design, keep in mind the size and positioning to fit well on your leather piece. After finalizing your design, make sure to properly size and align it within the design space before sending it to your Cricut machine for engraving.
Step 3: Set Up Your Cricut Machine
To set up your Cricut machine for leather engraving, begin by selecting the correct blade. For most leather projects, either a fine point or deep point blade will be necessary, depending on the thickness of the leather. Insert the blade into the machine, ensuring it is secure.
Next, place the prepared leather onto a leather cutting mat, aligning it according to the guide markings on the mat. Load the mat into the Cricut machine by placing it under the machine’s rollers and pressing the “Load/Unload” button.

Open the Cricut Design Space app on your device and ensure your machine is connected. Select your material as “Leather” within the app to set the appropriate cutting pressure and speed. Before proceeding, double-check that your design is accurately sized and positioned on the virtual mat as it will be on your physical leather. Once everything is in place, you are ready to commence the engraving process by pressing the “Go” button on your Cricut machine.
Step 4: Engrave Your Design
With your Cricut machine set up and your design ready to go, it’s time to start engraving. Carefully monitor the machine as it begins etching your chosen design into the leather.
The precision of the Cricut blade will guide the engraving process, ensuring each detail of the design is accurately transferred onto the leather surface. It’s essential to remain attentive during this step to ensure the mat and leather remain stable and no external interruptions affect the machine’s operation.

Depending on the complexity of your design, this process can take some time, so patience is key. Once the engraving is completed, carefully unload the mat from the machine and remove the leather piece, revealing your beautifully engraved design.
Inspect the finished product for accuracy and detail, making any necessary touch-ups by hand if needed. This step in the process highlights the Cricut machine’s capability to transform a simple piece of leather into a custom masterpiece.
Step 5: Weed Your Design
After removing your leather from the mat, you may notice smaller pieces of leather or excess material still attached. This is known as “weeding” and involves carefully peeling away these extra pieces using weeding tools or scissors. This step is essential for revealing the full details of your design and creating a clean finish. Take extra care when weeding around intricate details to avoid damaging or stretching the leather. Once all excess materials are removed, your engraved design will be more defined and ready for transfer.
It should be noted not all projects require weeding. For instance, if you choose to engrave a pattern onto leather and leave it as is without cutting the design out entirely, then this step may be unnecessary.
Step 6: Transfer Your Design (Optional)
For some projects, transferring your engraved design from the mat onto another surface may be necessary. In these cases, transfer tape can help make the process more manageable. Apply transfer tape over your engraved design on the mat and gently press it down with a scraper tool.
The tape will adhere to the design and allow for easy removal from the mat by pulling away from one corner. With your design now transferred onto the tape, you can easily apply it to your desired surface, such as a notebook or journal cover.
The use of transfer tape is optional, and some designs may not require it. However, for more intricate or delicate designs, this step can help ensure accuracy and prevent any damage during the transfer process.
Step 7: Finishing Touches
After successfully engraving and preparing your leather, the final step is to add some finishing touches to enhance your project’s appearance and durability. Start by gently buffing the surface with a soft cloth to remove any dust or residue left from the engraving process. Consider applying a leather conditioner or sealant to protect the engraved design from wear and moisture, ensuring it remains vibrant and intact over time.
For an added touch of elegance, you can incorporate embellishments such as studs, paint accents, or stitching around the design. Carefully apply these elements, ensuring they complement the overall aesthetic without overshadowing your intricate engraved work. With these finishing touches, your leather project will not only look polished and professional but also stand out as a personalized and crafted masterpiece.
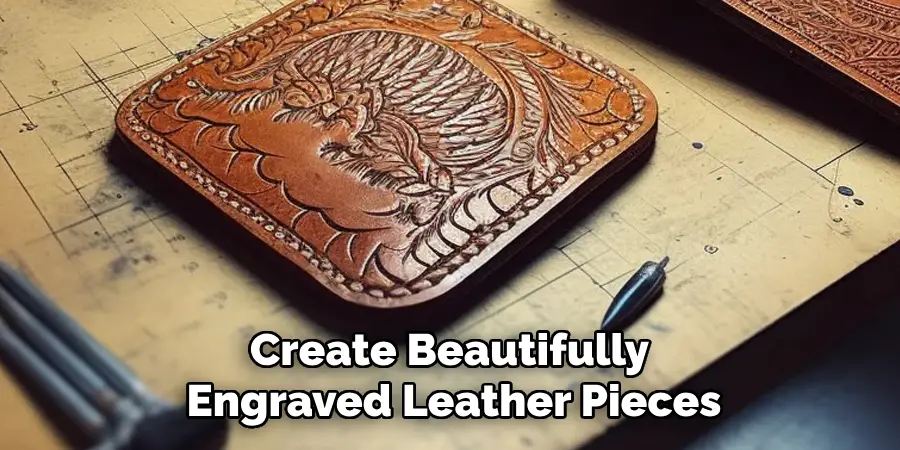
Following these steps on how to engrave leather with cricut, you can confidently create beautifully engraved leather pieces using your Cricut machine. Experiment with different designs and techniques to create unique and one-of-a-kind pieces that showcase your creativity and skill. From practical items like wallets and keychains to decorative pieces like coasters or wall hangings, the possibilities for incorporating engraved leather are endless.
Frequently Asked Questions
Q: Can I Engrave All Types of Leather With My Cricut Machine?
A: While most types of leather can be engraved, it’s best to avoid very thin or delicate leathers that may tear or warp during the process. Thicker, quality leather works best for engraving projects, as it can withstand the pressure and heat from the Cricut machine.
Q: What Types of Designs Can I Engrave on Leather With My Cricut Machine?
A: The design possibilities are virtually endless with a Cricut machine. You can choose from a wide selection of pre-made designs within the Cricut Design Space app or create your own using various fonts, images, and shapes. You can also upload your own designs to personalize your leather pieces even further.
Q: Do I Need any Special Tools for Engraving Leather With My Cricut Machine?
A: While not necessary, having some weeding tools and transfer tape on hand may help make the engraving process smoother. Additionally, having a scraper tool can help with adhering transfer tape to your design and smoothing out any air bubbles or wrinkles.
Q: Can I Engrave Color onto Leather With My Cricut Machine?
A: No, the Cricut machine only has capabilities for engraving designs into the surface of leather, not adding color. However, you can use colored leather or add embellishments like paint or markers after the engraving is complete to add color to your design.
Conclusion
Engraving leather with a Cricut machine provides endless possibilities for creating unique and customized projects. From personalized gifts to one-of-a-kind accessories, this process offers a creative outlet for expressing your individual style.
With the right materials, design, and patience, you can transform plain pieces of leather into intricate works of art using your Cricut machine. So why not give it a try and see the beautiful results for yourself? Remember to have fun and experiment with different designs and techniques to create truly one-of-a-kind pieces. Thanks for reading this article on how to engrave leather with cricut.