Are you looking for a unique way to personalize your leather jacket? Engraving on your leather jacket is a great way to add a special touch and make it truly one of a kind.
Engraving on a leather jacket is a creative way to personalize and style your outerwear. Whether you’re looking to add intricate designs, unique patterns, or meaningful text, this process transforms a plain jacket into a one-of-a-kind piece. While leather can be a challenging material to work with, using the right tools, techniques, and preparation ensures a professional-looking result.
In this guide on how to engrave on leather jacket, we will walk you through the steps to successfully engrave a leather jacket, from choosing the right tools to caring for your finished work.
What Are the Benefits of Engraving on Leather Jacket?
There are several benefits to engraving on a leather jacket. First and foremost, it allows you to customize your coat in a way that reflects your style and personality. By choosing the design, font, and placement of the engraving, you can create a one-of-a-kind look that sets you apart from others.
Engraving on leather also adds unique texture and dimension to your jacket. Unlike painting or adding patches, engraving creates depth and detail that other methods cannot achieve. This adds an extra layer of interest to your jacket and makes it stand out in a crowd.
Another benefit of engraving on leather is its durability. Unlike stickers or other surface decorations, engraving is a permanent and long-lasting option. With proper care, your engraving will stay intact for the life of your jacket.

What Will You Need?
To successfully engrave on leather, you will need the following tools and materials:
- Leather jacket
- Engraving tool (such as an electric rotary tool or handheld engraver)
- Stencil or design template
- Transfer paper (if using a stencil)
- Protective gear (gloves, eye protection)
- Work surface (protective mat or cutting board)
- Cleaning supplies (leather cleaner and conditioner)
Once you have gathered all the necessary supplies, you can start engraving!
8 Easy Steps on How to Engrave on Leather Jacket
Step 1: Choose Your Design
Selecting the right design is one of the most critical steps when engraving leather. Your choice should reflect your style and the purpose of the engraving. Start by brainstorming ideas, including intricate patterns, meaningful symbols, quotes, or monograms. Consider the size and shape of your leather jacket to ensure the design fits proportionally.
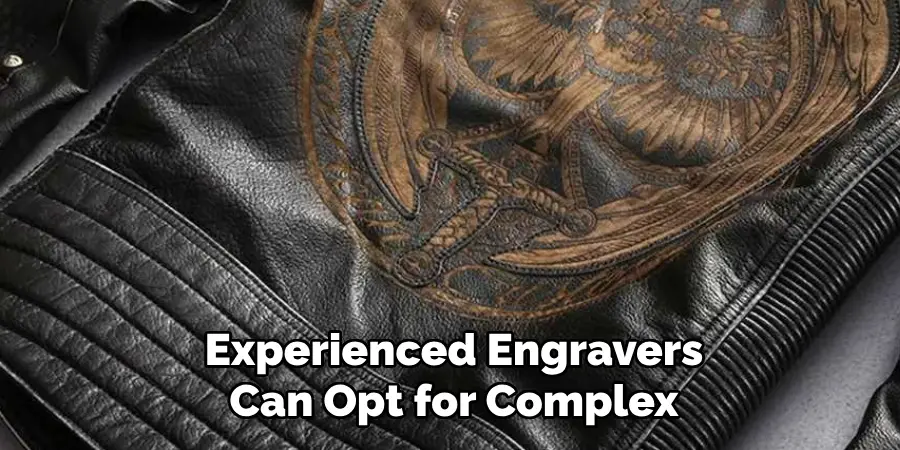
If you’re a beginner, more straightforward designs with bold lines are more manageable, while more experienced engravers can opt for complex and detailed artwork. You can draw your design or find inspiration online. Using a stencil or design template will help you achieve precision and consistency. Remember, your design will become a permanent feature of your jacket, so take your time making this decision.
Step 2: Gather Your Tools
Before you begin engraving, ensure you have all the necessary tools and materials. Standard tools for leather engraving include a swivel knife, bevelers, modeling spoons, and backgrounders. If you’re using an engraving machine, ensure it is compatible with leather and adequately set up.
You’ll also need a sturdy work surface, a damp sponge to soften the leather, and a cutting mat to protect your workspace. Safety gear, such as gloves and goggles, is recommended to prevent injuries. Having all your tools organized and within reach will make the engraving process smoother and more efficient.
Step 3: Prepare the Leather
Proper preparation of the leather is essential for achieving clean and precise engravings. Begin by dampening the leather with a sponge, ensuring it is evenly moistened but not soaked. This softens the material, making it easier to cut and shape. Once the leather is ready, transfer your design onto it using a stylus or tracing tool.
If you’re working with a stencil, secure it firmly in place to prevent slipping. Take your time to carefully mark the design details, as this will serve as the guideline for your engraving. Preparing the leather thoroughly will set the foundation for a successful engraving project. Don’t rush this step to avoid mistakes or damage to the leather.
Step 4: Engrave the Design
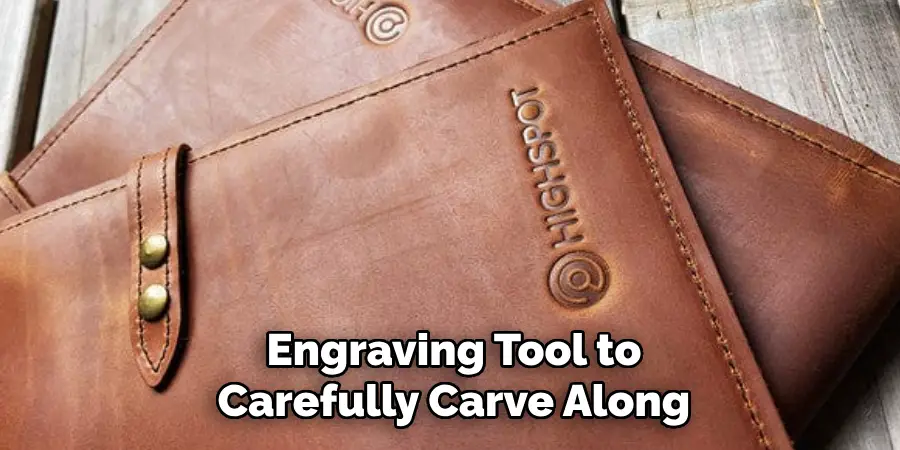
With the leather prepared, it’s time to begin the engraving process. Use a swivel knife or engraving tool to carefully carve along your design lines. Start with light pressure to create shallow cuts, then gradually deepen them to add detail and dimension. Maintain a steady hand and take your time to avoid mistakes.
Consider using specialized tools such as bevelers or background stamps to enhance the overall design for intricate patterns or small details. Remember to clean your tools to ensure precision throughout the process periodically. Engraving with care and attention will bring your design to life and showcase the craftsmanship of your work. Ensure to take breaks if needed to avoid strain or fatigue.
Step 5: Add Finishing Touches
After engraving the design, it’s time to add the finishing touches to your leather project. Begin by gently cleaning the surface to remove any dust or residue from the engraving process. Next, apply leather dye or paint to enhance the visual appeal of your design.
Use a fine brush or sponge to carefully color within the engraved lines, highlighting details and adding depth. Once the dye or paint has dried, seal the leather with a protective finish to ensure durability and preserve the design. Buff the surface with a soft cloth for a polished look. These final steps will elevate your project, giving it a professional and refined appearance.
Step 6: Maintain Your Leather Project
Proper maintenance is essential to keep your leather project looking its best over time. Regularly clean the surface with a damp cloth to remove dirt and grime, being careful not to use excessive water that could damage the leather. Condition the leather periodically with a quality leather conditioner to prevent it from drying out and cracking. Store your project in a cool, dry place away from direct sunlight to avoid fading or warping. With consistent care, your leather creation will remain beautiful and durable for years.
Step 7: Show Off Your Finished Leather Project
Once your leather project is complete and properly maintained, it’s time to showcase your work. Whether it’s a handmade wallet, belt, bag, or decorative piece, share your creation with others to highlight your craftsmanship.
Consider taking high-quality photos to document your work or gifting the piece to a loved one. If you’re selling your leather goods, create a presentation emphasizing the design’s quality and uniqueness. Displaying your finished project can be a source of pride and motivation for future creations while also inspiring others in the leatherworking community.
Step 8: Reflect and Plan Your Next Leatherworking Project
After completing and sharing your leather project, take some time to reflect on the process. Consider what techniques worked well and what areas could be improved for future projects. Analyzing your work allows you to grow as a leatherworker and refine your skills.
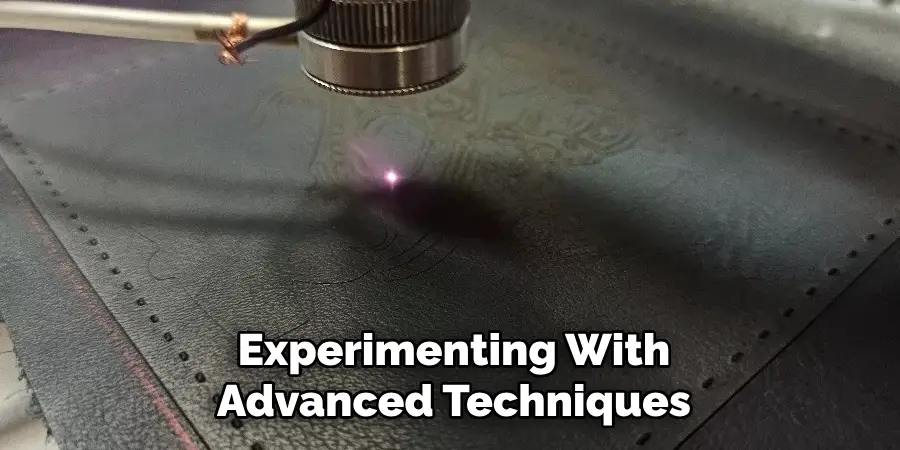
Use this reflection to plan your next project—exploring a new type of leather, crafting a more complex design, or experimenting with advanced techniques. Setting clear goals and maintaining a continuous learning mindset will help you progress and keep the leatherworking experience rewarding and enjoyable.
By following these steps, you can successfully engrave leather and create beautiful and unique designs.
5 Things You Should Avoid
1. Using the Wrong Tools: Avoid using tools not specifically designed for leather engraving. Improper tools can damage the leather surface, leaving uneven or undesirable marks.
2. Skipping the Preparation Step: Do not skip cleaning and conditioning the leather before engraving. Dirt or residue can interfere with engraving, resulting in flawed designs.
3. Applying Excessive Pressure: Too much pressure while engraving can cause tears or damage the leather permanently. Always practice on a scrap piece to determine the appropriate pressure.
4. Ignoring the Leather Type: Different types of leather react differently to engraving methods. Engraving on poor-quality or thin leather may produce unsatisfactory results, so always match your technique to the material.
5. Neglecting Protective Measures: Failing to protect surrounding areas of the leather jacket can lead to accidental scuffs or marks. Cover unintended regions to maintain the jacket’s overall appearance.
By avoiding these mistakes, you can ensure a successful and enjoyable leather engraving experience.
Conclusion
Engraving on a leather jacket can be rewarding when approached with care and proper preparation. You can achieve precise and professional results by selecting the right tools, preparing the leather adequately, and understanding the material. Always take the time to practice your technique and test on scraps before working on the actual jacket.
Patience and attention to detail are essential for creating beautiful, lasting designs. With these tips and precautions, your leather engraving projects are more likely to succeed and showcase your craftsmanship.
Hopefully, the article on how to engrave on leather jacket has given you a better understanding of the process and what to avoid. Now, it’s time to put your skills into practice and create unique and personalized designs on your leather jackets! Happy engraving!