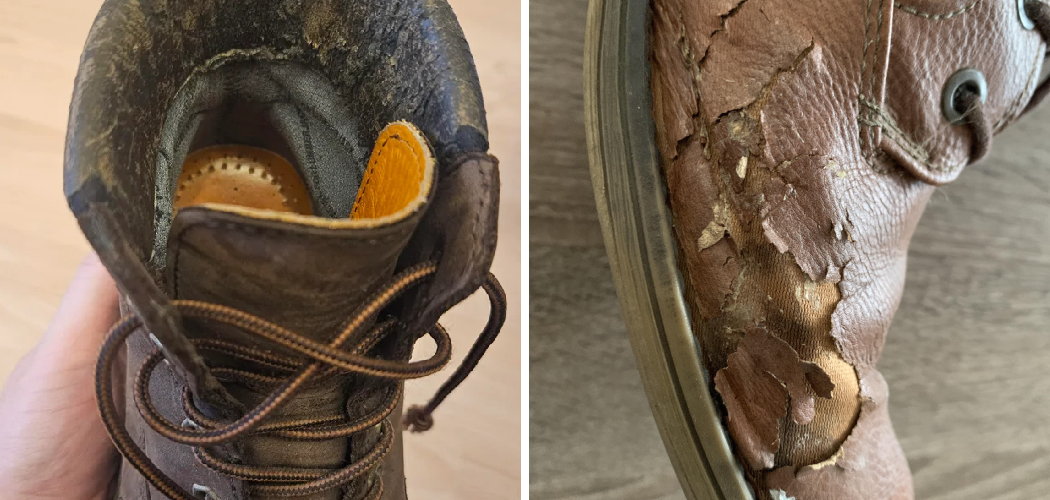
Faux leather boots offer a stylish and affordable alternative to real leather, but they can be prone to peeling and flaking over time. This can be frustrating, especially when it happens to a favorite pair. Fortunately, you don’t have to discard them just yet.

With a few simple materials and a little bit of patience, you can repair the peeling areas and restore your boots to a wearable condition. This guide on how to fix faux leather peeling boots will walk you through the entire process, helping you extend the life of your footwear and save money.
Why Do Faux Leather Boots Peel?
Faux leather boots tend to peel due to the nature of the materials used in their construction. Unlike real leather, which is made from animal hides, faux leather is typically crafted from a base fabric coated with a synthetic finish like polyurethane or vinyl. Over time, exposure to heat, humidity, and everyday wear can cause this synthetic layer to degrade.
Additionally, improper care, such as using harsh cleaning products or failing to moisturize the surface, can accelerate the peeling process. Since faux leather lacks the natural oils found in genuine leather, it cannot self-maintain, making it more prone to cracking and flaking with regular use. Understanding these factors can help prolong the life of your boots and prevent peeling from occurring prematurely.
Supplies You May Need
- Soft-bristled Brush or Cloth
- Isopropyl Alcohol
- Fine-grit Sandpaper (220-grit or Higher)
- Leather or Vinyl Repair Filler/compound
- Small Spatula or Plastic Knife
- Leather Paint or Marker That Matches the Boot Color
- Leather or Vinyl Sealant (Matte or Gloss Finish)
- Painter’s Tape (Optional)
8 Step-By-Step Guidelines on How to Fix Faux Leather Peeling Boots
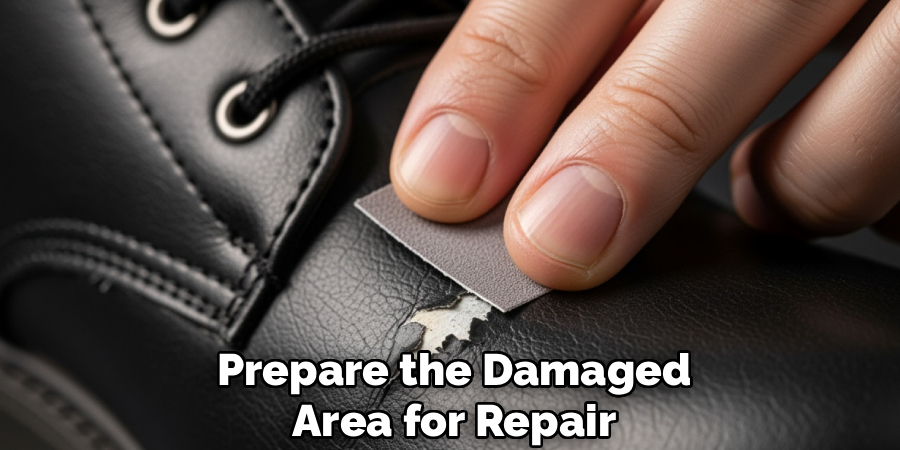
Step 1: Clean and Prepare the Surface
The first and most crucial step is to prepare the damaged area for repair. Start by using a soft-bristled brush or a clean cloth to gently wipe away any loose flakes, dirt, and debris from the peeling section of the boot. Being thorough at this stage ensures that the repair products will adhere properly to the surface, creating a stronger and more durable bond that will last through future wear.
Once the loose particles are removed, dampen a clean cloth with a small amount of isopropyl alcohol. Carefully wipe the entire area you plan to repair. The alcohol will effectively remove any remaining oils, grime, or residues that could interfere with adhesion. Allow the surface to air dry completely, which usually takes just a few minutes, before proceeding to the next step.
Step 2: Gently Sand the Peeling Edges
After cleaning, the next objective is to smooth the transition between the peeled area and the intact faux leather. Take a piece of fine-grit sandpaper, such as 220-grit or higher, and very gently sand the edges of the peeling section. The goal is not to remove more of the surface but to feather the edges so they blend seamlessly into the surrounding material, eliminating any rough or uneven ridges.
Use light pressure and a circular motion to avoid causing further damage. This careful sanding creates a smooth, uniform base for the filler to be applied, which is essential for achieving an invisible repair. After sanding, wipe the area once more with a dry, clean cloth to remove any dust created during the process, ensuring the surface is perfectly clean for the application of the filler.
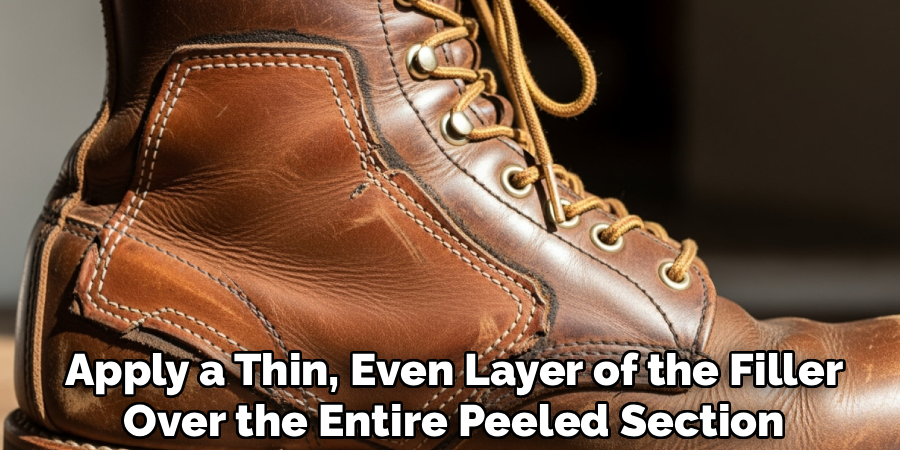
Step 3: Apply the Leather or Vinyl Filler
Now it’s time to fill the damaged area. Squeeze a small amount of leather or vinyl repair filler onto your small spatula or plastic knife. Apply a thin, even layer of the filler over the entire peeled section, making sure to cover the sanded edges. The key is to build up the repair in thin layers rather than applying one thick coat, as this promotes better drying and a smoother finish.
Use the edge of your spatula to carefully scrape away any excess filler from the surrounding, undamaged parts of the boot. This will save you cleanup time later and help the repaired patch blend more naturally. Your goal is to make the filled area as level as possible with the rest of the boot’s surface. Let this initial layer dry according to the product’s instructions before deciding if another layer is needed.
Step 4: Build Up and Smooth the Filler
Most repairs, especially those on deeper peels, will require more than one layer of filler to bring the damaged spot up to the level of the original surface. Once the first layer is completely dry, assess the area. If it’s still indented, apply another thin layer of the filler compound, again focusing on keeping it smooth and even with the surrounding faux leather.
Repeat this process of applying thin layers and allowing them to dry until the damaged area is completely filled and level. On your final layer, take extra care to smooth it out perfectly with your spatula. If you find any minor imperfections after it has dried, you can very lightly sand the filled area with your fine-grit sandpaper to achieve a flawless, flat surface ready for coloring.
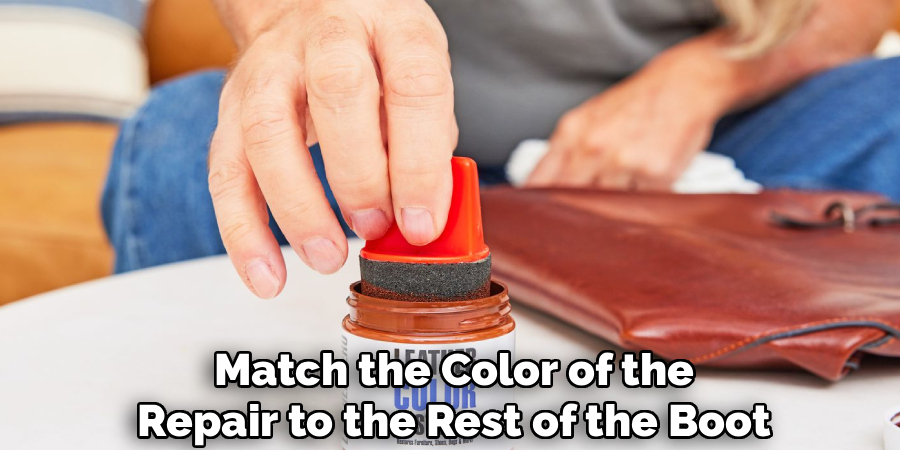
Step 5: Color the Repaired Area
With the filler fully cured and smoothed, the next step is to match the color of the repair to the rest of the boot. Use a leather paint or a specialized marker designed for synthetic materials that closely matches your boot’s color. For the best match, it’s wise to test the color on a small, inconspicuous area of the boot first, like the inner ankle or tongue.
Apply the color carefully to the filled area using a small brush or the tip of the marker. Use thin, even strokes to build up the color gradually. This technique helps prevent streaks and ensures a more natural look. Allow the first coat of paint to dry completely before deciding if a second coat is needed to achieve a perfect, opaque match with the surrounding faux leather.
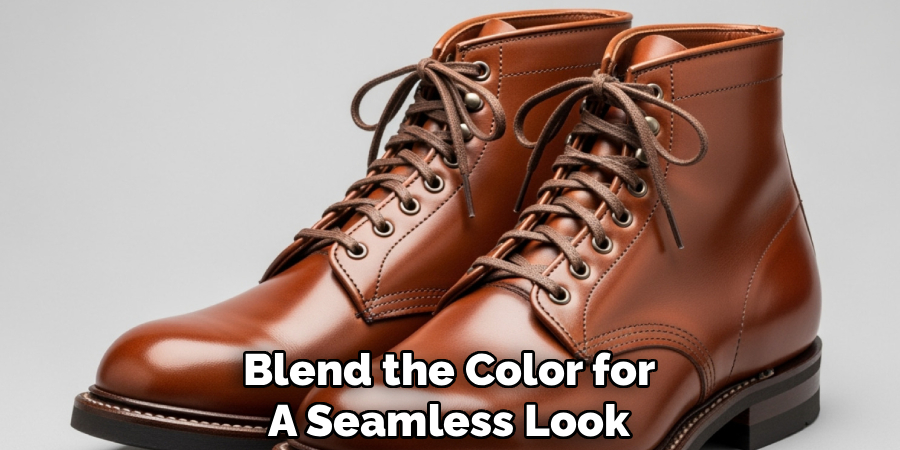
Step 6: Blend the Color for a Seamless Look
Achieving a truly invisible repair often comes down to blending. Once your base color is applied and dry, you may need to blend the edges of the painted area to avoid a “patched” look. You can do this by using a slightly damp sponge or cloth to gently dab at the edges where the new paint meets the original boot color. This softens the transition and makes the repair much less noticeable.
Take your time with this step, as rushing can smudge the paint. The goal is to create a subtle gradient effect at the borders of the repair. Let the blended color dry completely. Look at the boot from different angles and in various lighting conditions to ensure the patch is well-hidden and the finish looks uniform across the entire surface.
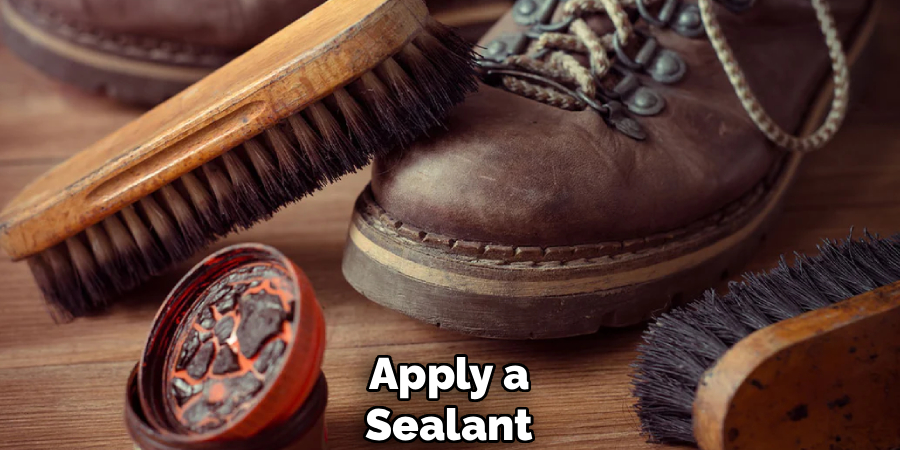
Step 7: Apply a Sealant for Protection
After the color has fully dried and you are satisfied with the blend, the final step in the repair process is to apply a sealant. A leather or vinyl sealant will protect the repaired area from moisture, dirt, and future wear and tear. It also helps to match the sheen of the repair to the rest of the boot, whether it’s a matte, satin, or gloss finish.
Apply a thin, even coat of the sealant over the entire colored area, slightly overlapping onto the surrounding original surface to ensure a complete seal. Use a clean, small brush for precise application. Allow the sealant to cure completely according to the manufacturer’s instructions, which can take anywhere from a few hours to a full day. Avoid wearing the boots until the sealant is fully cured.
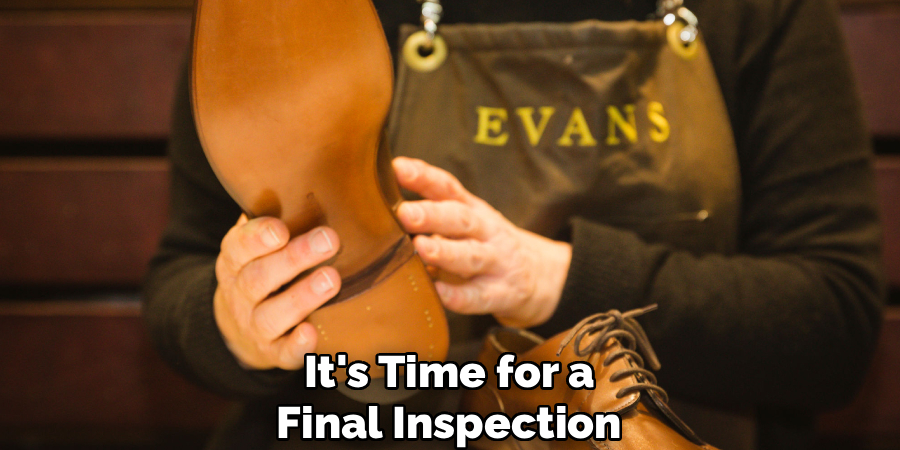
Step 8: Final Inspection and Conditioning
Once the sealant is completely dry, it’s time for a final inspection. Examine the repair closely in good light to ensure it’s smooth, the color is even, and the finish matches the rest of the boot. If you’re happy with the result, consider applying a conditioner designed for faux leather over the entire pair of boots, not just the repaired spot.
Conditioning helps to moisturize the material, which can prevent future cracking and peeling by keeping it flexible. This final step not only completes the repair but also provides preventative care for the rest of your boots, helping to keep them in great condition for longer. Now your boots are ready to be worn again, looking almost as good as new.
Following these steps on how to fix faux leather peeling boots, you can easily repair any damaged areas and extend the life of your favorite faux leather boots. With a few simple tools and some patience, you can save money on buying new boots and instead give your old ones a second chance.
What Not to Do
When attempting to fix your peeling boots, avoid using inappropriate materials like super glue or hot glue. These adhesives become rigid and brittle when dry and will crack as the boot flexes, making the problem worse. Do not try to rip or peel off large sections of the material, as this will only expand the area that needs repair.
Avoid using harsh chemical solvents or abrasive cleaners to prepare the surface, as they can dissolve or damage the underlying faux leather. Finally, never apply heat from a hairdryer or heat gun to speed up drying times, as excessive heat can warp, melt, or shrink the synthetic material permanently.
When to Seek Professional Help?
While DIY repairs are great for minor peeling, there are times when a professional cobbler is the better option. If the peeling is extensive, covering a large portion of the boot, or if the underlying fabric is torn or compromised, a professional will have the tools and expertise for a more robust repair.
You should also seek help if the boots are particularly expensive or have sentimental value and you don’t want to risk a DIY mistake. If the damage is located on a high-stress area, like where the boot creases at the ankle, a professional repair will likely be more durable.
How Much Will It Cost?
The cost of a DIY repair is quite low. You can expect to spend between $20 $40 for a complete repair kit that includes filler, color, and sealant. If you buy the supplies separately, the cost might be slightly higher, but you will have them for future repairs. In contrast, taking your boots to a professional cobbler will be more expensive.
A simple patch and color job might start at $30-$50, but extensive repairs on a pair of boots could cost $60 or more, depending on the extent of the damage and your location. While more costly, the professional result is often more durable and seamless.
Frequently Asked Questions
Q1: Can You Prevent Faux Leather From Peeling?
A1: While all faux leather will eventually degrade, you can significantly slow the process. Avoid exposing your boots to extreme temperatures and direct sunlight for long periods. Regularly clean them with a damp cloth and apply a conditioner specifically made for synthetic leather or vinyl. This keeps the material moisturized and flexible, reducing the chances of it drying out and cracking.
Q2: How Long Does a Faux Leather Repair Last?
A2: The longevity of a repair depends on the quality of the products used, the thoroughness of the application, and where the damage was located. A well-executed repair on a low-stress area can last for a very long time.
However, repairs on areas that flex a lot, like the toe or ankle, may need to be touched up periodically as the boot continues to experience wear and tear.
Q3: Can I Use Regular Paint on Faux Leather Boots?
A3: It is not recommended to use regular acrylic or household paint on faux leather. These paints are not formulated to be flexible and will crack and flake off as you walk. You should always use paints specifically designed for leather and vinyl. These paints are made to bond with the surface and remain flexible, moving with the material instead of cracking against it.
Q4: Is It Worth Repairing Cheap Faux Leather Boots?
A4: This depends on your personal preference and the cost of the boots. If the boots were very inexpensive and the damage is severe, it might be more practical to replace them. However, if you really like the style or the boots are comfortable, a simple and affordable DIY repair is often worth the effort to get more use out of them. It’s also a more sustainable choice than simply throwing them away.
Conclusion
Peeling faux leather doesn’t have to mean the end for your favorite boots. By following these detailed steps on how to fix faux leather peeling boots, you can effectively repair the damage and restore their appearance. With the right supplies and a bit of careful work, you can give your footwear a new lease on life, saving you money and reducing waste.
Remember to properly care for your faux leather items to prevent future peeling and keep them looking great for years to come.