
Leather bags are timeless and stylish accessories, but they can lose their appeal when the leather starts to flake or peel. Flaking leather not only looks unattractive but may also lead to further damage if not addressed promptly. Thankfully, with the right tools and techniques, you can restore your bag and keep it looking as good as new.
This guide on how to fix flaking leather bag will walk you through simple steps to fix a flaking leather bag and maintain its durability and charm over time.
Why Does Leather Flake?
Before diving into the solutions, it is essential to understand why leather flakes in the first place. Leather flaking or peeling occurs due to various reasons, such as:
Exposure to Heat and Sunlight:
Frequent exposure to direct sunlight or high heat can dry out the natural oils in leather, making it brittle and prone to flaking.
Lack of Moisture:
Just like our skin, leather needs moisture to stay supple and prevent cracking. When the leather loses its natural oils, it becomes dry and susceptible to flaking.
Poor Quality Leather:
Low-quality leather or faux leather is more likely to flake due to subpar tanning or finishing processes.
Age:
As leather ages, it naturally loses its oils and becomes more brittle, making it prone to flaking.
8 Step-by-step Guidelines on How to Fix Flaking Leather Bag
Step 1: Clean the Bag
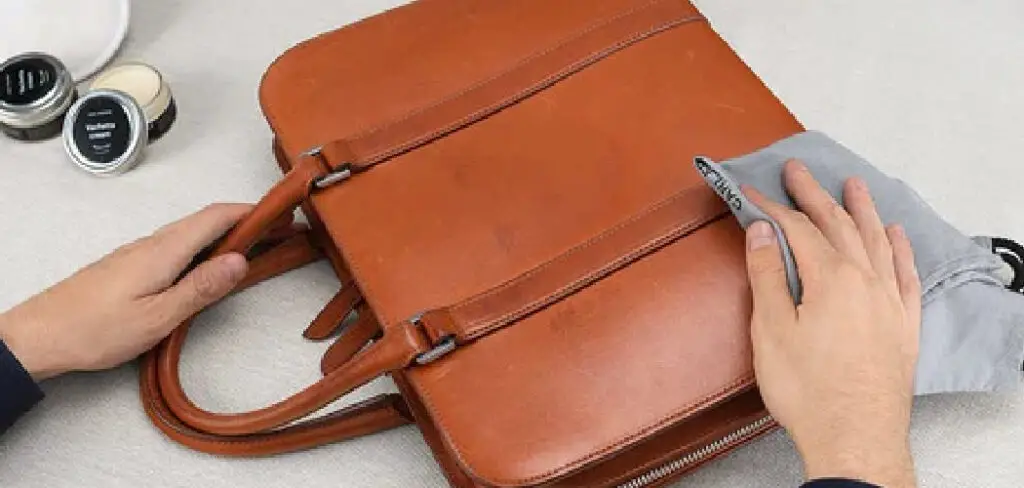
The first step in fixing a flaking leather bag is to thoroughly clean it. Use a soft, damp cloth to gently wipe off any dirt, dust, or debris from the surface of the bag. For deeper cleaning, use a small amount of leather cleaner or mild soap diluted in water. Avoid soaking the leather, as excessive water can damage it further.

Once cleaned, use a dry, soft cloth to pat the bag dry and allow it to air dry completely before moving on to the next step. Cleaning ensures that the surface is ready for repair and prevents sealing in dirt during the restoration process.
Step 2: Remove the Flaking Pieces
Once the bag is clean and dry, the next step is to gently remove the flaking or peeling pieces of leather. Using your fingers or a pair of tweezers, carefully lift and peel away any loose fragments that are no longer adhered to the surface. Handle this process with care to avoid pulling off any surrounding leather that is still intact.
For smaller or stubborn pieces, you can use fine-grit sandpaper or a soft brush to gently smooth out the area. This step ensures that the surface is even and ready for repair, creating a solid foundation for the restoration materials you’ll apply in the following steps.
Step 3: Prepare the Leather Filler
To fix flaking leather, you will need a leather filler to fill in any gaps or cracks in the surface. You can purchase a pre-made leather filler from most craft stores or make your own using a mixture of white glue and ground-up leather scraps.
Mix the filler according to the instructions provided, if using a store-bought one, or simply mix equal parts of white glue and ground-up leather in a small container until it forms a paste-like consistency.
Step 4: Apply the Filler
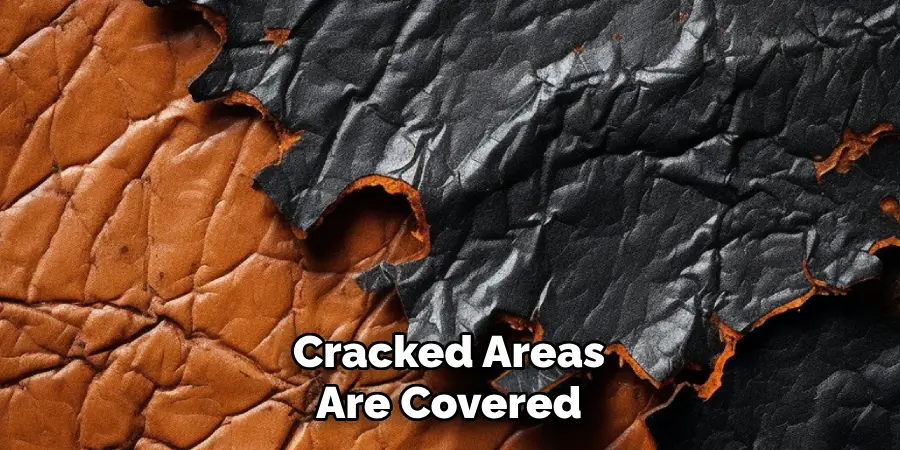
Using a small spatula or palette knife, apply the filler onto the areas where there is flaking or cracking. Spread it evenly and ensure that the filler covers the entire affected area. For larger areas, you may need to apply multiple layers of filler, allowing each layer to dry before applying the next one.
Once all the flaking or cracked areas are covered, use a damp cloth to gently wipe away any excess filler from the surrounding leather and smooth out the edges. Allow the filler to dry completely before moving on to the next step.
Step 5: Sand Down Any Rough Edges
After the filler has dried, use fine-grit sandpaper or a soft brush to smooth down any rough edges or bumps left behind by the filler. This step will help create an even surface for coloring and blending later on.
You can also use a leather conditioner at this stage to help soften and moisturize the repaired area before moving on to the next step.
Step 6: Choose a Matching Leather Colorant
To ensure that your repair blends seamlessly with the rest of the bag, you will need to find a matching leather colorant. You can purchase leather dye or paint in various shades from most craft stores. Make sure to choose one that closely matches your bag’s original color for best results.
It is also essential to test the colorant on a small, inconspicuous area of the bag before applying it to the repaired area. This step ensures that the color matches and will not cause any unwanted reactions to the leather.
Step 7: Apply the Colorant
Using a small brush or sponge applicator, apply the colorant over the repaired area, making sure to blend it into the surrounding leather for a natural look. You may need to apply multiple layers for a more even color and coverage.
Allow the colorant to dry completely before moving on to the final step.
Step 8: Seal with a Leather Finisher
The last step in fixing a flaking leather bag is to seal it with a leather finisher or sealant. This will not only protect the repaired area but also give it a polished, professional look.
Follow the instructions on how to fix flaking leather bag provided on your chosen sealant and evenly apply it over the entire surface of the bag, focusing more on areas that were repaired. Allow it to dry completely before using your bag again.
Do You Need to Get Support From Professionals?
While repairing a flaking leather bag on your own can be cost-effective and rewarding, there are certain situations where seeking professional help is advisable.
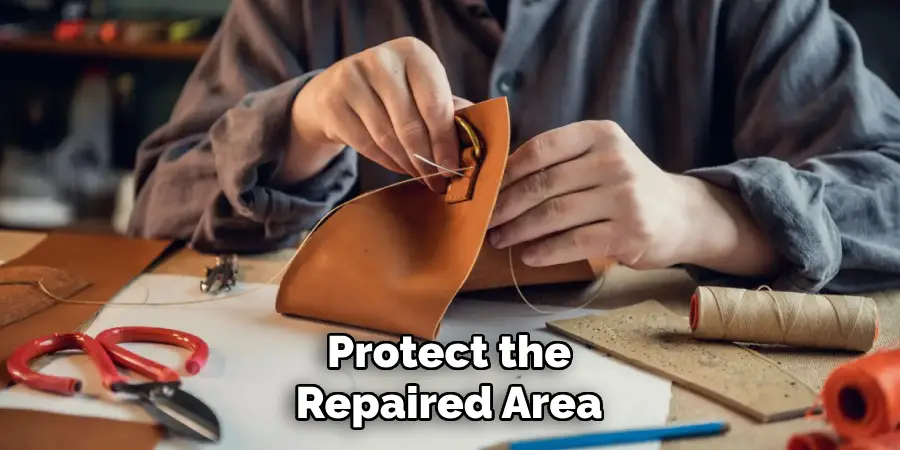
If the damage is extensive, such as large sections of peeling, deep cracks, or structural issues with the bag, a professional leather repair specialist can provide the expertise and tools needed to restore your bag effectively. Professionals have access to high-quality materials and advanced techniques that may not be easily replicated at home, ensuring a more durable and seamless repair.
Additionally, if your bag is a high-value or sentimental item, entrusting it to a professional can help preserve its integrity and aesthetic appeal. Always evaluate the extent of damage and your confidence in repairing it yourself before deciding whether to seek professional assistance.
How Much Could It Cost?
The cost of repairing a flaking leather bag can vary widely depending on the extent of the damage and whether you choose to repair it yourself or hire a professional.
If you opt for a DIY approach, the expenses are generally minimal, as you would only need to purchase supplies such as leather cleaner, filler, dye, and a finishing sealant. These materials can cost anywhere between $20 and $50, depending on their quality and the brands you choose.
On the other hand, seeking professional repair services could cost significantly more. For minor repairs, professionals may charge anywhere from $50 to $150, while extensive restoration work or repair of high-end bags might cost $200 or more.
Prices also depend on factors such as the type of leather, the size of the damaged area, and the intricacy of the repair work required. It’s important to weigh the sentimental and monetary value of your bag when deciding whether to fix it yourself or invest in professional services.
Frequently Asked Questions
Q: Can I Fix Flaking Leather on My Own?
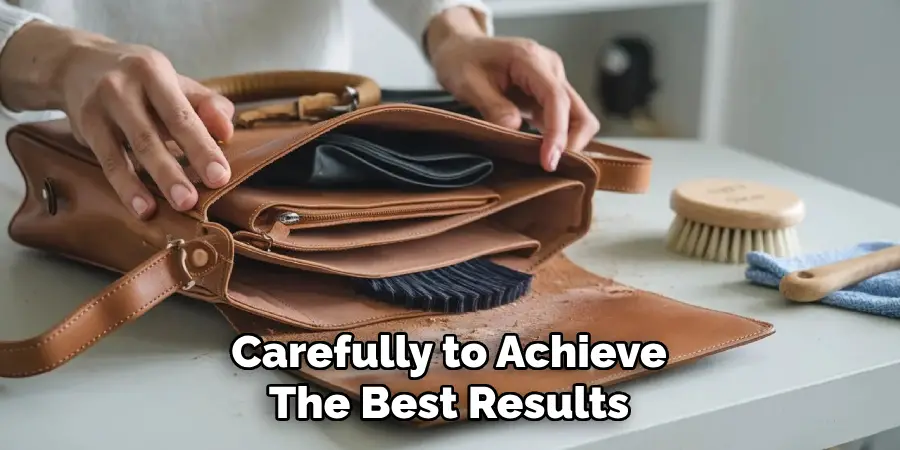
A: Yes, with the right materials and steps, you can easily repair a flaking leather bag at home. It is essential to follow the guidelines carefully to achieve the best results.
Q: Can I Use Household Products to Fix Flaking Leather?
A: While some household products, such as white glue or sandpaper, can be used in the repair process, it is recommended to use leather-specific products for better and longer-lasting results.
Q: Will My Bag Look Like New After Repairing Flaking Leather?
A: Depending on the severity of the damage and your repair skills, you can achieve significant improvements in the appearance of your bag after repairing flaking leather. However, keep in mind that it may not look exactly like new due to natural wear and tear over time.
Conclusion
Repairing a flaking leather bag may seem like a daunting task, but with patience and the right materials, it can be done effectively at home. By following the step-by-step guidelines on how to fix flaking leather bag, you can revive your bag’s appearance and extend its lifespan.
Remember to handle the repair process carefully, test products on inconspicuous areas first, and use quality leather-specific products for the best results. With proper care and maintenance, your restored leather bag can continue to be a stylish and functional accessory for years to come.