
How do you fix your over-conditioned leather sofa? This is a common problem that many people face, but fortunately, it’s relatively easy to resolve.
How to fix over conditioned leather sofa often involves a careful balance; too little conditioning can lead to cracking and dryness, while excessive conditioning might result in a sticky, greasy texture that detracts from the sofa’s appearance and comfort.

Over-conditioning leather is a common mistake, but fortunately, it is not irreparable. With the right approach, restoring your leather sofa to its original state is possible, ensuring it remains a centerpiece in your home for years to come.
This guide will explore practical methods for rectifying an over-conditioned leather sofa, including tools, techniques, and preventive measures to keep your furniture looking its best.
What Will You Need?
Before you begin fixing an over-conditioned leather sofa, gathering all the necessary tools and materials is essential. Here are some items you’ll need:
- Soft, clean cloths or sponges
- Leather cleaner (avoid using soap or harsh chemicals)
- White vinegar or rubbing alcohol
- Distilled water
- Leather conditioner (if needed)
Once you have these items, you can start the fixing process.
10 Easy Steps on How to Fix Over Conditioned Leather Sofa
Step 1: Clean the Surface
Begin by gently cleaning the surface of your leather sofa to remove any dirt, debris, or excess conditioner that may have accumulated over time. Use a soft cloth or sponge lightly dampened with distilled water to wipe down the leather. Be sure to use minimal water, as excessive moisture can damage the leather.
If there are stubborn spots, you can apply a small amount of leather cleaner to the cloth, but avoid using soap or harsh chemicals as they can strip natural oils from the leather. Work in sections, gently wiping the leather in a circular motion, and thoroughly cleaning each area.
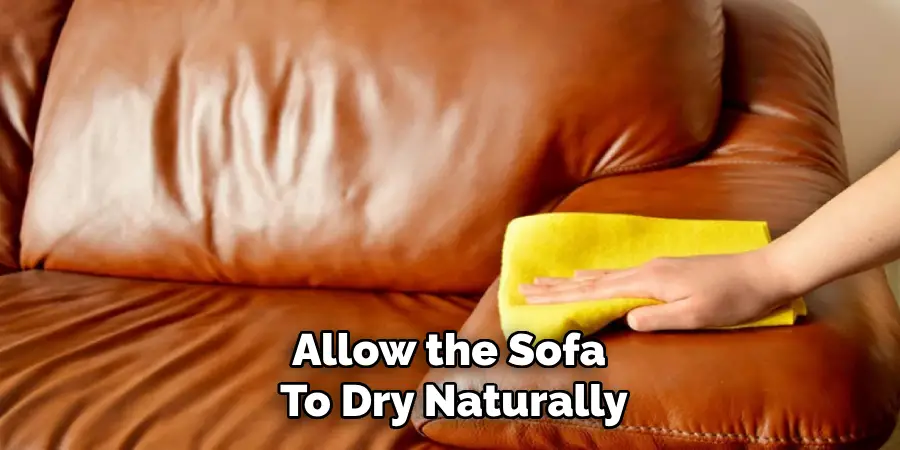
Once you’ve completed this step, allow the sofa to dry naturally before proceeding to the next step. This cleaning process not only removes surface residue but also prepares the leather for subsequent treatments to restore its natural balance and sheen.
Step 2: Remove Excess Conditioner
After cleaning the surface, the next essential step is to remove the excess conditioner that has caused the greasy texture. Prepare a solution by mixing equal parts of distilled water and white vinegar or rubbing alcohol in a container. This solution will help break down the oils without damaging the leather.
Dampen a soft cloth with the mixture, ensuring it’s not soaking wet, and gently rub over the affected areas of the leather—work in small sections, focusing on spots that feel particularly sticky or greasy.
Be careful not to oversaturate the leather, as excessive moisture can lead to water stains or damage. This method effectively lifts the excess conditioner, helping to restore the leather’s natural appearance and feel.
Step 3: Dry and Buff the Leather
Once you’ve finished removing the excess conditioner from your leather sofa, it’s crucial to allow the leather to dry properly. Use a dry, soft cloth to gently buff the leather, which will assist in removing any remaining moisture from the cleaning process. This not only helps the leather to dry thoroughly but also starts to bring back its original lustrous finish.
During this buffing process, work in small, circular motions, ensuring you cover all sofa areas evenly. Avoid using any heat sources to dry the leather, as this can cause cracking or further damage. Allow the leather to air dry naturally in a well-ventilated room. This step is vital to achieving a smooth texture and ensuring the leather’s longevity.
Step 4: Reevaluate the Leather’s Condition
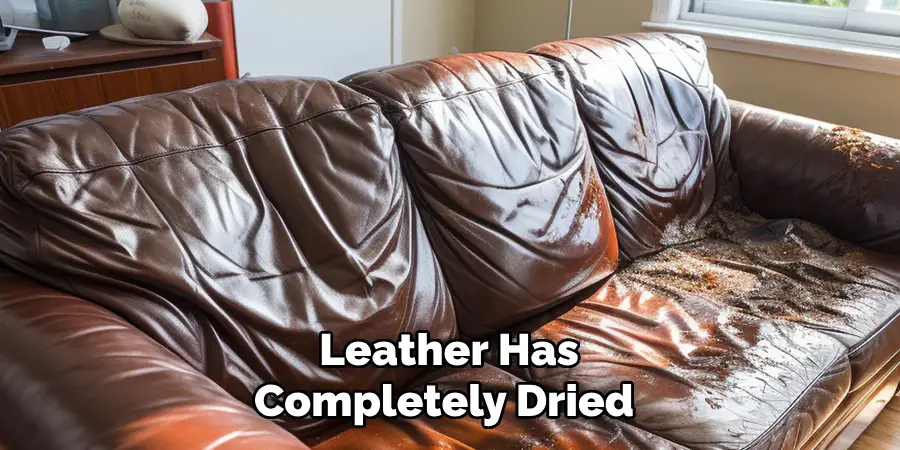
After the leather has completely dried, take a moment to reevaluate its condition. Assess whether the leather still feels greasy or if the natural texture has been restored. This step is crucial to determine if additional treatments are needed or if the leather has returned satisfactorily.
If the leather still seems over-conditioned, you may need to repeat the process of removing excess conditioner or consider applying a light leather cleaner to alleviate any residual greasiness further. Ensuring the sofa is not left too dry is crucial, as this can lead to cracking over time. Adjust your approach based on the leather’s response, aiming for a balanced, supple feel that reflects the leather’s original quality and appearance.
Step 5: Condition Lightly
If the leather appears dry after removing the excess conditioner, a light application of a quality leather conditioner may be required to restore its suppleness and flexibility. However, it’s essential to use the conditioner sparingly to prevent over-conditioning once again.
Apply a small amount of conditioner to a clean, soft cloth, spreading it evenly over the surface in light, circular motions. Focus on areas that seem particularly dry or stiff. Allow the conditioner to absorb naturally without the aid of heat.
This gentle conditioning step helps maintain the leather’s durability and sheen while preventing the return of the greasy texture. Always follow the manufacturer’s instructions for the best results, and remember that less is more when conditioning.
Step 6: Test Dryness and Elasticity
Once you have completed the light conditioning, it’s time to test the leather for dryness and elasticity. Press the leather in various spots to see if it returns to its original shape and has maintained its flexibility. This tactile assessment helps determine whether the conditioning has been effective or if further adjustments are required.
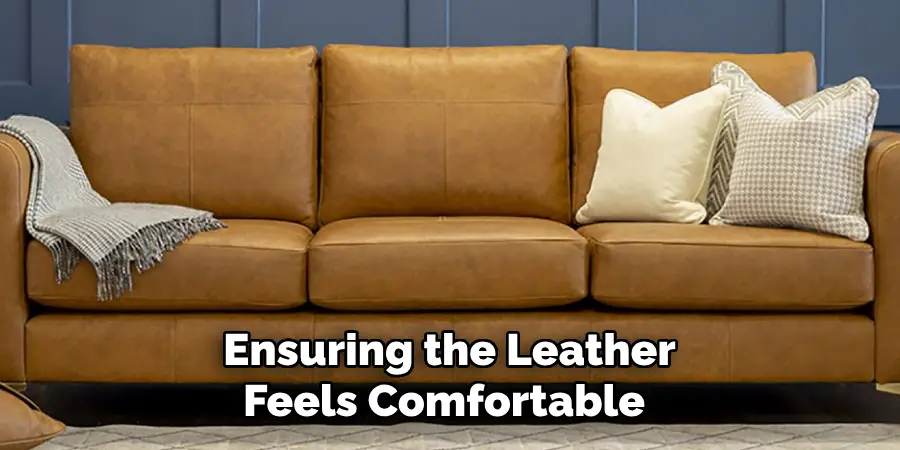
Ensuring the leather feels comfortable and comfortable is essential, as these can be signs of insufficient conditioning or incorrect treatment. If the leather feels well-balanced, proceed to the final preventive care and maintenance steps. However, if it still needs more suppleness, consider applying another light layer of conditioner to the affected areas, being cautious not to overdo it.
Step 7: Maintain Regular Care and Protection
To extend the life and appearance of your leather sofa, it’s essential to establish a routine maintenance plan. Regularly dust your sofa with a soft, dry cloth to prevent the accumulation of dirt and debris. Consider applying a protective leather cream or spray to shield the leather from stains, spills, and UV damage.
Ensure that any protective products are suitable for your specific type of leather and follow the manufacturer’s instructions carefully. It’s also advisable to avoid placing your leather sofa in direct sunlight or near heat sources, as these can cause fading and drying over time. Regularly rotate and fluff any removable cushions to even wear and maintain comfort.
Step 8: Address Minor Repairs
Even with diligent care, your leather sofa may occasionally suffer nicks, scratches, or scuffs. To address these minor imperfections, use a leather repair kit that matches the color of your sofa. First, clean the area around the damage with a damp cloth and allow it to dry completely.
Following the directions on the kit, apply the repair compound carefully using a spatula or similar tool, smoothing it to blend with the surrounding leather. Once applied, use a hairdryer on a low, relaxed setting to help the compound set, or allow it to air dry according to the kit instructions.
This process can help conceal imperfections and maintain your leather sofa’s immaculate appearance. Remember to perform these repairs in a well-ventilated area, and always test the repair product on an inconspicuous spot first to ensure compatibility with your leather.
Step 9: Seek Professional Help for Major Damage
If your leather sofa sustains significant damage that can’t be addressed with minor repairs, it’s advisable to seek the assistance of a professional leather restoration specialist. Major issues such as deep cuts, tears, or severe discoloration may require expert intervention to restore the sofa to its original state.
Professionals have access to specialized tools and products that ensure the repair is durable and aesthetically pleasing. Moreover, they can provide personalized advice on preventive measures tailored to your sofa’s leather type and condition. Regular professional assessments can help identify potential problems early and extend the life of your leather furniture.
Step 10: Final Inspection and Enjoyment
Once all maintenance and repairs have been completed, conduct a final inspection of your leather sofa. Check for any overlooked areas or issues that may require a final touch-up. Ensure the sofa’s appearance is uniform and there are no lingering smells from the products used.
This thorough examination guarantees that all necessary steps have been taken to preserve the sofa’s integrity and aesthetics. After confirming everything is in excellent condition, arrange your sofa in its designated space and enjoy the comfort and elegance it brings to your living space.
By following these ten steps, you can maintain your leather sofa’s quality and appearance for years.

Conclusion
How to fix over conditioned leather sofa requires careful attention and a balanced approach, especially when addressing issues like over-conditioning.
The steps outlined provide a comprehensive guide to restoring your sofa’s natural beauty and functionality. It involves meticulous processes such as removing excess conditioner, lightly applying conditioner to dry areas, and regularly maintaining the leather with preventive care.
Understanding the signs of over-conditioning and knowing when to seek professional help can prevent long-term damage and ensure your sofa remains a stunning centerpiece in your living space.
With patience and the right techniques, you can enjoy a leather sofa that looks and feels as good as new, reflecting the elegance and durability it’s known for.