Are you tired of seeing scratches on your shiny patent leather shoes? Here are some simple steps to help you fix those pesky scratches and return the luster of your favorite pair of shoes.
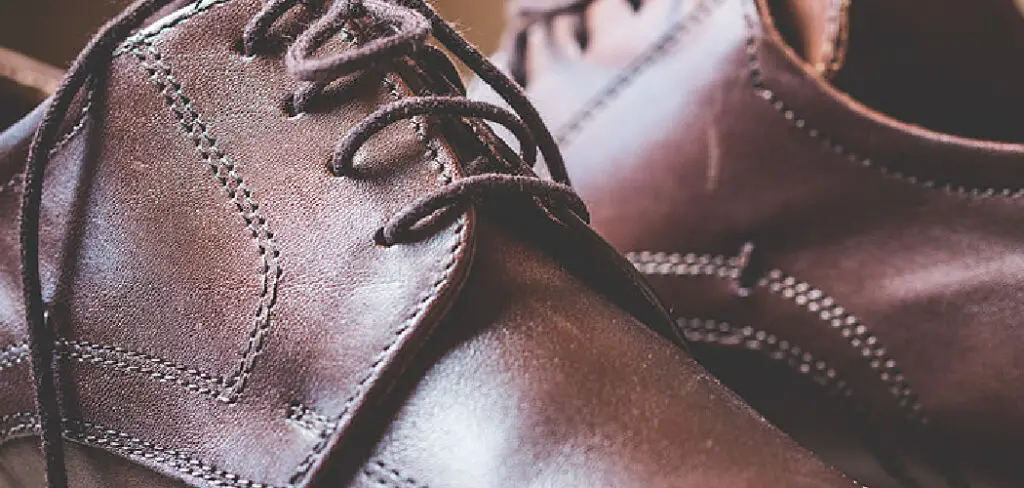
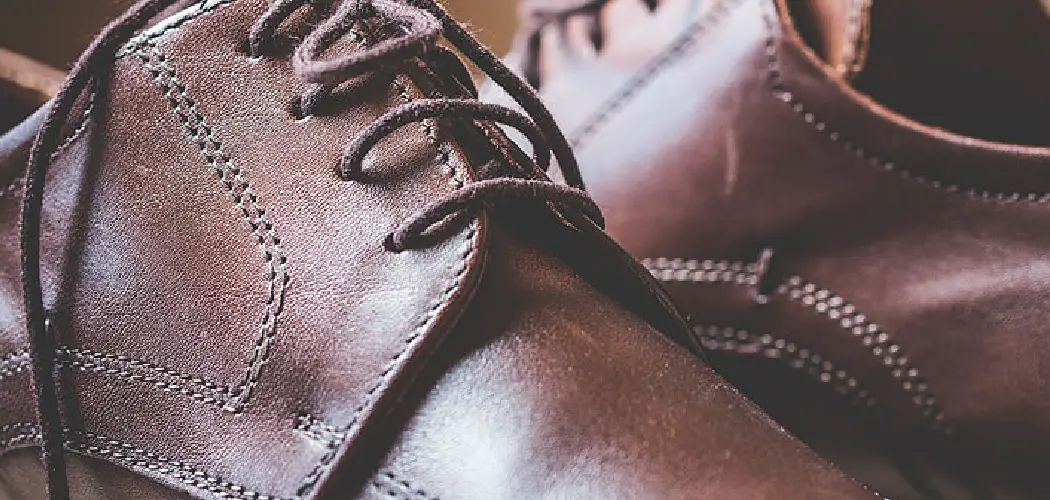
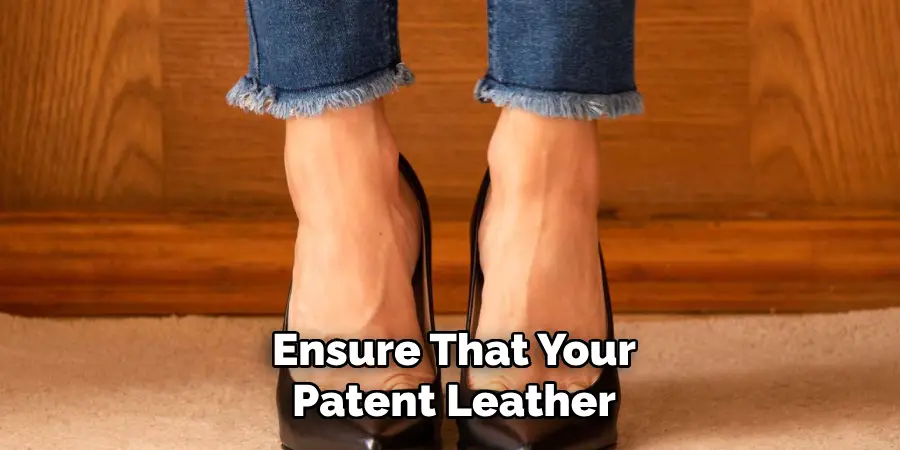
Patent leather shoes are known for their sleek, shiny appearance, making them popular for formal events and stylish outings. However, their glossy surface can quickly become marred by scratches, detracting from their refined look. The good news is that minor scratches on patent leather can often be repaired with simple techniques and household items, restoring their original shine and charm.
This guide will walk you through practical steps on how to fix scratches on patent leather shoes, ensuring they remain as elegant as the day you bought them.
What Are the Benefits of Repairing Scratches on Patent Leather Shoes?
Before diving into the repair process, let’s take a look at some of the benefits of fixing scratches on patent leather shoes:
- Restores the Glossy Finish: The main appeal of patent leather shoes is their shiny, reflective appearance. By repairing scratches, you can bring back this desirable feature and maintain the sleek look of your shoes.
- Increases Longevity: A well-maintained pair of shoes will last longer, saving you money in the long run. Properly addressing scratches on your patent leather shoes can help prevent further damage, prolonging their lifespan.
- Enhances Overall Appearance: Scratches can be distracting and take away from the overall aesthetic of your shoes. By repairing them, you can improve the appearance of your shoes and make them look more polished and put together.
These are just some benefits of fixing scratches on patent leather shoes. Now, let’s move on to the steps you can take to repair them.
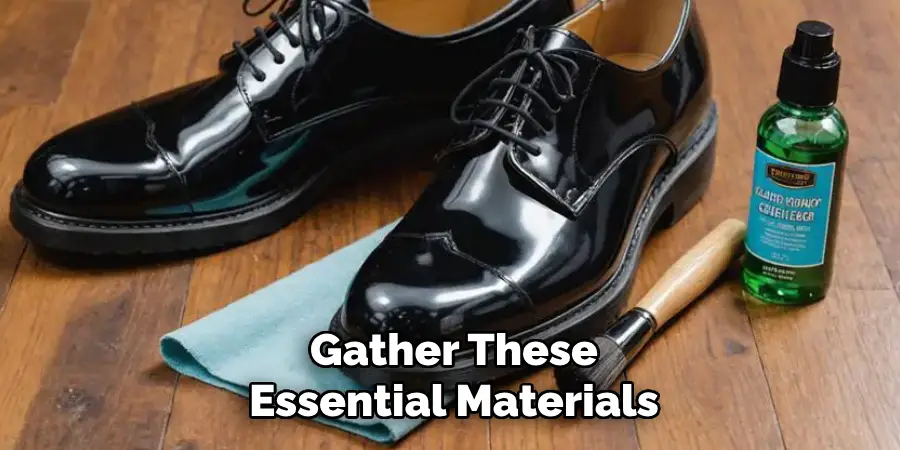
What Will You Need?
Before starting the repair process, gather these essential materials:
- Cotton Balls or Soft Cloth: These will apply the cleaning solution and buff out scratches on your patent leather shoes.
- Rubbing Alcohol or White Vinegar: These liquids can create a homemade cleaning solution to remove dirt and grime from your shoes.
- Petroleum Jelly or Mineral Oil: These products will help smooth out and diminish the appearance of scratches on patent leather.
- Shoe Polish: If your patent leather shoes are colored, you may want a matching shoe polish to restore any lost color due to scratches.
- A Soft-Bristled Brush: This can gently brush away dirt and debris from the surface of your shoes before beginning the repair process.
Once you have all the necessary items, you can fix those scratches!
8 Easy Steps on How to Fix Scratches on Patent Leather Shoes
Step 1: Clean the Surface
Begin by preparing the scratched area for repair by thoroughly cleaning it. Using a cotton ball or a soft cloth lightly dampened with rubbing alcohol or white vinegar, gently wipe the surface of the shoes to remove any dirt, dust, or oils. Focus on the scratched area, but ensure you clean the surrounding surface as well, as this will help ensure the repair process is seamless.
Be careful not to soak the material, as excessive moisture might cause damage to the patent leather. Allow the shoes to air dry thoroughly before proceeding to the next step to avoid trapping any moisture under the products you’ll be applying next. Proper cleaning lays the foundation for effective and long-lasting repair.
Step 2: Apply a Patent Leather Filler
Once the surface is clean and dry, apply a patent leather filler to the scratched area. Use a small spatula or your fingertip to gently spread a thin, even filler layer over the scratch, ensuring it is slightly above the surface.
This will allow you to sand it smooth later. Be careful not to overapply, as excess filler may be challenging to remove and result in an uneven finish. Allow the filler to dry completely according to the product’s recommended drying time before moving on to the next step.
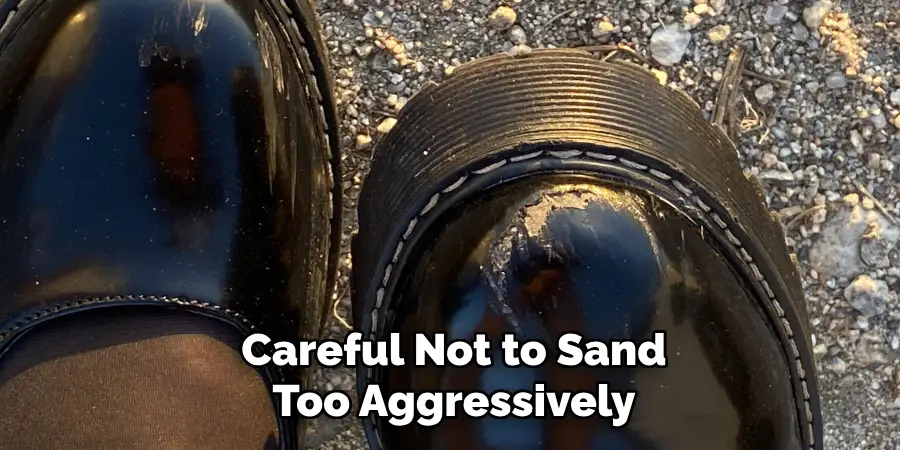
Step 3: Sand the Filled Area
Once the patent leather filler has dried completely, use fine-grit sandpaper (around 600-800 grit) to smooth the filled area. Gently sand in a circular motion, blending the edges of the filler with the surrounding material.
Be careful not to sand too aggressively, as this might damage the leather or remove too much filler, undoing your hard work. The goal is to create an even surface that seamlessly integrates with the rest of the shoe. After sanding, wipe away any dust or debris with a soft, clean cloth to prepare for the next step.
Step 4: Apply Color Matching Paint
After sanding the filled area to a smooth finish, it’s time to restore the color of the patent leather. Use a color-matching leather paint that closely resembles the original shade of your shoe. Apply the paint in thin, even coats using a fine brush or a sponge applicator.
Allow each coat to dry completely before adding another layer for a consistent and seamless look. Focus on blending the painted area with the rest of the shoe for a natural appearance. Once satisfied with the coverage and color, allow the paint to cure fully before proceeding.
Step 5: Apply a Protective Finish
To ensure the repaired area remains durable and blends well with the rest of the shoe, apply a protective finish designed for patent leather. Choose a high-gloss or satin finish based on the original sheen of your shoes.
Use a soft applicator or brush, and apply the finish in a thin, even layer over the painted area and slightly beyond to blend seamlessly. Allow the finish to dry thoroughly, and if necessary, apply a second coat for added protection and shine. This final step helps safeguard your repair work and restores the polished appearance of your patent leather shoes.
Step 6: Final Inspection and Maintenance
After the protective finish has dried completely, carefully inspect your repaired patent leather shoes for any inconsistencies or imperfections. Ensure the color blends smoothly with the rest of the shoe and that the finish provides a cohesive shine.
For long-term maintenance, regularly clean your patent leather shoes with a damp cloth to remove dirt and use a suitable leather conditioner or polish to preserve their glossy appearance. Proper care will help keep your shoes looking pristine and extend the life of your repair work.
Step 7: Storing Your Patent Leather Shoes
Proper storage is essential to maintain the quality of your patent leather shoes after repair. Store your shoes in a cool, dry environment away from direct sunlight or heat sources, which can cause the leather to crack or fade over time. Use shoe trees or stuff the shoes with acid-free paper to help them retain their shape. Keep them in individual dust bags or lined boxes to prevent scuffs and scratches. These steps will ensure your repaired patent leather shoes remain in excellent condition for future use.
Step 8: Tips for Preventing Future Damage
Take preventive measures in your daily wear to protect your patent leather shoes and reduce the need for future repairs. Avoid wearing them in harsh weather conditions, such as heavy rain or snow, as excessive moisture can damage the finish.
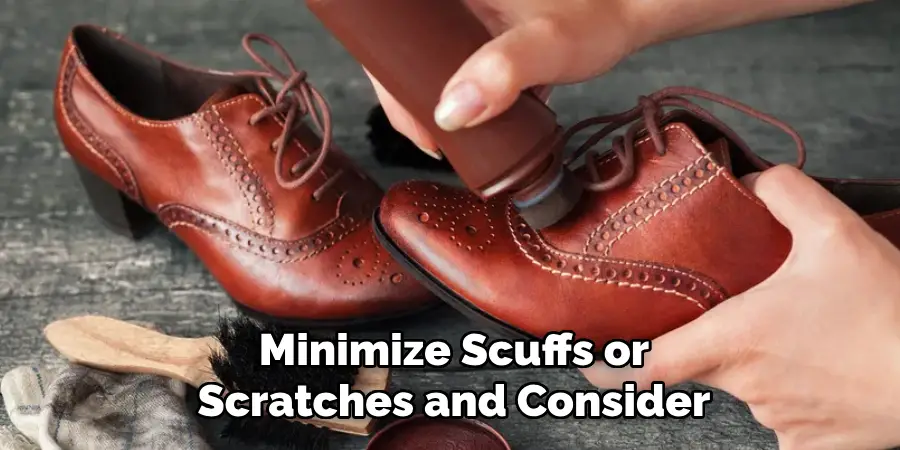
Be mindful of where you walk to minimize scuffs or scratches and consider applying a protective patent leather spray to add an extra layer of defense. Regularly inspect your shoes for minor issues and address them promptly to prevent further damage.
By following these simple tips, you can help extend the life of your patent leather shoes and minimize the need for repairs.
5 Things You Should Avoid
1. Using Abrasive Materials: Avoid using materials like sandpaper, steel wool, or anything harsh that could worsen the scratches. Patent leather has a glossy finish that is easily damaged by abrasive surfaces.
2. Applying Excessive Heat: Tools like hairdryers or heat guns can warp or damage the synthetic coating on patent leather. Always avoid high temperatures when attempting repairs.
3. Ignoring Proper Cleaning: Never skip cleaning the shoe before starting the repair process. Dirt and debris can get embedded in the scratches and make them harder to fix, or even further damage the material.
4. Using Harsh Chemicals: Avoid strong chemicals such as acetone or alcohol-based products. These can strip the glossy coating, leaving the leather dull and discolored.
5. Rushing the Process: Patience is key when repairing patent leather shoes. Rushing through the process can lead to uneven finishes or further damage. Take the time to apply fixes and allow proper drying between steps carefully.
By avoiding these common mistakes, you can ensure that your patent leather shoes remain in good condition and retain their glossy finish.
Conclusion
How to fix scratches on patent leather shoes requires a combination of patience, the right tools, and careful techniques.
By cleaning the surface thoroughly, using gentle methods to repair scratches, and avoiding common pitfalls like excessive heat or harsh chemicals, you can effectively restore the glossy finish of your shoes. Remember, taking proactive care and addressing scratches promptly will help maintain the elegant appearance of your patent leather footwear for years to come. With these steps in mind, your shoes can continue to make a sophisticated statement wherever you go.
Hopefully, this guide has given you the necessary knowledge and confidence to tackle any scratches on your patent leather shoes and restore them to their former glory. Happy fixing!