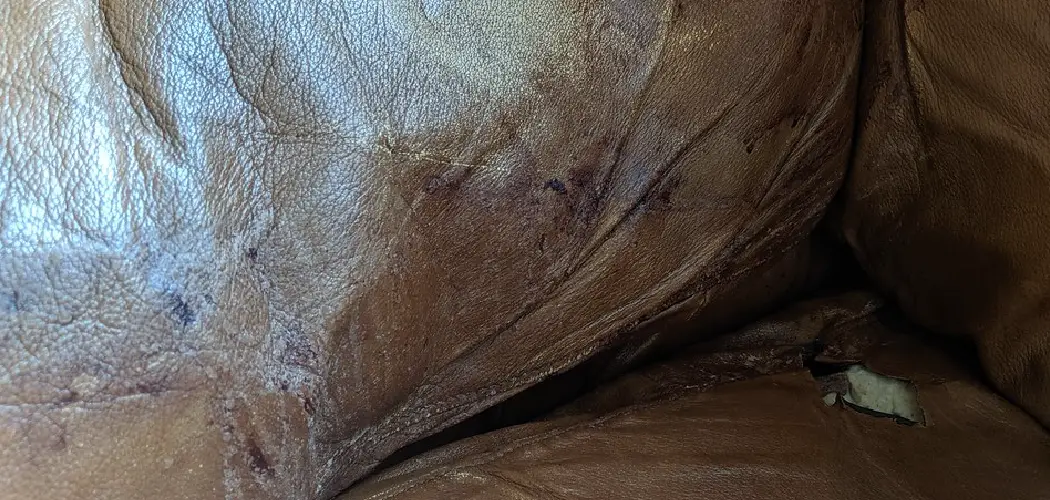
Leather is renowned for its durability and timeless appeal, making it a popular choice for various furniture and fashion items. However, despite its strength, leather is a sensitive material that demands special care, particularly regarding cleaning. The porous nature of leather means that it can absorb stains easily, making them difficult to remove if not addressed properly.
This article aims to serve as a comprehensive guide on how to get a stain off leather, offering detailed techniques for tackling different kinds of stains, such as water, oil, ink, and food. By following these expert tips, you can clean leather items effectively while preserving their quality and appearance.
Identifying the Type of Leather and Stain
Step 1: Check the Leather Type
Before attempting to clean a stain, it’s essential to identify the type of leather you are dealing with—a vital first step to ensuring effective and safe stain removal. Leather comes in various forms, including full-grain, top-grain, and suede, each possessing unique qualities that dictate specific cleaning requirements.
Full-grain leather, known for its durability and natural look, can handle more intensive cleaning methods, while suede requires a gentler approach due to its delicate and textured surface. Understanding the leather type can prevent damage and maintain the item’s integrity and aesthetic appeal.
Step 2: Identify the Stain Type
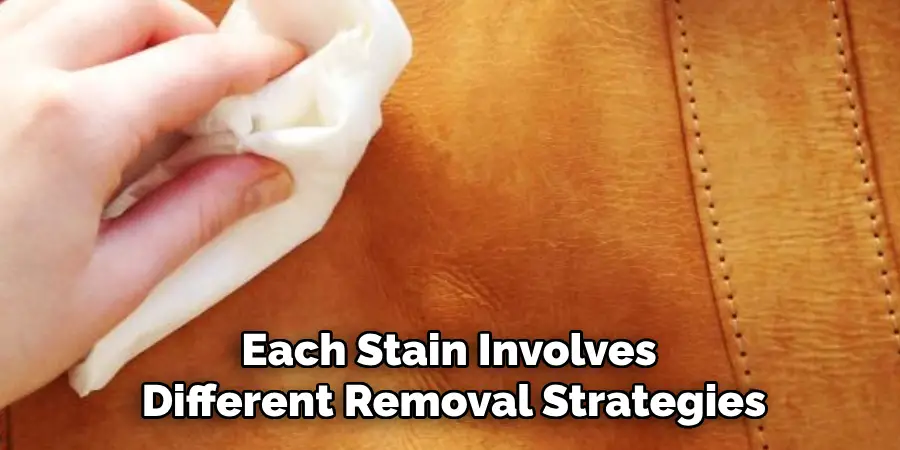
Equally important is identifying the type of stain, as each stain involves different removal strategies. Common stain types include water stains, which can often be lifted with simple drying techniques; oil and grease stains, necessitating absorbent powders; ink stains requiring careful solvent application; and food and beverage stains, which might be addressed with mild soap solutions.
Recognizing the specific stain type is crucial in selecting the most effective cleaning method, thereby enhancing the likelihood of successful stain removal without compromising the leather’s condition.
General Cleaning Preparation for Leather
Before you begin cleaning, gathering the right tools is crucial for effectively removing stains without damaging the leather. You will need soft, lint-free cloths or microfiber cloths to gently apply and wipe away cleaning solutions.
A leather cleaner or mild soap can address various stains, although a specialized leather cleaner is often recommended for best results. For tougher stains, a soft-bristle brush can help agitate the area without harming the leather’s surface. After cleaning, a leather conditioner is essential to replenish and maintain the material’s suppleness and appearance.
Spot Testing
Conducting a spot test is indispensable before applying any cleaning solution to a stained area. Always test the product on an inconspicuous leather area to check for any adverse reactions like discoloration or damage. This test is particularly important because different leather types can react differently to cleaning agents.
Ensuring that the cleaner suits your specific leather type helps avoid unwanted damage. It ensures that the cleaning process restores rather than detracts from the leather’s quality and aesthetic. By following these preparation steps, you are better equipped to tackle stains effectively and safely.
How to Get a Stain Off Leather: Removing Water Stains from Leather
Step 1: Blot the Excess Water
Begin by carefully blotting the excess water with a soft cloth. Be sure to press gently to absorb as much moisture as possible, but avoid rubbing, as this action can spread the water stain further across the leather surface. Once the excess water is blotted, focus on drying the area slowly; this can be achieved by using a hairdryer in a cool setting or allowing the leather to air dry naturally. Quick drying should be avoided as it can cause additional stress to the leather fibers.

Step 2: Rehydrate the Leather
Once the stained area has dried, it’s crucial to rehydrate the leather. Gently moisten the area around the stain with a damp cloth, which helps ease the moisture content across the leather. This approach ensures that watermarks do not form, maintaining a uniform appearance. Following this, let the leather dry once more until it’s fully dry to the touch.
Water exposure can cause the leather to become dry and brittle; therefore, conditioning the leather afterward is essential. A high-quality leather conditioner will restore moisture and keep the leather supple, preventing future damage caused by dryness.
How to Get a Stain Off Leather: Removing Oil and Grease Stains from Leather
Step 1: Blot the Excess Grease
When addressing oil and grease stains, the first action is to blot away as much of the excess grease as possible. To do this, gently press a clean, dry cloth onto the stained area. It’s crucial not to rub, as this can cause the stain to spread and set deeper into the leather fibers, compounding the difficulty of its removal.
Step 2: Apply Cornstarch or Baking Soda
Once you’ve blotted the excess grease, it’s time to employ an absorbent agent. Sprinkle either cornstarch or baking soda directly onto the stain. These common household items are effective at absorbing grease. For maximal effect, leave the powder on the leather for a few hours or, ideally, overnight. During this time, the powder draws out the grease from the leather.
Step 3: Brush Away the Powder
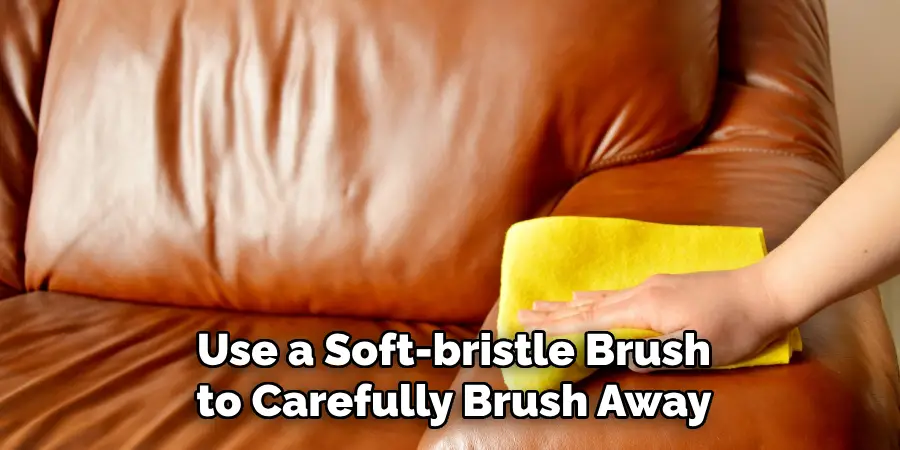
After the powder has had ample time to absorb the grease, use a soft-bristle brush to carefully brush away the cornstarch or baking soda. Check to see if the stain has lightened. If it remains visible, repeating the powder application and removal process is acceptable to further reduce its presence.
Step 4: Apply Leather Cleaner
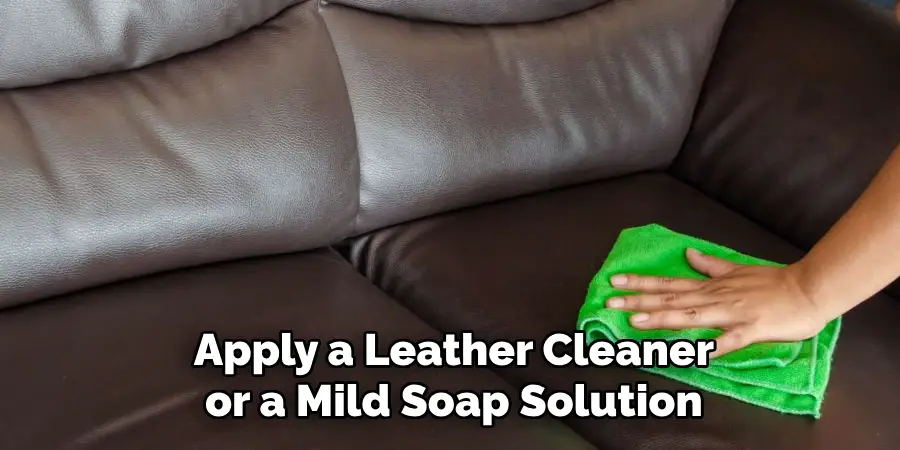
If the stain persists after using absorbent powders, it’s time to bring in a leather cleaner or a mild soap solution. Apply this gently with a damp cloth, focusing on the stained area. Once you’ve applied the cleaner, use a soft, dry cloth to remove any residual product and moisture from the leather surface.
Remember, it’s essential to condition the leather after cleaning. Conditioning helps restore the leather’s natural oils, maintaining its softness and preventing long-term damage such as cracking. A good conditioner not only prolongs the life of leather but also enhances its appearance, keeping it looking as good as new.
Removing Ink Stains from Leather
Step 1: Use a Cotton Swab and Rubbing Alcohol
To tackle ink stains on leather, start by gently dipping a cotton swab into rubbing alcohol. Carefully dab the ink stain, exerting only light pressure to prevent the ink from spreading or the leather from becoming damaged. Rubbing alcohol acts as a solvent, breaking down the ink particles to make them easier to lift from the surface.
Step 2: Use a Leather Cleaner or Mild Soap
If the ink persists after using rubbing alcohol, the next step is to apply a leather cleaner or a mild soap solution using a soft cloth. Wipe the stained area cautiously, applying gentle pressure to lift the ink without causing it to spread further across the leather. Leather cleaners are specially formulated to break down stains while preserving the integrity of the material.
Step 3: Condition the Leather
Once the ink stain has been successfully removed, applying a leather conditioner to the treated area is vital. Conditioning restores essential moisture, preventing the leather from drying out or becoming brittle, which can result from using alcohol or cleaning solutions. This step revitalizes the leather and helps maintain its strength and appearance.
Alternative: Commercial Leather Ink Removers
When rubbing alcohol and regular cleaners aren’t effective, consider using specially formulated leather ink removers. These commercial products are designed to tackle challenging ink stains. However, proceed with caution: always conduct a spot test in a hidden area before full application to ensure there are no adverse effects on the leather’s color or texture.
Removing Food and Beverage Stains from Leather
Step 1: Blot the Stain Immediately
When dealing with food or beverage stains on leather, act quickly to blot up any liquid or residue using a soft cloth or paper towel. Press gently to absorb as much of the spill as possible without rubbing, as rubbing can push the stain deeper into the leather fibers, making it harder to remove.
Step 2: Use a Mild Soap Solution
To clean the stained area, create a gentle soap solution by mixing a few drops of mild soap, such as dish soap, with water. Dampen a cloth with this solution and gently wipe the stain in circular motions. This approach helps lift the stain without damaging the delicate leather surface.
Step 3: Dry the Area
After cleaning, remove any soap residue with a clean, damp cloth. Then, use a soft towel to pat the area dry, ensuring that no excess moisture remains. Avoiding excessive water during this step is important, as too much moisture can lead to further staining or cause the leather to warp.
Step 4: Condition the Leather
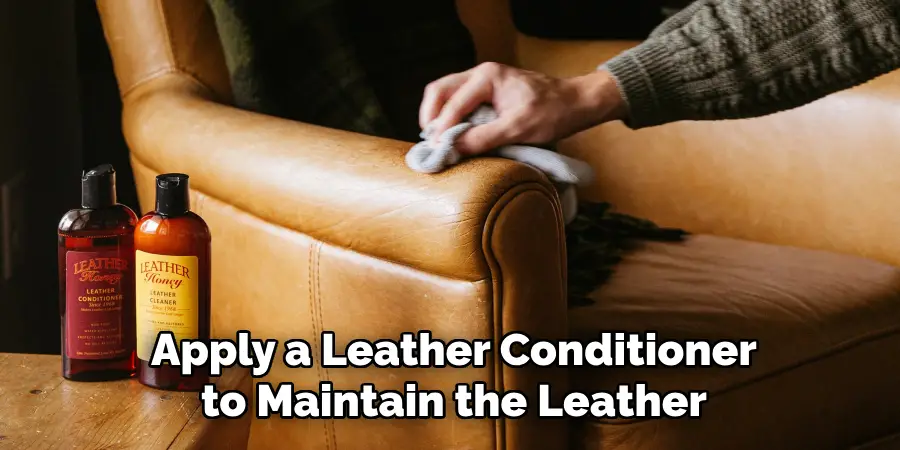
Once the stain is removed and the area is dry, apply a leather conditioner to maintain the leather’s texture and appearance. A good conditioner will replenish lost oils, keeping the leather supple and preventing it from drying out and becoming brittle. When selecting a conditioner for food or beverage-stained leather, choose a high-quality product specifically designed for leather care to ensure optimal results.
Professional Cleaning for Stubborn Stains
When to Consider Professional Help
It may be wise to consult a professional cleaner specializing in leather care for particularly valuable or delicate leather items or when stains prove persistent despite your best efforts. Professionals have access to advanced techniques and products that can safely remove stubborn stains without causing damage. Choosing the right professional is crucial; ensure they have expertise in leather to avoid potentially harmful treatment methods.
Cost vs. DIY Cleaning
While professional cleaning services can be more expensive than DIY methods, they may be worthwhile for extensive or challenging stains, especially if the leather item holds significant value. Balancing cost and effectiveness requires considering the severity and size of the stain. A strategy combining initial DIY efforts for minor stains and professional assistance for more serious cases can be a practical approach, ensuring your leather remains in optimal condition without unnecessary expenses.
Aftercare for Leather: Preventing Future Stains
Regularly conditioning leather is crucial to maintaining its beauty and longevity, as it helps create a protective barrier on the surface to resist stains. This conditioning process replenishes the natural oils that keep leather supple, reducing its susceptibility to absorbing unwanted substances. The frequency of conditioning depends on the item’s usage: condition shoes monthly, while furniture can be conditioned quarterly to keep them in optimal shape.
Waterproofing leather is another essential step in preventing future stains. Applying a leather protectant or waterproof spray offers an additional layer of defense against water, food, and ink. Opt for protectants specifically formulated for leather, and when possible, choose eco-friendly or natural products to minimize environmental impact while still achieving protection.
Avoiding direct sunlight and heat is also vital in leather care. Exposure to sunlight can lead to discoloration and exacerbate the difficulty of stain removal. Meanwhile, heat can dry out the leather, making it brittle and more prone to cracking and staining. By storing leather items away from sunlight and heat sources, you can enhance their durability and appearance, preventing unsightly damage from occurring.
Conclusion
Understanding how to get a stain off leather involves mastering techniques tailored to various stain types—water, oil, ink, and food. Key methods highlighted include promptly blotting stains, using appropriate cleaning solutions, and conditioning leather post-cleaning to retain its texture and strength.
Always perform a spot test before applying any cleaning product to prevent discoloration or damage. Regular conditioning and protective products can further safeguard leather items against future stains. By implementing these practices, you can ensure leather items remain pristine and last for years, preserving their beauty and functionality.