Discovering mildew on your favorite leather jacket, shoes, or furniture can be disheartening. This unwelcome fungus not only creates unsightly stains but also produces a musty odor and can slowly damage the material if left untreated. Leather is a durable and beautiful material, but its porous nature makes it susceptible to mildew growth, especially in damp, poorly ventilated conditions.
Fortunately, you don’t have to discard your prized leather possessions. With the right approach and a little bit of care, you can effectively remove mildew and restore your leather items to their former glory. This guide on how to get mildew out of leather will walk you through the necessary steps to safely clean the fungus away and help you protect your leather from future outbreaks.
Supplies You May Need
- Soft-bristled Brush or Dry Cloth
- Vacuum With a Brush Attachment
- Mild Soap or Specialized Leather Soap
- Distilled Water
- Rubbing Alcohol
- White Vinegar
- Clean Cloths or Sponges
- Leather Conditioner
- Protective Gloves
- Fan or Dehumidifier
10 Step-by-step Guidelines on How to Get Mildew Out of Leather
Step 1: Prepare Your Workspace and the Leather Item
Before you begin the cleaning process, it’s crucial to prepare your environment. Take the leather item outdoors to prevent mildew spores from spreading inside your home. If you cannot go outside, choose a well-ventilated room and lay down a protective sheet to catch any debris. Gently brush off any loose surface mildew using a soft-bristled brush or a dry cloth. Be careful not to press too hard, as this could push the spores deeper into the leather.
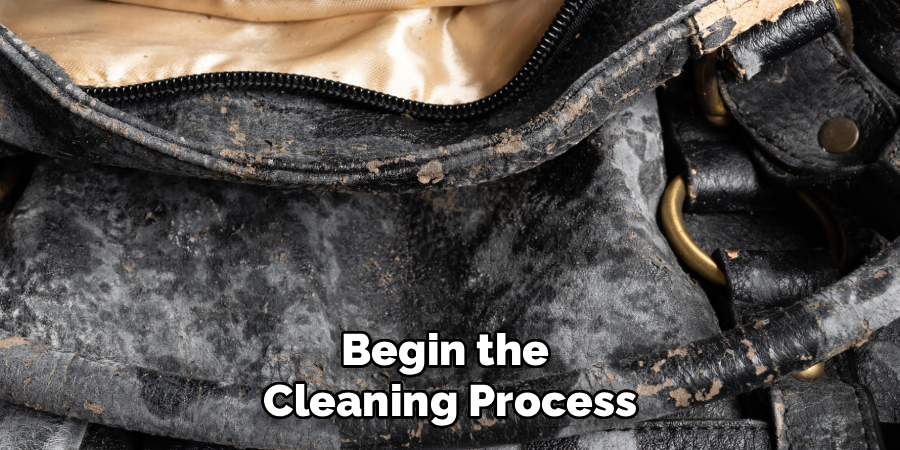
Once you have removed the surface mold, use a vacuum cleaner with a brush attachment to gently go over the entire surface. This step helps to lift away any remaining loose spores from the grain of the leather and the seams, which are common hiding spots for mildew. After vacuuming, dispose of the vacuum bag or empty the canister outside to avoid re-contaminating your living space. Always wear protective gloves during this process.
Step 2: Create Your Cleaning Solution
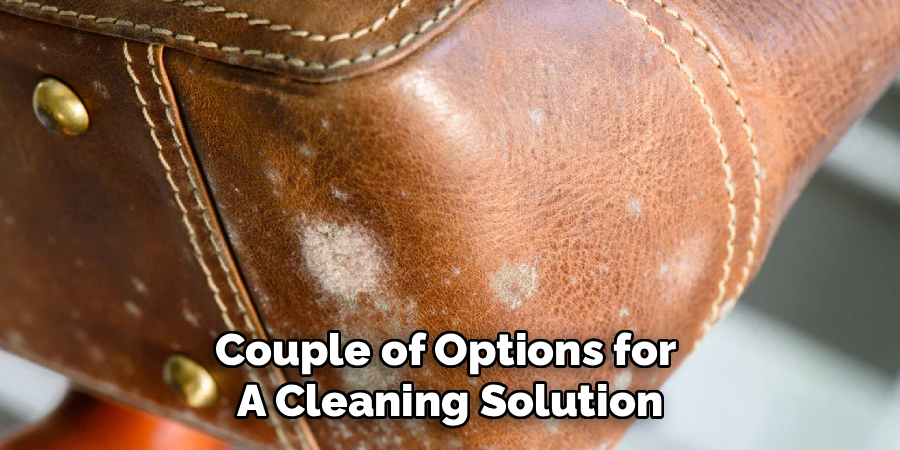
You have a couple of options for a cleaning solution, depending on what you have available. A simple and effective mixture is equal parts distilled water and white vinegar. The acetic acid in the vinegar is excellent at killing mildew spores without being overly harsh on the leather. Alternatively, you can use equal parts distilled water and rubbing alcohol. Alcohol is a powerful disinfectant that evaporates quickly, which is beneficial for a moisture-sensitive material like leather.
For a gentler approach, especially on delicate or dyed leather, you can use a solution of mild soap and water. Add a small amount of mild soap, like saddle soap or a specialized leather cleaner, to a bowl of distilled water and mix until you have a slightly sudsy solution. It’s important to avoid using harsh detergents or all-purpose cleaners, as their chemical composition can strip the natural oils from the leather, leading to dryness and cracking.
Step 3: Perform a Spot Test
This is a critical step that should never be skipped. Before applying any cleaning solution to the entire leather item, you must test it on a small, inconspicuous area to ensure it doesn’t cause discoloration or damage. Choose a spot that is usually hidden from view, such as the underside of a collar on a jacket, the back of a couch cushion, or the inside of a shoe.
Apply a small amount of your chosen cleaning solution to the test area using a clean cloth. Gently rub the spot and then let it air dry completely. Once it’s dry, inspect the area for any changes in color, texture, or finish. If the leather looks unchanged and feels normal, you can proceed with confidence. If you notice any adverse effects, try a different, milder cleaning solution and perform another spot test.
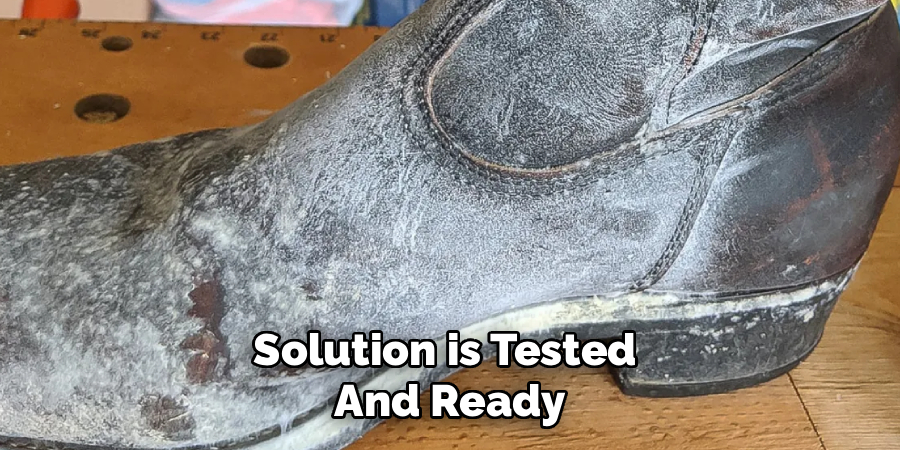
Step 4: Gently Clean the Affected Areas
Now that your solution is tested and ready, you can begin the main cleaning process. Dampen a clean, soft cloth or sponge with your chosen cleaning mixture. It is very important that the cloth is damp, not soaking wet. Excess moisture can be just as damaging to leather as the mildew itself, potentially leading to water stains or further fungal growth. Wring out the cloth thoroughly before you begin.
Using the damp cloth, gently wipe down the mildew-affected areas in small, circular motions. Apply light pressure to lift the stains without scrubbing too aggressively, which could damage the leather’s surface. Pay close attention to seams, folds, and crevices where mildew is likely to concentrate. Rinse your cloth frequently in the cleaning solution and wring it out again to avoid spreading the mildew from one area to another.
Step 5: Address Stubborn Mildew Stains
For more persistent mildew stains that don’t come off with the initial cleaning, you may need a slightly more concentrated effort. For the vinegar or alcohol solution, you can try applying it more directly to the stubborn spot. Dampen a cotton swab with the solution and gently dab or rub the specific area. This targeted approach allows you to treat the stain without oversaturating the surrounding leather.
If you’re using a soap solution, a soft-bristled brush (like a toothbrush) can provide the extra friction needed to lift a tough stain. Apply a small amount of the soapy water to the brush and work it into the stain with a gentle, circular motion. Be extremely careful not to scrub too hard. The goal is to agitate the stain loose from the leather’s pores, not to abrade the surface of the material.
Step 6: Wipe Down the Entire Leather Surface
After you have successfully treated the visible mildew stains, it’s a good practice to wipe down the entire surface of the leather item. Mildew spores are microscopic and can be present on areas that appear clean to the naked eye. Cleaning the entire item helps ensure you have eliminated all traces of the fungus and prevents it from reappearing in a different spot later on.
Using a fresh, clean cloth dampened with your cleaning solution, go over the whole piece of leather. Use long, even strokes to ensure consistent coverage. Again, make sure your cloth is only slightly damp to avoid introducing too much moisture. This step not only removes any lingering spores but also helps to blend the cleaned areas with the rest of the leather, creating a more uniform appearance and finish.
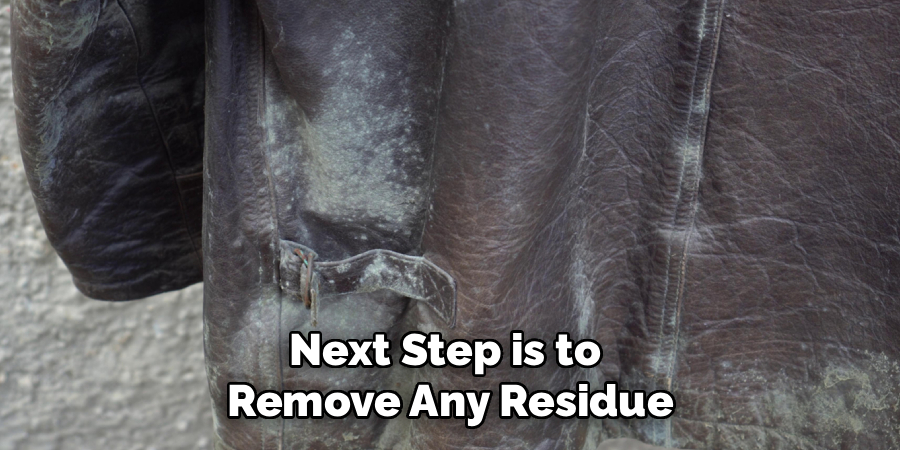
Step 7: Remove All Cleaning Residue
Once you have finished cleaning, the next step is to remove any residue from the cleaning solution. Leaving soap, vinegar, or alcohol on the leather can dry it out or affect its finish over time. Take a new, clean cloth and dampen it with only distilled water. It is important to use distilled water, as tap water can contain minerals that may leave spots or stains on the leather.
Thoroughly wring out the cloth so that it is barely damp. Gently wipe down the entire surface of the leather item one more time. This “rinsing” step effectively removes any leftover cleaning agents from the material’s pores. This ensures the leather is perfectly clean and prepared for the final, crucial steps of drying and conditioning, which will restore its natural moisture and protective qualities.
Step 8: Properly Dry the Leather
Drying the leather correctly is just as important as cleaning it. Never use direct heat sources like a hairdryer, heater, or direct sunlight to speed up the drying process. High heat can cause the leather to shrink, warp, crack, or become brittle by stripping away its essential oils. The best method is to let the leather air dry naturally in a cool, well-ventilated area.
If possible, place the item in a location with good air circulation. You can use a fan or a dehumidifier set on a low setting to help circulate the air and draw moisture out of the room, which will aid the drying process. For items like shoes or bags, stuff them with paper towels or newspaper to help them retain their shape as they dry. Allow the item to dry completely, which may take several hours or even overnight.
Step 9: Condition the Leather
The cleaning process, particularly with solutions containing alcohol or vinegar, can strip some of the natural oils from the leather, leaving it dry and vulnerable. Conditioning is the essential final step to restore moisture, flexibility, and shine. Choose a high-quality leather conditioner that is appropriate for your specific type of leather item (e.g., for upholstery, apparel, or shoes).
Apply a small amount of the conditioner to a clean, soft cloth. Work the conditioner into the leather using gentle, circular motions, covering the entire surface evenly. Let the conditioner sit and penetrate the leather for the amount of time recommended by the product’s instructions, which is typically around 15-30 minutes. The leather will absorb the oils, replenishing its suppleness and reviving its natural luster.
Step 10: Buff and Store Properly
After the conditioner has been absorbed, take another clean, dry cloth and gently buff the entire surface of the leather. This final buffing step removes any excess conditioner and brings out a beautiful, healthy sheen. It leaves the leather looking revitalized and feeling smooth to the touch. Your leather item should now be free of mildew and fully restored.

To prevent future mildew problems, proper storage is key. Store leather items in a cool, dry place with good air circulation. Avoid storing them in plastic bags, which trap moisture. Instead, use breathable fabric bags or simply place them in a closet or room with adequate ventilation. Periodically check on your leather goods, especially during humid seasons, to catch any potential issues early.
Following these steps on how to get mildew out of leather will help keep your leather goods in top condition and prevent any damage or discoloration. Leather is a durable and timeless material that can last for many years with proper care, so make sure to give your leather items the attention they deserve.
Conclusion
Removing mildew from leather is a manageable task that can save your cherished belongings from permanent damage. By following these steps on how to get mildew out of leather—preparing your item, using a gentle cleaning solution, performing a spot test, and properly drying and conditioning—you can effectively eliminate the fungus and its accompanying odor. The entire process hinges on being gentle and avoiding excess moisture or heat.
Remember that proper storage and regular maintenance are your best defenses against future mildew growth. Keeping your leather in a dry, well-ventilated environment will ensure it remains beautiful and functional for years to come. With a little care, your leather goods can easily recover from a mildew scare and continue to be a valuable part of your collection.