
Are you tired of always having to retie your leather laces? How to keep leather laces tied can be notoriously troublesome, constantly coming untied and causing frustration.
While stylish and durable, leather laces often present a common problem: they come undone more quickly than other types of laces. This can be particularly frustrating when you’re on the go or engaged in activities where constantly retying your laces could be better. Fortunately, several effective techniques help keep leather laces securely fastened, ensuring that you can enjoy both the aesthetic and practical benefits of leather footwear without the hassle.
In the following sections, we will explore these methods, offering valuable tips and insights into maintaining a tidy and secure finish for your leather laces.
What Will You Need?
Here’s a list of the essentials:
- Leather laces
- Shoes with eyelets
- Tape (optional)
- Scissors (optional)
- Lighter or matches (optional)
Once you have these materials, you can begin exploring the different methods for keeping your leather laces tied.
10 Easy Steps on How to Keep Leather Laces Tied
Step 1. Start with a Basic Knot:
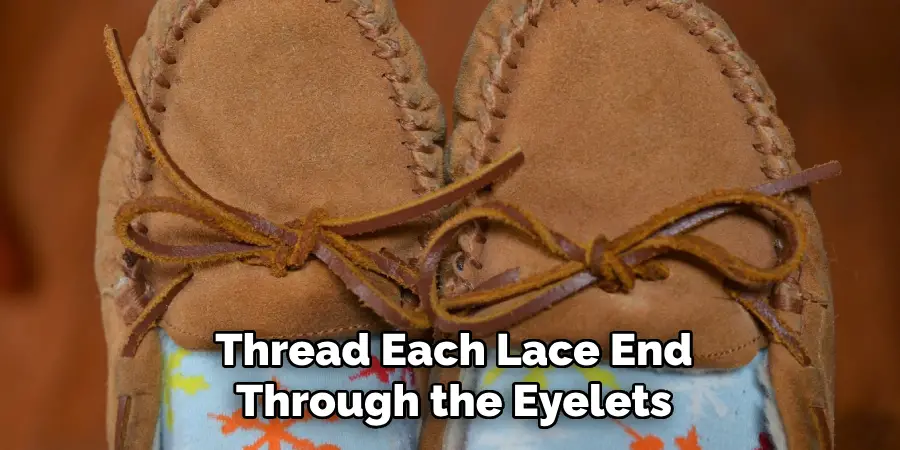
To keep your leather laces tied, begin with a basic knot as your foundation. This is the starting point for any secure lacing technique. Thread each lace end through the eyelets on your shoes until they meet in the middle. Cross the ends over one another to form an “X,” and then tuck one lace under the other, pulling them to tighten. Ensure that this initial knot is snug, as it will serve as the base for enhancing the security of your laces. The basic knot is crucial because it stabilizes the laces, reducing the likelihood of them slipping through the eyelets and coming undone.
Step 2. Utilize a Double Knot:
Once you have established the basic knot as your foundation, tie a double knot to enhance security. To do this, create the standard loop with one lace end, passing the other lace around it as if forming a bow. Instead of pulling it through to finish the bow, wrap it around again and pull it through the loop again. This double knot adds a friction layer to the laces, reducing their chances of unraveling during use. It provides a more robust hold than a single knot, making it particularly effective for activities that require a lot of movement.
Step 3. Try the Surgeon’s Knot:
For an even firmer hold, consider using the surgeon’s knot. Begin by forming the standard first loop of a basic knot and then pass the end of one lace around the loop twice before pulling it tight. This additional wrapping increases the friction and grip of the knot, preventing slipping. The surgeon’s knot is handy for those whose leather laces frequently come undone despite other methods. By incorporating this technique, your lace knot will gain extra stability, which is beneficial when engaging in vigorous activities.
Step 4. Apply Wax or Saddle Soap:
Applying a small amount of wax or saddle soap to your leather laces can increase their friction, making them less likely to slip and unravel. To do this, gently rub a small amount of wax or saddle soap along the length of each lace, focusing primarily on the areas that will be knotted. This treatment not only enhances grip but also moisturizes and protects the leather, prolonging the life of your laces. Be careful not to apply too much, as it might make the laces sticky or difficult to tie. This step is a simple yet effective way to reinforce the security of your knots, providing an additional barrier against frequent untying.
Step 5. Use the Lighter Trick:
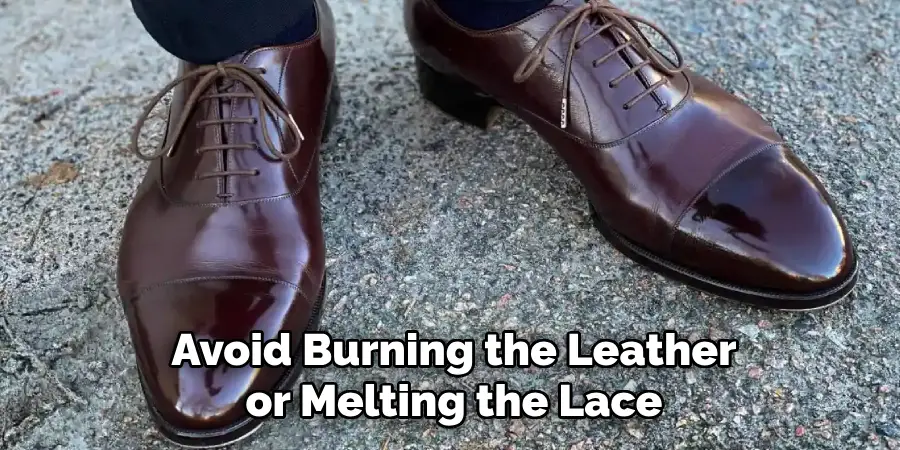
The lighter trick can be highly effective for those looking to secure their leather laces with an extra measure of permanence. Begin by tying your laces in the desired knot, ensuring it is tight and secure. Carefully use a lighter or matches to lightly melt the ends of the leather laces, being cautious to avoid burning the laces themselves or your skin. Once the tips have slightly melted, quickly press them against each other or pinch them to a point to form a solid end. This creates a small, hardened cap at the ends of the laces, which can prevent them from fraying and help maintain the integrity of the knot.

Step 6. Finish with a Nail Polish Coat:
Another effective technique to secure leather laces is applying a clear nail polish coat to the knotted sections. Start by tying your laces in a sturdy knot, then use a thin layer of clear nail polish over the knot and the immediate surrounding areas. This acts as a sealant, effectively “locking” the knot in place and preventing it from unraveling quickly. The polish should be applied carefully to avoid sticking to unintended parts of the lacing. Once dry, the extra layer provides additional rigidity, helping maintain the formed shape and adding an invisible guard against frequent undone.
Step 7. Experiment with Elastic Bands:
Consider incorporating small elastic bands into your knotting strategy if your leather laces still tend to come undone. Begin by tying your leather laces securely using your preferred method. Then, several times, wrap a small elastic band around the knot to hold it firmly in place. This additional binding can absorb any movements or looseness that may cause knots to slip or unravel. The flexibility of elastic bands means they keep a firm grip without being too tight, maintaining comfort. This simple yet effective solution is handy for continuous motion activities, ensuring your laces remain steadfastly secured throughout the day.
Step 8. Use Heat Shrink Tubing:
Another innovative approach to ensuring your leather laces stay tied is by using heat shrink tubing. First, tie your laces using your chosen method, then cut a small piece of heat shrink tubing to fit over the knot. Slide the tubing over the knot carefully and apply heat using a hairdryer or heat gun until the tubing has shrunk snugly around the knot. This method provides a stronghold, as the tubing compresses the knot securely without adding extra bulk. Heat shrink tubing is discreet and ensures your laces remain secured during rigorous activities. Be cautious when applying heat to avoid burning the leather or melting the lace.
Step 9. Consider Lace Locks:
Lace locks are a convenient accessory that can help secure your leather laces and prevent them from undoing. To use lace locks, first tie your laces using a preferred method, such as the double knot or surgeon’s knot. Then, thread the lace ends through the lace locks and adjust them to the desired tightness. Once positioned, slide the lock into place to hold the laces firmly. Lace locks are adjustable and can be reused across different pairs of footwear, providing a versatile solution to loose laces. They are particularly beneficial for high-impact activities, ensuring your knot remains tight without frequent adjustments.
Step 10. Secure with Velcro Straps:
Consider using detachable Velcro straps for a highly secure and convenient option to keep your leather laces tied. Start by tying your leather laces in a double knot or secure style. Then, wrap a Velcro strap around the knot, ensuring it is snug but not overly tight. The Velcro strap provides instant fastening and can be adjusted easily if necessary. This method is ideal for those who frequently adjust their laces, offering a quick, reusable solution to ensure your footwear remains securely fastened. Velcro straps are an excellent choice for active situations, where constant retying might be challenging, and they provide a hassle-free experience throughout your daily activities.
By following these techniques, you can confidently wear your leather laces without worrying about them coming untied.
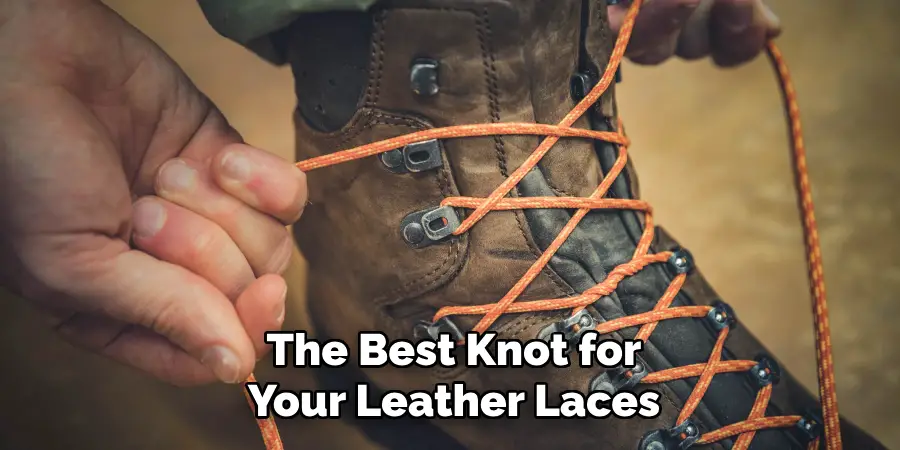
What Types of Knots are Best for Leather Laces?
When it comes to securing leather laces, there is no one-size-fits-all approach. The type of knot you use will depend on personal preference, the thickness and length of your laces, and the level of security needed for your specific activity. Some common knots used with leather laces include:
- Standard Knot: This is the most basic and commonly used knot. In this knot, one lace end is wrapped around the other and pulled through the resulting loop. It’s a simple yet effective way to tie leather laces.
- Surgeon’s Knot: Similar to the standard knot, this method involves an additional wrap-around before pulling through the loop, creating a more secure hold.
- Double Knot: As the name suggests, this knot involves tying one knot on top of another to create extra stability. This is often used for high-impact activities or when laces must stay tied for an extended period.
- Barrel Knot: This knot creates a small barrel-shaped loop, making it ideal for thicker leather laces. It also allows for easy adjustment and can be untied quickly if needed.
Ultimately, the best knot for your leather laces will depend on trial and error, finding what works best for you and your specific needs. Be bold and experiment with different knots once you find one that provides the desired level of security and ease of use.
Conclusion
In conclusion, how to keep leather laces tied requires a combination of strategic knotting techniques and innovative solutions.
By utilizing methods like applying waterproof wax, experimenting with elastic bands, and employing accessories such as lace locks or Velcro straps, you can enhance the security and durability of your laces. Each step provides unique advantages, allowing you to tailor your approach based on activity level and personal preference. Whether you want to maintain a neat appearance or ensure your shoes remain fastened during vigorous activities, these strategies offer practical ways to address common challenges.
With careful application, you can enjoy the confidence of secure leather laces that stay put throughout any endeavor.