
Making a leather boot is a craft that blends tradition with practical skill, offering a rewarding experience and a personalized footwear piece.

Whether you’re a seasoned artisan or a novice enthusiast, understanding how to make a leather boot allows you to create a durable and unique pair tailored to your style and fit preferences. This guide will explore the essential steps involved in crafting a leather boot, from selecting quality materials and tools to pattern cutting, stitching, and assembly techniques.
We’ll delve into the intricacies of lasting and sole attachment methods, ensuring a sturdy construction that withstands daily wear. Whether for fashion, functionality, or the joy of craftsmanship, mastering the art of making leather boots promises both a practical skill and a tangible expression of creativity.
Gathering Materials and Tools
Before embarking on the journey of crafting your leather boots, it is crucial to gather all necessary materials and tools. High-quality materials not only ensure the longevity and durability of your boots but also contribute to their overall aesthetic appeal. Here are the essential materials and tools you will need:
Materials
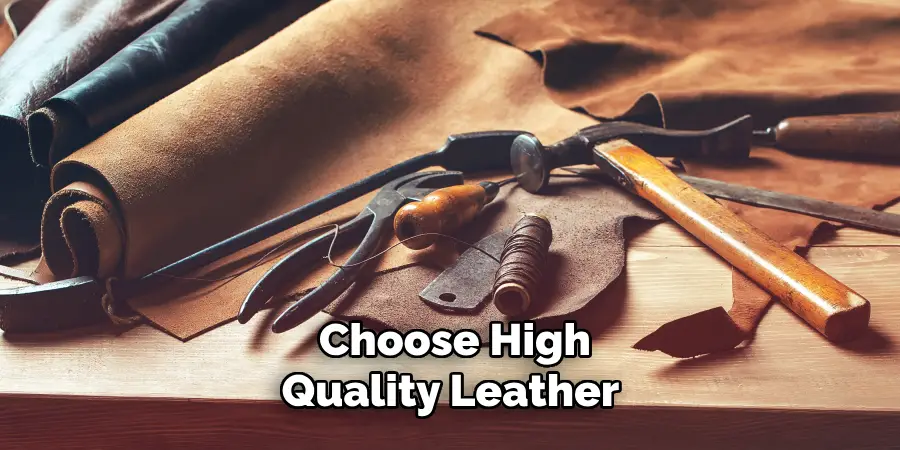
- Leather: The primary material for your boots. Choose high-quality, full-grain leather for its strength, durability, and ability to age beautifully. Ensure you have enough leather for both the upper and the sole.
- Lining Leather: Often softer and thinner than the outer leather, this is used for the interior of the boots for added comfort.
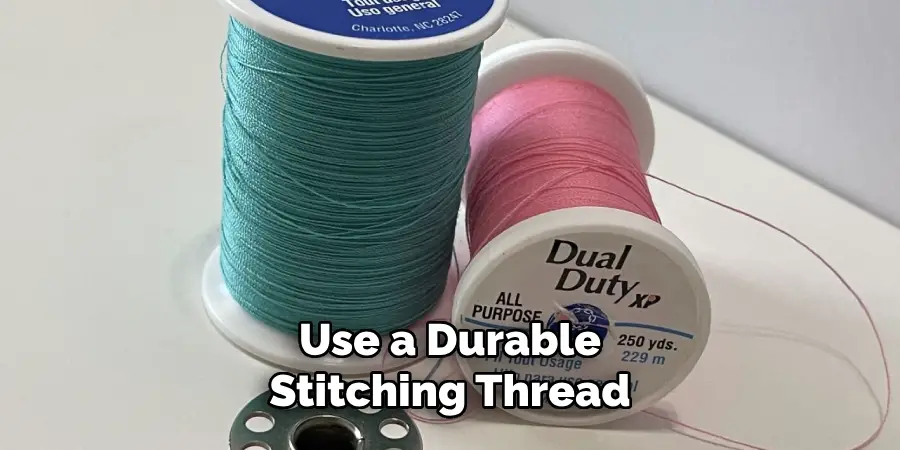
- Thread: Strong, durable thread suitable for leather stitching. Polyester, nylon, or waxed thread are popular choices.
- Soles: Rubber or leather soles, depending on your preference for durability and appearance.
Tools
- Cutting Tools: Leather knives, rotary cutters, and a sturdy pair of scissors for precise cutting.
- Punch Tools: Hole punches in various sizes for making holes for stitching and lace eyelets.
- Stitching Tools: Needles suitable for leather, stitching awl, and stitching chisels or pricking irons to mark stitching lines.
- Lasts: Foot-shaped molds that help maintain the shape of the boot during construction. Make sure these match the desired size and shape.
- Mallet or Hammer: For setting rivets, eyelets, and ensuring leather pieces bond well with adhesive.
- Edge Tools: Edge bevelers and burnishers to create smooth, finished edges on the leather.
10 Methods How to Make a Leather Boot
1. Design and Pattern Making
The first step in making a leather boot is designing the boot and creating a pattern. Begin by sketching your design ideas on paper, taking into account the style, height, heel type, and any decorative elements you wish to incorporate. Consider functional aspects such as the intended use of the boot (e.g., casual, work, dress) and ergonomic factors for comfort.
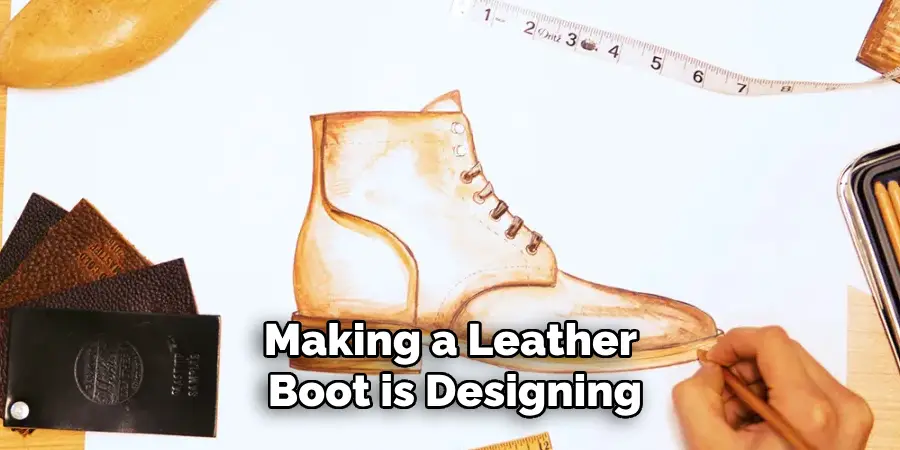
Once you have a finalized design, transfer it onto pattern paper or cardboard. Use precise measurements for each part of the boot: the vamp (toe area), quarters (sides and back), heel counter, and shaft. Ensure the pattern pieces fit together seamlessly and accommodate the shape of the foot for optimal fit and comfort.
2. Selecting Leather and Materials
Choose high-quality leather suitable for the intended purpose and style of your boot. Leather types such as cowhide, calfskin, or exotic leathers like alligator or ostrich offer varying textures and durability.
Consider factors such as thickness (measured in ounces), grain pattern, and color. Select lining leather for the interior of the boot to enhance comfort and moisture absorption.
Gather additional materials such as thread (usually waxed nylon or polyester for strength), boot lasts (molds that shape the boot during construction), reinforcement materials for the heel and toe areas, eyelets or hooks for laces (if applicable), and any decorative elements such as buckles or stitching accents.
3. Cutting the Leather
Once you have your pattern and materials ready, carefully lay out the selected leather on a clean, flat surface. Place the pattern pieces on the leather, ensuring efficient use of the material while aligning the grain direction as desired. Use a sharp rotary cutter or leather knife to cut out each pattern piece accurately.
Pay attention to any specific markings or notches on the pattern that indicate stitching lines, grain direction, or placement of reinforcements. Precision cutting is crucial to ensure consistency and quality in the finished boot.
4. Skiving and Edge Finishing
After cutting the leather pieces, skive (thin down) certain areas where multiple layers overlap or where the leather needs to be thinner for folding and stitching. Use a skiving knife or specialized skiving tool to carefully thin the edges of the leather without compromising its strength.
Skiving helps reduce bulkiness in seams and ensures smooth transitions between components.
Next, refine the edges of the leather pieces using an edge beveler to round off sharp corners and create a polished look. Burnish the edges with a burnishing tool and edge slicker, applying water or gum tragacanth to smooth and seal the edges. This process enhances the durability and aesthetic appeal of the leather boot.
5. Assembling the Boot Upper
Assemble the boot upper by stitching together the vamp, quarters, and any additional components according to the pattern instructions.
Use a durable stitching thread and a sturdy sewing machine or hand stitching technique. Follow the specified stitch type (e.g., lock stitch, saddle stitch) for strength and longevity.
Carefully align each piece and sew along the designated stitching lines, ensuring even tension and consistent stitch spacing. Reinforce critical areas such as the heel counter and toe cap with additional stitching or reinforcement materials as needed. This stage forms the basic structure of the boot upper, ready for lasting and assembly.
6. Lasting and Molding
Lasting is the process of shaping the boot upper around a boot last (foot-shaped mold) to achieve the desired fit and silhouette. Choose a last that matches the size and shape of the intended boot wearer’s foot, ensuring comfort and proper alignment of the boot components.
Carefully pull and stretch the leather upper over the last, starting from the toe and working towards the heel.
Use lasting pliers or a lasting machine to secure the leather tightly around the last, smoothing out any wrinkles or excess material. This process shapes the leather to conform to the contours of the foot and creates the distinctive shape of the boot.
7. Attaching the Sole
Attach the sole to the boot upper using a welted or cemented construction method, depending on your preference and expertise.
For a welted construction, stitch a leather or rubber welt strip along the bottom edge of the boot upper, securing it with strong thread. Position the sole (pre-cut from leather or rubber) over the welt and stitch through the sole, welt, and boot upper using a welt stitch or Blake stitch for durability.
Alternatively, use a cemented construction method by applying a high-quality adhesive to both the boot upper and sole. Press the sole firmly onto the upper, ensuring even adhesion and alignment. Allow sufficient drying time as recommended by the adhesive manufacturer before proceeding.
8. Finishing and Detailing
Once the sole is securely attached, refine and polish the leather boot to enhance its appearance and durability. Trim any excess thread and buff the seams with a bone folder or edge slicker to flatten and smooth the stitching lines. Apply leather dye or polish to achieve the desired color and shine, taking care to protect any exposed areas of the boot upper.
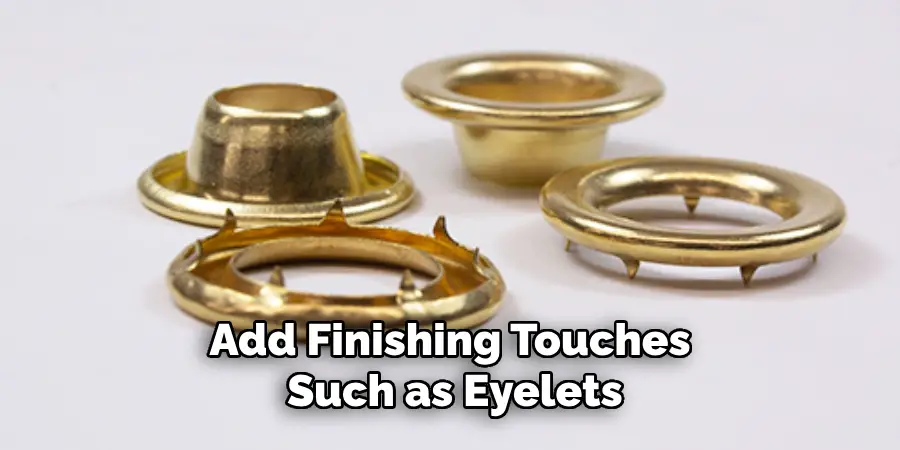
Add finishing touches such as eyelets or hooks for laces, decorative stitching, or embossed logos to personalize the boot’s design. Use a combination of hand tools and specialized equipment to achieve professional-quality detailing that highlights the craftsmanship of the leather boot.
9. Conditioning and Waterproofing
Before wearing the leather boot, apply a conditioning treatment to nourish and protect the leather from drying out and cracking.
Use a leather conditioner or cream suitable for the type of leather used, applying it evenly with a soft cloth or brush. Allow the conditioner to penetrate the leather and buff off any excess to restore suppleness and maintain the leather’s natural oils.
If desired, apply a waterproofing treatment to the leather boot to repel moisture and prolong its lifespan. Choose a waterproofing spray or wax-based product formulated for leather footwear, applying it according to the manufacturer’s instructions.
Allow the waterproofing treatment to dry completely before wearing the boots in wet or inclement weather conditions.
10. Quality Assurance and Fit Testing
After completing the construction and finishing processes, conduct a thorough quality assurance check to ensure the leather boot meets your standards of craftsmanship and durability. Inspect the stitching, seams, and overall construction for any defects or inconsistencies. Test the fit of the boot by trying it on and walking to assess comfort, support, and flexibility.
Make any necessary adjustments or refinements to achieve a perfect fit and finish. Consider seeking feedback from experienced bootmakers or footwear enthusiasts to further refine your skills and techniques in leather boot making.
You can check it out Stop Hydrolysis in Leather Boots
Conclusion
Crafting a high-quality leather boot involves a meticulous process that combines traditional craftsmanship with modern techniques.
From selecting premium leather and precise cutting to elaborate stitching and finishing, each step plays a crucial role in ensuring the boot’s durability, comfort, and aesthetic appeal.
By following the outlined steps, aspiring bootmakers can create footwear that embodies both functionality and artistry. Remember that practice and attention to detail are key to mastering the craft of leather boot making. Thanks for reading, and we hope this has given you some inspiration on how to make a leather boot!