
Calfskin leather is renowned for its exceptional softness, fine grain, and durability, making it one of the most sought-after materials for crafting luxury bags. Its high-quality texture and feel are unmatched, providing bags with a luxurious, classy, timeless appeal.
The elegance of calfskin leather bags lies in their ability to retain a high-end, polished look over time, further enhancing their desirability. Crafting a calfskin leather bag requires attention to detail and skillful artistry.

The process involves selecting the finest materials to ensure the utmost quality and includes carefully cutting, assembling, stitching, and finishing the leather to achieve a flawless final product. These intricate processes are key to understanding how to make calfskin leather bags that are both beautiful and long-lasting, celebrating the art of fine craftsmanship in the world of high fashion.
Materials and Tools Needed
Calfskin Leather
Selecting the right type of calfskin leather is crucial for crafting a quality bag. Full-grain calfskin leather is the highest quality, offering the most natural, unaltered surface that displays the unique texture and grain of the hide. It is highly durable and ages beautifully, developing a rich patina over time.
Top-grain calfskin, while slightly sanded down, provides a smooth, durable finish and is less prone to staining. Embossed calfskin leather is another option, offering rich textures imprinted into the surface, perfect for adding a distinctive pattern to your design.
When choosing calfskin leather, consider the desired color and texture, ensuring it complements the style of the bag you aim to create. To source quality calfskin leather, contact reputable leather suppliers or specialized craft stores that guarantee premium materials.
Bag Pattern
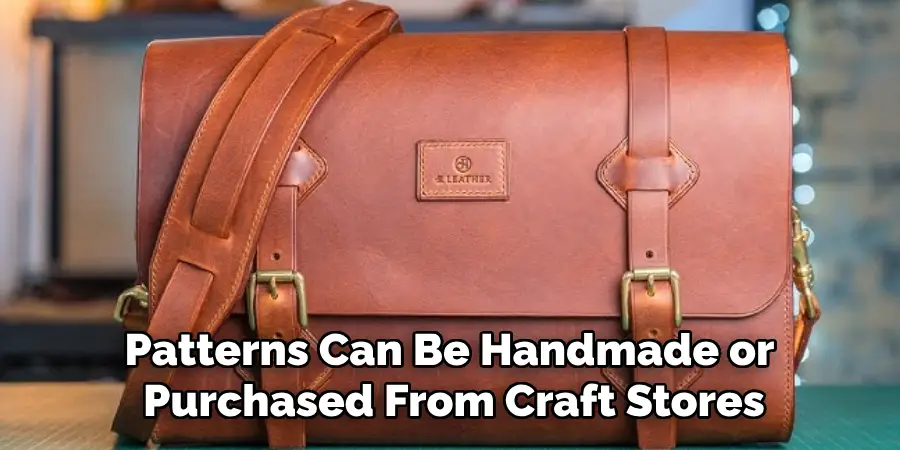
A well-designed bag pattern is essential to accurately cutting and assembling your project. Beginners may want to start with simple designs like a tote bag, satchel, or clutch. Patterns can be handmade or purchased from craft stores, often providing designs suitable for varying skill levels.
Cutting Tools
To achieve precise cuts, use a sharp rotary cutter or leather shears. Pair these with a metal ruler and a cutting mat to protect surfaces during the cutting process.
Stitching Tools
Leather needles, waxed thread, and an awl are necessary for hand stitching. Alternatively, a sewing machine designed for heavy-duty leather work can speed up the process and provide uniform stitches.
Other Materials
Edge bevellers and burnishing tools are pivotal for refining bag edges, while leather glue and hole punches facilitate assembly. Depending on the bag design, consider hardware such as zippers, clasps, rivets, and D-rings for added functionality and aesthetics.
Designing and Preparing the Bag Pattern
Choosing a Bag Design
When selecting a bag design, it’s important to choose a style that aligns with the unique properties of calfskin leather. Calfskin’s softness and durability make it suitable for various bag types, but beginners may want to start with simpler patterns to hone their skills.
Tote bags, pouches, and clutches are beginner-friendly projects that allow you to familiarize yourself with the material without overwhelming complexity. As your skills improve, you might progress to more intricate designs like structured handbags or backpacks, highlighting calfskin’s ability to hold shape and showcase its fine texture.
Creating or Sourcing a Pattern
Creating your own bag pattern can be both rewarding and challenging. Use large sheets of paper or heavy cardboard to draft your pattern, ensuring each piece is accurately measured to achieve the desired proportions of your bag. Precision is crucial in this step, as it sets the foundation for the entire construction process.
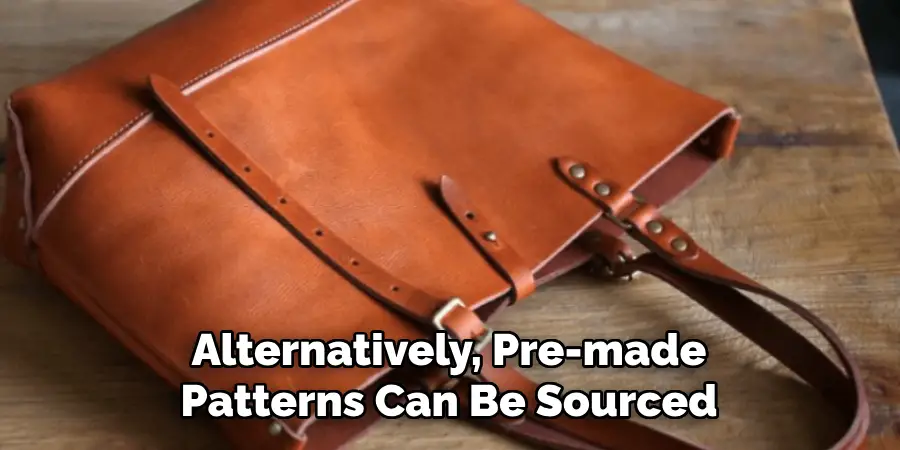
Alternatively, pre-made patterns can be sourced from craft stores or online platforms, providing a dependable starting point. To transfer a pattern onto leather, cautiously place the pattern pieces on the laid-out leather and trace them around them using a leather marking tool. This sets clear guidelines for the cutting process.
Marking and Cutting the Leather
Begin by laying the calfskin leather flat on a cutting mat, ensuring it’s smooth and free of creases. Position the pattern pieces on the surface and trace around each piece with a leather marking tool.
Carefully cut along the marked lines using a rotary cutter or sharp leather shears to maintain clean, straight edges. Precision in cutting is paramount to achieving a professional finish. Don’t forget to cut additional components such as straps, pockets, or flaps as your pattern design dictates.
Preparing the Leather Edges
Preparing the edges of your leather pieces is crucial for a polished and professional appearance. Use an edge beveller to round off any sharp corners and smooth the edges. This not only enhances the aesthetic appeal but also reinforces the durability of the seams by reducing exposure to wear and tear.
Once bevelled, a burnishing tool can be employed to smooth and polish the edges. Applying gentle pressure, rub the tool back and forth along the edges to create a sleek, finished look that complements the luxurious feel of calfskin.
How to Make Calfskin Leather Bags: Assembling the Bag
Aligning the Pieces
Before beginning the assembly of your calfskin leather bag, it’s essential to lay out all the cut leather pieces to ensure that each part aligns perfectly. By doing this, you can verify that edges are precise and will fit together seamlessly once stitched. For complex designs involving multiple components, use leather glue to temporarily hold pieces in place before stitching.
This technique prevents movement during the sewing process, enabling more accurate stitching. Apply a small amount of glue along the edges, then gently press the pieces together until they hold; for larger or heavier pieces, clips or weights may be used in conjunction with glue to maintain alignment.
Punching Stitching Holes
Creating evenly spaced stitching holes is vital for achieving neat and professional-looking seams. Use a leather hole punch or stitching chisel to make these holes along the edges of your leather pieces.
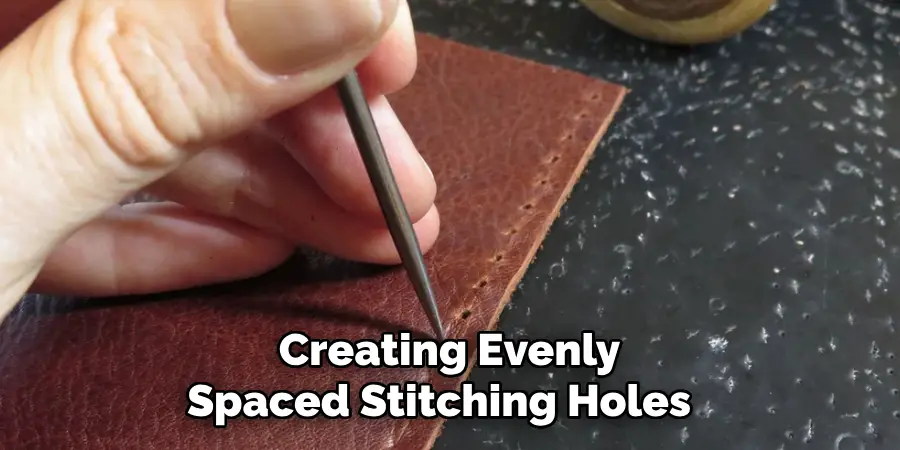
Begin by marking stitching lines with a dull awl to guide your hole placement and ensure consistent spacing. For reinforced areas like bag handles or stress points, consider making double holes to allow for extra stitching, which enhances durability. With even spacing, your final stitches will appear clean and improve the bag’s longevity by evenly distributing stress.
Hand Stitching the Leather
Saddle stitching is the preferred method for hand-stitching leather, and it is known for its strong and durable seams. Begin by threading a leather needle with waxed thread and ensure there is an equal length of thread extending from both ends. Pass the needle through the first hole from one side and pull it halfway through.
With the second needle on the opposite side, pass it through the same hole and pull both threads to create the first stitch. Continue this process, threading through each hole and maintaining consistent tension to ensure even stitches along the leather. Saddle stitching secures the pieces firmly and adds to the handcrafted quality of the bag.
Using a Sewing Machine (Optional)
For those more experienced or seeking efficiency, a heavy-duty sewing machine designed for leather can be an excellent alternative for stitching your bag. Select a needle and thread suitable for leather and adjust the machine settings to accommodate the material’s thickness.
Practice on scrap leather to test tension and ensure the stitch settings are optimized. Sewing by machine can expedite the process while providing uniform stitches, offering a polished finish for your calfskin leather bag.
How to Make Calfskin Leather Bags: Adding Hardware and Attachments
Attaching Handles and Straps
Expertly attaching handles and straps is crucial to ensure your calfskin leather bag is both functional and durable. Begin by identifying reinforced points on the bag where the handles or straps will be secured, typically at the top of the bag or on extended flaps. Consider attaching straps with rivets or D-rings for added strength when using them. Here’s how you can do it:
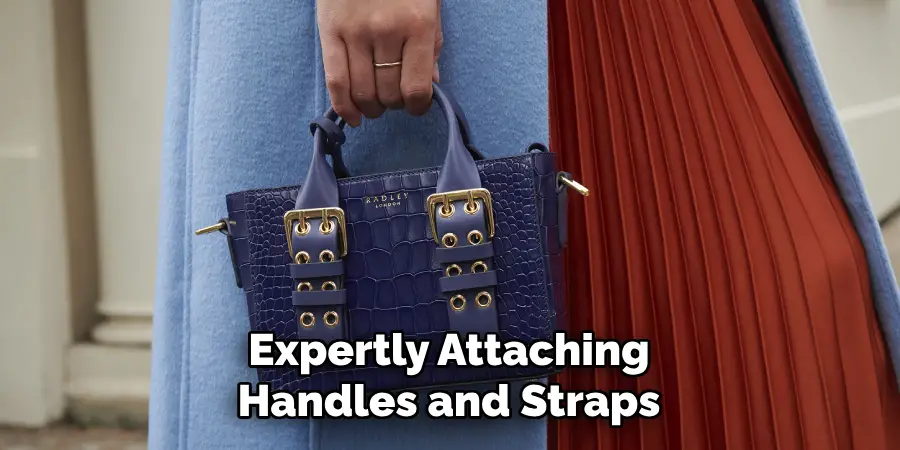
- Punch precise holes at the strap ends and the designated attachment points on the bag using a leather hole punch. Ensure the holes align perfectly for a secure fit.
- Insert the rivets or D-rings and use a mallet or rivet setter to fix them in place. Making sure your tools and materials are sturdy is key to achieving a strong attachment.
- If sewing the handles directly onto the bag body, use a double stitching method to double the thread at these stress points for added durability. This technique ensures the handles hold firm under the weight of the contents.
Adding Zippers or Closures
If your bag design includes a zipper, accurate installation is essential for a seamless finish. Here’s a step-by-step guide:
- Align the zipper along the designated edge of the bag, using a small amount of adhesive on the zipper tape to maintain position before sewing.
- Carefully sew along the edges of the zipper to secure it, ensuring your stitches are straight and even.
- For alternative closures like magnetic snaps, buckles, or clasps, choose appropriate spots on flap-style bags or handbags, punch the necessary holes, and attach the hardware following the manufacturer’s instructions.
Attaching Pockets and Lining (Optional)
Enhance the functionality of your bag by adding internal or external pockets:
- Cut the pocket pieces from either leather or fabric, ensuring they match your design dimensions.
- Stitch the pockets onto the bag body, either externally for easy access or internally for organization, following your bag pattern’s guidance.
- To line the interior of the bag, choose a suitable fabric and attach it using sewing or adhesive techniques. Ensure the lining is smooth and wrinkle-free, aligning it with the bag’s seams for a professional finish.
By attending to these details, your calfskin leather bag will not only boast an exquisite aesthetic but also be practical and long-lasting.
Finishing Touches on the Bag
Burnishing the Edges
Use a burnishing tool combined with water or gum tragacanth to achieve smooth and sealed edges on your calfskin leather bag. Start by applying a small amount of water or gum along the raw edges of the leather.
Gently rub the burnishing tool back and forth along the dampened edges. The friction will create heat, helping the leather fibers compact and smooth out. Continue this process until the edges are sleek and glossy. This step not only enhances the appearance of the bag but also protects the edges from fraying and wear.
Polishing the Leather
Once the edges are burnished, it’s time to polish the entire bag. Apply a quality leather conditioner or wax to a soft cloth and gently rub it over the bag’s surface. This treatment nourishes the leather, improves its resilience, and enhances its sheen.
Once the conditioner is applied, buff the leather with a clean, dry cloth, moving in circular motions to achieve a smooth, polished finish. This process enhances the visual appeal and offers a layer of protection against environmental elements.
Inspecting and Adjusting
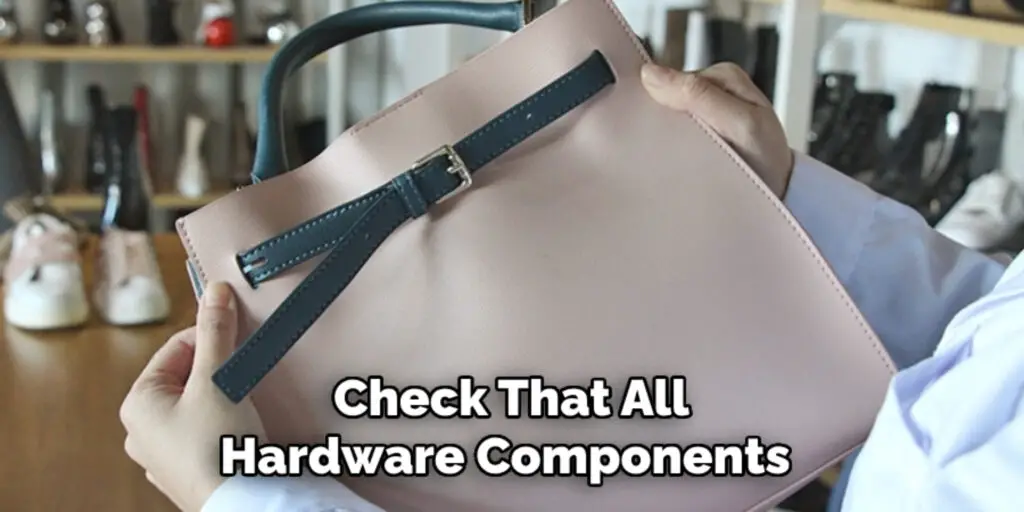
The final step is a thorough inspection of the bag for any imperfections, such as loose stitches, hardware issues, or misaligned pieces. Use scissors to trim any excess thread or leather for a clean, professional look.
Also, check that all hardware components, such as zippers and buckles, are securely attached and functioning properly. By addressing these details, you ensure that your calfskin leather bag is beautiful, durable, and ready for use.
Conclusion
Creating a calfskin leather bag is a rewarding endeavor that combines artistry and craftsmanship. Each phase demands attention to detail, from the initial step of selecting high-quality calfskin leather to the precise cutting of patterns.
Mastering techniques like saddle stitching or using a sewing machine ensures strong, durable seams, while proper attachment of hardware, handles, and closures enhances both functionality and style. Finishing touches, such as burnishing edges and polishing the leather, elevate the bag from simple to sophisticated.
The journey of learning how to make calfskin leather bags not only brings the joy of tangible achievement but also offers the unique satisfaction of adding your personal touch to every creation. As you gain confidence, experiment with diverse designs, leather types, and hardware options, which will help you evolve your style and expertise, inviting endless possibilities in the craft of making distinctive leather bags.