
Are you tired of floppy, shapeless leather? Do you want to create a sturdy, structured piece with your leather crafting skills? Making leather stiff can be tricky, but with the proper techniques and materials, you can achieve that desired stiffness quickly.
How to make leather stiff can be an essential process for various crafting and repair projects, allowing you to shape and structure leather items to meet specific needs. Whether you’re working on a leather accessory, a piece of armor, or a decorative item, giving leather additional rigidity can enhance its functionality and appearance. This guide outlines several methods and techniques to effectively stiffen leather, catering to different project requirements and personal preferences.

By preparing your leather with the right tools and materials, you can achieve the desired level of stiffness while maintaining the quality and integrity of the leather.
What Will You Need?
Before we dive into the methods of making leather stiff, let’s first gather all the necessary tools and materials. These may vary depending on the technique you choose to use, but here are some basic items that you’ll likely need:
- Leather (of course!)
- A sharp utility knife or rotary cutter
- A cutting mat or firm surface for cutting
- Sandpaper or a sanding block
- Water-based leather finish or sealant
- Wax polish (optional)
- Bone folder (optional)
Once you have these items ready, you can proceed with the methods listed below to stiffen and structure your leather.
10 Easy Steps on How to Make Leather Stiff
Step 1. Soak the Leather in Water
Soaking the leather in water is the initial step toward achieving a stiffer texture. Begin by filling a basin or container with room-temperature water. Submerge the leather piece entirely, allowing it to soak for at least ten minutes. This soaking process allows the leather fibers to absorb moisture, softening them temporarily and making the material more pliable.
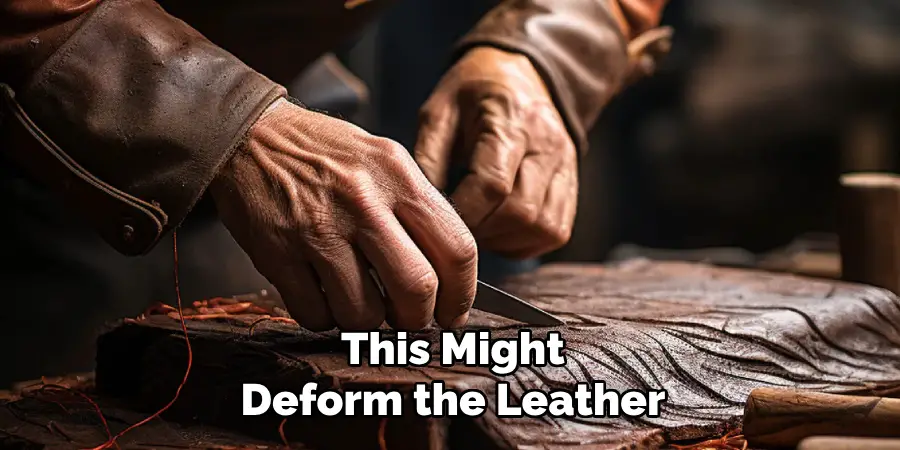
Keep an eye on the leather to ensure it remains submerged and doesn’t float above the waterline. Additionally, avoid using hot water, as this can cause the leather to shrink or warp. Once the leather has absorbed enough water, you can remove it from the basin and gently squeeze out excess water, ensuring not to wring or twist it excessively, as this might deform the leather. Proceeding with the next steps while the leather is still damp will help lock in the desired stiffness as it dries.
Step 2. Shape the Leather
Once you’ve soaked the leather, it’s time to shape it while it’s damp. Place the leather on a flat surface, smoothing it out to remove any wrinkles or creases. If your project requires a specific shape, use weights or blocks to hold the leather in place, ensuring it retains the desired form as it dries. For more intricate designs, consider using molds or forms that fit the dimensions of your intended final product. This step is crucial for creating a structured appearance in the finished piece, as the leather will hold the shape it is set in during the drying process. Remember to handle the leather gently to maintain quality and avoid unwanted stretching or distortion.
Step 3. Allow the Leather to Partially Dry
Once the leather is shaped, let it partially dry while still holding its form. Find a well-ventilated area away from direct sunlight or heat sources to allow for even drying. Monitoring the leather during this phase is essential to ensure it retains the desired shape. The leather should reach a stage where it’s dry to the touch but still retains some flexibility. Avoid letting it dry completely before moving to the next step, as slight dampness will aid in the effectiveness of the stiffening process. This partial drying stage helps set the leather into shape, providing a solid foundation for further treatment.
Step 4. Apply a Leather Stiffening Agent
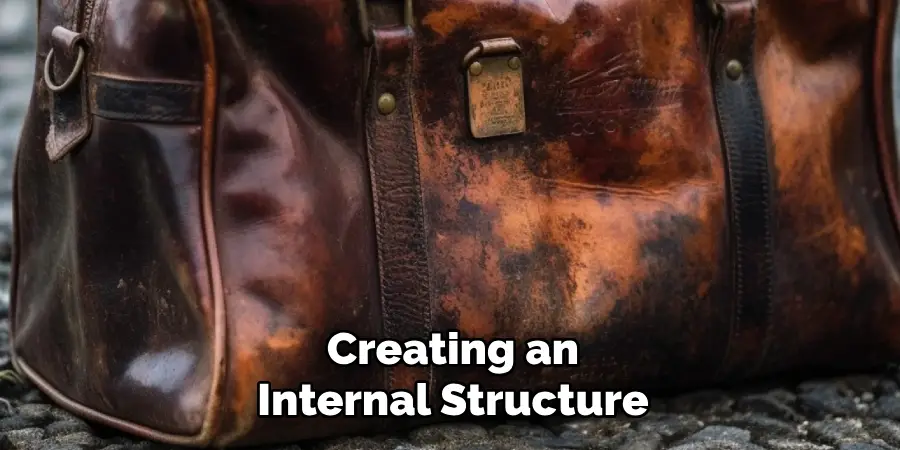
It’s time to apply a stiffening agent while the leather is still damp. This could be a water-based leather stiffener or an essential water and glue mixture. Use a brush or sponge to evenly apply the stiffening solution over the entire surface of the leather piece, ensuring thorough coverage. Be careful not to oversaturate the leather, which might lead to unwanted stiffness or damage. Allow the solution to soak into the leather, creating an internal structure that will solidify as it dries. This step is integral to providing the long-lasting rigidity needed for your project, reinforcing your crafted form.
Step 5. Let the Leather Fully Dry
After applying the stiffening agent, allow the leather to dry completely. Place it back in a cool, well-ventilated spot out of direct sunlight or heat, as excessive heat can cause the leather to become brittle. The drying process can take several hours or even overnight, depending on the thickness of the leather and environmental conditions. Be patient during this step, as rushing the drying period might compromise the stiffness you wish to achieve. Once fully dry, the leather should feel significantly firmer and retain the shape it was set in. This complete drying phase is crucial for locking in the stiffness and ensuring durable, long-lasting results.
Step 6. Sand the Leather Surface
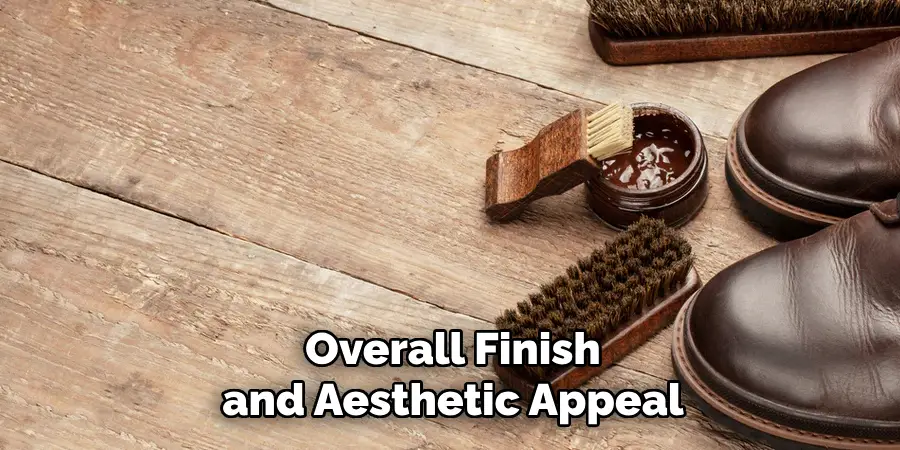
Once the leather has thoroughly dried and stiffened, the next step involves sanding the surface to smooth out any roughness or imperfections. Use fine-grit sandpaper or a sanding block to lightly buff the leather, maintaining even pressure to avoid over-sanding in one area. This process not only refines the texture but also prepares the leather for finishing touches by creating a more uniform surface. Wipe away any dust or particles with a soft cloth before proceeding. Remember that sanding is not intended to alter the leather’s shape or thickness significantly but to enhance its overall finish and aesthetic appeal.
Step 7. Apply a Leather Finish
After sanding, it’s essential to apply a finish to protect the leather and enhance its appearance. Select a water-based leather finish or sealant that suits the desired look of your project, whether matte, gloss, or satin. Apply the finish evenly across the entire leather surface using a clean cloth or soft brush. This protects the leather from moisture and dirt and provides a polished and professional appearance. Allow the finish to dry completely in a well-ventilated area before handling the leather further. Applying a finish is a vital step in finalizing your project, ensuring that the leather remains stiff and maintains its beauty over time.
Step 8. Inspect and Finalize
Once the leather finish has dried completely, it’s time to inspect your piece for any final adjustments. Check for consistency in stiffness and ensure that all parts of the leather piece are secure. If you notice any areas that require additional stiffness, you may lightly reapply the stiffening agent and allow it to dry thoroughly. Ensure that any embellishments or attachments have been securely fastened. This final step will enable you to make any necessary refinements and prepare your leather project for its intended use or display. Your careful attention to detail throughout each step will result in a beautiful and durable product.
Step 9. Store or Use the Finished Leather Product
After completing the inspection and ensuring your leather project meets your expectations, decide whether it will be stored or immediately put to use. If storing, choose a cool, dry place away from direct sunlight to prevent potential damage from UV rays or moisture. Leather is naturally breathable, so avoid airtight containers to maintain its integrity over time. If using the leather item, handle it with care, significantly if it’s stiffened, to preserve its shape and durability. Whether it’s a decorative piece or a functional item, your attention and effort in crafting it will ensure it serves its purpose beautifully.
Step 10. Maintain and Care for Your Leather Item
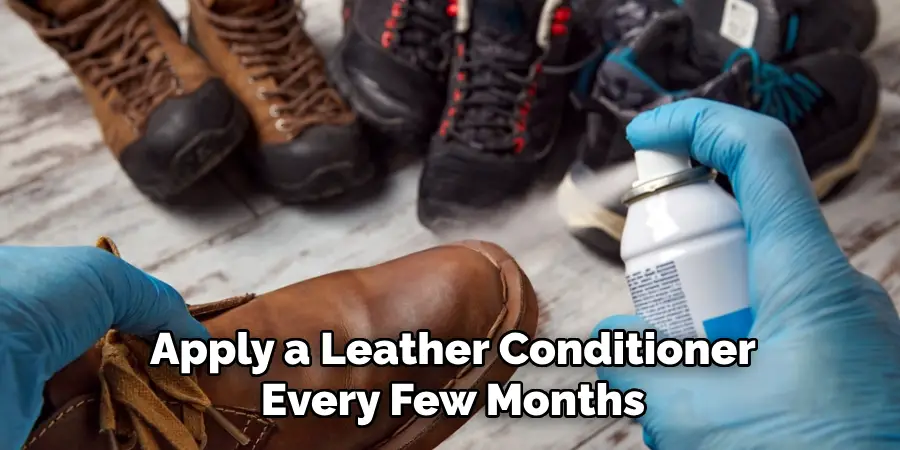
Regular maintenance and care are essential to ensure the longevity of your finished leather project. Periodically clean the leather with a damp cloth to remove dust and dirt, but avoid using excessive water or harsh cleaning agents that could damage the material. Apply a leather conditioner every few months to keep the leather supple and prevent it from drying out or cracking. Store the item in a cool, dry place and avoid prolonged exposure to direct sunlight, which can lead to fading and deterioration. By practicing proper care, you can maintain the leather’s stiffness, appearance, and overall quality over time, ensuring your leather project continues to fulfill its function while retaining its beauty.
Following these steps and tips, you can successfully stiffen leather for crafting or repair needs.
Conclusion
In conclusion, how to make leather stiff involves a meticulous process that requires patience, precision, and the right materials.
By carefully selecting your stiffening agent and ensuring thorough application, you create a durable and long-lasting structure. The drying, sanding, and finishing stages are vital for achieving the desired stiffness and enhancing the leather’s aesthetic qualities. Moreover, inspecting and adjusting the final product ensure it meets your standards, while proper storage and ongoing maintenance prevent deterioration over time.
When these steps are diligently followed, you will achieve a stiffened leather piece that is both functional and visually appealing, ready to be showcased or utilized as needed.
You can also check it out : How to Clean Leather Loafers