Are you looking to give your leather belt a personalized touch? Don’t worry. Monogramming is easier than you think.

Monogramming a leather belt is a timeless way to add a personal touch to a functional accessory. Whether for yourself or as a gift, a monogram can transform an ordinary belt into a unique and thoughtful keepsake. The process involves stamping initials or a design onto the leather, creating a bold and custom look. With the right tools, techniques, and a bit of patience, even beginners can create professional-quality results.
This guide on how to monogram leather belt will walk you through the steps to monogram a leather belt, ensuring a polished and personalized finish. Let’s get started with the materials you will need.
What Are the Benefits of Monogramming a Leather Belt?
Before we dive into the steps of monogramming a leather belt, let’s explore some of the benefits of this technique.
- Personalization: Adding initials or a design to your leather belt instantly makes it unique and one-of-a-kind. It’s an excellent way to express your style or gift someone with a meaningful and personalized accessory.
- Durability: Stamping letters or designs onto the leather creates an indentation that will last for years without fading or wearing off. Unlike painted-on decorations, a monogram won’t chip, peel, or flake over time.
- Timelessness: Monograms have been around for centuries, and they are a popular and elegant way to personalize belongings. A monogrammed leather belt will never go out of style, making it a timeless addition to your wardrobe.
- Versatility: A monogram can be added to any type of leather belt, from casual jeans belts to formal dress belts. It’s also suitable for both men and women, making it a versatile option for anyone looking to add a personal touch to their accessories.
Now that we’ve covered some benefits, let’s move on to the steps for monogramming a leather belt.
What Will You Need?
To monogram a leather belt, you will need the following materials:
- A Leather Belt: Choose a high-quality leather belt that has the desired width and color. Vegetable-tanned leather works best for stamping.
- Monogram Kit: You can purchase a monogram kit that includes stamps, letters, and a hammer from your local craft store or online. Alternatively, you can opt for individual letter stamps if you already have essential stamping tools.
- Pencil and Ruler: For drawing guidelines to ensure even monogram placement on the belt.
- Cutting Mat or Surface to Work on: This will protect your work surface while stamping.
- Masking Tape: To hold the stencil in place while stamping.
- Rubbing Alcohol: To clean and prepare the leather surface for stamping.
- Paper Towels or Cloth: To wipe off excess rubbing alcohol and any mistakes.
Now that you have all your materials let’s dive into the steps of monogramming a leather belt.
8 Easy Steps on How to Monogram Leather Belt
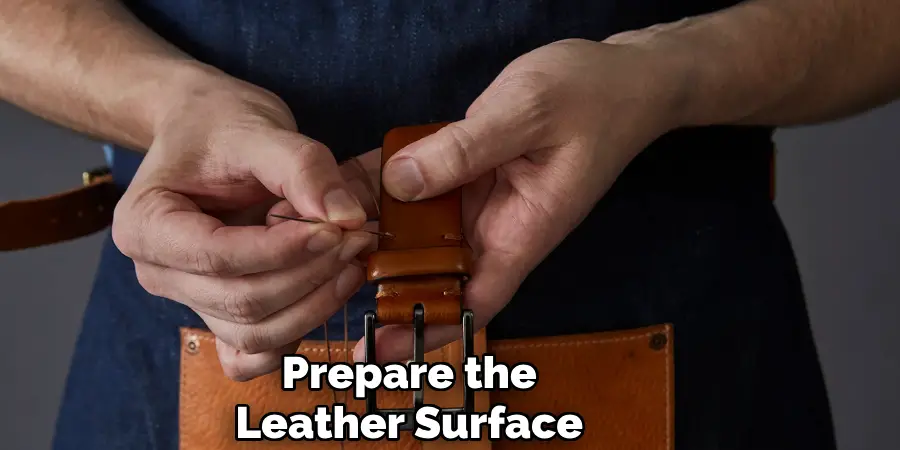
Step 1. Prepare the Leather Surface:
Start by cleaning the leather belt thoroughly to ensure proper adhesion and clarity of the monogram. Dampen a paper towel or cloth with rubbing alcohol and gently wipe the entire surface of the leather where the monogram will be placed. This step removes any oils, dirt, or residue that might interfere with stamping. Once cleaned, allow the leather to dry completely.
The surface must be clean and dry before moving on to the following steps to ensure the best possible results. This preparation also helps the leather fibers become slightly conditioned, making them more receptive to the stamps.
Step 2. Mark the Monogram Placement:
Using a ruler and a pencil, carefully measure and mark the exact spot where you want to place the monogram on the leather belt. Ensure the placement is centered and aligned properly to maintain a professional look. Lightly draw guidelines if necessary, as these will help ensure even spacing and straight stamping.
Be cautious not to press too hard with the pencil, as deep marks may show through or be difficult to remove later. This step is crucial for accuracy and achieving a balanced final design.
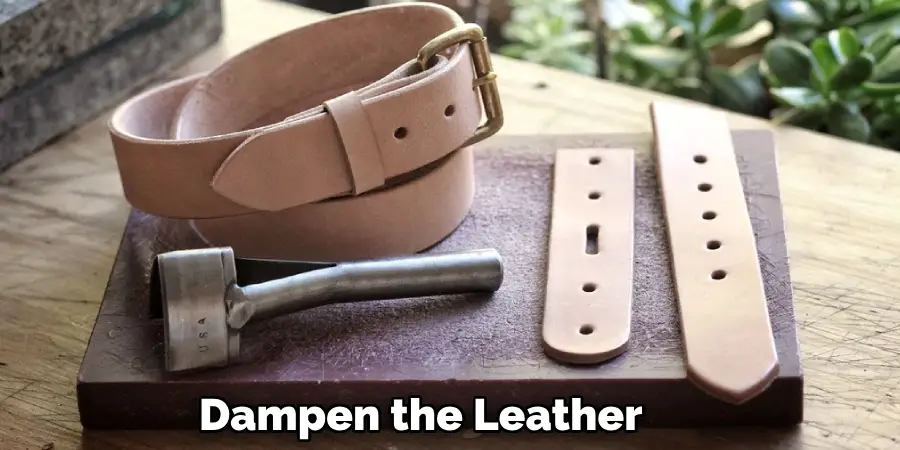
Step 3. Dampen the Leather:
Lightly moisten the leather using a clean sponge or cloth. Ensure the surface is damp but not soaked, as excessive water can damage the leather. This step is essential to soften the leather fibers, making them more pliable and easier to work with. The dampness also helps the stamps leave a more precise and more defined impression.
Allow the leather to absorb the moisture evenly before beginning the stamping process. Properly dampened leather is key to achieving the best results for your monogram design.
Step 4. Position the Stamps:
Arrange your stamping tools according to the guidelines previously drawn. Start with the first letter of your monogram and work your way through the design. Hold each stamp firmly to avoid slipping, as this could distort the impression. Double-check the alignment and spacing before applying any pressure to ensure consistency throughout the design. Taking time during this step is crucial for a polished and professional result.
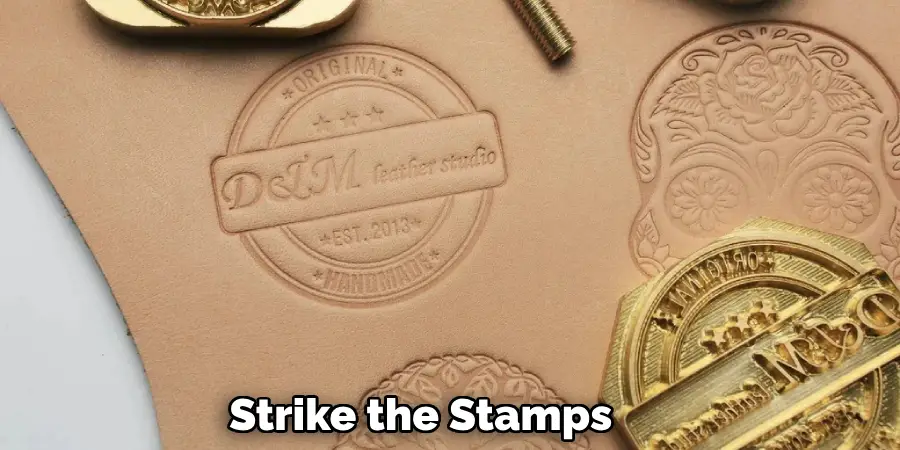
Step 5. Strike the Stamps:
Using a mallet, gently strike the top of each stamp to create an impression in the leather. Start with light taps and gradually increase the force if a more profound impression is desired. Ensure your strikes are even and consistent to avoid uneven markings. Keeping the mallet perpendicular to the stamp will help maintain accuracy.
Repeat the process for each letter or design element, taking care to keep your hands steady throughout. Proper striking is essential for achieving a sharp and clear monogram.
Step 6. Inspect and Adjust:
After completing the stamping process, carefully inspect your work to ensure all impressions are clear and evenly spaced. If any part of the monogram appears faint or uneven, you can realign the stamp and gently re-strike it to enhance the depth and clarity.
Pay close attention to any minor imperfections and make adjustments as necessary. This final inspection ensures your finished product is precise and professional.
Step 7. Finish and Protect:
Once satisfied with the monogram’s appearance, apply a leather conditioner or finishing product to protect the stamped surface and enhance the leather’s natural texture. This step not only preserves the longevity of your work but also gives the leather a polished and professional look.
Use a soft cloth to apply the product in small, circular motions, ensuring even coverage. Allow the finish to dry completely before handling the item to prevent smudging or damage. This finishing touch completes your monogramming process.
Step 8. Clean and Store Properly:
After completing the monogramming process, take a moment to clean your tools and workspace. Wipe down the stamp and other tools with a clean, dry cloth to remove any debris or residue, ensuring they remain in top condition for future use. Store your tools in a dry, organized space to prevent damage or wear over time.
Keep the finished leather item away from excessive moisture or direct sunlight to maintain its quality. Proper cleaning and storage prolong the life of your equipment and finished products, ensuring excellent results for years to come.
By following these ten easy steps, you can now successfully monogram a leather belt with precision and professionalism.
5 Things You Should Avoid
- Using the Wrong Tools: Improper tools can damage the leather’s integrity. Always ensure you use high-quality embossing or engraving tools designed specifically for leather.
- Skipping Preparation: Failing to clean and condition the belt before monogramming can lead to uneven results. Dirt and grime can interfere with proper embossing or engraving.
- Applying Too Much Force: Overly aggressive pressure during the process can crack or tear the leather, ruining the entire project. Handle the tools with care and precision.
- Neglecting to Measure or Plan: Placing the monogram without proper alignment or spacing can make the design look sloppy. Take the time to measure and outline where the monogram should go.
- Ignoring Leather Type: Different types of leather respond differently to monogramming techniques. Ensure you understand the properties of the belt’s leather to avoid unwanted damage or poor aesthetic results.
By avoiding these common mistakes, you can ensure a successful and professional-looking monogram on your leather belt.
How Do You Pierce a Leather Belt?
Piercing a leather belt is a simple process that requires minimal tools and can be done at home. Here are the steps to pierce a leather belt:
- Gather Your Materials: You will need a leather punch tool, hammer or mallet, scrap wood or cutting board, and leather belt.
- Place the Leather on a Sturdy Surface: Lay the leather flat on top of the scrap wood or cutting board. This will act as a cushion for your punching tool and prevent damage to other surfaces.
- Mark Where You Want to Make the Hole: Using a ruler and pencil, mark where you want to make a hole in your belt. Make sure it is evenly spaced and aligned with any other holes on the belt.
- Position the Punch Tool: Choose a tool slightly smaller than the desired hole size. Place the punch tool directly over your marked spot on the leather, ensuring it is centered.
- Punch Through the Leather: Using a hammer or mallet, strike the top of the punch tool firmly and evenly until it has pierced through the entire thickness of the leather. Make sure to hold both ends of the belt securely to prevent slipping.
With these simple steps, you can easily pierce a hole in your leather belt for added functionality or to adjust the fit.
Conclusion
How to monogram leather belt adds a personal and sophisticated touch, making it truly unique. To achieve the best results, ensure the leather surface is clean and flat before starting.
Carefully position your monogram design and use proper stamping tools or machinery to press the initials onto the leather with even pressure. Patience and precision are key to achieving a clean and professional look.
With a little practice and attention to detail, monogramming a leather belt can transform it into a meaningful and stylish accessory customized to your liking.