
Painting leather seats in your Lexus can be a great way to refresh their appearance, restore worn-out areas, or customize the interior to match your personal style.
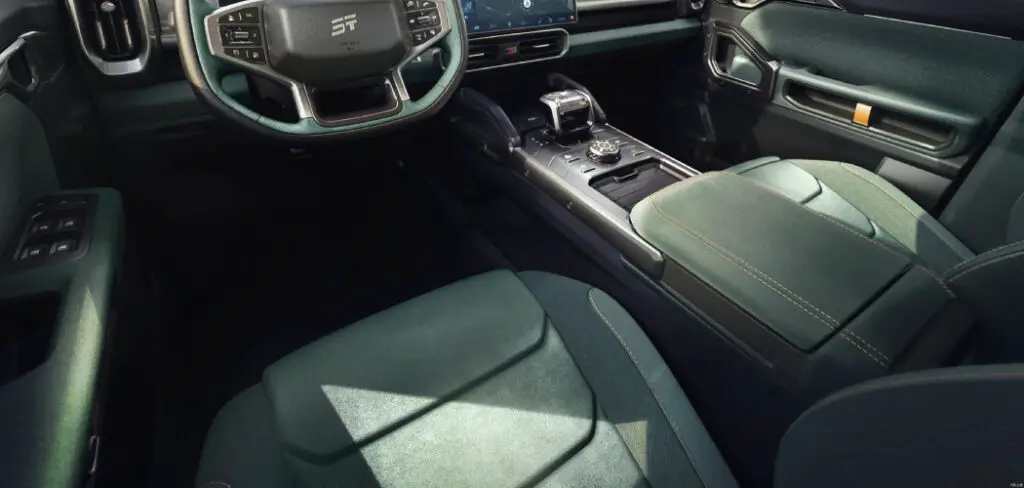
While the process may seem intimidating, with the right tools, materials, and preparation, it can be done effectively and with lasting results. This guide will walk you through how to paint lexus leather seat.
Why Paint Lexus Leather Seats?
There are several reasons why painting the leather seats in your Lexus might be a great choice. Over time, leather can show signs of wear, including fading, cracking, or discoloration. Painting the seats allows you to restore their original elegance and give them a fresh, like-new appearance.
Additionally, it provides an opportunity to personalize your vehicle’s interior, whether by changing the color to match a specific theme or creating a unique look. Painting can also enhance the value of your car by improving its aesthetic appeal, making it more desirable to future buyers.
Lastly, it’s a cost-effective alternative to completely replacing the seats, allowing you to achieve stunning results without breaking the bank.
Importance of Proper Leather Care
Proper leather care is essential to maintaining the longevity and appearance of your Lexus seats, whether painted or not. Leather is a natural material that, if neglected, can become dry, cracked, and prone to damage from daily wear and tear. Regular cleaning and conditioning help keep the leather hydrated, soft, and resistant to cracking.
Furthermore, protecting the leather seats from harsh sunlight and extreme temperatures prevents fading and structural degradation. By following a routine leather care regimen, you can preserve the luxurious look and feel of your vehicle’s interior while also ensuring that painted seats remain vibrant and intact for years to come.
10 Methods How to Paint Lexus Leather Seat
1. Clean the Leather Thoroughly
Before painting your Lexus leather seats, it’s crucial to clean them properly to remove dirt, oils, and any other residues. Leather can accumulate oils from your skin, dust, and general dirt over time, and these can hinder paint adhesion. Start by using a gentle leather cleaner, making sure to choose a product designed specifically for automotive leather.

Apply the cleaner to a soft, microfiber cloth, and gently wipe down the seats, paying special attention to seams and crevices where dirt can accumulate. Once cleaned, use a dry cloth to remove any excess moisture, and allow the leather to dry completely before proceeding to the next step.
2. Test the Leather for Compatibility
Before applying any paint to your Lexus leather seats, it’s essential to perform a test to ensure the paint you are using is compatible with the leather. Not all paints are designed for use on leather, and using the wrong type of paint could result in cracking, peeling, or discoloration.
Choose a high-quality leather paint specifically formulated for automotive upholstery. To test, apply a small amount of the paint to an inconspicuous area of the seat and let it dry. Check for any adverse reactions, such as uneven absorption or discoloration. If the test area looks good, you can move forward with painting the entire seat.
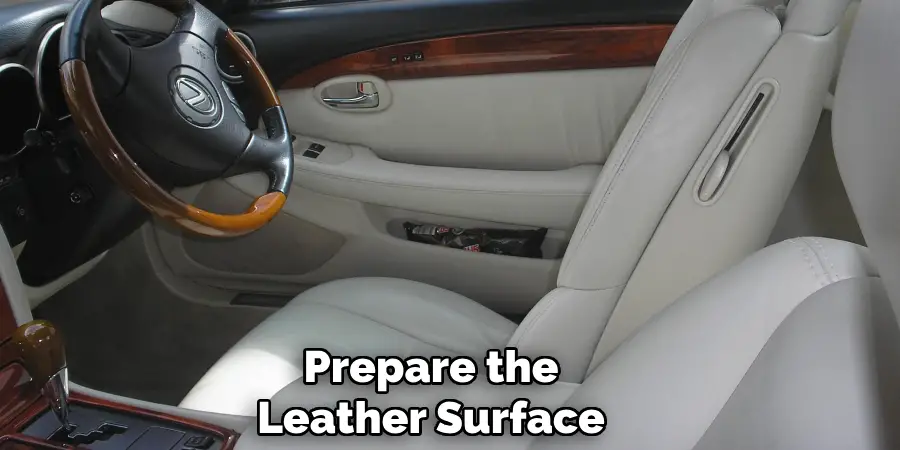
3. Prepare the Leather Surface
The next step in painting your Lexus leather seats is preparing the surface. Leather is smooth and non-porous, which can make it difficult for paint to adhere properly. To improve adhesion, you will need to lightly scuff the surface of the leather. Use a fine-grit sandpaper, preferably 220 or higher, to gently sand the leather in circular motions. Be careful not to apply too much pressure or over-sand the leather, as this could damage the surface.
The goal is to create a slight roughness on the leather to help the paint stick better without affecting the integrity of the material. After sanding, wipe away the sanding dust using a clean, damp cloth.
4. Apply Leather Prep or Deglazer
For better paint adhesion, it is advisable to use a leather prep or deglazer solution. Leather prep is a specialized product that removes any remaining oils, waxes, or conditioners on the leather, which may prevent the paint from bonding effectively. Apply the leather prep using a clean cloth, and rub it over the entire surface of the seats.
This step ensures that the paint has a clean, oil-free surface to adhere to, which is particularly important when working with leather that has been conditioned or treated previously. Allow the leather prep to dry before moving to the next step.
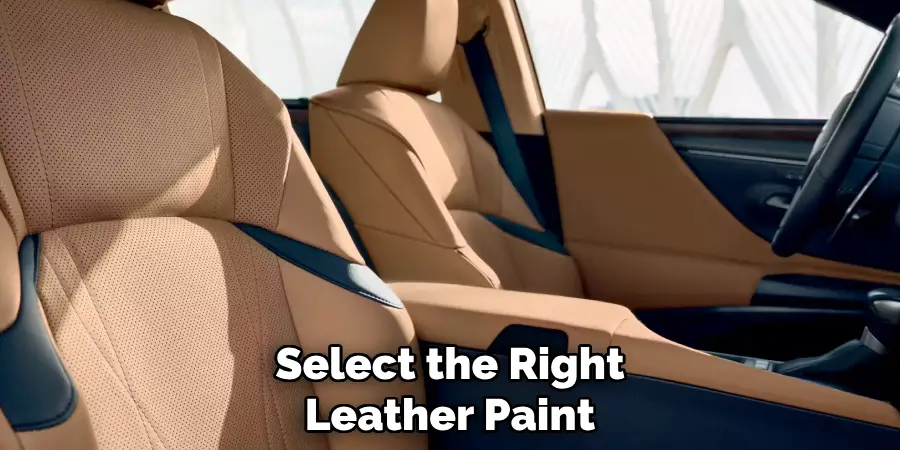
5. Select the Right Leather Paint
Choosing the right leather paint is essential for achieving a smooth and long-lasting finish on your Lexus leather seats. Look for automotive-grade leather paints that are flexible and designed specifically for use on upholstery. Brands like Angelus Leather Paint or Fiebing’s Leather Dye offer high-quality products that are durable, flexible, and able to handle the rigors of daily use.
These paints are available in a wide range of colors and finishes, from matte to gloss, so you can match the color and texture of your seats precisely. Avoid using regular acrylic paints, as they tend to crack and peel over time, especially on leather surfaces.
6. Apply Thin, Even Coats of Paint
When applying the paint to your Lexus leather seats, it’s crucial to use thin, even coats to avoid streaks or buildup. Begin by applying the paint with a soft, high-quality paintbrush or a foam brush. Apply the first coat of paint in thin, light layers, working in small sections. This method prevents paint from pooling in any one area and ensures that the finish remains smooth.
After the first coat, let the paint dry completely according to the manufacturer’s instructions. Avoid rushing the drying process, as this can lead to uneven results or premature cracking. Typically, it’s recommended to let each layer dry for at least 1-2 hours before applying additional coats.
7. Build Up Layers Gradually
One of the keys to achieving a flawless finish is layering the paint gradually. After the first coat has dried, apply a second coat of paint, ensuring you follow the same process of thin, even strokes. Multiple thin layers of paint are better than one thick layer, as they dry more evenly and are less prone to cracking. Depending on the color and opacity of the paint, you may need to apply two to three coats to achieve the desired look.
Always allow each layer to dry completely before applying the next one, and continue the process until you are satisfied with the coverage and finish.
8. Seal the Paint with a Clear Coat
Once you have achieved the desired color and finish on your Lexus leather seats, it’s essential to seal the paint with a clear leather sealer or finish. A clear coat protects the paint from fading, cracking, and wearing off over time. It also restores the glossy finish to the leather, giving it a polished and professional look.
Apply the sealer using a soft cloth or paintbrush, making sure to cover the entire surface evenly. Just like with the paint, apply the sealer in thin, even coats, and allow each layer to dry fully before applying the next. Typically, one or two coats of sealer are sufficient to protect the leather and enhance its shine.
9. Allow the Paint to Cure Properly
After painting and sealing the leather seats, it’s crucial to let the paint cure properly. Curing refers to the process where the paint fully bonds to the leather, making it more durable and resistant to wear. Allow the leather seats to air dry for at least 24-48 hours in a well-ventilated area before using them.
Avoid sitting on the seats or applying any pressure until the paint has fully cured, as this could cause the paint to smudge or crack. The curing process is essential for ensuring the longevity and durability of your paint job.
10. Maintain the Painted Leather Seats
Once your Lexus leather seats have been painted and cured, regular maintenance is crucial to preserving the paint job. Avoid exposing the seats to excessive sunlight, as this can cause the paint to fade over time. Clean the leather seats regularly with a gentle leather cleaner to remove dirt and debris, and avoid using harsh chemicals or abrasive cloths that could damage the paint.
If any areas of the paint begin to show signs of wear, such as fading or chipping, perform touch-ups by applying additional layers of paint and sealer to maintain the overall look and integrity of the seats.

Conclusion
Painting your Lexus leather seats can be a rewarding process that revitalizes the interior of your vehicle and gives it a fresh, customized look. By following these steps carefully, from preparing the leather surface to maintaining the finished paint job, you can achieve professional-quality results that stand the test of time.
Remember that patience and attention to detail are key throughout the process. With the right tools, materials, and techniques, you can transform your leather seats and enjoy a durable, stylish finish that enhances both the comfort and aesthetic of your car. Happy painting!