
Painting patent leather can be a fun and creative way to personalize your belongings or revamp older items with a fresh look. However, achieving a smooth, durable finish on this glossy surface requires special preparation and the right materials. Without the proper techniques, paint may fail to adhere or crack over time, so attention to detail is key. This guide will walk you through how to paint patent leather, from surface preparation to applying the final coat.
What is Patent Leather?
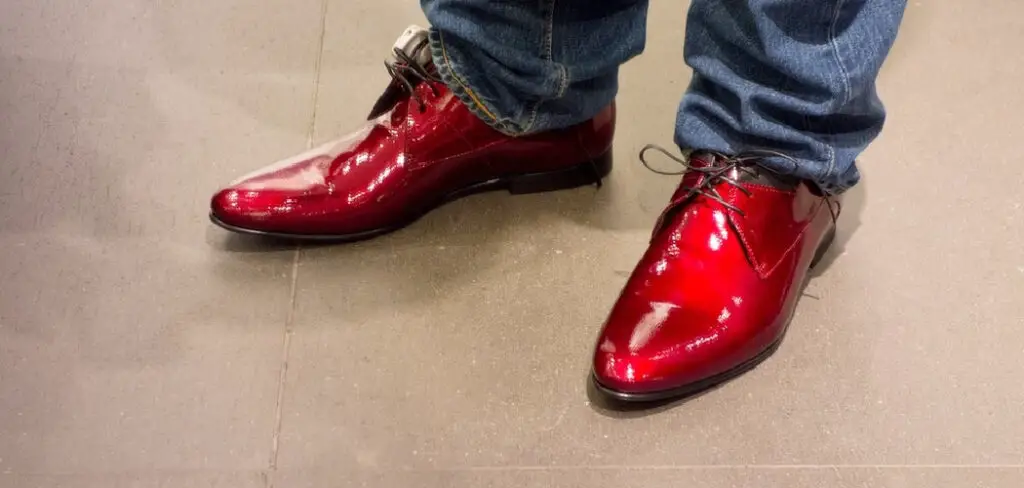
Patent leather is a type of leather that has been treated to achieve a hard, shiny, and glossy finish. This unique surface is created by applying a high-gloss coating, traditionally made from linseed oil-based lacquers, though modern methods often use synthetic materials. Known for its sleek and sophisticated appearance, patent leather is commonly used in shoes, handbags, belts, and other fashion accessories. Its surface is both durable and water-resistant, making it ideal for style-conscious individuals looking for a polished, high-impact look. However, its smooth finish also presents challenges when it comes to modifications like painting or repairs.
What Makes Patent Leather Different?
The key characteristic that sets patent leather apart from other types of leather is its glossy, reflective surface. Unlike regular leather, which has a natural grain texture, patent leather undergoes a specialized process where the surface is coated with a high-gloss finish. This not only gives patent leather its signature shine but also makes it water-resistant and less porous. However, this non-porous coating makes it difficult for paint or adhesives to adhere directly to the surface without proper preparation.
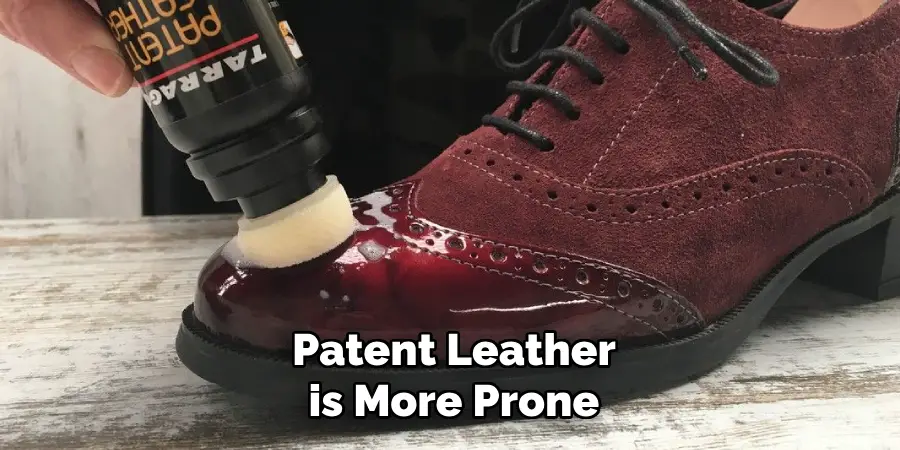
Additionally, patent leather is more prone to showing scratches, scuffs, and fingerprints due to its smooth and polished finish. Understanding these differences is crucial when working with patent leather, especially for projects like painting, where adhesion and durability are important factors.
10 Methods How to Paint Patent Leather
1. Clean the Patent Leather Thoroughly
Before applying any paint to patent leather, it’s crucial to clean the surface thoroughly. Any dirt, dust, or oils left on the leather can interfere with paint adhesion, leading to an uneven or peeling finish. Start by wiping the leather with a soft cloth to remove surface dust. For a deeper clean, use a mild soap solution (such as dish soap or baby shampoo) mixed with warm water. Dampen a cloth with the soapy water, and gently clean the leather.
Avoid soaking the leather, as excess water can damage the glossy finish. Once cleaned, dry the leather with a soft towel and allow it to air dry completely before proceeding.
2. Prepare the Surface for Painting
Patent leather has a slick surface, which can make it difficult for paint to adhere properly. To enhance paint adhesion, you must prepare the leather by lightly scuffing the surface. Use a fine-grit sandpaper or a sanding block (around 220-grit) to gently scuff the patent leather’s shiny coating. Be sure to sand evenly across the surface to avoid damaging the leather, but do so with just enough pressure to create a slightly rough texture. This will give the paint something to grip onto, making the paint application more durable and less likely to peel off over time. After sanding, wipe the leather with a clean cloth to remove any sanding dust.
3. Use Leather-Specific Paint
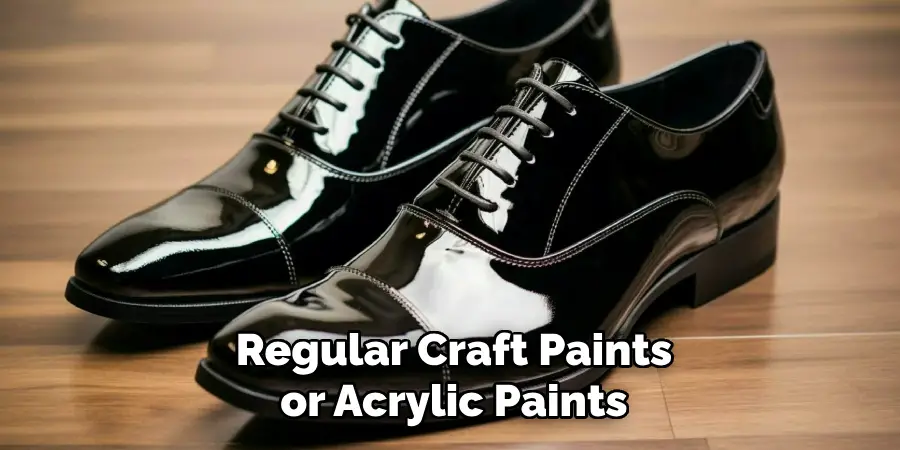
When it comes to painting patent leather, it is essential to choose the right type of paint. Regular craft paints or acrylic paints are not ideal for patent leather because they may not adhere well to the surface or may crack when the leather is bent. Instead, opt for paints specifically designed for leather, such as Angelus Leather Paint or similar brands. These paints are designed to bond with leather and are flexible enough to move with the material, preventing cracking or chipping. Leather paints are also available in a wide range of colors and finishes, including glossy, matte, and metallic, so you can find the perfect match for your project.
4. Apply a Thin First Coat
When applying leather paint to patent leather, it is essential to build up the color gradually with thin coats. Start by applying a thin first coat of paint using a soft, high-quality paintbrush or sponge. Be careful not to overload the brush with paint, as this can lead to drips or an uneven finish. Apply the first coat in light, even strokes, working in the direction of the grain of the leather. Allow the first coat to dry completely before adding additional layers. Drying times can vary depending on the paint used, so it’s important to follow the manufacturer’s instructions for drying times.
5. Build Up Layers of Paint
After the first coat has dried, apply additional thin layers of paint to achieve an even, solid coverage. Each subsequent layer should be applied with the same light, even strokes to avoid streaks or clumps of paint. Allow each coat to dry fully before applying the next one. This gradual layering technique ensures that the paint adheres well to the surface and creates a smooth, uniform finish. Depending on the desired opacity and color intensity, you may need to apply two or three coats of paint. Avoid rushing the process, as applying too much paint at once can result in an uneven or bumpy finish.
6. Use a Sealer or Finishing Coat
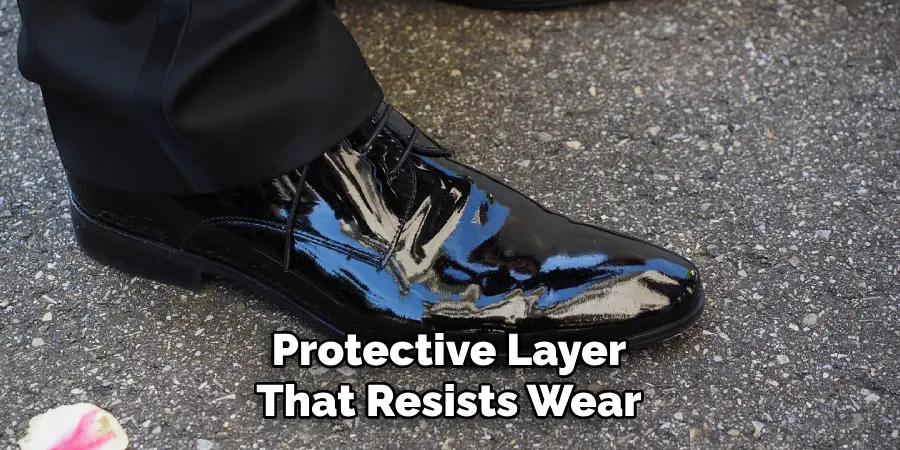
Once the final layer of paint has dried, it’s essential to apply a sealer or finishing coat to protect the paint and restore the glossy shine of the patent leather. Look for a leather-specific sealer, such as a clear acrylic finisher, which will provide a durable, protective layer that resists wear and tear. Apply the sealer using a clean, soft brush or cloth, working in smooth, even strokes. Be sure to cover the entire painted surface, including edges and seams. Allow the sealer to dry completely, and if needed, apply a second coat for added durability. The sealer not only protects the paint from fading or cracking but also helps maintain the leather’s glossy appearance.
7. Buff the Surface for Shine
After the paint and sealer have dried, you may notice that the surface has lost some of its original glossy shine. To restore the shine and give the leather a polished finish, use a soft, clean cloth to buff the surface gently. Rub in small, circular motions to bring out the natural shine of the patent leather. This step also helps to smooth out any unevenness in the paint application and create a consistent, glossy look. Be gentle when buffing to avoid scratching or damaging the paint.
8. Fix Mistakes Immediately
If you notice any smudges, brush strokes, or uneven patches in the paint during or after the painting process, it’s important to correct them immediately. Patent leather paint can dry quickly, so it’s essential to act fast before it fully sets. If the paint is still wet, simply use a damp cloth to gently wipe away the mistake. If the paint has dried, you can lightly sand the area with fine-grit sandpaper and then reapply a thin coat of paint over the affected area. Always allow sufficient drying time between touch-ups to ensure a smooth and even finish.
9. Let the Leather Cure
After you’ve applied the final layer of paint and sealer, and after any necessary touch-ups, allow the leather to cure fully before using it. Curing is the process where the paint fully bonds with the leather, making it more durable and resistant to wear. Depending on the type of paint used, curing can take anywhere from 24 to 48 hours. During this time, avoid using the leather item, as bending or flexing the material too soon could cause the paint to crack or chip. It’s best to let the leather air dry in a well-ventilated area, away from direct sunlight or heat sources.
10. Maintain the Painted Patent Leather
After painting and sealing your patent leather item, ongoing maintenance is crucial to keeping the paint looking fresh and the leather in good condition. Regularly clean the painted surface with a soft cloth to remove dirt and dust. If the paint starts to show signs of wear or fading over time, touch it up with additional layers of paint and sealer as needed. Avoid exposing the painted leather to excessive moisture, as this could cause the paint to deteriorate. If your item gets dirty, gently wipe it with a damp cloth and reapply a protective layer of sealer to maintain the glossy finish.
Conclusion
Painting patent leather is a rewarding process that allows you to customize and rejuvenate your items with vibrant colors and finishes. By carefully preparing the surface, using high-quality leather paints, and following the proper techniques for application and sealing, you can achieve a professional, long-lasting result. Patience and attention to detail are key to ensuring the paint bonds well with the leather and maintains its durability over time. Thanks for reading our blog post on how to paint patent leather! We hope you found it helpful and informative.