
Transforming leather items through painting can breathe new life into worn or outdated pieces, offering a creative and personalized touch to your belongings. However, the success of a leather painting project hinges on meticulous preparation, as the surface must be appropriately primed to ensure the paint adheres seamlessly and withstands the test of time.
In this comprehensive guide on how to prep leather for paint, we embark on the essential journey of preparing leather for paint, exploring step-by-step methods and critical considerations. Whether you’re revamping furniture, accessories, or even leather garments, understanding the art of prepping leather surfaces is the key to achieving vibrant, long-lasting results. Uncover the secrets to a flawless paint application as we delve into the preparatory steps that set the stage for unleashing your creativity on the supple canvas of leather.
Importance of Preparing Leather for Painting
Before you embark on the artistic adventure of painting leather, it’s crucial to understand the importance of preparation. Leather, with its smooth and resilient surface, naturally repels foreign substances to maintain its integrity. This very nature of leather can be a challenge when applying paint—a substance it’s designed to resist.
Proper preparation ensures the paint not only adheres to the leather but also remains flexible and vibrant over time. Skipping this critical step can result in a finished product that is prone to cracking, peeling, and rapid wear, stripping the piece of its potential beauty and longevity. Thus, taking the time to properly prep the leather is not merely a recommendation; it is an essential foundation that supports the durability and aesthetic quality of your finished work.
Benefits of Proper Leather Preparation
Proper preparation of leather before painting confers several benefits that can significantly enhance the final outcome of your project. When leather is primed correctly, it assures a higher paint adhesion, reducing the likelihood of the paint peeling or chipping off. It also improves the paint’s durability, enabling the piece to retain its vibrancy and resist wear and tear over prolonged periods.
Additionally, a well-prepped leather surface can handle the flexibility inherent to leather, allowing both the paint and the leather to move in harmony without cracking. Ultimately, the effort put into preparing leather paves the way for a professional-looking finish that complements the time and creativity invested in your painted leather masterpiece.
Types of Leather Suitable for Painting
When selecting leather for your painting project, not all types are created equal. The best leather for painting is the one with a clean, smooth surface and minimal coatings or treatments. Vegetable-tanned leather is a prime choice because its untreated and natural surface readily accepts paint. Similarly, smooth leathers like lambskin or cowhide can also be painted successfully, provided they haven’t been heavily sealed with oils or waxes.
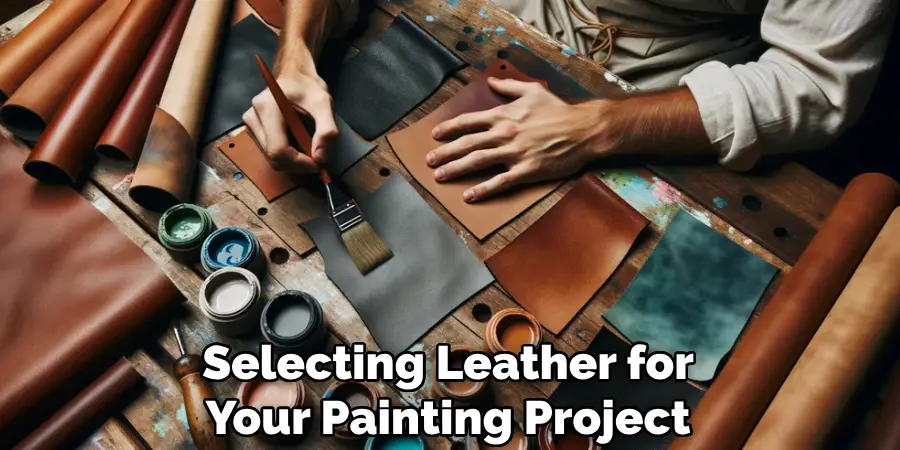
Alternatively, suede or nubuck leathers are less ideal due to their textured surface, which can absorb paint unevenly, leading to a less desirable finish. It is also worth noting that bonded leather, though more economical, may not hold paint as effectively over time due to its composite nature. Always consider the leather’s original intended use and finish before deciding to apply paint, as it can significantly impact the project’s outcome.
Characteristics of Leather Surfaces
Leather surfaces come in a variety of textures and finishes that can greatly affect the application and durability of paint. The key characteristics to consider are:
- Porousness: Leather can range from high to low porosity. Higher porosity means the leather can soak up more paint, which may require a sealer to ensure an even application of paint.
- Smoothness: Smoother leather surfaces are typically easier to paint, offering a more even application and a simpler process for creating detailed designs.
- Finish: Leather may have different finishes, such as a glossy, matte, or suede finish. These finishes affect how the paint adheres and may need to be removed or treated before painting.
- Age: Older leather can become dry and brittle, requiring special care, conditioning, or a different priming approach to avoid damage during the painting process.
Understanding these characteristics will influence how you prepare the leather and what techniques to employ in order to achieve the desired result for your painting project.
Factors Affecting Prepping Techniques
Several factors can affect the techniques used to prep leather for painting, and it is crucial to take them all into account to tailor the preparation method effectively. These factors include:
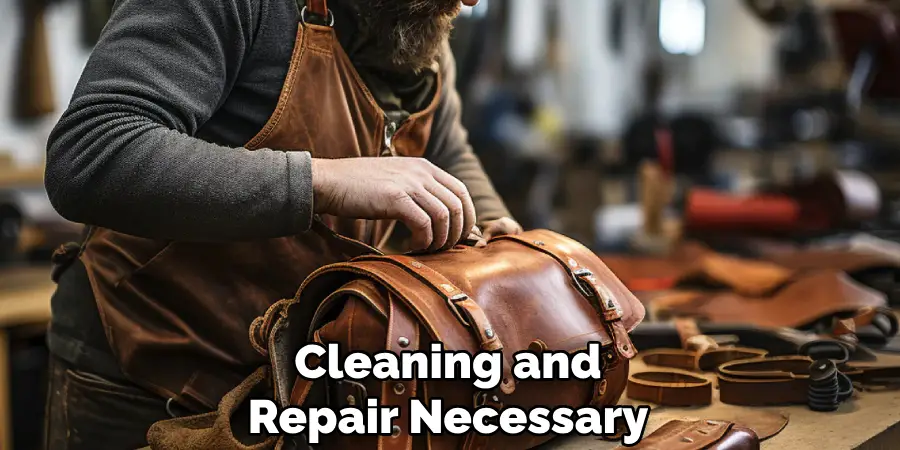
- Leather Condition: The existing condition of the leather—whether new, worn, or damaged—will determine the extent of cleaning and repair necessary before painting can commence.
- Leather Type: Different types of leather may require unique preparation methods. For example, softer leathers might need a gentler cleaning approach to avoid surface damage.
- Intended Use of the Item: A leather item that is meant for frequent use, such as a wallet or a jacket, will require a more durable painting and sealing method compared with a decorative piece that will not be handled as often.
- Desired Final Appearance: The look you aim to achieve, whether it’s a glossy finish, a matte look, or an antique effect, will influence the primer and paint selection, as well as the application technique.
- Environmental Conditions: Factors such as humidity and temperature can impact the drying and curing times of products used in the prep process and may require adjustments to standard practices.
By considering these factors, preparers can adapt their techniques to ensure the best adhesion and longevity of the paint on the leather surface.
10 Methods How to Prep Leather for Paint
1. Clean the Leather Surface:
Begin by thoroughly cleaning the leather surface to remove dirt, oils, and any existing finishes. Use a mild leather cleaner or a mixture of warm water and a gentle soap. Wipe the leather with a clean, damp cloth, and allow it to dry completely before proceeding. Avoid using harsh chemicals or abrasive cleaners, as they can damage the leather. However, if your leather is heavily soiled, you may need to use a specialized leather cleaner. Though, it’s always best to consult the manufacturer’s instructions or seek professional help.

2. Sanding for Texture:
Lightly sanding the leather surface helps open up the pores, allowing the paint to adhere better. Use fine-grit sandpaper (around 320 to 400 grit) and sand the leather in a circular motion. Be gentle to avoid damaging the surface, and wipe away any dust created during sanding.
Sanding is an important step in creating texture on leather. Not only does it help the paint adhere better, but it also helps to open up the pores of the leather surface, giving it a more natural and organic look.
When sanding leather, it’s important to use fine-grit sandpaper (around 320 to 400 grit) and to sand in a circular motion. This ensures that the sanding is done evenly and prevents any damage to the surface of the leather.
Once you have finished sanding, be sure to wipe away any dust created during the process. This will help ensure a smooth application of paint and prevent any imperfections in your textured design.
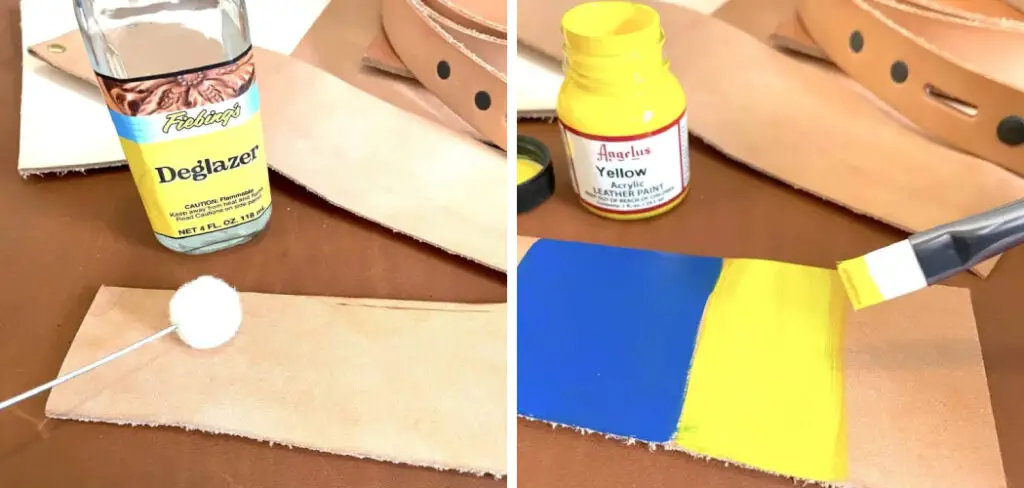
3. Deglaze with Acetone:
Acetone is effective in removing existing finishes, waxes, and oils from the leather. Apply acetone to a clean cloth and wipe the leather surface, working in small sections. This process, known as deglazing, ensures better paint adhesion by creating a clean and receptive surface. However, acetone is a strong solvent and can dry out the leather if overused. Therefore, it is important to use only a small amount at a time and quickly wipe away any excess with a clean cloth.
Acetone can also be used to remove any lingering residue from previous cleaning products or polish on the leather surface. This step may need to be repeated multiple times depending on the amount of build-up present. Once the leather is completely clean and free of residue, allow it to dry before proceeding with the painting process.
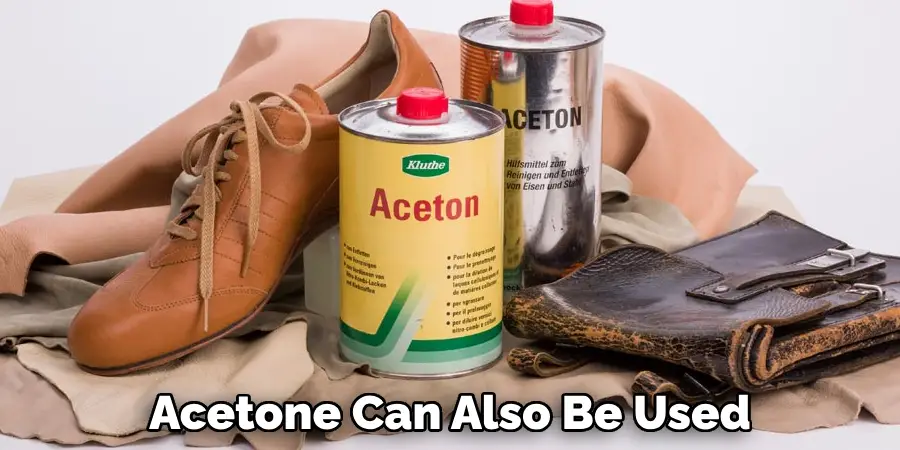
In addition to deglazing, acetone can also be used for various other purposes in leather crafting. It can help remove excess dye from leather, correct mistakes made during dyeing, and even smooth out rough edges on leather edges. However, it is important to always use acetone in a well-ventilated area and wear gloves to protect your hands.
4. Leather Prep Solutions:
Commercial leather prep solutions are available specifically for prepping leather for paint. These solutions often contain a combination of deglazing agents and conditioners. Apply the solution with a clean cloth, following the product instructions for optimal results. Allow the solution to fully dry before proceeding with painting.
In addition to commercial leather prep solutions, you can also create your own DIY leather prep solution. One recipe involves mixing equal parts of rubbing alcohol and white vinegar in a spray bottle. Shake well before use and spritz onto a clean cloth. Wipe down the leather surface and allow it to fully dry before painting.
Before applying any type of leather prep solution, it is important to thoroughly clean the leather surface. Use a mild soap and water solution or a specifically formulated leather cleaner to remove any dirt, oils, or residues from the surface. Wipe down with a damp cloth and allow it to dry completely before moving onto the prep stage.
5. Use Leather Etching or Primer:
Leather etching solutions or primers create a receptive surface for paint and help enhance adhesion. Apply the etching solution or primer with a brush or sponge, ensuring even coverage. Allow it to dry completely before moving on to the painting stage.
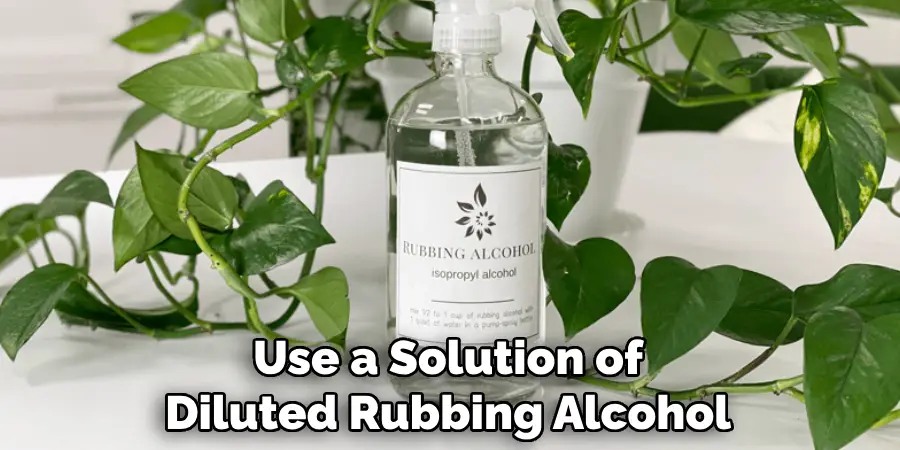
To etch leather, use a solution of diluted rubbing alcohol or vinegar. Alternatively, you can also purchase specialized leather etching solutions from craft stores. Simply dip a cotton ball in the solution and gently rub it onto the surface of the leather. This will help remove any natural oils or waxes on the leather and create a better surface for paint to adhere to.
6. Masking and Protecting Areas:
If there are areas on the leather item that you do not want to paint, such as hardware or specific details, use masking tape or painter’s tape to protect them. Ensure that the tape adheres well to prevent any paint bleed. Apply the tape firmly, and trim any excess tape with a craft knife or scissors.
To protect the surrounding surfaces from overspray, cover them with newspaper or plastic sheeting. Secure the covering in place with masking tape.
When working on small leather items or delicate areas, you may want to use liquid frisket instead of tape. This is a clear liquid that can be applied with a brush to create a barrier over the areas you want to protect. Once the paint is dry, simply peel off the frisket to reveal clean, unpainted areas.
If you are working with leather shoes or boots, stuffing them with newspaper can help maintain their shape and prevent any paint from seeping inside. Make sure to stuff them tightly and evenly for best results. Additionally, you can also use cotton balls or paper towels to stuff smaller areas that may be harder to reach.
7. Apply Leather Prepping Gel:
Leather prepping gels are designed to clean, deglaze, and prepare leather for painting. Apply the gel using a sponge or brush, and follow the product instructions for the recommended duration. Wipe away the gel and residue with a clean, damp cloth once the leather is prepped.
To achieve a long-lasting and professional-looking leather painting, it is crucial to properly prepare the leather surface. One of the essential steps in this preparation process is applying a leather prepping gel.
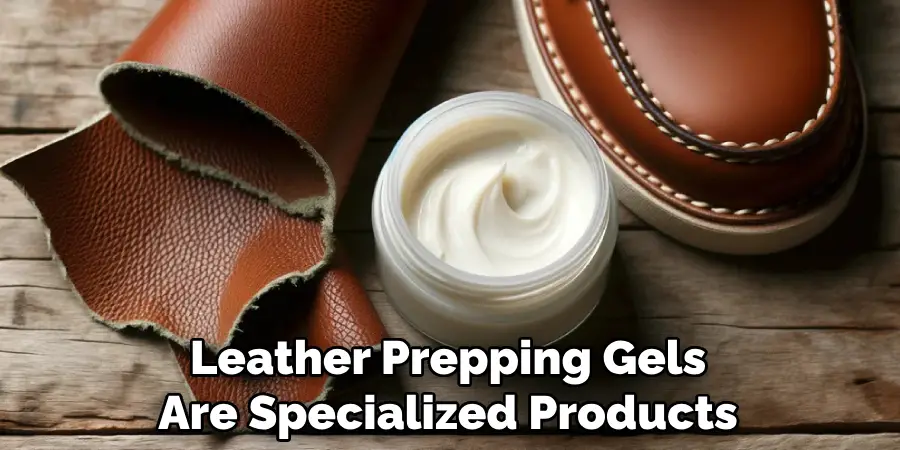
Leather prepping gels are specialized products that are designed specifically for cleaning, deglazing, and preparing leather for any further treatments, including painting. These gels are usually made with a powerful combination of solvents and detergents that effectively remove dirt, oils, and other residues from the leather surface.
8. Allow for Proper Drying Time:
After applying any cleaning solutions, deglazers, or primers, it’s crucial to allow sufficient drying time. Ensure that the leather is completely dry before moving on to the painting stage. This prevents any residual moisture from affecting the paint adhesion.
Drying time can vary depending on the humidity and temperature of the room. It’s best to follow the instructions provided by the product manufacturer for specific drying times. In general, it’s recommended to allow at least 24 hours for the leather to fully dry before painting.
Once the leather is dry, gently touch it with your finger to make sure there is no tackiness or stickiness. If the leather feels dry and smooth, it’s ready for the next step.
9. Lightly Sand Between Coats:
If applying multiple coats of paint, lightly sand the leather surface between coats. This helps smooth out any imperfections, enhances adhesion for subsequent layers, and promotes an even and professional-looking finish. Wipe away dust before applying the next coat.
Sandpaper or sanding blocks with a grit between 220 and 400 are recommended for this step. Gently rub the surface in circular motions, focusing on any rough areas or drips that may have formed during the previous coat. Once complete, use a soft cloth to remove any remaining dust before proceeding.
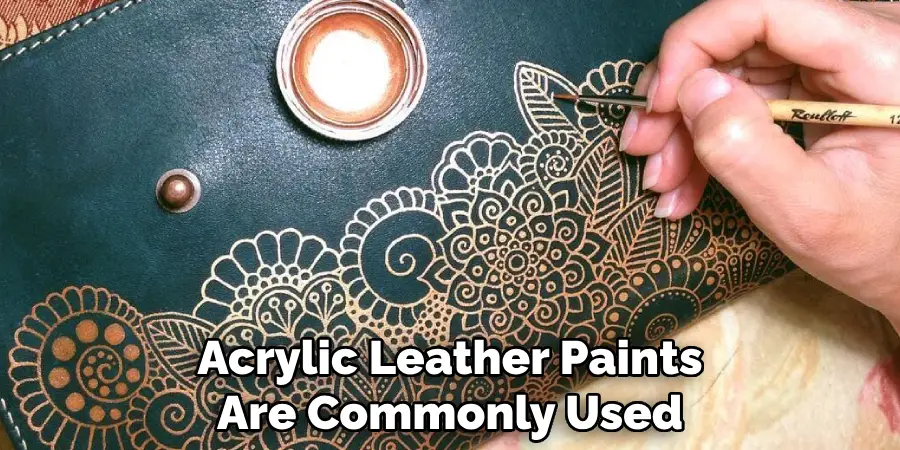
10. Choose the Right Paint for Leather:
Selecting the appropriate paint for leather is paramount. Acrylic leather paints are commonly used, offering flexibility and durability. Ensure the paint is specifically formulated for leather surfaces and comes in a variety of colors. Follow the paint manufacturer’s instructions for application and drying times. For best results, use a leather conditioner or sealer after the paint has fully dried.
Acrylic paints are water-soluble and can be cleaned up with soap and water. They also have excellent color retention and provide a smooth, even finish on leather surfaces. Another option is to use alcohol-based leather dyes, which offer vibrant colors but require more skill to apply. These dyes also require a topcoat sealer to protect the color and prevent fading.
When selecting paint for leather, it is important to consider the type of leather you are working with. Different types of leather may require different types of paint or preparation before painting. For example, smooth, full-grain leather may require sanding or deglazing before painting to ensure proper adhesion. Suede or nubuck leather may need to be brushed with a suede brush before painting to remove any dirt or debris.
Conclusion
In conclusion, properly preparing leather for paint is essential for achieving professional and long-lasting results in leather painting projects. By understanding the intricacies of leather surfaces and following the outlined prepping techniques, individuals can effectively remove impurities, oils, and imperfections from leather surfaces, ensuring optimal adhesion and durability of the paint. Thorough cleaning, degreasing, and sanding are key steps in the prepping process, enabling a smooth and uniform paint application.
Post-prepping care, such as allowing leather to dry properly and inspecting prepped surfaces for uniformity, further enhances the success of the painting endeavor. Embracing protective measures and working in a well-ventilated area contribute to a safe and efficient prepping experience. Hopefully, this article gave you some helpful tips about how to prep leather for paint successfully, so now that you have the proper knowledge on how to get the job done, why not give it a try today?