
Leather seats are a luxurious addition to any vehicle, adding both style and comfort. However, over time, they can become worn out and lose their luster. Regular maintenance can help extend the life of your leather seats, but sometimes they need more than just cleaning.

The main advantage of learning to rejuvenate leather seats is that it can save you money. Leather repair services can be quite expensive, especially for larger areas or multiple damaged seats. By learning how to do it yourself, you can save a significant amount of money and still achieve professional-looking results. In this blog post, You will learn in detail how to rejuvenate leather seats.
Step-by-step Instructions for How to Rejuvenate Leather Seats
Step 1: Inspect the Leather
After a long period of use, leather seats can become worn and appear dull. Before starting the rejuvenation process, it is important to thoroughly inspect the leather for any damage or stains that may require special treatment.
Step 2: Clean the Leather
To properly rejuvenate leather seats, they must be cleaned first. Use a gentle leather cleaner and a soft cloth to remove any dirt or grime from the surface of the leather. Be sure to clean in all crevices and seams. After cleaning, use a damp cloth to wipe away any remaining cleaner and residue. This step is crucial as leftover cleaner can cause damage to the leather if not properly removed.
Step 3: Dry the Leather
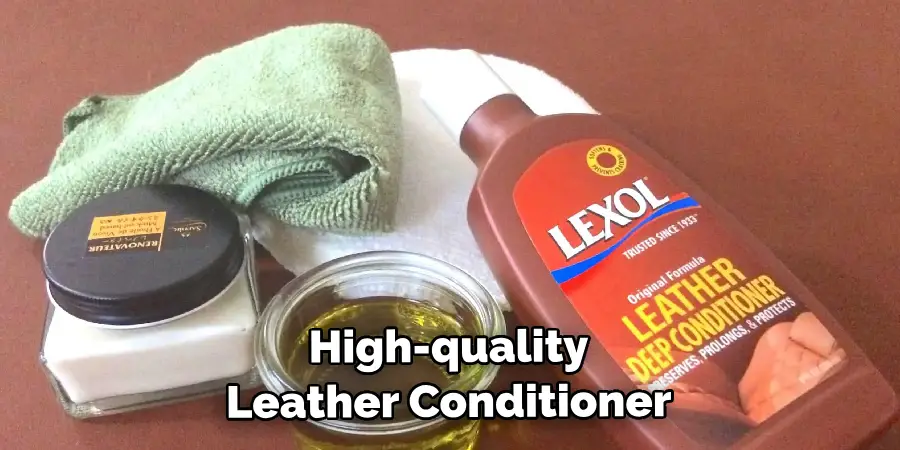
Using a dry, clean cloth, gently pat the leather to remove excess moisture. Avoid using heat sources such as hair dryers as they can cause the leather to crack and dry out. After the leather is completely dry, apply a high-quality leather conditioner using a soft cloth or sponge. Be sure to follow the manufacturer’s instructions for application and let the conditioner absorb into the leather for the recommended amount of time.

Step 4: Buff the Leather
After allowing the conditioner to fully absorb, use a clean, dry cloth to buff the leather in circular motions. This will help bring out its natural shine and smooth any remaining wrinkles or creases. To keep your leather seats looking rejuvenated for longer, consider applying a leather sealant. This will provide a protective layer against spills and stains and extend the lifespan of your leather.
Step 5: Address Scratches or Scuffs
If your leather seats have any scratches or scuffs, now is the time to address them. Use a small amount of leather touch-up dye or polish to cover up any imperfections and blend them into the surrounding leather. After completing the rejuvenation process, let your leather seats set for at least 24 hours before using them again. This will allow all products to fully absorb and provide the best results.
Step 6: Routine Maintenance
To keep your leather seats looking their best, it is important to regularly clean and condition them. This will help prevent any buildup of dirt or grime and keep the leather soft and supple. Direct sunlight can cause leather to fade and dry out, leading to cracks and tears. To avoid this, try to park your car in a shaded area or use a windshield sunshade when parked.
Step 7: Consider Professional Treatment
If your leather seats are severely damaged or you do not feel comfortable performing the rejuvenation process yourself, consider seeking professional treatment. Leather experts have specialized products and techniques to fully restore your seats and make them look like new again.
By following these step-by-step instructions and incorporating regular maintenance, your leather seats will stay rejuvenated and last for many years to come. Remember to always use high-quality products and take care when cleaning or applying any treatments.
Safety Tips for How to Rejuvenate Leather Seats
- Keep your leather seats conditioned. It is important to regularly condition your leather seats to keep them soft and supple, which will help prevent cracks and tears from forming. Use a high-quality leather conditioner recommended by the manufacturer.
- Avoid using harsh chemicals. When cleaning your leather seats, avoid using harsh chemicals or cleaners that contain alcohol or bleach as these can strip away the natural oils in the leather and cause it to dry out and crack.
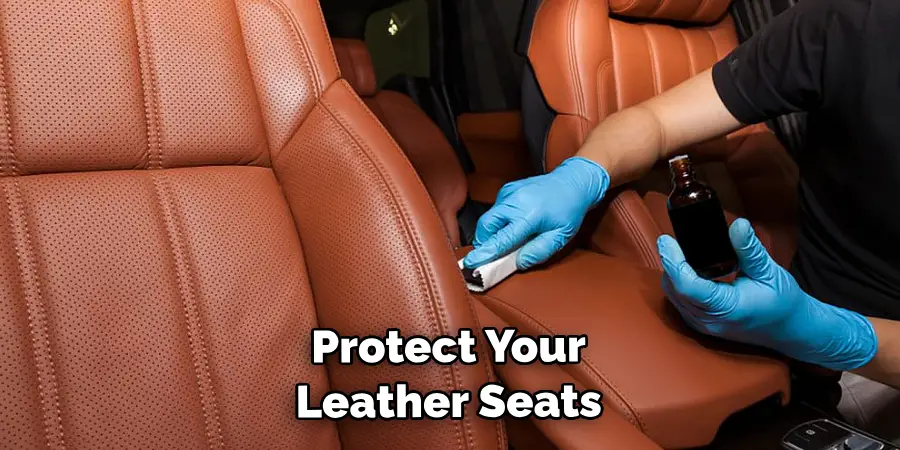
- Protect your seats from direct sunlight. Leather is a natural material and can fade or become discolored when exposed to direct sunlight for long periods of time. To prevent this, park your car in a shaded area or use window shades when parked.
- Clean up spills immediately. If something spills on your leather seats, it is important to clean it up immediately. Use a clean cloth or paper towel to blot the spill and then gently wipe the area with a damp cloth. Do not rub as this can spread the spill and potentially damage the leather.
- Avoid sharp objects on your seats. Be mindful of items that could scratch or puncture your leather seats, such as keys or pens. Keep these items in a designated storage area to prevent accidental damage.
- Use seat covers. If you want to further protect your leather seats, consider using seat covers. These can help prevent wear and tear from daily use and can easily be removed for cleaning or when not needed.
- Regularly vacuum your seats. Dirt and debris can build up on your leather seats over time, causing them to look dull and dirty. Use a soft brush attachment on your vacuum to gently remove any dirt or crumbs from the seats.
- Avoid extreme temperatures. Leather is sensitive to extreme heat and cold, which can cause it to dry out or crack. Avoid parking your car in direct sunlight for long periods of time and consider using a windshield sunshade when parked in hot weather. In cold weather, allow your car to warm up before turning on the heated seats to prevent any damage.

By following these safety tips, you can ensure that your leather seats stay in top condition for years to come. Remember to regularly clean and condition your seats, protect them from harsh chemicals and direct sunlight, and be mindful of potential damaging items.
How Often Should Leather Seats Be Cleaned and Conditioned to Maintain Their Appearance?
The frequency at which you should clean and condition your leather seats depends on a variety of factors, including how often they are used, the level of dirt and debris they are exposed to, and the type of leather. However, as a general guideline, it is recommended to clean and condition your leather seats at least once every three months.
This will help keep them soft, supple, and free from cracks or tears. In addition to regular cleaning and conditioning, it is also important to address any spills or stains immediately. Leaving them for too long can cause permanent damage to the leather. It is also a good idea to periodically inspect your seats for any signs of wear or damage and address them promptly.

By regularly maintaining your leather seats, you can prolong their lifespan and keep them looking new for longer. If in doubt, always refer to the manufacturer’s recommendations for cleaning and conditioning your specific type of leather. With proper care and attention, your leather seats can be a luxurious addition to your car for many years to come. So remember to follow these safety tips and precautions, as well as maintain a regular cleaning and conditioning schedule, to keep your leather seats looking their best.
Are There Any Specific Cleaning Techniques for Removing Stains From Leather Seats?
Leather seats are a luxurious addition to any vehicle, but they can be prone to staining due to their porous nature. Stains from food and drinks, ink, grease, and other substances can easily ruin the appearance of your leather seats if not cleaned properly.
Fortunately, there are specific cleaning techniques that can effectively remove stains from leather seats without causing damage or discoloration. These techniques involve using gentle and safe cleaning agents, as well as following proper methods for application and removal.
1. Cleaning Basics
Before diving into specific techniques, it’s important to know the basics of cleaning leather seats. First and foremost, always test any new cleaning product or method on a small, inconspicuous area of your seat before applying it to the entire surface. This will ensure that the product or method does not cause any damage or discoloration.

Next, always clean spills and stains as soon as possible to prevent them from setting in and becoming more difficult to remove. Use a dry cloth or paper towel to blot up any excess liquid before applying any cleaning solution.
2. Removing Water-Based Stains
Water-based stains such as soda, coffee, and juice can typically be removed with a mild soap and water solution. Mix a small amount of mild liquid soap with warm water and apply it to the stain using a soft cloth or sponge. Gently rub the solution into the stain in a circular motion, being careful not to scrub too hard.
Once the stain has been lifted, use a clean damp cloth to remove any soapy residue. Then, use a dry cloth to blot up any excess moisture and allow the leather to air dry completely.
3. Removing Oil-Based Stains
Oil-based stains such as grease or makeup can be more challenging to remove from leather seats. To effectively lift these types of stains, you can create a mixture of equal parts water and rubbing alcohol. Apply the solution to the stain using a soft cloth and gently rub it in.
After a few minutes, use a clean damp cloth to remove the solution and any residue. If the stain persists, repeat this process until it is completely lifted. As with water-based stains, be sure to dry the leather thoroughly after cleaning.
4. Professional Cleaning
If you are unsure about how to properly remove a stain from your leather seats or you do not feel comfortable attempting it yourself, it’s always best to seek professional cleaning services. Professional cleaners have the knowledge and specialized tools to effectively remove stains without causing damage to your leather seats.
Additionally, professional cleaning services can also condition and protect your leather seats, helping to prevent future staining and keep them looking their best.
5. Regular Maintenance
In addition to proper stain removal techniques, regular maintenance is key in keeping your leather seats looking clean and pristine. Wipe down your seats with a damp cloth and mild soap solution at least once a month to remove any built-up dirt or grime.
It’s also important to condition your leather seats every 6-12 months to prevent them from drying out and cracking. Be sure to use a conditioner specifically designed for leather, and always test it in a small area first.
Is It Recommended to Use DIY Home Remedies or Professional Cleaning Services for Maintaining Leather Seats?
Leather seats are a popular choice for car owners due to their aesthetic appeal and luxurious feel. However, they require proper maintenance to retain their quality and durability. When it comes to cleaning leather seats, there are two options – DIY home remedies or professional cleaning services.
DIY home remedies involve using household items such as vinegar, baking soda, or lemon juice to clean and condition the leather. On the other hand, professional cleaning services use specialized products and techniques to deep clean and protect the leather seats. Both options have their pros and cons, so let’s weigh them to determine which one is recommended for maintaining leather seats.
Pros of DIY Home Remedies
- Cost-effective: One of the main advantages of DIY home remedies is that they are budget-friendly. Most household items used for cleaning leather seats are relatively inexpensive and easily accessible.
- Eco-friendly: Household items, such as vinegar or lemon juice, are natural products that do not contain harsh chemicals that can be harmful to the environment.
- Customizable: With DIY home remedies, you have the flexibility to mix and match different ingredients to find a recipe that works best for your leather seats.

Cons of DIY Home Remedies
- Limited effectiveness: While some DIY home remedies may work well for light surface cleaning, they often have limited effectiveness in removing deep stains or dirt from leather seats.
- Time-consuming: Cleaning and conditioning leather seats with DIY solutions can be a time-consuming process. It may require multiple attempts to achieve the desired results.
- Risk of damage: Using the wrong ingredients or techniques can potentially damage or discolor the leather, making it more difficult to repair in the long run.
Pros of Professional Cleaning Services
- Expertise and experience: Professional cleaners have specialized training and knowledge in handling different types of leather seats. They know how to properly clean and condition them without causing any damage.
- High-quality products: Professional cleaning services use high-quality, specialized products that are specifically designed for leather. These products can effectively remove dirt and stains without causing any harm to the leather.
- Time-saving: Hiring professional cleaners will save you time and effort as they have the necessary equipment and expertise to deep clean your leather seats efficiently.
Cons of Professional Cleaning Services
- Cost: Professional cleaning services can be more expensive than DIY home remedies. However, the cost may vary depending on the size of your car and the condition of your leather seats.
- Chemicals: Some professional products may contain harsh chemicals that can be harmful to the environment.
- Access and convenience: It may not always be convenient or accessible to hire professional cleaners, especially if you live in a remote area.
Overall, both DIY home remedies and professional cleaning services have their own set of advantages and disadvantages. It ultimately depends on your budget, time, and the condition of your leather seats. If you are confident in your ability to properly clean and condition your leather seats with DIY solutions without causing any damage, then it may be a cost-effective option for you.
Conclusion
In conclusion, leather seats are a luxurious and durable option for any vehicle. However, over time they can become worn and dull, losing their original charm. Luckily, there are several ways to rejuvenate leather seats and bring them back to their former glory.
Firstly, cleaning the seats regularly with a mild soap and water solution can help prevent dirt buildup and maintain the leather’s natural oils. This will also prevent any potential stains from setting in and causing further damage.
In addition, conditioning the leather seats with a high-quality leather conditioner can help restore moisture and suppleness to the material. Be sure to read the instructions carefully and test the product on a small, inconspicuous area before applying it to the entire seat. I hope this article has been beneficial for learning how to rejuvenate leather seats. Make Sure the precautionary measures are followed chronologically.