Leather bags are essential accessories cherished for their durability and timeless style. However, glue can sometimes end up on them, whether from attempts at repair, the residuals from stickers, or accidental spills during crafting or everyday activities. The challenge of “how to remove glue on leather bag” lies in addressing these incidents without causing harm to the leather’s sensitive surface. Using improper techniques or harsh solvents may lead to discoloration or damage, undermining the leather’s appeal and longevity.

Therefore, it’s crucial to use the right methods that safely dissolve or remove the adhesive while preserving the integrity of the material. This article will guide you through effective and safe solutions to ensure your leather remains as pristine and beautiful as ever, even after a glue mishap.
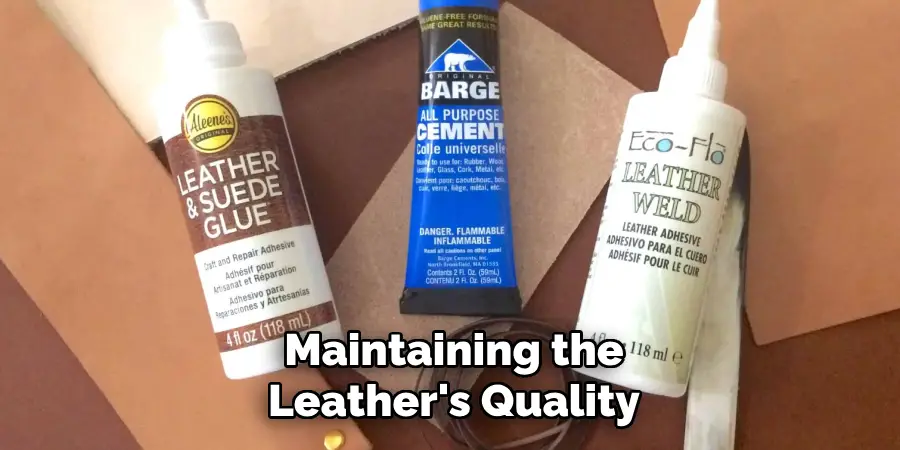
Materials Needed for Removing Glue
- Soft Cloths or Cotton Swabs: Utilize soft materials to prevent scratching the leather’s surface during glue removal.
- Leather Cleaner or Mild Soap: To tackle glue stains, start with a leather-safe cleaner or mild soap as a gentle first line of defense.
- Rubbing Alcohol (for Stubborn Glue): Carefully apply a diluted rubbing alcohol solution to challenging spots, focusing on the adhesive.
- Leather Conditioner: Reuse leather conditioner to restore the necessary moisture and maintain the leather’s suppleness post-cleaning.
- Optional: Leather-safe Adhesive Remover or Olive Oil: For a gentler approach to adhesive challenges, consider using specialized adhesive removers or natural alternatives like olive oil.
Preparing the Leather Surface
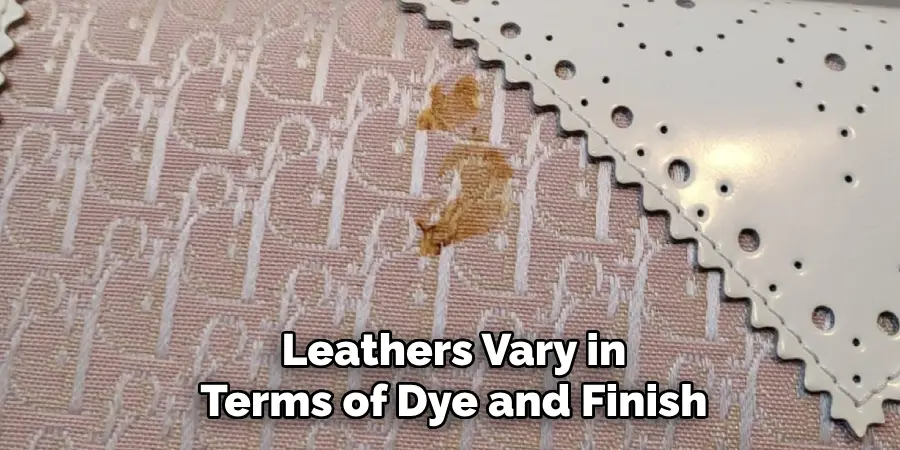
Before removing glue from your leather bag, preparing the surface properly is crucial to avoid any unintended damage. Start by testing a small area on the bag that’s not immediately visible, such as the bottom or inside. This precautionary step ensures that the chosen cleaning agent doesn’t discolor or damage the leather, as leathers vary in terms of dye and finish.
Once a safe cleaning product is confirmed, proceed by wiping away surface dirt. Use a dry cloth to gently dust the area around the glue spot. This prevents any dust or dirt from smearing onto other parts of the leather or embedding into the leather during the cleaning process.
Next, focus on assessing the glue type to decide which removal technique to employ. Observe the glue’s texture—is it sticky or hardened? Identifying this will help select the most appropriate removal method to effectively and safely eliminate the glue without harming the leather.
How to Remove Glue on Leather Bag: Using Leather Cleaner or Mild Soap Solution
Step 1: Apply a Small Amount of Cleaner
Begin by applying a small amount of leather cleaner or a mild soap solution to a soft cloth. Opt for a gentle, circular motion to ensure that the application is even and the cloth is only slightly damp, not wet. This will help avoid over-saturating the leather, which could potentially cause damage.
Step 2: Gently Rub the Glue Spot
Once the cleaner or soap solution is applied to the cloth, proceed to gently rub the glue spot. Use light, circular motions to carefully lift the glue residue from the leather surface. Patience is key here—allow the cleaner to work its way into the glue, gradually loosening it. This method is particularly effective for glue that hasn’t thoroughly dried or hardened.
Step 3: Wipe and Dry
After successfully rubbing the glue spot, use a clean, damp cloth to wipe away any remaining cleaner or soap residue. Removing all cleaning agents from the leather is crucial to prevent any long-term effects on its texture or color. Once wiped, dry the area thoroughly by gently patting it with a dry, soft cloth. Air drying is recommended to ensure the leather returns to its original state without any moisture damage.
When This Method Works Best
This method works best for fresh, light glue stains that haven’t fully set. It’s ideal for minor adhesive mishaps, providing a straightforward solution without the need for harsher substances. By addressing the glue quickly, you can effectively preserve the look and feel of your leather bag, preventing any lasting impressions from developing.
How to Remove Glue on Leather Bag: Using Rubbing Alcohol for Tough Glue
Step 1: Dilute Rubbing Alcohol
To safely tackle tougher glue stains on leather, begin by mixing equal parts rubbing alcohol and water. This diluted solution reduces the alcohol’s potency, minimizing the risk of over-drying or damaging the leather. Use a small container for easy application and mixing precision.
Step 2: Dampen a Cotton Swab or Cloth
Next, lightly dampen a cotton swab or a soft cloth with the diluted solution. Avoid soaking the swab or cloth; a small amount of moisture is sufficient. The goal is to apply just enough solution to gently treat the glue without oversaturating the leather, which could lead to unwanted damage.
Step 3: Gently Dab the Glue Spot
Carefully dab the glue spot using the dampened cotton swab or cloth. Use gentle tapping to soften and lift the glue rather than rubbing vigorously. This approach helps prevent any scratching or further etching of the glue into the leather. Patience is crucial as the rubbing alcohol breaks down the adhesive, making it easier to remove.
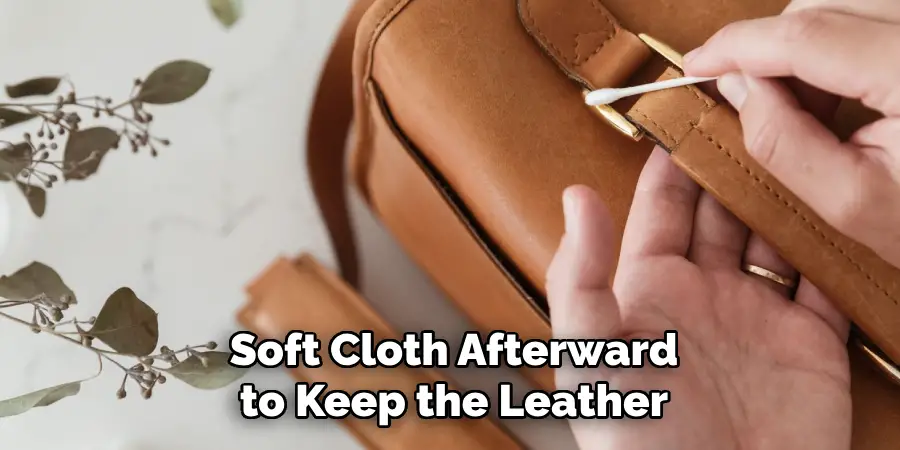
Step 4: Wipe with a Damp Cloth
After the glue begins to lift from the leather, use a clean, damp cloth to gently wipe away any remaining alcohol residue. This step is vital to ensure that no solution traces remain, which could otherwise dry out or discolor the leather. Make sure to carefully dry the area with a soft cloth afterward to keep the leather in its best condition.
When to Use Rubbing Alcohol
Rubbing alcohol is ideal for tackling hardened or dried glue, as its properties make it more effective at breaking down stubborn adhesive. However, it should be used sparingly and only when other gentler methods are insufficient. Given its potential to dry out leather, following up with a leather conditioner post-cleaning is essential to restore the leather’s moisture and suppleness.
Using Olive Oil or Adhesive Remover
Using Olive Oil for Natural Removal
Olive oil can be surprisingly effective for a natural approach to removing glue from leather. Begin by applying a small drop of olive oil onto a cotton swab or a soft cloth. With gentle pressure, rub the swab or cloth over the glue spot in a circular motion. This method gradually softens and loosens the adhesive. Olive oil is a gentle alternative to harsher chemical solutions, and it provides the added benefit of moisturizing the leather.
Instructions for Using Olive Oil
- Step 1: Apply a small amount of olive oil to a cotton swab or cloth.
- Step 2: Gently rub the oil over the glue spot in a circular motion, allowing it to penetrate the adhesive.
- Step 3: Leave the olive oil to sit for a few minutes to further soften the glue.
Using Leather-Safe Adhesive Remover
A leather-safe adhesive remover might be necessary for more resistant glue stains. When using such products, following the manufacturer’s instructions closely is crucial. Apply a minimal amount directly to the glue, carefully using as little as necessary to achieve results. The solvent properties of adhesive removers are highly effective at breaking down strong bonds without requiring excessive force.
Steps for Using Adhesive Remover
- Step 1: Refer to the product instructions and apply a small amount to the glue spot.
- Step 2: Allow the remover to sit on the glue for the recommended time, enabling it to break down the adhesive’s bond.
- Step 3: Gently wipe away the glue, using minimal pressure to avoid damaging the leather.
Wiping Away Residue
After effectively softening and lifting the glue, use a clean, damp cloth to wipe away any remaining oil or adhesive remover residue. It’s important to ensure all traces of oil or remover are completely cleaned off to prevent any long-term effects on the leather. Once the residue is thoroughly wiped, dry the area gently with a soft cloth.
When to Use Oils or Adhesive Removers
Utilizing olive oil or adhesive removers is particularly useful for stubborn and persistent glue spots that resist other methods. However, these techniques require follow-up care to preserve the leather’s condition. Applying a suitable leather conditioner once the glue has been removed will help restore moisture and suppleness, maintaining the leather’s quality and appearance.
Conditioning the Leather After Glue Removal
Applying Leather Conditioner
After successfully removing glue from your leather item, restoring moisture and suppleness to the affected area is essential. Using a quality leather conditioner will ensure the leather remains soft and flexible, counteracting any dryness or potential damage caused by alcohol or adhesive remover. Apply a small amount of conditioner to a clean, soft cloth and gently massage it into the leather’s surface. Allow the conditioner to absorb for a few minutes, enabling it to deeply penetrate and rejuvenate the leather fibers.
Buffing for a Finished Look
Once the conditioner has been applied and absorbed, buff the area with a clean, dry cloth. This step enhances the natural shine of the leather and helps blend the treated spot with the surrounding area for a seamless appearance. Use light, circular motions to polish the leather, ensuring an even finish that retains both aesthetics and functionality.
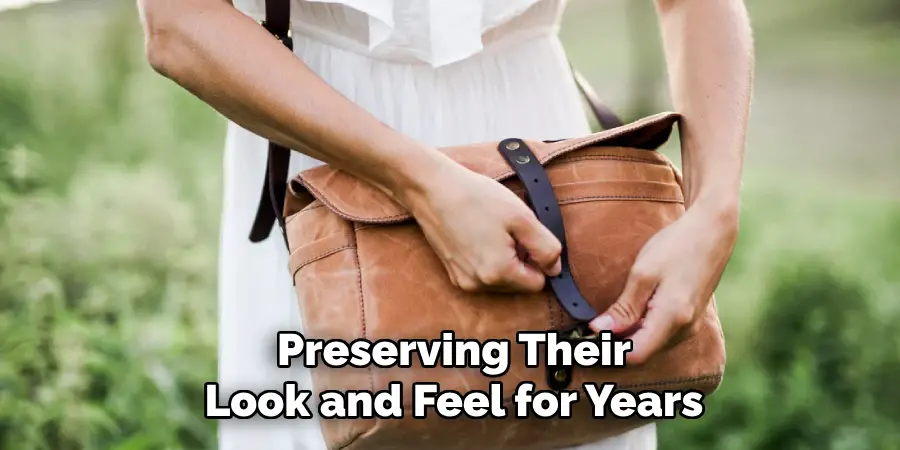
Frequency of Conditioning
To maintain the quality and longevity of your leather goods, it’s advisable to condition them regularly, particularly after any cleaning or glue removal. Routine conditioning helps prevent cracking and keeps the leather nourished and resilient against wear and tear. Regular care ensures your leather items remain in optimal condition, preserving their look and feel for years to come.
Conclusion
In summary, knowing how to remove glue on leather bag involves using gentle methods like olive oil or adhesive removers, which effectively soften and dissolve stubborn adhesive without harming the leather. Each technique emphasizes a careful and gradual approach, ensuring that the leather remains undamaged during the cleaning process. Following glue removal, applying a quality leather conditioner is crucial to restore the material’s natural moisture and suppleness, preventing any drying or cracking.
Always use minimal pressure and appropriate cleaning tools to handle leather with care, as rough methods can worsen the damage. It’s vital to address glue spills as soon as possible since fresher stains are much easier to deal with than ones that have set over time. Through these mindful practices, you can maintain the elegance and longevity of your leather items, ensuring they remain in near-perfect condition for years to come.