
Are you tired of seeing marks on your favorite suede shoes? Suede is a delicate material that is prone to scuff marks and stains. But don’t worry. There are ways to remove these marks and restore your shoes to their original beauty.
Suede shoes are a luxurious and fashionable choice for many, adding a touch of elegance to any outfit. However, their delicate nature means they’re also prone to getting marks and stains, turning a stylish accessory into a source of frustration. Fortunately, with the right techniques and care, you can effectively remove these marks and restore your suede shoes to their former glory.
In this guide, we’ll walk you through the steps on how to remove marks from suede shoes. Whether it’s a small scuff or a more stubborn stain, you’ll learn how to deal with these blemishes promptly and efficiently.
What are the Causes of Marks on Suede Shoes?
Before we dive into the removal process, it’s essential to understand what causes marks on suede shoes. By knowing the potential culprits, you can take preventive measures and keep your shoes looking pristine for longer. Here are some common causes of marks on suede shoes:
- Dirt and Dust: The most common cause of marks on suede shoes is dirt and dust accumulation. Suede’s porous texture easily traps these particles, making the material appear dull and discolored.
- Water Stains: Getting caught in the rain or accidentally spilling a drink on your suede shoes can result in watermarks, leaving behind unsightly spots.
- Oil-based Stains: Grease, oil, and other substances can leave dark stains on suede shoes that are difficult to remove.
- Scuff Marks: Suede is a delicate material that easily gets scratched or scuffed, especially when in contact with rough surfaces.
Knowing the causes of marks on suede shoes will help you determine the appropriate cleaning method for each type of stain. Next, we’ll discuss various techniques you can use to remove these marks effectively.
What will You Need?
Before getting started, make sure you have the following items on hand:
- A suede brush or a clean toothbrush
- White vinegar or rubbing alcohol
- Clean cloth or paper towels
- Suede eraser (optional)
- A bowl of warm water
Once you have all the necessary tools, let’s examine the steps for removing marks from suede shoes.
10 Easy Steps on How to Remove Marks From Suede Shoes
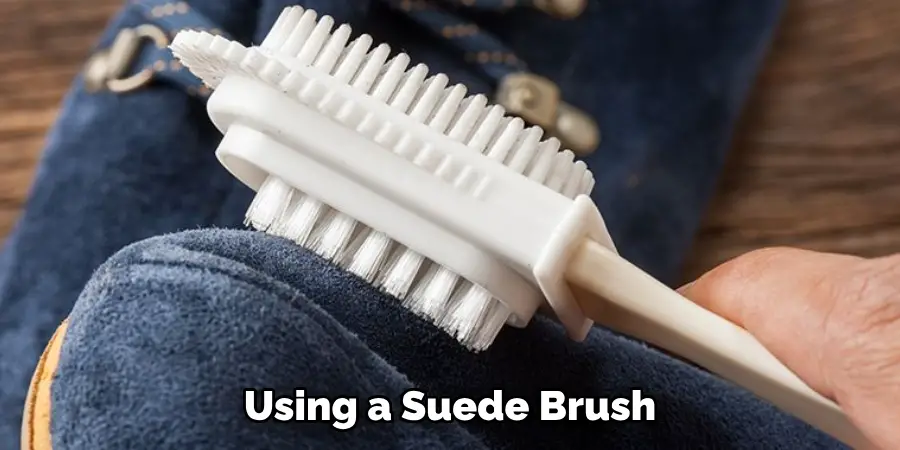
Step 1. Brush it off:
Begin by gently brushing off any loose dirt and dust from the surface of your suede shoes using a suede brush or a clean toothbrush. Move the brush in the direction of the suede’s grain to avoid damaging the material. This step is crucial for removing surface debris that could potentially cause further staining during the cleaning process.
Step 2. Address Water Stains:
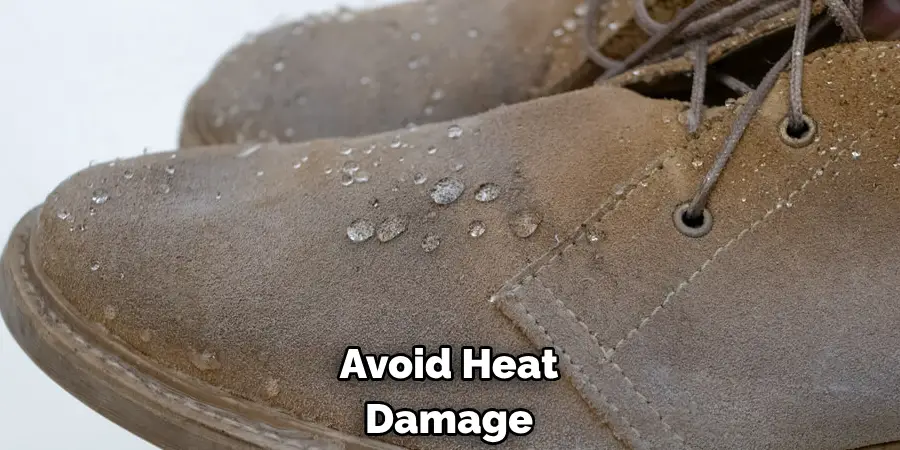
If your suede shoes have water stains, gently dab the area with a clean, dry cloth to absorb as much moisture as possible. Do not rub the stain, as it can push the water deeper into the suede. After blotting, fill your shoes with paper towels to maintain their shape and allow them to dry naturally away from direct heat sources. Once dry, use the suede brush to lightly buff the surface and restore the nap of the suede.
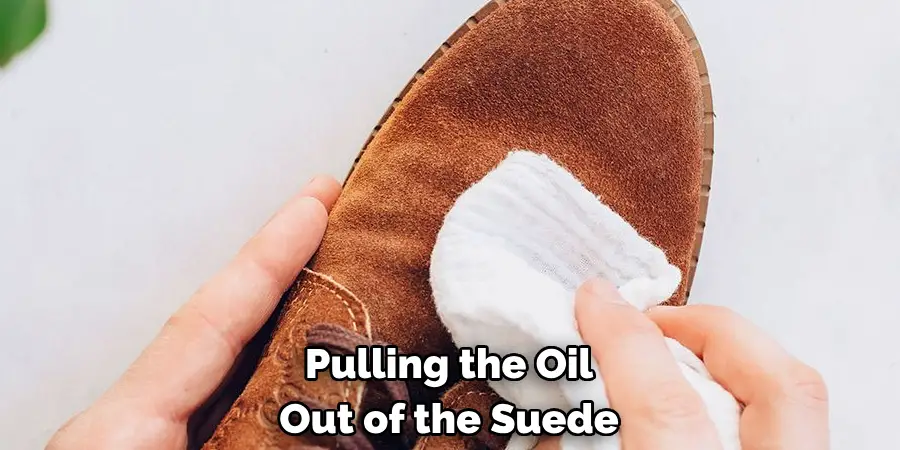
Step 3. Tackle Oil-Based Stains:
For oil-based stains, sprinkle a bit of cornstarch or talcum powder onto the affected area and let it sit for a few hours or overnight. The powder acts like a magnet, pulling the oil out of the suede. After the waiting period, use your suede brush to gently remove the powder. You may need to repeat this process until the stain fades significantly. If the stain persists, consider applying a small amount of rubbing alcohol or white vinegar onto a clean cloth and gently dabbing the stain. Remember not to saturate the suede; allow it to dry naturally before a final brush.
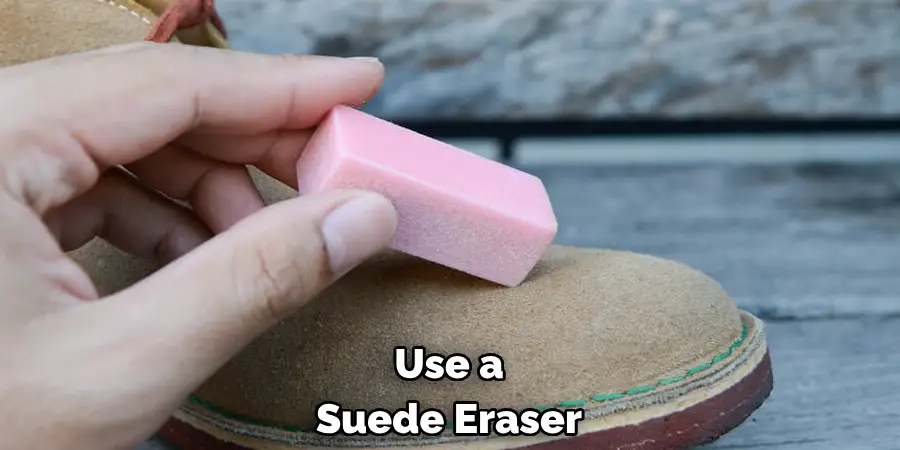
Step 4. Deal with Scuff Marks:
Scuff marks, though challenging, are not impossible to remove from suede shoes. To address scuff marks, gently use a suede eraser or a clean pencil eraser on the affected area. Apply light pressure in a back-and-forth motion until the mark fades. For tougher scuffs, slightly dampen the area with a small amount of water and continue using the eraser. Once the scuff marks are improved, brush the suede in its natural direction to rejuvenate the nap. Remember that this process may need to be repeated for stubborn scuffs, but patience and gentle handling can yield excellent results.
Step 5. Remove Dried Stains:
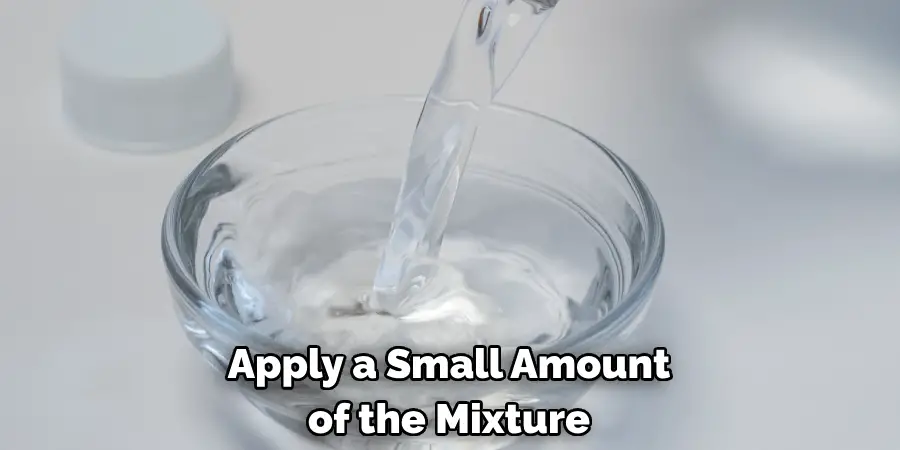
For stains that have set and dried over time, consider using a mixture of white vinegar and water. Apply a small amount of the mixture onto a clean cloth, and then gently dab the stained area. Vinegar is effective at breaking down stains without causing damage to the suede. After applying the vinegar solution, allow the area to air dry completely. Once dry, use the suede brush to gently lift the nap and eliminate any residue. This step can be particularly effective for stubborn, non-oil-based stains that other methods haven’t been able to remove.
Step 6. Rehydrate the Suede:
After cleaning your suede shoes, they might appear a bit dry or the suede may feel stiff. To rehydrate the suede and restore its soft, plush texture, gently steam the surface. You can use a steamer or hold the shoes over a pot of boiling water at a safe distance, allowing the steam to penetrate the suede lightly.
Be cautious not to saturate or damage the suede with excessive moisture. Once steamed lightly, use the suede brush to softly brush the surface, helping to revive the suede’s natural nap and softness. This step ensures your suede shoes not only look clean but also feel soft and comfortable once again.
Step 7. Protect Your Suede Shoes:
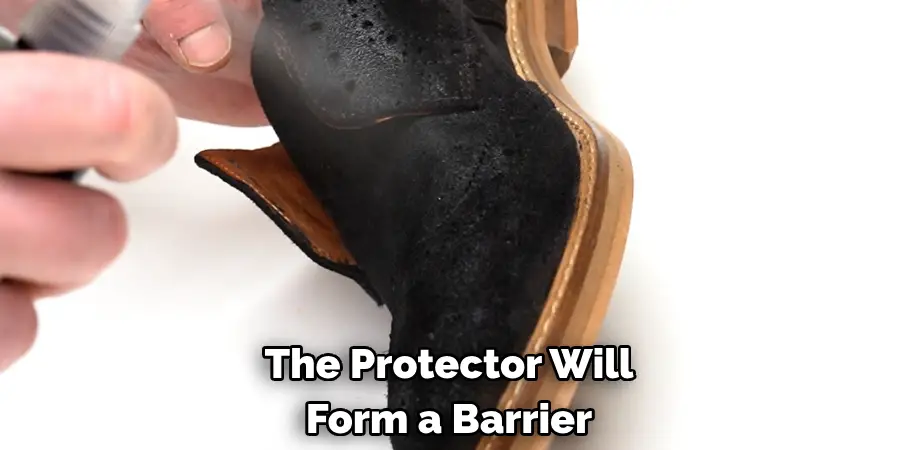
To prevent future stains and marks on your suede shoes, applying a suede protector spray is crucial. Ensure the shoes are completely dry and clean before applying the spray. Hold the can approximately 6 inches away from the shoes and spray evenly, covering the entire surface.
The protector will form a barrier against water and dirt, making it easier to clean your shoes in the future. Allow the shoes to dry naturally in a well-ventilated area. Reapply the suede protector every few months or after cleaning your shoes to maintain optimal protection.
Step 8. Regular Maintenance:
Keeping your suede shoes in top condition goes beyond occasional deep cleaning. Regular maintenance is key. Every week, take a few minutes to brush your suede shoes gently. This removes surface dust and dirt, helps keep the nap vibrant, and prevents matting. If your shoes get wet, dry them away from direct heat to avoid stiffening of the suede. Incorporating these simple habits into your routine ensures your suede shoes remain looking fresh and new for longer.
Step 9. Store Your Suede Shoes Properly:
Proper storage is critical in maintaining the condition of your suede shoes. Avoid keeping them in direct sunlight or in very damp environments, as these conditions can fade and damage the suede over time. Instead, store your shoes in a cool, dry place. Placing them in a cotton bag or a shoebox can protect the suede from dust and prevent any unwelcome marks or scuffs.
For added shape retention, consider stuffing your shoes with acid-free tissue paper. This will help keep their form and prevent creases from forming when they are not worn. Regularly rotating your shoes and giving them a ‘rest’ between wears can also extend their lifespan and keep them looking their best.
Step 10. Addressing Rain Damage:
Even with the best care, suede shoes can suffer from unexpected rain damage, leaving them looking splotchy and uneven. Should your suede shoes get soaked, firstly, do not panic. Remove them and gently blot excess water with a clean, soft towel. Avoid the urge to apply direct heat for drying; instead, fill them with paper towels or a shoe tree to maintain their shape and allow them to air dry naturally in a well-ventilated space. Once dry,
use a suede brush to gently lift and restore the nap. Consider repeating the vinegar solution treatment detailed in Step 5 for persistent watermarks. By addressing rain damage promptly and correctly, you can restore your suede shoes to their former glory without permanent damage.
By following these simple steps, you can effectively clean and maintain your suede shoes, keeping them looking flawless and comfortable for years to come.
5 Additional Tips and Tricks
- Freezing for Gum Removal: If you find gum stuck on your suede shoes, place them in a plastic bag and freeze them for a few hours. Once the gum hardens, gently peel it off. Use a suede brush to restore the texture of the affected area.
- Cornstarch for Oil Stains: For fresh oil stains, sprinkle a bit of cornstarch on the affected area and let it sit overnight. The cornstarch helps absorb the oil from the suede. The next day, gently brush off the powder, and the stain should lift with it.
- Talcum Powder for Grease Marks: Similar to cornstarch, talcum powder can be effective in removing greasy spots. Apply a generous amount of talcum powder over the grease mark, leave it on for several hours or overnight, and then brush it away gently with a suede brush.
- A Rubber for Minor Marks: Sometimes, a simple rubber eraser is all you need for minor marks and scuffs. Choose a clean, white eraser to avoid color transfer. Gently rub the eraser over the mark until it lifts. This method is especially useful for light surface dirt and small scuffs.
- Hairdryer for Damp Spots: If your suede shoes get a little wet but not soaked, you can use a hairdryer in a cool setting to help dry them out. Hold the hairdryer at least 6 inches away from the shoes to avoid heat damage. Once slightly damp or dry, use a suede brush to fluff the nap back to its original state.
With these additional tips and tricks, you are now equipped with a range of methods to care for your suede shoes.
5 Things You Should Avoid When Removing Marks from Suede Shoes
- Avoid Using Water for Dry Stains: Applying water directly to dry stains or dirt can cause the stain to set deeper into the suede, making it harder to remove. Always try to brush or vacuum dry stains before considering any moisture.
- Steer Clear of Harsh Chemicals: Strong cleaning agents can cause irreparable damage to suede, altering its color and texture. Sticking to solutions specifically designed for suede or mild, homemade options like diluted vinegar is best.
- Don’t Use Colored Cloths for Cleaning: Colored cloths might transfer dye onto the suede when cleaning, especially if you are using a damp method. Always opt for white or light-colored lint-free cloths to avoid this risk.
- Resist the Temptation to Scrub Vigorously: While scrubbing at a stubborn stain might be tempting, doing so can damage the suede’s delicate surface. Gentle, circular motions with a suede brush or towel are most effective.
- Avoid Direct Heat and Sunlight for Drying: Never try to speed up the drying process with direct heat sources (like hairdryers on high heat) or by placing shoes in direct sunlight. This can cause the suede to warp, stiffen, or fade. Always allow shoes to air dry naturally in a cool, shaded place.
By avoiding these common mistakes, you can effectively remove marks and maintain the overall quality of your suede shoes.

How Do You Fix Dark Spots on Suede Shoes?
Dark spots on suede shoes can be an eyesore, but they can often be remedied with the right approach. To fix dark spots, first, ensure that the shoes are completely dry. If the dark spot is due to a liquid spill, blot out as much of the liquid as possible without spreading the stain further.
Once dry, use a suede brush to gently lift the nap and remove any surface-level dirt. If the dark spot remains, you can try lightly rubbing a pencil eraser on the affected area. For more stubborn spots, apply a small amount of white vinegar to a clean, dry cloth and gently dab the spot. Avoid saturating the suede.
Allow the shoe to air dry away from direct heat or sunlight, then brush the suede to restore its texture. Remember, patience and gentle handling are key to avoiding damage while attempting to remove dark spots from suede shoes.
How Do You Make Old Suede Look New?
Here are some tips to make old suede shoes look brand new again:
- Clean and Care for the Suede: As mentioned earlier, proper cleaning and maintenance can go a long way in keeping your suede shoes looking new. Follow the steps outlined in this guide regularly to remove dirt and grime from the surface of the suede.
- Revive the Color: Over time, the color of suede can fade or become dull. You can use a suede renovator spray in a similar shade to restore the color and luster of your shoes.
- Brush to Restore Nap: Regular brushing with a suede brush helps lift and restore the nap, giving old suede shoes a fresher appearance.
- Use Steam for Deep Cleaning: If your suede shoes have accumulated a lot of dirt and stains over time, you can use steam to deeply clean the material. Hold the shoes over a steaming kettle for a few minutes, then brush with a suede brush while still warm.
- Add Detailing: If you’re feeling creative, you can add some detailing to your old suede shoes to give them a fresh and unique look. Try using fabric paint, embroidery, or even iron-on patches to add some personality to your shoes.
With these tips, you can extend the life of your suede shoes and make them look as good as new! Remember to always handle suede carefully and avoid harsh chemicals or heat when cleaning and caring for them.
How Do You Moisturize Suede?
Suede, like any other leather material, can dry out and become stiff over time. This can cause cracking and damage to the material if not properly moisturized. Here are some tips to keep your suede shoes moisturized and in good condition:
- Use a Suede Conditioner: There are products specifically designed for moisturizing suede, such as suede conditioners or sprays. These can help restore moisture and softness to the material.
- Apply a Small Amount of Oil: You can also use a small amount of natural oils, such as coconut oil or olive oil, to moisturize suede. Apply the oil with a clean cloth, massaging it into the material in circular motions. Remember to only use a small amount and blot off any excess with a dry cloth.
- Use Steam: Steaming suede can also help to moisturize the material. Hold the shoes over a steaming kettle, then brush them with a suede brush while still warm.
- Avoid Direct Heat or Sunlight: As mentioned earlier, direct heat or sunlight can damage the suede. Always allow your shoes to air dry in a cool, shaded area after moisturizing.
By regularly moisturizing your suede shoes, you can help prevent them from becoming stiff and cracked, keeping them looking and feeling like new.
Conclusion
Suede shoes are a stylish and versatile addition to any wardrobe, but they require special care to keep them looking their best. Removing marks from suede shoes can be tricky, but by following the tips outlined in this guide, you can effectively remove stains and maintain the overall quality of your suede shoes. Remember to avoid common mistakes like using water or harsh chemicals, and always handle suede with care.
Hopefully, this guide on how to remove marks from suede shoes has provided you with the knowledge to properly care for and maintain your suede shoes, allowing you to enjoy them for years to come. With a little effort and attention, your suede shoes can continue to make a statement as a staple in your wardrobe.
So go ahead, rock those suede shoes with confidence! Happy cleaning! Happy styling! Happy living!