
Renovating leather car seats can breathe new life into your vehicle’s interior, restoring both their appearance and comfort. Over time, leather seats can show signs of wear such as cracks, fading, or stains, which can detract from the overall look of your car. Fortunately, with the right tools and techniques, you can effectively rejuvenate your leather seats without the need for expensive professional services.

This guide on how to renovate leather car seats will walk you through the steps to ensure your seats look as good as new.
Why Renovate Leather Car Seats?
Before we dive into the steps on how to renovate leather car seats, it’s important to understand why this process is beneficial. Many people may assume that replacing worn-out leather seats is the only option, but in reality, renovation can be just as effective and much more cost-efficient. Plus, renovating your leather car seats allows you to maintain the original look and feel of your vehicle’s interior.
Now, let’s get started with the steps for rejuvenating those old leather car seats!
Needed Materials
Leather Cleaner:
The first step in renovating your leather car seats is to thoroughly clean them. You’ll need a specialized leather cleaner that is specifically designed for automotive use. Avoid using household cleaners, as they can be too harsh and damage the leather.
Leather Conditioner:
After cleaning, you’ll want to condition your leather seats to keep them soft and supple. Look for a high-quality conditioner that contains natural oils such as lanolin or mink oil.
Microfiber Towels:
These towels are gentle on leather and won’t cause any scratches or damage.
Soft-Bristled Brush:
This will help remove dirt and grime from the crevices of your seats without causing any damage.

Leather Repair Kit:
If your seats have any scratches, cracks, or tears, a leather repair kit will come in handy. Make sure to choose one that matches the color of your seats for seamless repairs.
8 Step-by-step Guidelines on How to Renovate Leather Car Seats
Step 1: Clean the Seats
Start by thoroughly cleaning the leather seats to remove any dirt, oils, or debris. Use the specialized leather cleaner alongside a soft-bristled brush to gently scrub the surface. Focus on areas with visible stains or dirt, making sure to clean in circular motions to avoid damaging the leather.
Once you’ve scrubbed the seats, use a microfiber towel to wipe away any excess cleaner and moisture. Allow the seats to completely dry before proceeding to the next step. Proper cleaning ensures a fresh surface for repair and conditioning.
Step 2: Inspect for Damage
After cleaning the seats, carefully inspect them for any signs of damage such as scratches, cracks, tears, or discoloration. Take your time to examine all areas, including the edges, seams, and creases, as these are common places where wear and tear might occur. Identifying damaged areas early will help you determine the extent of repairs needed and allow you to gather the proper tools, such as a leather repair kit, to address these issues.
Mark any areas that require attention so you can easily locate them when it’s time for repairs. This step is crucial for achieving a seamless and professional-looking renovation.
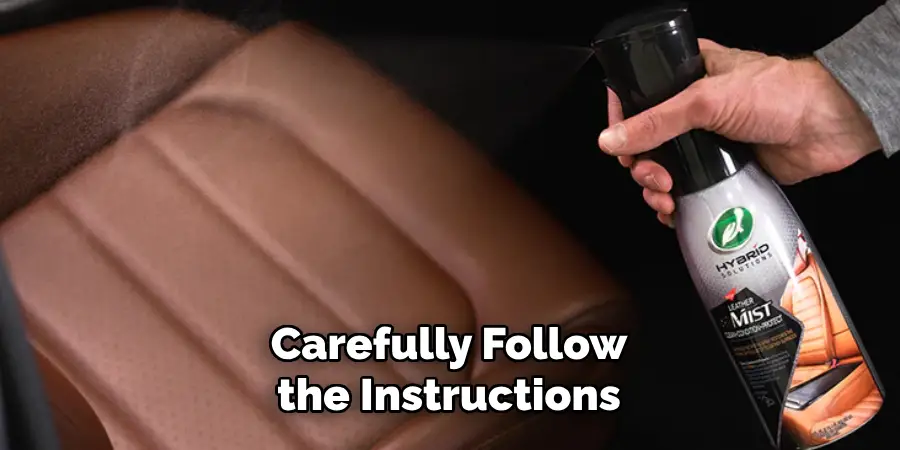
Step 3: Repair Any Damage
Using a leather repair kit, carefully follow the instructions to fix any scratches or tears on your seats. These kits usually contain a filler compound that you can apply with a spatula or brush. Once the compound is dry, use sandpaper to smooth out any rough edges and blend it in with the surrounding leather.
If your seats have any discoloration or fading, consider using a dye specifically designed for leather surfaces and matching it to the color of your seats for an even finish.
Step 4: Condition the Seats
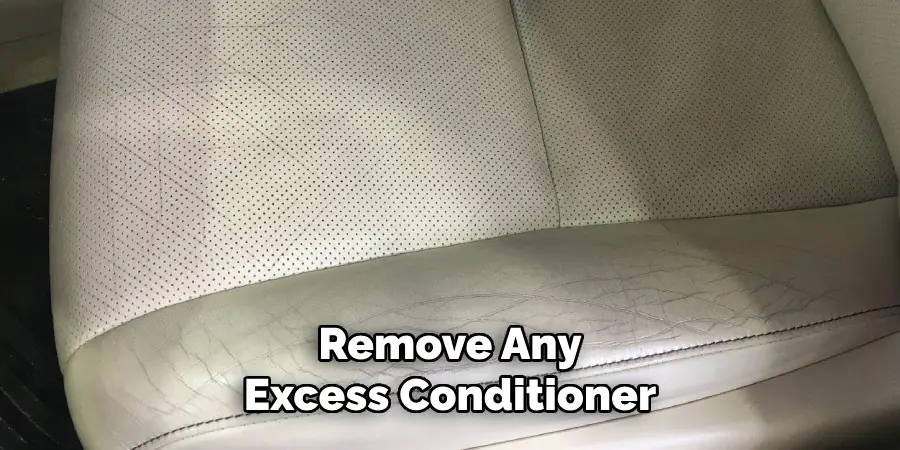
Now that your repairs are complete and the seats are dry, it’s time to condition them. Apply a generous amount of leather conditioner onto a microfiber towel and gently rub it into the seats. Make sure to cover every inch of the surface, including hard-to-reach areas.
Allow the conditioner to sit for a few minutes before wiping off any excess with a clean microfiber towel. Conditioning your leather seats will help restore their natural oils and keep them from drying out or cracking in the future.
Step 5: Let the Seats Dry
After applying the conditioner, it’s essential to allow the leather seats to dry thoroughly. This step ensures that the conditioner is fully absorbed into the leather, enhancing its softness and durability. Avoid sitting on the seats or placing any objects on them during this time to prevent uneven drying or marks. Ideally, leave the seats to air dry for several hours or as recommended by the conditioner’s instructions.
For best results, keep your car in a warm, shady area with good ventilation to facilitate the drying process. Once the seats are completely dry, you can move on to the final touches.
Step 6: Buff the Seats
Once the leather seats are completely dry, the next step is to buff them to restore their natural sheen and smooth texture. Take a clean microfiber towel and gently rub the surface of the leather in circular motions. This process helps to remove any excess conditioner and polishes the leather for a refined finish.
Buffing also brings out the leather’s natural luster, making it look fresh and well-maintained. Be sure to cover all areas of the seats evenly, paying extra attention to seams and edges for a uniform appearance. This final touch enhances the overall visual appeal and ensures that your leather seats look revitalized and professional.
Step 7: Maintain Regularly
Keeping your leather car seats in good condition requires regular maintenance. To prevent excessive wear and tear, it’s best to clean and condition them every few months or as needed. Regular use of a specialized leather cleaner and conditioner will help prolong the life of your seats and maintain their original look and feel.
Also, be mindful of any spills or stains on the seats and promptly clean them off to avoid permanent damage. Simple steps like using seat covers when you have pets or children in the car can also help protect your leather seats from potential harm.
Step 8: Enjoy Your Revitalized Leather Car Seats!
Congratulations, you’ve successfully rejuvenated your leather car seats! With proper care and maintenance, your seats will continue to look and feel like new for years to come.
Take pride in your efforts and enjoy the luxurious comfort of your revitalized leather car seats every time you take a drive. Remember to follow these guidelines on how to renovate leather car seats regularly to keep your car’s interior looking fresh and well-maintained. Happy driving!
Some Additional Tips for Maintaining Leather Car Seats Include
- Avoid exposing them to direct sunlight for prolonged periods, as this can cause fading and drying.
- Use a protective spray specifically designed for leather surfaces to help repel dirt and water.
- Don’t use harsh chemicals or household cleaners on your leather seats, as they can cause damage.
- Use a soft-bristled brush to gently clean hard-to-reach areas and avoid scratching the leather surface.
- Consider using a UV protectant spray to help prevent sun damage and discoloration.
- Regularly vacuum your car’s interior, including the leather seats, to remove any dirt or debris that could potentially cause damage over time.

By following these tips and regularly maintaining your leather car seats, you can ensure that they remain in top condition for years to come. Enjoy the luxurious feel of your leather seats and keep them looking fresh and new with proper care and maintenance. Happy driving!
Frequently Asked Questions
Q1: Can I Use Regular Household Cleaners to Clean My Leather Car Seats?
A1: No, it’s best to avoid using harsh chemicals or household cleaners on leather surfaces as they can cause damage. Instead, use a specialized leather cleaner for the best results.
Q2: How Often Should I Clean and Condition My Leather Car Seats?
A2: It’s best to clean and condition your leather car seats every few months or as needed. Regular maintenance will help keep them in top condition and prolong their lifespan.
Q3: What Should I Do if My Leather Car Seats Have Stains or Spills on Them?
A3: Promptly clean off any spills or stains with a damp cloth and mild soap. Avoid scrubbing too hard, as this can cause damage to the leather. For tougher stains, consider using a specialized leather cleaner designed for stain removal.
Conclusion
Proper care and maintenance of leather car seats can make a significant difference in preserving their appearance, comfort, and longevity. By following the steps on how to renovate leather car seats outlined above—from cleaning and repairing to conditioning and regular upkeep—you can ensure your leather car seats remain in pristine condition for years to come. Not only does this enhance the interior of your car, but it also retains its value and provides you with a luxurious driving experience.
Consistent attention to detail and adopting good practices will go a long way in preventing wear and tear and maintaining the rich, supple feel of the leather. Take pride in your efforts, and enjoy the benefits of well-maintained leather car seats every time you set out on the road.