Are you tired of always having to buy new bags because the lining rips easily? Get ready to never have that problem again! This blog post will show you how to repair bag lining so it lasts longer, saving you time and money. No more worry about a rip ruining all of the contents inside—follow these simple steps for a secure fix each time.

We’ll also discuss some key factors that can help determine when replacement, rather than repair, is necessary. With this knowledge in hand, you’ll be able to keep up with all your daily commitments (in style!) without fear of a broken bag line threatening it all.
Whether it’s a beat-up messenger bag, a sagging tote, or an old backpack with frayed edges, with the right tools and materials you can quickly restore them to their former glory. From mending rips in fabric to replacing tired zippers and buckles, we’ve got all the tips and tricks you need for successful repairs that’ll make all of your bags look good as new. So let’s get started!
What Causes Bag Lining?
1 . Tears and Rips
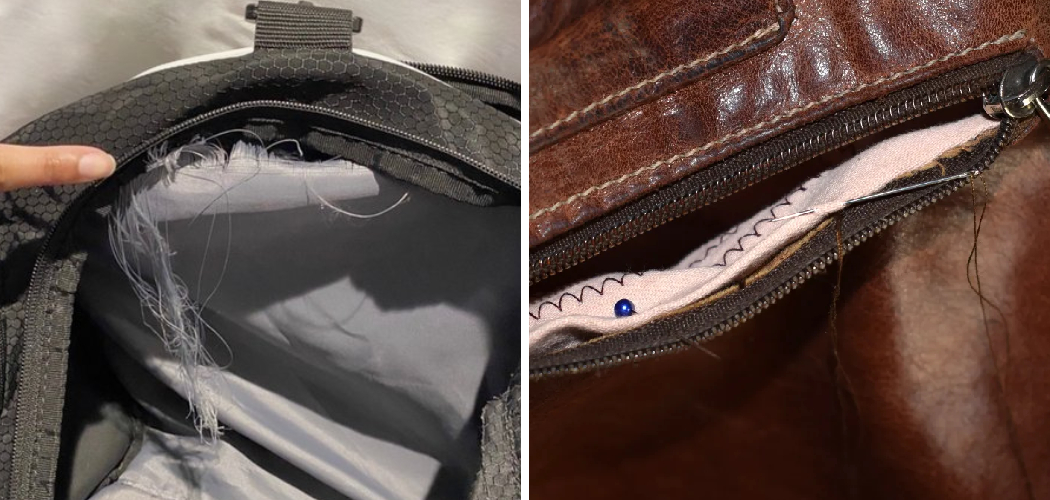
Tears and rips in bag linings are often caused by daily wear and tear, such as placing heavy objects inside the bag or using it for a long period of time. Such damage can be difficult to repair without sewing, but there are some methods that may help restore your bag lining.
2 . Stains
Stains on bag linings are usually caused by spills and leaks, such as food and beverage items. Depending on the material of the lining, stains can be difficult to remove. However, there are some tricks that may help you get rid of them without damaging your bag.
3 . Wear and Tear
Wear and tear is the most common cause of damage to bag linings. This can happen when you take your bag out in rough weather or use it for a long period of time without proper maintenance. Replacing worn-out linings can be expensive, so repairing them is usually the best option.
10 Ideas On How to Repair Bag Lining
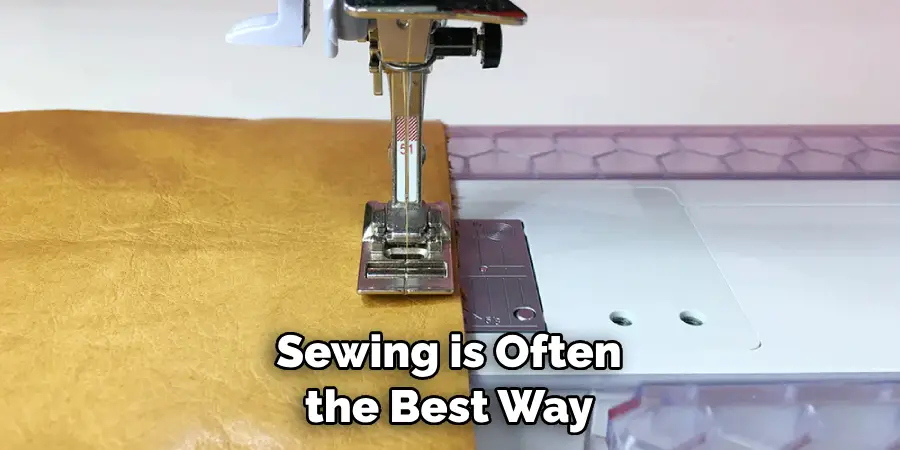
1 . Sewing
Sewing is often the best way to repair tears and rips in bag linings. It requires a strong needle, thread, and fabric scissors. You’ll need to remove any excess fabric before sewing, then sew along the existing stitches to close the gap.
2 . Cleaning Stains
Cleaning stains on bag linings can be tricky. Start by blotting the stain with a damp cloth to remove any excess moisture and dirt. Then use a gentle soap, like dishwashing liquid, to spot-clean the area. Rinse the soap off after cleaning and allow it to air dry.
3 . Applying Patches
Patches are an excellent way to cover up rips, tears, and stains in bag linings. You’ll need to purchase a patch that matches the fabric as closely as possible, then use fabric adhesive or a sewing machine to apply it.
4 . Replacing the Lining
If the lining has been severely damaged or is stained beyond repair, you may need to replace it altogether. Start by removing the existing lining and cutting a new piece of fabric that is similar in size. Use a sewing machine to attach it to the bag.
5 . Mending Tears
Tears can be mended with a few simple tools, such as needle and thread, fabric glue or adhesive tape. Start by removing any excess fabric from around the tear, then apply adhesive tape or fabric glue to hold the edges together. Finally, sew along the edges of the tear for a secure fit.
6 . Repairing Holes
Holes in bag linings can be repaired with a few simple steps. Start by cutting out a patch of matching fabric slightly larger than the hole, then use fabric glue or a sewing machine to attach it. To ensure a secure fit, sew along the edges of the patch.
7 . Reinforcing Seams
Seams in bag linings can be weak points and may need reinforcing from time to time. Start by removing any loose threads or fabric around the seam, then sew along it with a strong thread. Finally, use a seam sealant to secure the threads and prevent them from fraying.
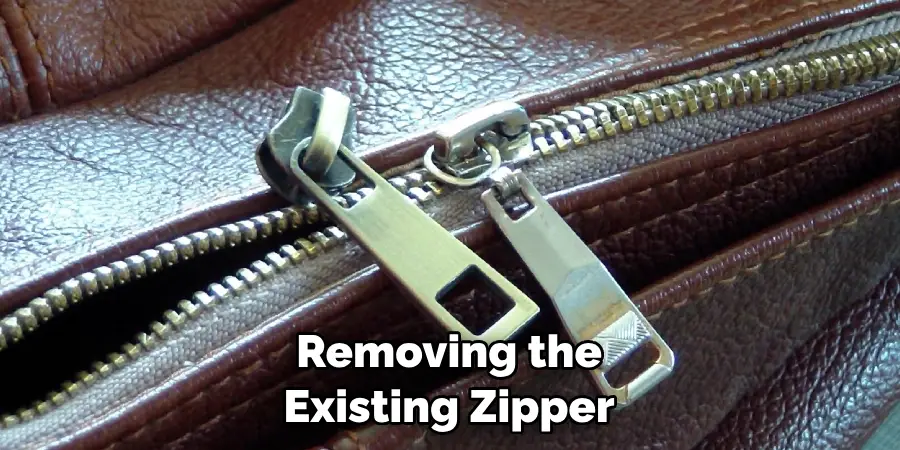
8 . Replacing Zippers
If your zipper has broken or is stuck, you’ll need to replace it with a new one. Start by removing the existing zipper and any fabric around it, then measure the opening in order to purchase the right size zipper. Use a sewing machine to attach the new zipper and test it out before putting the lining back in place.
9 . Darning
Darning is an excellent way to repair holes or thinning fabric in bag linings. To begin, you’ll need a strong needle, thread, and fabric glue. Begin by applying fabric glue around the edges of the hole, then thread your needle and start darning. To complete the repair, use a few stitches to secure it in place.
10 . Air Tight Seams
If you want your bag lining to be airtight, you’ll need to reinforce the seams with adhesive or tape. Start by applying the adhesive or tape along the seams, then use a sewing machine to sew along the edges for extra reinforcement. This will help prevent air from entering or escaping your bag.
Another way to make sure your bag liner is airtight is to use waterproof material such as vinyl or canvas. This material is available in rolls and can be easily cut to size. Sew it onto the bag lining and you’ll have an airtight seam. These are just a few ideas for repairing bag linings.
With some basic tools and materials, you can easily restore the look of your bag in no time. So get creative and start fixing that lining today!
Frequently Asked Questions
What Precautions Should I Take When Repairing a Bag Lining?
When working with fabrics, it is important to be mindful of the material you are using. Always select high-quality materials that will hold up better against wear and tear. Additionally, use fabrics that are compatible with the project you’re doing; for example, if you’re repairing a bag lining that is made of cotton, use a similar fabric.
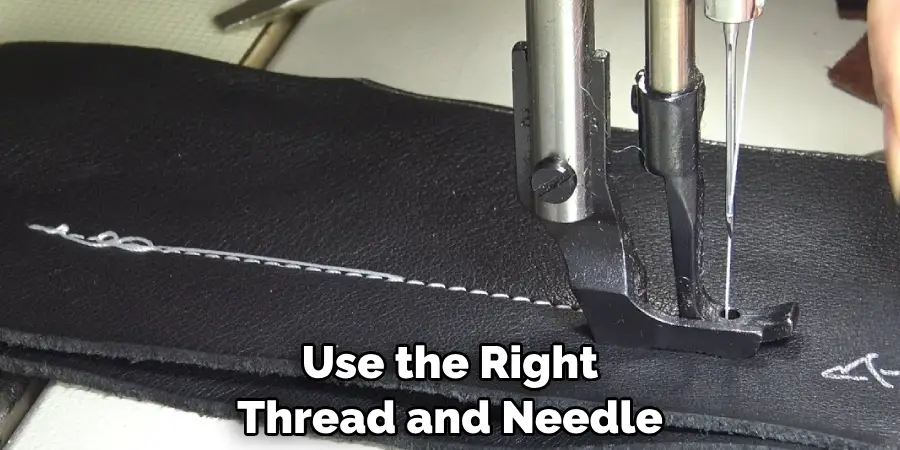
When sewing, make sure to use the right thread and needle size for the material you’re working with. Finally, be gentle while handling fabrics; any excessive stretching or pulling may result in unnecessary damage.
What are Some Alternatives to Sewing?
If sewing isn’t an option, there are still plenty of alternatives for repairing a bag lining. Glue and adhesive products such as fabric glue or hot glue can be used to patch up any holes and tears in the lining. Additionally, iron-on patches or fusible webbing can be used to bond torn fabrics together. Finally, if you’re dealing with large rips in the lining, you can use a patchwork of different fabrics to fill in the gap.
What Tools Will I Need?
The tools you’ll need for repairing bag linings will depend on the materials and desired outcome. For sewing, a needle and thread are necessary; additionally, you may want to have a pair of scissors and/or pinking shears handy for cutting fabric. For glue-based repairs, you’ll need a bottle of fabric glue or hot glue.
Additionally, if using fusible webbing, an iron and pressing cloth is necessary. Finally, when patchworking several materials together, you may want to have a rotary cutter and cutting mat on hand.
Making sure your bag lining is in good shape is important for its longevity and overall look. With a few tools, materials and some careful attention to detail, you can easily repair your bag lining and keep it looking great for years to come.
What Should I Do if the Lining Is In Poor Condition?
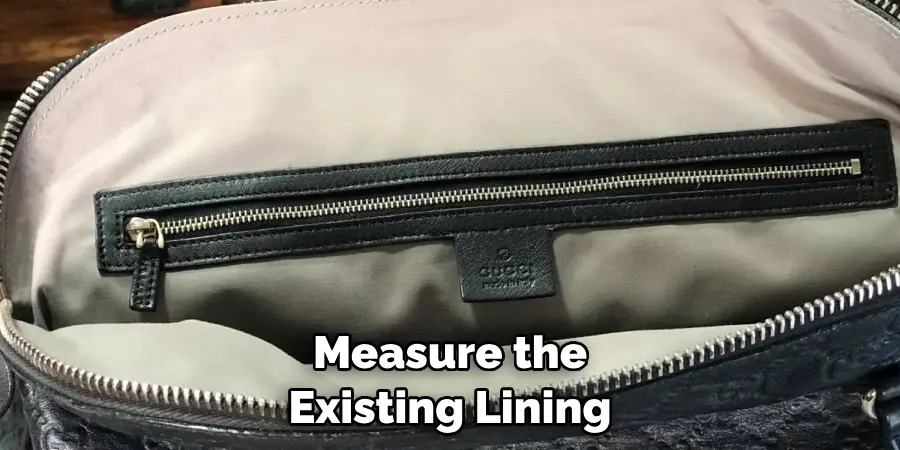
If the bag’s lining is beyond repair, the best option may be to replace it. To do this, measure the existing lining and purchase fabric of similar size and material. Once you have the new material, cut it to fit your bag’s measurements and stitch or glue them into place. After replacing the lining, be sure to double-check that all seams are secure before using the bag again.
Conclusion
Repairing bag linings can be a challenge, but it is possible. With some time and patience, anyone can get the job done. As always, it is important to research and take proper safety precautions before starting any kind of repair work.
That being said, now you have a better understanding of the steps that go into repairing bag lining, it’s time to try and see what you can do. If you take your time and carefully follow the instructions on how to repair bag lining outlined here, you should end up with a nicely repaired carrying case that will serve you for years to come. Best of luck!