Leather chairs are both elegant and durable, adding a touch of sophistication to any space. However, over time, they may suffer from wear and tear, leading to unsightly rips or holes. While such damage might seem irreversible, repairing a tear in a leather chair can be straightforward with the right tools and techniques.
This guide aims to provide you with step-by-step instructions on how to repair tear in leather chair, saving you both time and money while extending the life of your furniture.
Common Causes of Tears in Leather Chairs
Understanding the causes of tears in leather chairs can help in preventing future damage and maintaining the beauty of your furniture. One of the most common causes is regular wear and tear, resulting from daily use over time.
This can lead to thinning leather that becomes more susceptible to tears. Accidental cuts or scratches from sharp objects like keys, pens, or even pet claws can also cause significant damage.
Additionally, exposure to direct sunlight or heat sources may dry out the leather, making it brittle and more prone to cracking. Lastly, improper cleaning techniques or using harsh chemicals can weaken the leather’s fibers, increasing the likelihood of tears. By being aware of these potential causes, you can take proactive measures to protect your leather chair and prolong its lifespan.
Understanding Leather Types
Before attempting to repair a tear in a leather chair, it’s crucial to understand the type of leather you are working with, as different leather types require specific care and repair methods. There are several types of leather commonly used in furniture, including full-grain, top-grain, corrected grain, and bonded leather.
Full-grain leather is the highest quality and is known for its durability and natural look; it retains the outer layer of the hide, which makes it strong and resistant to wear. Top-grain leather is similar but has the top layer sanded and finished for a smoother appearance, which may slightly reduce its durability but makes it easier to maintain.
Corrected grain leather is buffed to remove imperfections and embossed with a pattern, making it more budget-friendly but less natural. Lastly, bonded leather, made from leather scraps bonded together with a polymer, is the least expensive and least durable option. Knowing which type of leather your chair is made from will help you choose the appropriate repair materials and techniques, ensuring a successful restoration process.

10 Methods How to Repair Tear in Leather Chair
A tear in your favorite leather chair can be disheartening, especially when it’s an essential piece of your home decor. But fear not! With the right techniques, you can restore it to its former glory.
This listicle will guide you through ten practical methods to repair tears in leather chairs at home. Whether you’re an experienced DIY enthusiast or a first-timer, these methods will help you maintain the beauty and longevity of your leather furniture.
1. Leather Adhesive
Leather adhesive is a must-have for any minor tear repair. This method involves using a strong glue designed for leather to bond the torn edges back together. Simply apply a small amount along the edges of the tear, press them together, and hold for a few minutes until the adhesive sets. This quick fix is perfect for small tears and doesn’t require sewing.
2. Leather Repair Kits
Leather repair kits are a convenient solution for tackling larger tears. These kits typically include patches, adhesives, and color-matching compounds to blend the repair seamlessly with the rest of the leather. Follow the instructions provided in the kit to patch up the tear, and use the color-matching agent to ensure the repair is virtually invisible.
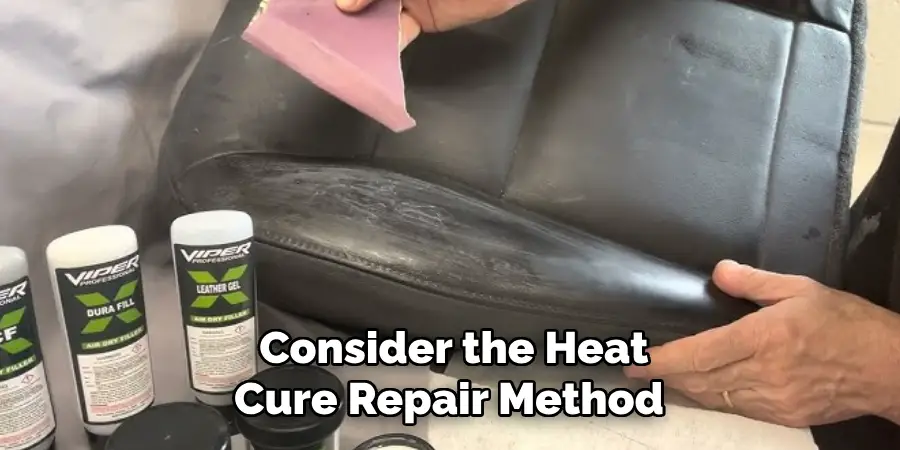
3. Heat Cure Repair
For a long-lasting solution, consider the heat cure repair method. This involves using a heat tool to cure a liquid leather compound applied to the tear. The heat helps the compound bond to the leather, creating a durable and flexible repair. This technique is ideal for medium to large tears and offers a professional finish.
4. Needle and Thread
If you’re comfortable with sewing, a needle and thread can be used for a more traditional repair method. Choose a heavy-duty thread that matches the color of your leather and carefully stitch the tear closed. This method is best suited for thick leather and requires precision to ensure the stitches are even and tight.
5. Liquid Leather
Liquid leather is another effective option for repairing tears. This product is a flexible compound that fills in the gap of the tear, creating a seamless repair. Apply the liquid leather to the tear, smooth it out with a spatula, and allow it to dry. Once dry, the repair will be nearly invisible and resistant to further damage.
6. Leather Patch
Patching is a straightforward method for repairing larger tears. Cut a leather patch slightly larger than the tear, apply leather adhesive to the patch and the surrounding area, and press it firmly over the tear. This method is durable and provides added support to prevent the tear from spreading.
7. Leather Filler
Leather filler is particularly useful for filling in deep or jagged tears. Apply the filler to the tear, smooth it out, and allow it to dry completely. Once dry, sand the area lightly to ensure it’s flush with the surrounding leather. Finish by applying a color-matching dye to blend the repair seamlessly.
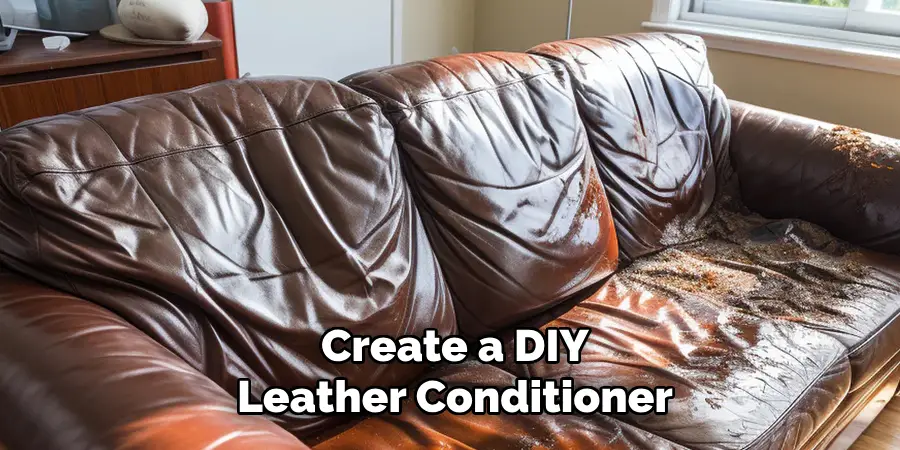
8. DIY Leather Conditioner
Create a DIY leather conditioner using equal parts vinegar and linseed oil. Apply this mixture to the repaired area with a soft cloth and buff until shiny. This conditioner helps restore suppleness to the leather and keeps it hydrated, preventing future cracks and tears.
9. Professional Repair Services
For significant or complex tears, consider seeking professional repair services. A leather repair specialist will have the tools, skills, and materials necessary to restore your chair to its original condition. While this option may be more expensive, it’s worth it for intricate or valuable pieces.
10. Preventive Measures
Lastly, take preventive measures to avoid future tears. Keep your leather chair away from direct sunlight and heat sources, regularly clean and condition the leather, and be mindful of sharp objects that could cause damage. Proper care and maintenance will extend the life of your leather furniture.
Maintenance and Upkeep
Proper maintenance and regular upkeep are critical in preserving the beauty and longevity of your leather chair. Start by establishing a routine cleaning schedule—use a soft, damp cloth to gently wipe away dust and dirt, and apply a leather-specific cleaner once a month to tackle any stubborn grime.
Conditioning your leather every few months is also essential; it hydrates the material, preventing dryness and cracking over time. Aim to keep your chair in a stable environment, away from direct sunlight and fluctuating temperatures, as these can cause fading and stress on the leather. Additionally, be cautious of spills—tend to them immediately using a dry cloth to blot the liquid before it can soak in.
Tips for Achieving the Best Results in Leather Repair
Achieving the best results in repairing your leather chair requires attention to detail and patience. Here are some tips to ensure your repair efforts are successful:
- Assess the Damage Thoroughly: Before beginning any repair, examine the tear closely to determine its size and depth. This assessment will guide you in selecting the most appropriate repair method.
- Gather the Right Materials: Use high-quality materials that are specifically designed for leather repair. Whether it’s adhesives, fillers, or patches, investing in quality products will lead to more durable and seamless repairs.
- Follow Instructions Carefully: If using a repair kit, read and follow the instructions meticulously. Each kit may have specific steps to achieve optimal results, so adhere to them to avoid any mishaps.
- Test Color Matching: When using color-matching compounds, always test them on a small, inconspicuous area first. This will ensure that the color blends well with your existing leather, preventing noticeable mismatches.
- Be Patient with Drying Times: Allow ample time for adhesives, fillers, and liquid compounds to dry completely. Rushing this process can weaken the repair and lead to future tears.
- Practice Sewing Techniques: If opting for the needle and thread method, practice your sewing technique on a piece of scrap leather first. This practice will help you achieve even and tight stitches on the actual repair.
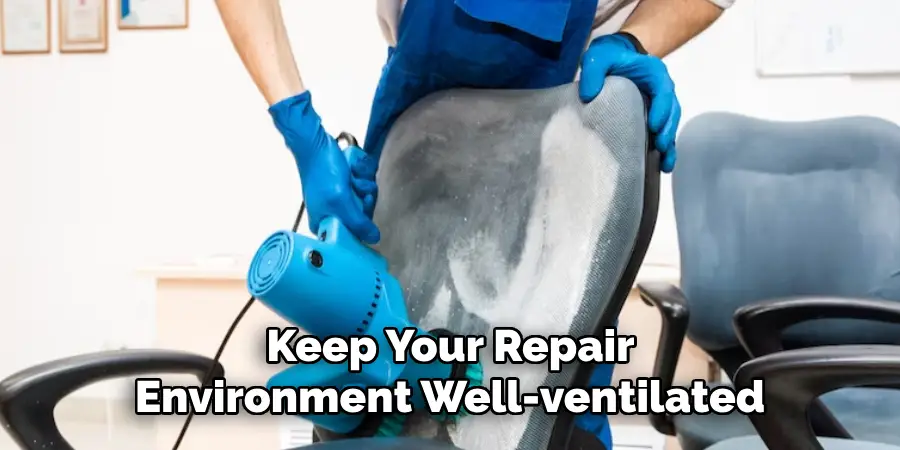
- Maintain Humidity Levels: Keep your repair environment well-ventilated and avoid excessive humidity. Proper conditions will help in setting the adhesives or compounds effectively.
Conclusion
In conclusion, repairing and maintaining a leather chair not only preserves its beauty but also extends its longevity. By utilizing the outlined repair techniques—ranging from heat tools and sewing to professional services—and adhering to a consistent maintenance routine, you can effectively address damages and prevent future issues.
Investing time and care into your leather furniture will ensure it remains a cherished part of your home for many years to come. Thanks for reading, and we hope this has given you some inspiration on how to repair tear in leather chair!