Fake leather, also known as faux or synthetic leather, has become increasingly popular due to its affordability and versatility. Over time, however, even the best quality fake leather can start to show signs of wear, including cracks, peeling, and fading. Restoring it can breathe new life into your furniture, clothing, or accessories. Doing so not only improves their appearance but also extends their lifespan.
Restoring fake leather is a cost-effective project that you can tackle at home with some basic supplies and careful attention to detail. You’ll be able to repair damages, restore shine, and prevent future issues. With the right techniques, you can make your fake leather items look almost as good as new. This guide on how to restore fake leather will walk you through supplies, step-by-step instructions, and answer essential questions along the way.
Supplies You May Need
- Mild Soap or Faux Leather Cleaner
- Soft Microfiber Cloths
- Sponge
- Small Bowl With Warm Water
- Fine-grit Sandpaper or Soft Brush
- Faux Leather Repair Kit
- Leather Filler or Flexible Fabric Glue
- Acrylic Paint or Leather Dye (Matching Color)
- Clear Sealer or Faux Leather Finish
- Cotton Swabs and Disposable Gloves
8 Simple Step-By-Step Guidelines on How to Restore Fake Leather
Step 1: Clean the Surface
Begin by wiping down the fake leather with a soft, damp microfiber cloth. Use a mixture of mild soap and warm water to gently clean away dirt, oils, and debris.
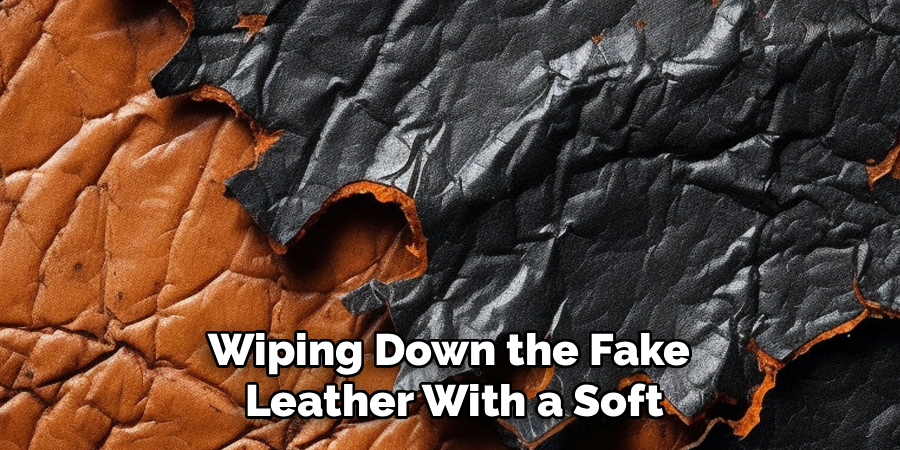
Allow the surface to dry completely before moving on. Cleaning ensures that the repair materials will bond properly and prevents contaminants from interfering with your restoration efforts.
Step 2: Assess the Damage
Examine the item closely for cracks, peeling, or worn spots. Identify the areas that need the most attention, such as high-use spots or places with obvious damage.
By assessing the level of damage early, you can determine what products and repair techniques will be necessary. This will help you focus your efforts and save both time and materials.
Step 3: Smooth Rough Areas
If you notice peeling or rough patches, gently use fine-grit sandpaper or a soft brush to smooth them out. Be careful not to press too hard; excessive force can further damage the material.
Once smoothed, wipe away any dust with a clean, dry cloth. This step creates a more even texture, ready for repair compounds or paint.
Step 4: Apply Leather Filler
Use a leather filler or a flexible fabric glue to fill in cracks, holes, or deep scratches. Spread it evenly with a small spatula, making sure not to overfill the area.
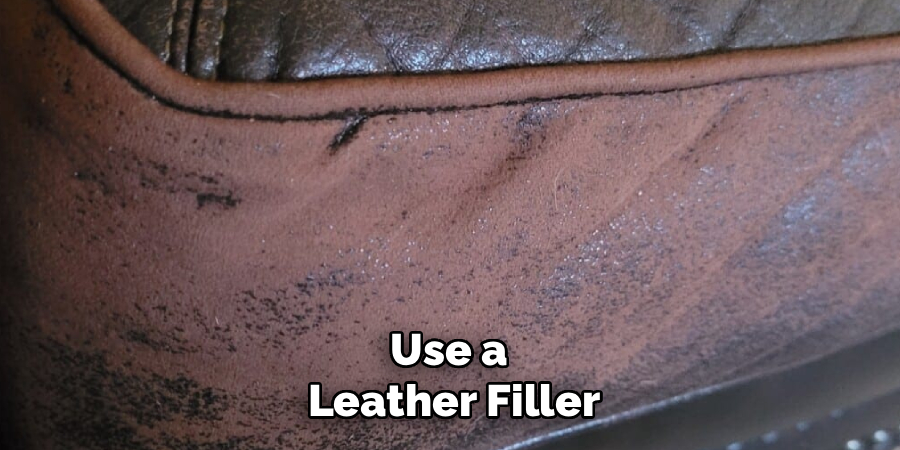
Let the filler dry for the recommended time indicated on the product instructions. Once dry, lightly sand the area, if needed, to achieve a seamless finish.
Step 5: Recolor the Area
After the filler dries, apply acrylic paint or leather dye that closely matches your item. Use a sponge or soft cloth to blend the color in thin, even coats.
Multiple light coats are better than one thick layer—this helps achieve a natural look and prevents cracking. Allow each coat to dry fully before applying the next one.
Step 6: Seal and Protect
When the color looks even and fully dry, apply a clear sealer or faux leather finish. This helps to lock in the color and adds a protective layer against further wear and tear.
Follow the product instructions for application and drying times. Sealing ensures your restoration work will last longer, maintaining both appearance and softness.
Step 7: Condition (Optional)
Although fake leather does not have pores like genuine leather, you can use a specific faux leather conditioner to keep the surface supple. Apply a small amount with a microfiber cloth.

Conditioning protects against drying and cracking, especially if the item is exposed to the sun or heat frequently. This step is optional, but it can further enhance durability.
Step 8: Routine Maintenance
To keep your restored fake leather in good condition, clean it regularly with a mild cleaner and a soft cloth. Address any new scuffs or marks as soon as possible.
Routine care helps extend the lifespan of your item and keeps it looking its best. Establishing a maintenance routine is key to long-term results.
Following these steps on how to restore fake leather will help you keep your item looking like new for years to come.
What Not to Do
Avoid using harsh chemicals, bleach, or strong detergents, as these can degrade the material and make damage worse. Never use rough scouring pads or hard brushes, which can scratch or peel the surface. Do not attempt to peel off damaged areas by hand; this can create larger patches of missing material.
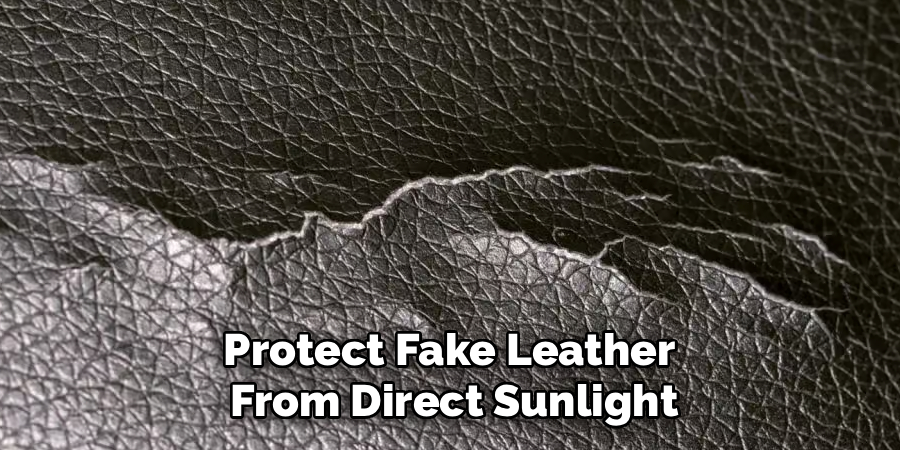
It’s risky to expose fake leather to direct sunlight or excessive heat for prolonged periods, as this speeds up fading and cracking. Additionally, don’t overload the item with too much filler or paint—overapplication can result in an unnatural look and poor flexibility.
Preventive Tips
Protect fake leather from direct sunlight and heat sources to reduce fading and cracking. Clean spills promptly with a soft cloth to prevent staining.
Use mild, non-abrasive cleaning solutions for regular care. Avoid heavy or sharp objects that could puncture or scratch the material. Store items in cool, dry places whenever possible to maintain material integrity.
When to Seek Professional Help?
If the fake leather is extensively damaged, such as deep tears, large holes, or widespread peeling, professional restoration may be necessary. Professionals have access to industrial-grade materials and matching techniques that might not be available for home use. For items with sentimental or high monetary value, seeking expert help can prevent further damage and ensure the best results. Additionally, if DIY repairs don’t seem to improve the appearance or if the repairs repeatedly fail, a professional touch can make a significant difference. It’s better to invest in professional help for complex or stubborn restoration issues.
How Much Will It Cost?
DIY restoration typically costs between $15 $50, including basic supplies and a repair kit. If you already own some materials, your costs may be even lower. For professional restoration services, prices can range between $75 $300 or more, depending on the size of the item and the extent of the damage. High-end repairs for large furniture pieces or designer accessories could cost significantly more. When budgeting, consider both the current value of the item and potential replacement costs. Investing in restoration can be worthwhile if the item is valuable or especially meaningful to you.
Frequently Asked Questions
Q1: How Long Does Restored Fake Leather Last?
A1: When properly restored and maintained, fake leather items can last several more years. The longevity depends on the original material quality and how often the item is used. Regular cleaning and protective measures greatly extend the life of your restoration. Keep in mind that synthetic materials will eventually age, but timely care makes a noticeable difference.
Q2: Is It Possible to Repair Large Cracks or Holes?
A2: Large cracks or holes in fake leather can be challenging, but they are often repairable with the right products and techniques. Using a high-quality leather filler and several coloring layers can achieve a convincing result. However, extremely large or complex damages may look best after professional intervention. Be patient and always test colors and fillers on a small area first.
Q3: Can I Use Household Items as Substitutes for Restoration Supplies?
A3: Some basic cleaning can be done with household items like mild soap and water. However, specialty products such as faux leather repair kits, fillers, and colorants are designed for these tasks and yield far better results. Avoid using abrasives or untested chemicals, as these may damage the material further. Investing in a few designed products is usually worth the cost for a smooth finish.
Q4: Will the Repairs Be Noticeable After Restoration?
A4: With careful repair and color blending, repairs can be made minimally visible or even invisible to the casual observer. The trick is to follow each step thoroughly and use products that closely match the original color and texture. Lighting and item location may also affect how noticeable repairs are. For best results, work patiently and don’t rush through any step of the process.
Conclusion
Restoring fake leather is a manageable project that can save both money and cherished belongings. With the right supplies, patience, and step-by-step care, you can rejuvenate worn or damaged faux leather surfaces. Avoid common pitfalls and use professional help for major damage to achieve optimal results.
Ultimately, regular maintenance and prevention are key to keeping your items looking great for years to come. Take pride in your restored piece and enjoy its renewed style and comfort! Thanks for reading this guide on how to restore fake leather.