
Are you tired of getting your leather jacket sleeves caught on door handles, zippers, or buttons? Or maybe you’re just looking for a more stylish fit.
Shortening the sleeves of a leather jacket is a practical solution for achieving the perfect fit and enhancing your overall style. Whether your coat was tailored for someone else or you prefer a refined and polished look, adjusting the sleeve length is a manageable task with the right tools and approach.

This guide on how to shorten sleeves on leather jacket will walk you through the steps required to safely and effectively shorten the sleeves of your leather jacket, ensuring a professional finish while preserving the jacket’s original quality and appearance. Let’s get started!
What Will You Need?
- Leather jacket
- Tailor’s chalk or fabric pencil
- Scissors or rotary cutter
- Sewing pins
- Sewing machine (preferably with a leather needle)
- Thread in matching color to the leather jacket
Once you have all of the necessary tools and supplies, you’re ready to begin shortening the sleeves on your leather jacket.
9 Easy Steps on How to Shorten Sleeves on Leather Jacket
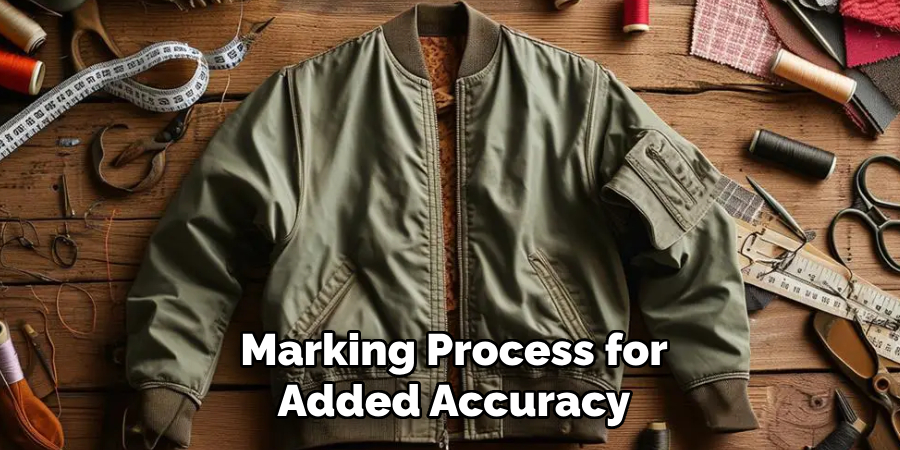
Step 1: Measure the Desired Length
Start by putting on the leather jacket to determine the ideal sleeve length. Stand in front of a mirror and bend your arms slightly to ensure the measurement accounts for the natural movement of your arms. Use a tailor’s chalk or fabric pencil to mark the desired length on each sleeve. Be careful to mark evenly on both sleeves to maintain symmetry. Ask a friend to help you with the marking process for added accuracy.
Step 2: Remove the Existing Hem
Carefully turn the jacket sleeve inside out to access the hem. Using a pair of scissors or a rotary cutter, gently cut along the stitching of the existing hem. Take your time to avoid accidentally cutting into the leather itself. Once the hem is removed, lay the sleeve flat and smooth out any wrinkles. This step will prepare the material for precise adjustments in the next steps.
Step 3: Measure and Trim the Sleeves
With the existing hem removed, measure the sleeve length from the shoulder seam down to the marks you previously made. Use a ruler or measuring tape to ensure the measurement is consistent along the width of the sleeve. Mark a straight line across the sleeve at the desired length using a tailor’s chalk or a fabric pencil. Once marked, carefully trim the excess material along the line with scissors, ensuring a clean, even cut.
Step 4: Prepare the New Hem
After trimming the sleeves to the desired length, it’s time to prepare the new hem. Fold the edge of the sleeve inward by approximately half an inch to create a clean finish. Use sewing clips or pins to hold the fold as you work around the sleeve. Ensure the fold is even and consistent to maintain a professional appearance. Press the fold lightly with a warm iron on a low setting, using a cloth to protect the leather if needed.
Step 5: Stitch the Hem
With the hem prepared, it’s time to stitch it in place. Thread a needle with a strong, durable thread that matches the color of the leather for a seamless finish. Begin stitching along the folded edge using a whip stitch or an alternative method suitable for leather.
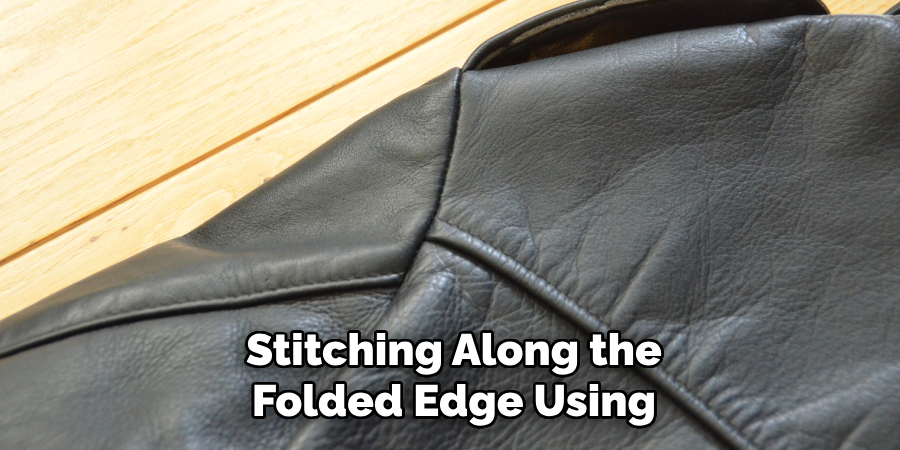
Ensure the stitches are small and evenly spaced to achieve a tidy look. Take your time to work around the entire sleeve circumference, securing the hem firmly. Once finished, tie a secure knot on the inside of the sleeve and trim any excess thread. Inspect the stitching for consistency and make any necessary adjustments before moving to the final step.
Step 6: Finishing Touches
With the hem securely stitched in place, carefully inspect the sleeve for any imperfections or loose threads. Use small, sharp scissors to trim any excess thread for a clean appearance. If the leather appears wrinkled or creased, lightly press the area with a warm iron and a protective cloth to smooth it out, being cautious not to damage the material. Finally, try on the garment to ensure the fit and hem length are just right. Adjustments can be made if needed, but your tailored leather sleeve is ready to wear if everything looks perfect!
Step 7: Caring for Your Tailored Leather Garment
To maintain the quality and longevity of your tailored leather garment, it’s essential to care for it properly. Store the piece in a cool, dry place away from direct sunlight to prevent fading or cracking.
Use a leather conditioner occasionally to keep the material supple and prevent it from drying out. When cleaning is necessary, spot-clean with a damp cloth and a mild leather cleaner, avoiding excess moisture. For deep cleaning or significant stains, consider seeking professional leather cleaning services. Proper care will ensure your leather garment remains stylish and durable for years.
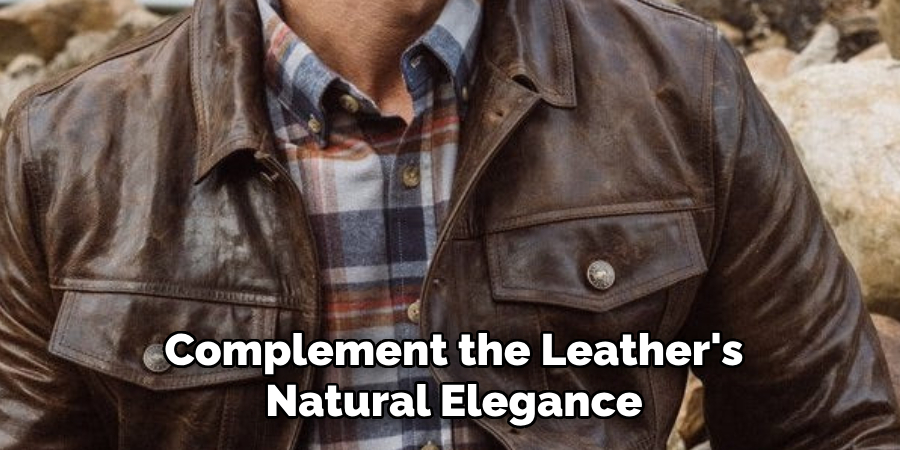
Step 8: Styling Your Tailored Leather Garment
Once your tailored leather garment is complete and well-cared for, it’s time to style it for various occasions. Leather pieces are incredibly versatile and can be dressed up or down depending on your taste. Pair your leather jacket or tailored pants with a simple tee and sneakers for a casual, everyday look.
Combine your leather garment with a dress shirt, blazer, or heels for a more polished outfit. Don’t forget to accessorize thoughtfully—sleek belts, metallic accents, or bold jewelry can complement the leather’s natural elegance. Experiment with different combinations to showcase your unique style.
Step 9: Storing Your Leather Garment Properly
Proper storage is crucial to maintaining the quality and longevity of your tailored leather garment. Always store your leather piece in a cool, dry place away from direct sunlight, which can cause fading and drying out of the material.
Use a padded hanger to help retain the shape of jackets or shirts, and avoid folding leather items to prevent creases. Cover your garment with a breathable fabric bag to shield it from dust while allowing airflow. Avoid using plastic covers, as they can trap moisture and lead to mildew. Taking these precautions will keep your leather garment pristine for future use.
Following these steps, you can easily tailor your leather garment to fit perfectly and ensure it stays in top-notch condition for years.
5 Things You Should Avoid
- Cutting Without Measuring Properly: One of the most common mistakes is cutting without accurately measuring the desired sleeve length. Always measure twice to ensure precision and avoid irreversible errors.
- Using the Wrong Tools: Avoid using scissors or tools not designed for leather. Specialized leather-cutting tools are essential to achieve clean lines and prevent damage to the material.
- Skipping a Test Cut: Leather can behave differently depending on its type and thickness. Always test on a scrap piece to ensure the method or tool you use works as intended.
- Ignoring the Stitching Work: If your jacket has decorative or functional stitching near the cuffs, removing material without properly recreating those stitches can ruin the aesthetic and compromise durability.
- DIY Without Enough Experience: Altering leather jackets requires skill and knowledge. Attempting it without experience can lead to costly mistakes. When in doubt, consult a professional tailor who specializes in leather.
How to Hem Short Sleeves?
Hemming short sleeves on a leather jacket can seem daunting, especially for beginners. However, with the right approach and techniques, it can be done effectively and give your jacket a polished and professional look. Here are some steps to follow when hemming short sleeves on a leather jacket:
- Measure Twice: Before cutting or stitching anything, always measure the desired length of your sleeve accurately. Use a measuring tape or ruler to ensure precision.
- Mark the Hemline: Using the tailor’s chalk or masking tape, mark the desired hemline on both sleeves of the jacket. This will act as guidance when cutting and stitching.
- Cut Carefully: Using sharp scissors or specialized leather cutting tools, carefully cut along the marked hemline. Remember to always double-check your measurements before making any cuts.
- Create a Fold: Fold the raw edge of the sleeve towards the inside of the jacket, following the marked hemline. Use clips or pins to hold it in place.
- Stitch Securely: Using a strong and durable thread, stitch along the folded edge of the sleeve with tiny and even stitches. This will help secure the fold and prevent unraveling.
- Trim Excess Material: After stitching, trim any excess material from the folded edge for a clean finish.
- Iron Carefully: Using a low heat setting and a cloth to protect the leather, carefully iron over the hemline to help it lay flat and neat.
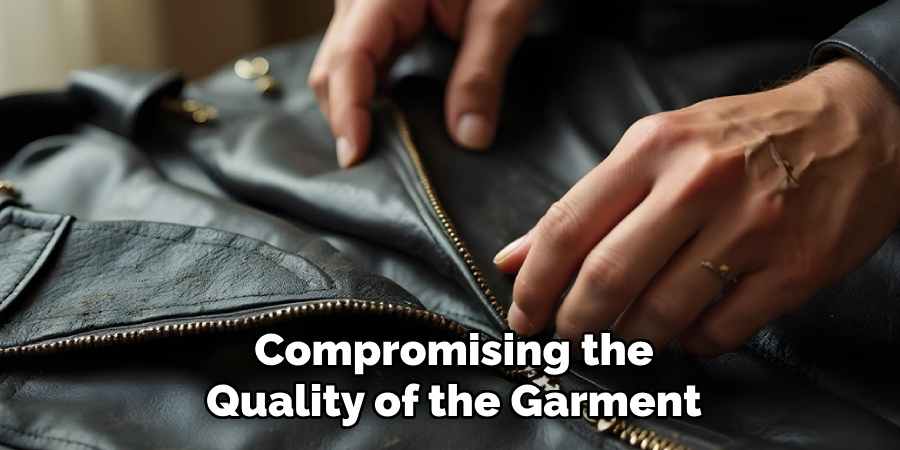
With these steps, you can successfully hem short sleeves on your leather jacket and achieve a polished look without compromising the quality of the garment.
Conclusion
How to shorten sleeves on leather jacket may seem challenging, but with careful preparation and attention to detail, it is entirely achievable.
You can ensure a professional and seamless result by gathering the right tools, taking precise measurements, and following the outlined steps meticulously. Patience is key when working with leather, as the material requires special care to maintain its integrity and appearance.
Whether you’re adjusting the jacket for a better fit or style, the effort invested will reward you with a perfectly tailored piece that complements your wardrobe.
Check it now : Paint Outdoor Cushions