
Are you looking to shrink leather? Look no further! This guide will walk you through everything you need to know about shrinking leather.
How to shrink leather is a practical technique often used to achieve a desired fit or to restore items to their original size and shape. Whether it’s a favorite pair of leather shoes or a snug leather jacket, knowing how to effectively shrink leather can enhance its functionality and prolong its lifespan. This process involves the careful application of water and heat, which allows the leather fibers to contract. However, it is crucial to approach this task with caution to avoid damage, such as warping or cracking.

By following the right steps and using appropriate tools, you can successfully shrink leather and maintain its quality and durability.
What Will You Need?
Before getting started, make sure you have the following items on hand:
- Water spray bottle
- Heat source (such as a hair dryer or clothes steamer)
- Clean cloth
- Leather conditioner or oil (optional)
It is important to note that not all types of leather can be shrunk. For example, suede and patent leather should not be subjected to this process as it can ruin their texture and finish. It’s best to refer to the manufacturer’s instructions or do a patch test on a small, inconspicuous area before attempting to shrink the entire item.
10 Easy Steps on How to Shrink Leather
Step 1. Clean the Leather:
Before beginning the shrinking process, it is imperative to start with clean leather. Use a clean cloth to gently wipe away any dust, dirt, or surface oils from the leather item. This step ensures that there are no contaminants that could interfere with the absorption of water or the even application of heat. Depending on the level of grime, you may use a leather cleaner suitable for your specific type of leather to achieve a thorough cleaning. Follow the cleaner’s instructions and allow the leather to dry completely before proceeding to the next step. Proper cleaning prepares the leather for shrinking and helps protect its texture and finish during the process.
Step 2. Lightly Spray the Leather:
Once the leather is clean and dry, it’s time to moisten it. Using the water spray bottle, lightly mist the leather surface. Avoid soaking the leather, as too much water can cause irreversible damage. The goal is to dampen the surface enough to allow the leather fibers to become pliable, enabling them to contract when heat is applied. Be thorough yet cautious as you spray, ensuring an even distribution of moisture across the entire item while steering clear of any metal components that could rust. After spraying, let the water sit for a few minutes to ensure it adequately penetrates the leather before moving on to the next step.
Step 3. Apply Heat Evenly:
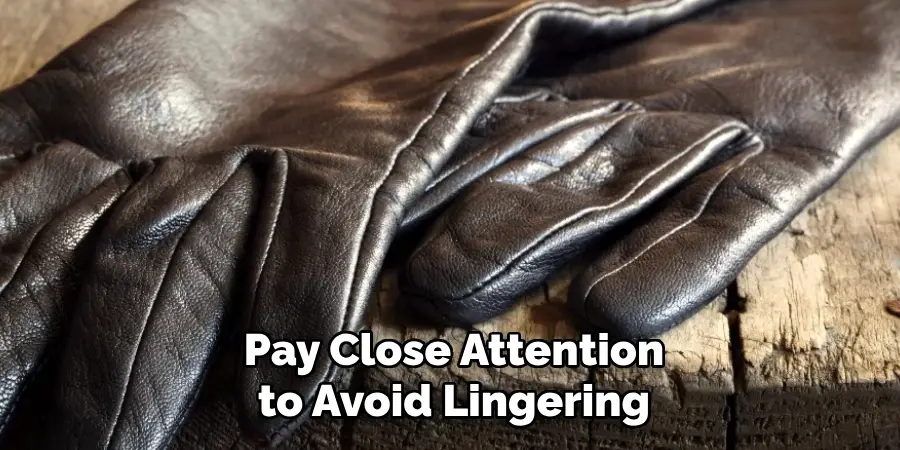
With the leather surface lightly moistened, the next step is to apply heat to initiate the shrinking process. Use a heat source, such as a hair dryer or clothes steamer, and set to a medium temperature. Carefully heat the leather, maintaining a consistent distance to prevent overheating, which could lead to cracking or discoloration. Move the heat source steadily across the surface, ensuring the heat is evenly distributed.
Pay close attention to avoid lingering on any one spot for too long. The goal is to gently warm the leather, making it pliable enough for the fibers to contract. You’ll notice the leather tightening as you work, gradually shrinking to the desired size. Keep the heat source moving and continue this process until you’ve achieved the right fit.
Step 4. Allow the Leather to Cool:
After using heat to shrink the leather, it’s crucial to let it cool naturally. This cooling phase helps the leather fibers set in their new, contracted position. Place the item in a relaxed, dry environment, away from direct sunlight or artificial heat sources, which could lead to further shrinkage or damage.
Avoid handling the leather excessively during this time, as manipulating it while warm could affect the final shape. Depending on the size and thickness of the item, cooling can take several hours. Once thoroughly cooled, inspect the item to ensure the size reduction is as desired. If additional shrinkage is needed, you can repeat the misting and heating process incrementally, allowing sufficient cooling between each attempt.
Step 5. Condition the Leather:
After the leather has cooled and you are satisfied with the level of shrinkage, it’s essential to condition it. This step helps replenish any moisture lost during the heating process and keeps the leather supple and resistant to cracking. Apply a leather conditioner or oil using a clean cloth, evenly massaging it into the surface. Make sure to cover all areas, particularly to spots that appear dry or stressed after shrinking. Allow the conditioner to absorb fully before using or storing the item. Proper conditioning enhances the leather’s appearance and ensures its durability and flexibility.
Step 6. Repeat if Necessary:
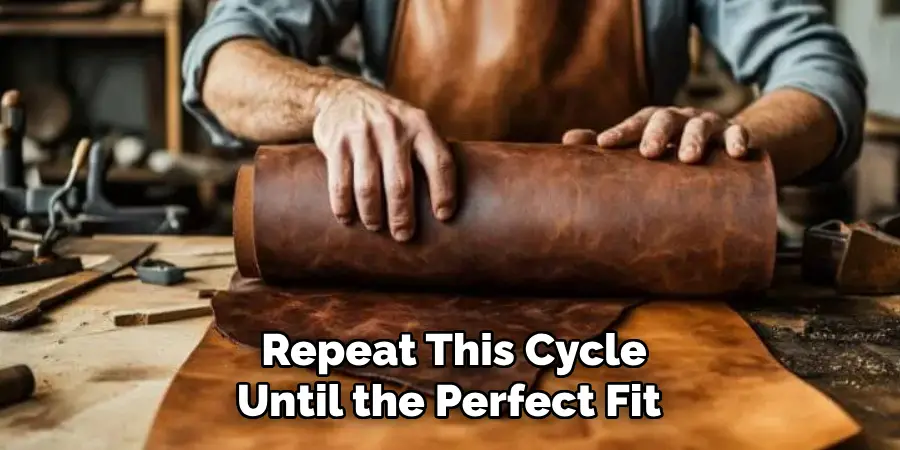
If the leather has yet to shrink to the desired size after completing all the steps, you may need to repeat the process. Begin by lightly misting the leather with water again, ensuring an even distribution. Next, reapply the heat, moving the heat source consistently across the surface. Pay close attention to prevent any damage from overheating. After reheating, allow the leather to cool entirely before assessing the size. To avoid compromising the leather’s integrity, it is essential to be patient and cautious with this incremental approach. If additional shrinkage is required, repeat this cycle until the perfect fit is achieved.
Step 7. Test the Fit:
Once you have completed the shrinking process, testing the fit of the leather item is essential. Gently try on the item or place it in its intended position to ensure it now conforms to the desired size. Carefully check all areas to confirm that the shrinkage is evenly distributed and the item retains its original shape and functionality.
This step allows you to make any necessary final adjustments, ensuring complete satisfaction with the size and fit of the leather item. If the result is satisfactory, no further steps are needed. However, if additional adjustments are required, you can carefully redo the necessary steps, taking extra care to maintain the leather’s integrity.
Step 8. Store the Leather Properly:
After achieving the perfect fit for your leather item, it’s crucial to store it correctly to maintain its shape and condition. Choose a cool, dry place away from direct sunlight, which can cause fading and cracking. If the item is wearable, hang it on a padded hanger to preserve its silhouette without causing stress or distortion.
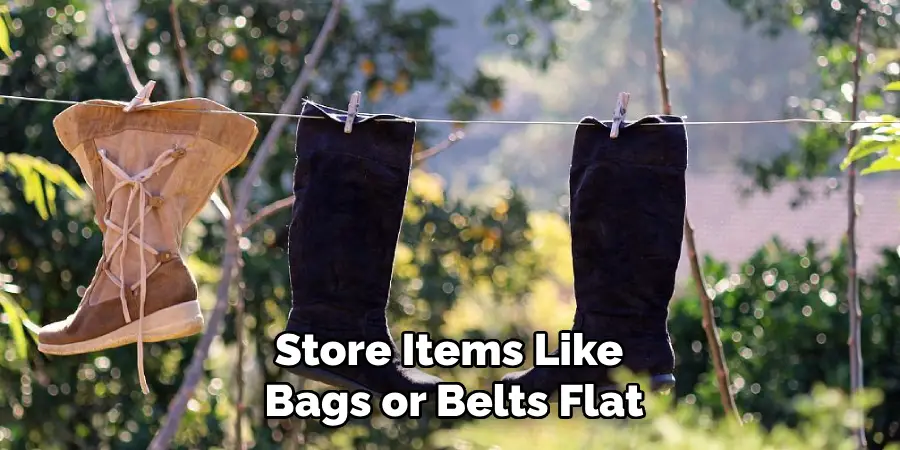
Store items like bags or belts flat or gently cushioned with tissue to help retain their shape. Regularly check your leather items for signs of dryness or wear, applying conditioner as needed to ensure ongoing suppleness and durability. Proper storage extends the life of your leather goods and ensures they remain in excellent condition and ready for subsequent use.
Step 9. Maintain Regular Care:
To ensure your leather item remains in excellent condition after the shrinking process, establish a routine maintenance plan. Regular care includes periodic cleaning and conditioning to keep the leather supple and prevent wear or damage. Dust or wipe down the item with a soft, dry cloth every few weeks to remove any surface dirt. Apply a leather conditioner periodically, especially if the item is frequently used or exposed to harsh weather conditions. This helps to maintain its flexibility and luster.
Always follow manufacturer guidelines or consult a leather care professional for specific products and techniques suited to your leather type. Regular maintenance not only enhances the appearance of your leather goods but also extends their lifespan, ensuring they continue to look and feel great for years to come.
Step 10. Address Potential Issues:
While the leather shrinking process is effective, potential issues can arise that require attention. Be vigilant for any signs of damage, such as cracks, stiffness, or uneven shrinkage, which might have occurred during the process. If you notice any of these issues, cease further shrinking attempts and address them promptly. To restore flexibility, apply additional conditioner generously, allowing it to absorb thoroughly and soften the leather. Consider consulting a professional leather artisan who can provide specialized advice or adjustments for uneven shrinkage. Addressing these issues early ensures the leather remains in good condition and retains its functional and aesthetic qualities.
By following these steps, you can successfully shrink leather items to achieve the perfect fit. With proper care and maintenance, your leather goods will not only fit comfortably but also remain in excellent condition for years to come.
Conclusion
How to shrink leather can be a rewarding process, allowing for a customized fit and renewed usability of your valued items.
By meticulously following the outlined steps, from preparing the leather to gradually shrinking and conditioning it, you can achieve the desired size while maintaining the material’s quality and appearance. It’s important to exercise patience and caution throughout the process, ensuring that temperature and moisture levels are carefully controlled to prevent any potential damage. Regular maintenance and proper storage are key to preserving the leather’s integrity over time.
By adhering to these guidelines, your leather goods will fit perfectly and continue to serve you with durability and style for many years.