
Leather is a timeless material prized for its durability, elegance, and ability to age gracefully. Whether used for jackets, shoes, or bags, leather products offer a touch of sophistication to any wardrobe.

However, when leather stretches or loses its snug fit, it can be frustrating. Shrinking leather at home is possible with the right supplies and a careful approach. In this guide on how to shrink leather, we’ll cover everything you need to know to safely shrink leather, avoid common pitfalls, and maintain your items’ quality.
Understanding Leather and Oil Stains
Leather is made from animal hide and has a natural tendency to expand and adapt to your body over time. However, when exposed to moisture, heat, or improper care, it can shift more than you’d like. This can lead to looseness, uneven texture, and sometimes even permanent distortion.
One challenge often encountered is oil stains. Oil can penetrate leather fibers deeply, making removal tough without damaging the material. Not only do oil stains affect the look of leather, but they also impact how it reacts to shrinking processes. Understanding this relationship is important—shrinking leather with embedded oil can make stains more pronounced or alter the hide’s surface. That’s why it’s crucial to address oil stains before starting any shrinking method.
Always assess the condition of your leather piece—it will help you choose the right approach and avoid irreversible mistakes. Dedicated cleaners and gentle handling can keep leather looking its best, even when you need to make adjustments.
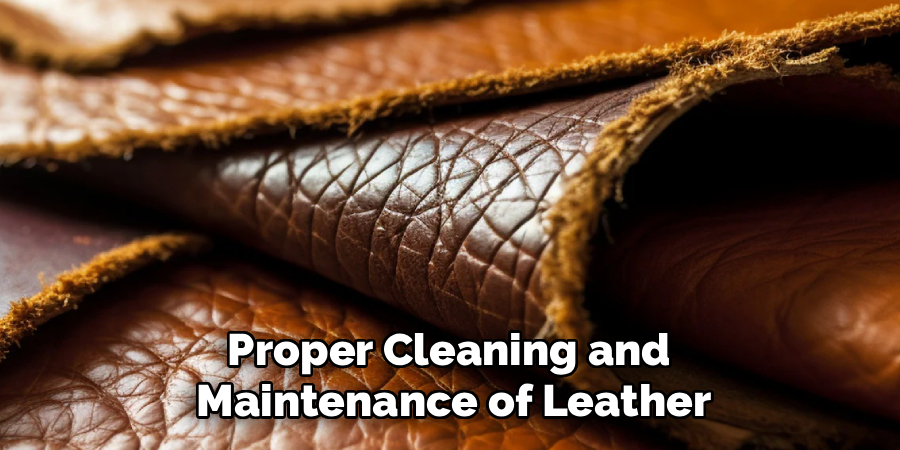
Why is Proper Cleaning and Maintenance Crucial for Leather?
Proper cleaning and maintenance of leather is crucial for its longevity, appearance, and overall quality. Leather is a natural material that requires special care to keep it looking its best. Neglecting to clean or maintain leather can result in irreversible damage such as stains, cracks, and discoloration.
Leather products are often expensive investments, so it’s important to take the time to properly clean and maintain them. Regularly cleaning your leather items not only helps preserve their appearance but also extends their lifespan. By removing dirt, oils, and other contaminants from the surface of the leather, you prevent these particles from breaking down the fibers over time.
Supplies You May Need
- Mild Leather Cleaner or Saddle Soap
- Clean, Soft Cloths or Sponges
- Spray Bottle Filled With Water
- Hair Dryer or Heat Gun (With Adjustable Settings)
- Access to a Sink or Basin
- Leather Conditioner
- Gloves (to Protect Your Hands)
- Towels for Drying
- Measuring Tape (Optional)
8 Simple Step-By-Step Guidelines on How to Shrink Leather
Step 1: Clean the Leather Thoroughly
Before attempting to shrink your leather item, ensure it is free from dirt and oil. Gently wipe the surface using a mild leather cleaner or saddle soap and a soft cloth, following the grain of the leather.
By removing surface debris and any oil residue, you prevent stains from becoming more permanent during the shrinking process. Take time to let the leather dry naturally, as rushing this step can lead to uneven shrinkage.
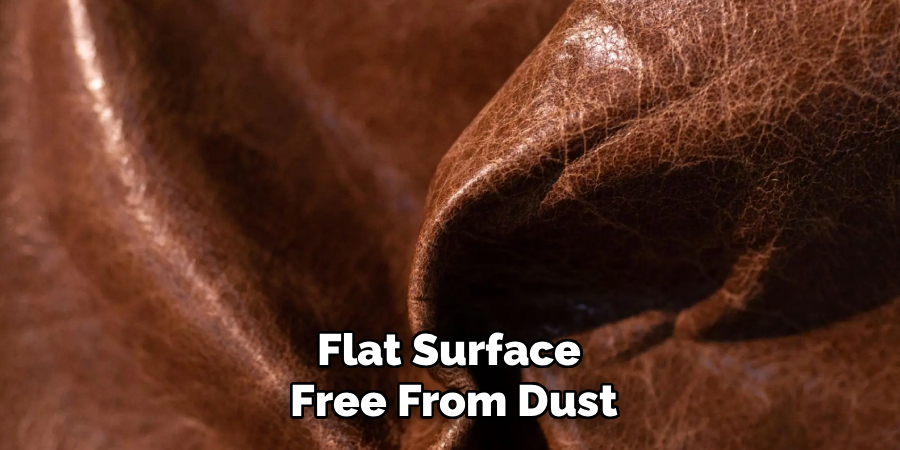
Step 2: Prepare the Work Area
Choose a clean, flat surface free from dust or items that could harm the leather. Lay down towels or cloths to protect both the leather and your table or workspace.
Working in a well-lit, ventilated area is best when handling cleaning products and heat tools. This preparation also helps you monitor the condition of the leather throughout the process.
Step 3: Dampen the Leather Evenly
Fill a spray bottle with clean, lukewarm water and lightly mist the leather’s surface. Be sure to spray evenly, avoiding over-saturating any particular area, which could cause water stains or uneven shrinkage.
Let the leather sit for a few minutes so the moisture is properly absorbed. Excess moisture can weaken the fibers, so consistency is key.
Step 4: Apply Heat Gradually
Using a hair dryer or heat gun on a low to medium setting, gently warm the leather. Hold the tool at least six inches away and keep it moving in circular motions.
Focus on gradual heating—moving too quickly or using high temperatures can damage the leather or result in quick, uneven shrinking. Patience during this stage preserves the look of the leather.
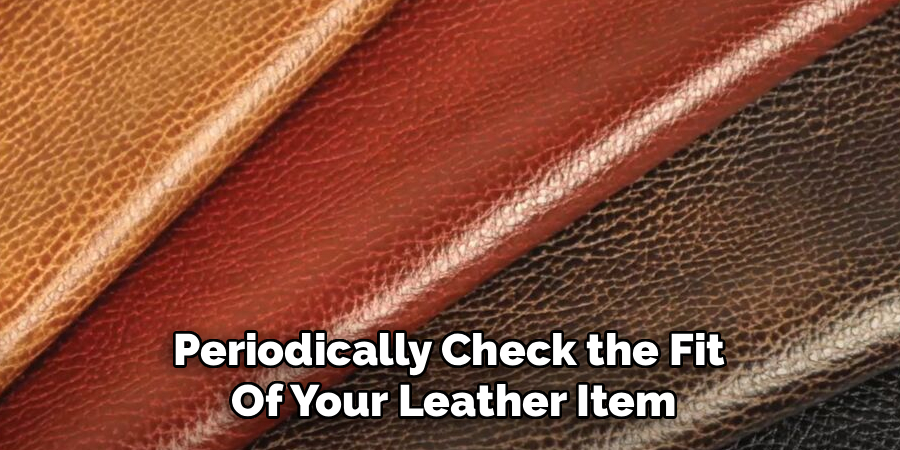
Step 5: Monitor the Size and Fit
Periodically check the fit of your leather item as you apply heat. Measure with tape, if necessary, or try on clothing or accessories after short intervals to assess changes.
Take breaks between heating sessions to let the leather rest and adjust. This step ensures you don’t overshrink the piece and achieve your intended size.
Step 6: Cool and Dry Naturally
Once you’re satisfied with the fit, allow the leather to cool naturally at room temperature. Lay it flat and avoid direct sunlight or high heat sources, which can dry it out too quickly.
Natural cooling helps lock the new size in place without stressing the fibers. Place towels underneath to soak up any excess moisture, if needed.
Step 7: Condition the Leather
After shrinking and drying, use a high-quality leather conditioner to restore moisture and preserve flexibility. Apply a small amount and massage it in using a clean cloth.
This step is crucial—shrinking can remove some of the leather’s natural oils, making it prone to cracking or stiffness. Conditioning helps maintain softness and durability.
Step 8: Store or Wear the Item Properly
Store your shrunk leather item in a cool, dry place or, if it’s clothing, start wearing it to let it conform to its new size. Hang jackets or lay items flat to prevent wrinkles and creases.
Avoid packing it tightly or exposing it to drastic temperature changes. Consistent care extends the lifespan and preserves the fit you’ve achieved.
Following these steps on how to shrink leather effectively will help you maintain the quality and fit of your leather items. With proper care, your leather pieces can last for years to come.
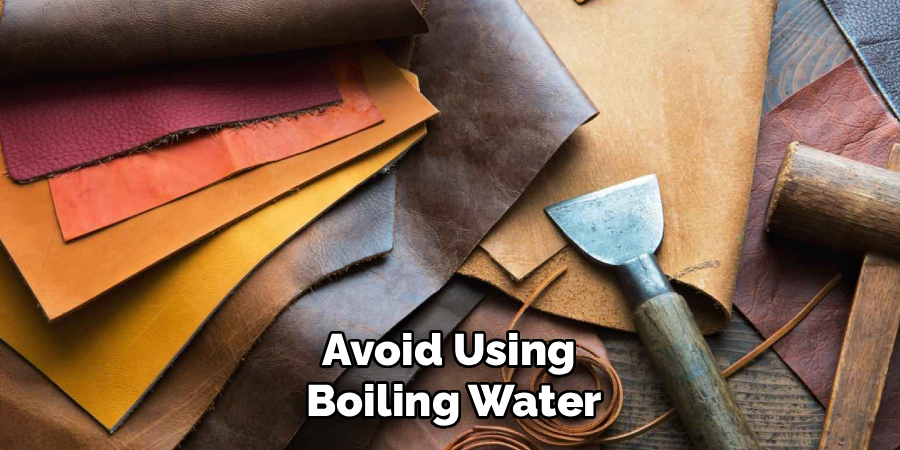
What Not to Do
Avoid using boiling water, direct flames, or ovens to shrink leather. These methods can lead to shrinking too fast, resulting in cracking or distortion that’s beyond repair. Never soak leather for prolonged periods, as it can break down the natural fibers and cause permanent changes to the shape and feel.
Do not skip cleaning or conditioning—failure to do so often leads to surface damage or loss of suppleness. Applying heat in one spot instead of moving evenly can also cause uneven shrinkage and blemishes. Steer clear of harsh chemicals not designed for leather, as these may stain or degrade the material further.
Preventive Tips
- Keep leather away from harsh sun and excess moisture.
- Store items in a climate-controlled environment.
- Clean and condition leather regularly to maintain flexibility.
- Avoid overstuffing bags or pockets to prevent stretching.
- Test all treatments on a hidden area first.
When to Seek Professional Help?
If your leather piece is particularly expensive, vintage, or holds sentimental value, consider consulting a professional before trying to shrink it. Experts have specialized tools and experience to handle challenging materials and delicate items. If the leather has deep oil stains, major structural issues, or signs of damage, home techniques may make problems worse.
Seek help when in doubt, or if previous attempts at shrinking have led to unsatisfactory results. A professional can also offer tailored advice for your specific item and recommend restoration if needed. Don’t risk irreparable harm—trusted experts are equipped to protect your investment.
Frequently Asked Questions
Q1: Is It Safe to Shrink All Types of Leather?
Not all leather types react the same way to shrinking methods. For example, suede and nubuck are more delicate and prone to damage compared to smooth, finished leather. Always check the label and do a patch test to prevent unwanted results.
Q2: How Do I Remove Oil Stains Before Shrinking Leather?
Start by blotting excess oil with a clean cloth, then use a leather-specific cleaner to gently treat the stained area. Deep stains may require professional intervention to completely remove. It’s important to tackle stains first, as shrinking with stains present can lock them in further.
Q3: Can I Use a Washing Machine or Dryer to Shrink Leather?
Using a washing machine or dryer is not recommended as the intense moisture and heat can severely warp, crack, or destroy leather. Manual methods give you more control and reduce the risk of permanent damage. Resist the urge to take shortcuts with such valuable material.
Q4: How Often Should I Condition Leather After Shrinking?
Condition your leather in the days following the shrinking process, then continue every few months depending on use and environmental conditions. Conditioning keeps leather soft, prevents cracking, and prolongs its life. Regular care is just as important as the shrinking process itself.
Conclusion
Shrinking leather at home is achievable with patience, the right supplies, and careful execution. By understanding your item and following each step on how to shrink leather thoughtfully, you can restore a better fit and prolong the life of your favorite leather goods.
Remember, proper maintenance and gentle treatment are the keys to enjoying your leather for years to come. If in doubt, don’t hesitate to seek professional assistance to ensure the best care possible.