
Shrinking a leather jacket can be a practical solution if it has stretched over time or if it doesn’t fit as snugly as you’d like. Leather, being a natural material, is malleable and responds to certain methods that can help adjust its size without damaging its quality.

This guide on how to shrink leather jacket will walk you through safe and effective techniques to shrink your leather jacket, ensuring it retains its style and durability.
Why You Might Need to Shrink Your Leather Jacket?
Leather jackets can stretch over time, especially if they are made from softer or thinner leather. This can happen due to frequent wear or exposure to heat and moisture. A loose-fitting leather jacket not only fails to flatter your body shape but also loses its insulating properties.
Additionally, if you’ve purchased a second-hand leather jacket that’s slightly bigger than your size, shrinking it is a more cost-effective option than getting it tailored.
It’s important to note that not all leather jackets can be shrunk, especially those made from synthetic materials or already pre-shrunk leather. However, if your jacket is made from real leather, there are a few methods you can try to shrink it and give it a perfect fit.
Precautions Before Shrinking Your Leather Jacket
Before attempting to shrink your leather jacket, it’s crucial to take certain precautions to avoid causing irreversible damage. Start by checking the care label to confirm that your jacket is made from genuine leather and not synthetic materials, as synthetic leather does not react well to shrinking techniques. Test any method on an inconspicuous area first to ensure that it does not discolor or harm the material.
Additionally, thoroughly clean your jacket before starting the shrinking process. Dirt and oils embedded in the leather can cause uneven results or stains when exposed to water and heat. It’s also advisable to moisturize your jacket with a leather conditioner after shrinking, as the process may dry out the material, leading to cracks or stiffness over time. Always proceed cautiously to preserve both the look and longevity of your leather jacket.
7 Simple Step-by-step Guidelines on How to Shrink Leather Jacket
Step 1: Prepare for the Shrinking Process
Begin by assembling all the materials you’ll need for the shrinking process. These typically include a spray bottle filled with lukewarm water, a clean towel, and a hairdryer. Ensure that the area where you’ll be working is well-ventilated, as leather can emit a distinct odor when wet and heated. Lay your leather jacket on a flat and clean surface to prepare for the process.
If your jacket has any detachable parts, such as a fur collar or lining, remove them to avoid accidental damage during the procedure. This preparation step ensures you can work efficiently and minimizes the risk of damaging your jacket during the shrinking process.
Step 2: Dampen Your Jacket with Lukewarm Water
Using the spray bottle, dampen the entire jacket evenly with lukewarm water. Avoid soaking it as this could cause irreversible damage to the leather. Alternatively, you can submerge your jacket in a tub of lukewarm water for about five minutes.
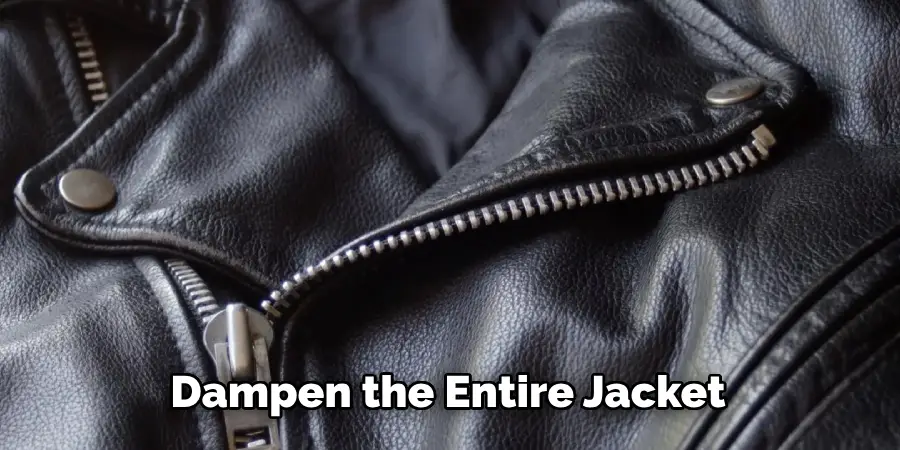
The key here is to make sure that the leather is uniformly damp, as this will help it shrink more evenly and prevent any potential discoloration or stains. It’s essential to use lukewarm water as using hot or cold water can disrupt the shrinking process.
Step 3: Stretch the Leather Gently
After dampening your jacket, gently stretch it in the areas that you want to shrink. This helps realign the fibers and makes them more receptive to the shrinking process. Don’t pull too hard, as this may cause damage or create uneven shrinkage.
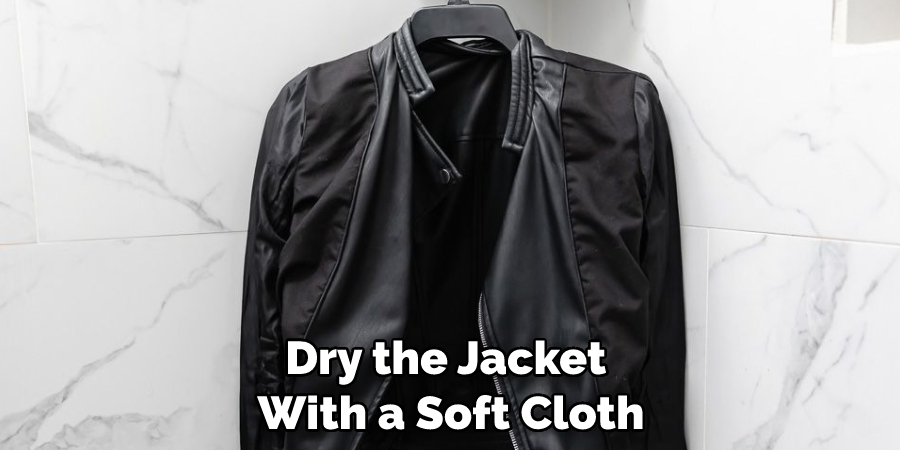
Step 4: Dry Your Jacket with a Towel
Next, use a clean towel to pat your jacket dry gently. Avoid rubbing or wringing out any excess water as this may also cause damage. Leather is prone to water stains, so ensure that it’s evenly damp but not dripping wet before proceeding.
If you’ve used a bathtub instead of a spray bottle, carefully remove excess water by squeezing it from top to bottom without twisting the fabric.
Step 5: Use a Hairdryer
Once your jacket is evenly damp and lightly dried with a towel, use a hairdryer on a medium heat setting to carefully dry the leather. Focus on specific areas that you wish to shrink, keeping the hairdryer at least six inches away from the surface to prevent overheating or scorching the leather. Move the hairdryer in a continuous motion to ensure even drying and avoid creating hard or brittle spots.
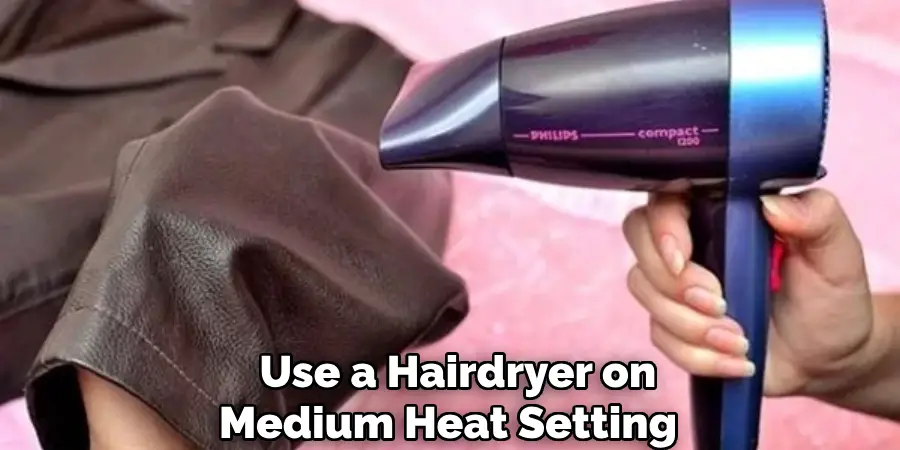
Pay particular attention to the seams and edges, as these areas tend to respond more effectively to heat. As the leather dries, you may notice it tightening and shrinking slightly. Be patient, as rushing this step can damage the texture or cause the leather to stiffen unevenly. Once the jacket is completely dry, inspect it to see if it has achieved the desired fit before proceeding to the final steps.
Step 6: Wear the Jacket
Once the jacket has dried with the help of a hairdryer, put it on while it is still slightly warm. Wearing the jacket during this stage helps it conform to your body shape and ensures a snug, customized fit as the leather continues to tighten. Move around in the jacket to test its comfort and fit, stretching your arms and shoulders gently to prevent any stiffness.

This step allows the leather to adapt to your body’s contours naturally while still being malleable. Be cautious not to overstretch or force any movements that could damage the leather or seams. After wearing it for some time, remove the jacket and recheck for any additional areas that may require further tweaking.
Step 7: Repeat if Necessary
If the jacket has not shrunk to your desired fit after completing all the steps, you can repeat the process. Begin by dampening the specific areas that still feel loose, ensuring even coverage with lukewarm water. Follow the same steps of drying with a towel, using a hairdryer, and wearing the jacket to allow it to conform to your body shape.
However, be mindful of over-shrinking or weakening the leather fibers, as repeated treatment could potentially damage the material. Always inspect the jacket carefully after each attempt to ensure it retains its quality and durability. Once satisfied, apply a leather conditioner to restore moisture and keep the jacket supple and protected.
Following these simple guidelines on how to shrink leather jacket can help you shrink your leather jacket with ease and precision, preventing any damage or discoloration. Remember to always take the necessary precautions, such as testing on an inconspicuous area first and proceeding cautiously throughout the process. With proper care and maintenance, your leather jacket will continue to be a timeless piece in your wardrobe for years tory leather jacket. So, take your time and proceed with care to ensure a perfectly fitted jacket that will last you for years to come.
Frequently Asked Questions
Q: Can All Types of Leather Jackets Be Shrunk?
A: Not all types of leather can be safely shrunk. It’s best to consult a professional or do thorough research on the specific type of leather before attempting to shrink it. Some types of leather may be more susceptible to damage or discoloration during the shrinking process.
Q: Can I Use Other Methods to Shrink My Leather Jacket?
A: Yes, there are other methods such as soaking the jacket in a tub of hot water and then wearing it until it dries. However, these methods can be riskier and may cause irreversible damage or weakening of the leather fibers.
Q: How Often Should I Repeat the Shrinking Process?
A: It’s best to only repeat the process if necessary, as repeated exposure to water and heat can weaken the leather fibers over time. If possible, try alternative methods first before repeating the shrinking process.
Q: Can I Use a Leather Conditioner After Shrinking My Jacket?
A: Yes, it’s highly recommended to apply a leather conditioner after shrinking your jacket. This helps restore moisture and maintain the quality of the leather, keeping it soft and supple. Be sure to follow the instructions on the specific conditioner and test it on an inconspicuous area first before applying it to the entire jacket.
Conclusion
Shrinking a leather jacket is a simple and cost-effective solution to adjust its size and restore its original shape. Remember to follow these guidelines on how to shrink leather jacket carefully and be patient, as rushing the process could potentially damage your jacket. Always test on a small, inconspicuous area before proceeding and repeat the process cautiously if necessary. With proper care, you can enjoy your perfectly fitting leather jacket for years to come.
So go ahead and confidently rock that well-fitted leather jacket! Next time, try treating it with a leather conditioner to keep it in top shape and maintain its durability. Wear it with pride, knowing that you’ve successfully shrunk your leather jacket like a pro! Happy shrinking!