Are you tired of your worn-out leather sofa but don’t want to go through the hassle and expense of purchasing a new one? Slipcovering your leather sofa is a great solution!
How to slipcover a leather sofa is an excellent way to refresh your living space without the need to invest in a new piece of furniture. It protects the sofa from wear and tear and offers an opportunity to update the style to match your current decor.
Whether you’re looking to conceal scratches, add warmth during colder months, or simply desire a change in color or fabric, slipcovers provide a cost-effective and versatile solution.
This guide will walk you through the essential steps and considerations for selecting and installing a slipcover that will fit snugly and look aesthetically pleasing on your leather sofa.
What Will You Need?
Here are some items you will need to get started:
- Measuring tape
- Fabric or slipcover of your choice
- Scissors
- Pins and fabric clips
- Needle and thread or a sewing machine (depending on the type of slipcover)
- Optional: elastic bands, Velcro strips, or other fasteners for a more secure fit.
Once you have gathered all the necessary materials, it’s time to start transforming your leather sofa!
10 Easy Steps on How to Slipcover a Leather Sofa
Step 1: Measure Your Sofa
The first step in slipcovering your leather sofa is accurately measuring its dimensions. Begin by taking the length from the outer edge of one arm across to the other. Next, measure the height from the sofa’s base to the top of the backrest. Don’t forget to measure the depth by determining the distance from the front of the sofa seat to the backrest.
Accurate measurements ensure the slipcover fits well, preventing any excess fabric from dangling awkwardly or being too tight to install. Remember to note these measurements and have them handy when purchasing or making your slipcover.
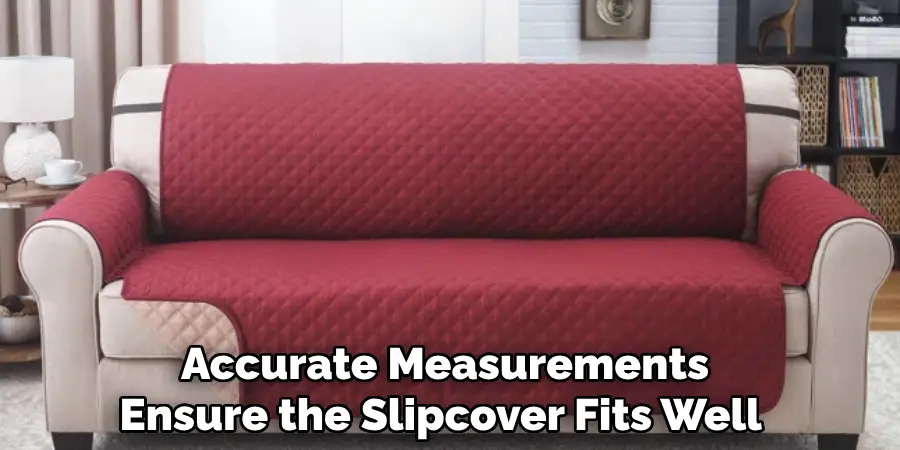
If your sofa has unique features such as recliners or an attached chaise, measure these elements separately to get the right fit. Proper measuring is the foundation of a snug and stylish slipcover.
Step 2: Choose Your Fabric
Selecting the right fabric is crucial to achieving your slipcover’s desired look and functionality. Consider the texture, color, and pattern that best suit your room’s decor and lifestyle. Cotton and linen are popular choices for their breathability and ease of maintenance.
At the same time, microfiber and synthetic blends may offer excellent durability and stain resistance—ideal for homes with pets or young children. Decide if you want a fabric that provides warmth, like velvet, or something light and airy for a casual look.
Once you’ve chosen your fabric, consult your measurements to determine the material needed to cover your sofa completely. This step sets the foundation for a successful slipcover transformation, ensuring it complements your living space seamlessly.
Step 3: Cut the Fabric
Once you’ve selected your fabric, it’s time to cut it according to the measurements you took in Step 1. Lay the fabric on a flat surface and use your measurements as a guide to mark the necessary cuts with a fabric pencil. It’s essential to leave a few extra inches on all sides as allowances for seams and any required adjustments when fitting the fabric to your sofa.
If your sofa has curved or unusual shapes, account for these in your cutting plan. Using sharp fabric scissors, carefully cut the fabric along the marked lines. It’s beneficial to label each piece with a small tag, indicating its corresponding part of the sofa, such as “backrest,” “armrest,” or “seat,” to avoid confusion later.
Step 4: Pin and Fit the Fabric
With all your fabric pieces cut and labeled, the next step is to pin them together to fit your sofa. Start by positioning the largest piece over the main body of the sofa, aligning it with the respective tags. Use pins or fabric clips to temporarily secure the fabric along the seams, checking the alignment and ensuring no gaps or overlaps.
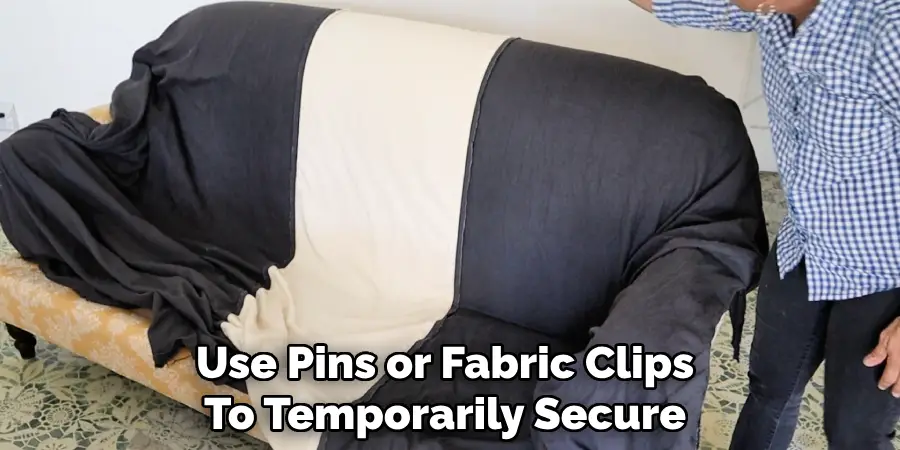
Pull the fabric taut over the sofa, adjusting the pins as needed to achieve a smooth surface without any wrinkles.
Repeat the process for the armrests, backrests, and other sections, ensuring each piece fits snugly and seamlessly connects with the adjacent fabric segments and at this stage, making any adjustments or notes for alterations before the final sewing is essential, as this will ensure a polished and professional finish.
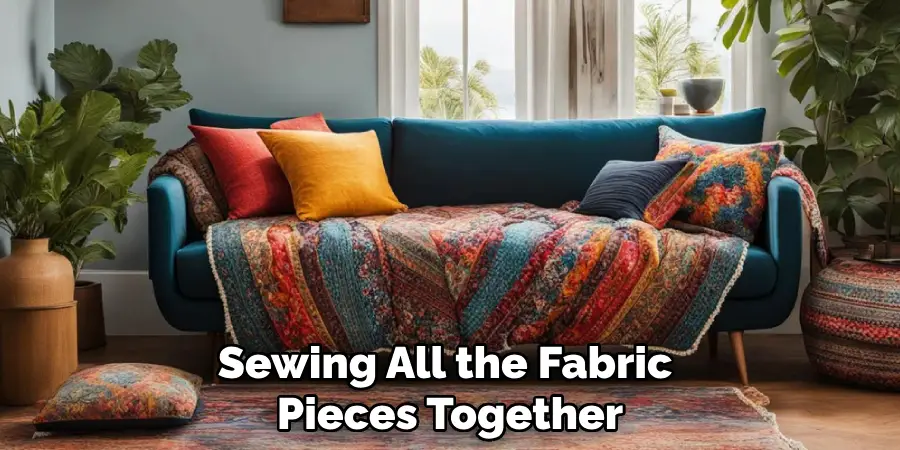
Step 5: Sew the Slipcover
After ensuring the fabric pieces are correctly positioned and pinned, it’s time to begin sewing your slipcover. Using a needle and thread or a sewing machine, start with the largest piece, typically the one covering the main body of the sofa. Carefully sew along the pinned seams, removing the pins as you progress.
It’s advisable to use a sturdy stitch, such as a straight or zigzag stitch, to ensure durability and longevity, especially in high-stress areas like the edges or corners where the fabric might experience more tension.
If using a sewing machine, adjust the tension settings as needed to handle thicker layers of fabric. Repeat this sewing process for each fabric piece, including the armrests and backrest sections, ensuring a neat and continuous connection between pieces.
Step 6: Secure the Slipcover
After sewing all the fabric pieces together, it’s time to secure the slipcover onto your leather sofa. Begin by carefully draping the completed slipcover over the couch, ensuring proper alignment with the tags you labeled earlier.
To achieve a tighter fit, use elastic bands, Velcro strips, or other fasteners, strategically placing them on areas like the bottom edges and insides of the armrests. This will help keep the slipcover in place and prevent shifting during use.
For added security, consider tucking additional fabric into the sofa’s creases, such as between the backrest and seats, to provide even more stability. A well-secured slipcover not only enhances the appearance of your sofa but also ensures comfort and ease of use, ensuring that the transformation is both practical and visually appealing.
Step 7: Adjust Any Fit Issues
Once your slipcover is secured on the sofa, step back and evaluate the overall fit. Pay attention to any areas where the fabric may be too loose or overly taut, as these can compromise both the appearance and comfort of your slipcover.
Begin by removing any wrinkles or excess material with your hands, paying close attention to the corners and edges. If you notice any areas that need adjustment, use a seam ripper to open the seams carefully, make the necessary alterations, and then re-sew the fabric to ensure a snug fit.
For minor adjustments, such as slight looseness, consider adding fasteners or tucking more fabric into the sofa’s creases. Taking the time to address these fit issues will help create a polished, professional-looking slipcover that looks great and feels comfortable during use.
Step 8: Add Finishing Touches
With your slipcover now fitting snugly, the final step is to add some finishing touches to enhance its appearance and functionality. Consider ironing the slipcover while it’s in place to eliminate any remaining wrinkles and to give it a crisp, tailored look. If desired, you can also add decorative elements such as piping or trim along the seams to give your slipcover a customized, upscale feel.
For practicality, consider applying a fabric protector spray that helps resist stains and spills, keeping your slipcover looking fresh and new. This stage is about refining the details to ensure your slipcover complements your decor while remaining practical for everyday use. Celebrate your completed project by enjoying your newly transformed sofa’s revamped comfort and style!
Step 9: Maintain Your Slipcover
Now that your leather sofa boasts a stylish new slipcover, it’s essential to maintain its appearance and functionality. Regular upkeep will help extend the life and look of your slipcover. Start by establishing a routine cleaning schedule; vacuum the slipcover weekly to remove dust and debris, using an upholstery attachment for best results.
Spot clean stains promptly using a mild detergent and a soft cloth, taking care not to saturate the fabric. Periodically check the fit and adjust any fasteners or retuck areas where the fabric may have shifted. If your slipcover is machine washable, follow the care instructions for washing and reassembling.
Step 10: Enjoy Your Reupholstered Sofa
With the slipcover complete and maintenance plans in place, it’s time to enjoy the final result. Take a moment to appreciate the transformation of your leather sofa into a fresh and inviting centerpiece for your living space.
Whether you’re hosting guests or simply unwinding after a long day, relish the comfort and aesthetic brought by your handiwork. The slipcover revitalizes your furniture and reflects your style and resourcefulness. Embrace the satisfaction of a job well done and the added elegance it brings to your home decor.
Following these steps, you can successfully reupholster a leather sofa with a slipcover and enjoy the benefits of a stylish, comfortable, and budget-friendly upgrade.
Conclusion
How to slipcover a leather sofa offers a practical and aesthetically pleasing way to breathe new life into your furniture.
By carefully selecting materials, measuring with precision, and following each step methodically, you can create a slipcover that enhances your living space while protecting your investment. This process provides an opportunity for customization and creativity and reflects an economical choice for updating your décor.
With the right level of care and attention to detail, a slipcover can transform your leather sofa into a functional and stylish centerpiece that complements your taste.