
If you own a pair of chukka boots, it’s essential to know how to tie them properly. Not only does it ensure that your feet stay secure and comfortable while wearing the boots, but it also adds a touch of style to your overall outfit. Knowing to tie chukka boots can make all the difference in achieving a polished look for any occasion.

The main advantage of tying chukka boots is that it allows you to properly secure the boots on your feet, preventing them from slipping or causing discomfort. This is especially important when wearing these types of boots for outdoor activities such as hiking or walking in rugged terrain. You can find step-by-step instructions on how to tie chukka boots in this blog article.
Step by Step Processes for How to Tie Chukka Boots
Step 1: Inspect the Laces
Before learning how to tie chukka boots, it is important to check the quality and condition of your laces. Make sure they are not too worn out or frayed as this could affect the final result.
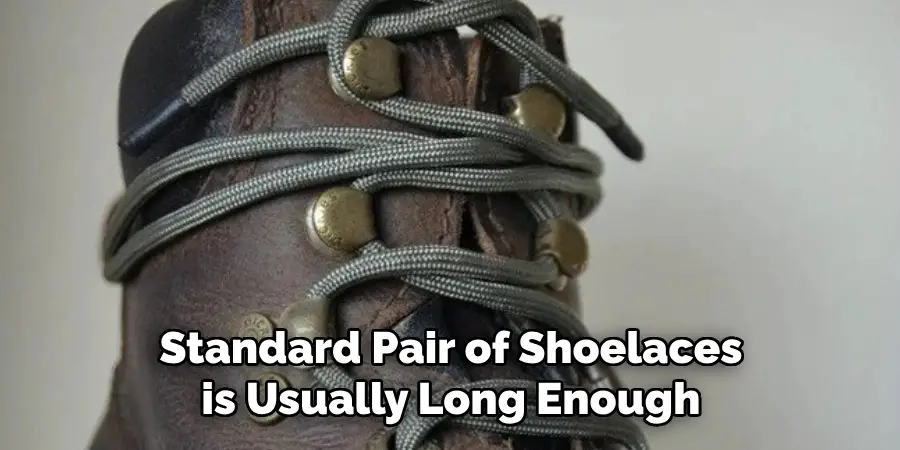
Step 2: Determine Length
The length of your laces will determine how many times you need to wrap them around the boot. A standard pair of shoelaces is usually long enough for chukka boots, but if they are too short, you may need to replace them with longer laces. Start at the Bottom Begin by inserting one end of the lace into the bottom eyelet on one side of the boot. Make sure both ends are of equal length.
Step 3: Cross and Wrap
Take the lace on the right side and cross it over to the opposite eyelet. Then wrap it around the back of the boot and bring it through the next eyelet on the same side. Continuing with the right lace, cross it back to the opposite side and wrap it around. This time, bring it through the third eyelet from the bottom.
Step 4: Repeat on Other Side
Repeat as previous step with the left lace, crossing it back to the opposite side and wrapping it around, then bringing it through the third eyelet from the bottom. Keep crossing and wrapping each lace until you reach the second to last eyelet on both sides of the boot.
Step 5: Create a Loop
Once you have reached the second to last eyelet, take each lace and create a loop by folding it back on itself. Make sure the loop is big enough to fit the other lace through. Take each lace and cross them over, then tuck the end of each lace into the opposite loop.
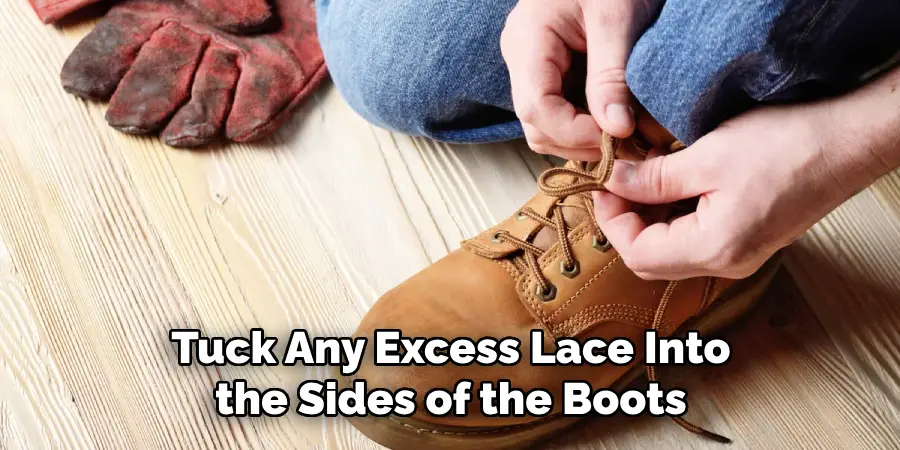
Step 6: Tighten and Secure
Pull on both loops to tighten the knot, then adjust as needed until the laces are evenly tight. Double knot if necessary to secure. Finally, tuck any excess lace into the sides of the boots or trim them to a desired length for a clean and tidy finish.
By following these simple steps, you can easily learn to tie chukka boots and achieve a secure and stylish look. Experiment with different lace styles and colors to add a personal touch to your boots. Remember to regularly check and replace worn out laces for optimal results.
Safety Tips for How to Tie Chukka Boots
- Always use high quality and durable laces for your chukka boots to prevent them from breaking or coming loose while you are tying them. This will not only save you time but also ensure that your boots stay secure on your feet.
- Make sure the laces are long enough for you to tie comfortably, but not too long that they drag on the ground as this could cause you to trip or get tangled.
- Before starting the tying process, make sure your chukka boots are on properly and snugly laced up. This will prevent any discomfort or accidents while trying to tie them.
- Take your time and be patient while tying your chukka boots. Rushing could lead to mistakes that may affect the comfort and fit of the boots.
- Pull the laces tight enough to keep the boots securely on your feet, but not so tight that they restrict blood flow or cause discomfort.
- Ensure that both sides of the laces are even in length before tying them. Uneven lace lengths could result in an uneven and uncomfortable fit.
- For added safety, tuck in any excess laces or use a bow tie to keep them from flapping while walking. Loose laces could get caught on something and cause you to trip or fall.
Some Common Mistakes to Avoid When Tying Chukka Boots
One of the most important aspects when tying chukka boots is how the laces should be positioned. This can greatly affect the comfort and fit of your boots. In this section, we will discuss some common mistakes to avoid when tying chukka boots.
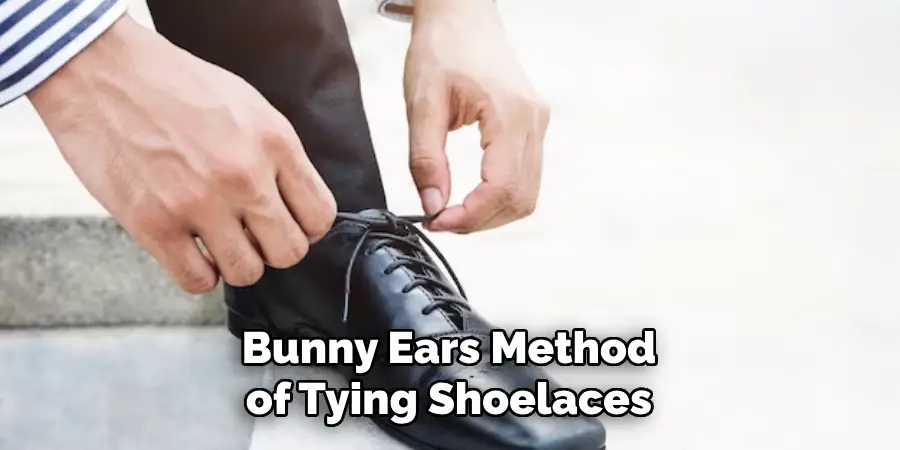
1. The “Bunny Ears” Method
Many people are familiar with the “bunny ears” method of tying shoelaces, where you make two loops and tie them together. While this method may seem easy and quick, it can actually cause your chukka boots to feel loose and slip off easily. Instead, try the traditional “over-under” lacing technique.
2. Making the Laces Too Tight
Another mistake people often make is pulling the laces too tight. This can cause discomfort and even restrict blood flow to your feet. Chukka boots are meant to be comfortable, so make sure you leave some room for your feet to move.
3. Crossing the Laces Too Low
When tying chukka boots, it’s important to cross the laces at a higher point on your ankle. Crossing them too low can cause the boots to feel loose and uncomfortable. Aim for the second or third eyelets from the top of your boot.
4. Not Double Knotting
Chukka boots tend to have shorter laces compared to other types of shoes, so it’s important to double knot them to prevent them from coming undone. This is especially important if you are planning on walking long distances or participating in activities that involve a lot of movement.
5. Not Adjusting the Laces Properly
After tying your chukka boots, take a moment to adjust the laces evenly on both sides. This will ensure a snug fit and prevent any discomfort or blisters from uneven pressure points.
6. Tying Too Loosely at the Top
Many people make the mistake of tying their chukka boots too loosely at the top, which can cause the boots to feel unstable when walking. Make sure to tie them securely at the top for a comfortable and stable fit.
By avoiding these common mistakes, you can ensure that your chukka boots are tied in a way that offers both comfort and support. Remember, the key is to find the right balance between snugness and comfort.
Are There Any Specific Techniques for Tying the Laces on Chukka Boots?
Chukka boots are a popular and stylish choice of footwear for both men and women. With their timeless design, this ankle-high boot can be dressed up or down depending on the occasion. However, for those not familiar with chukka boots, figuring out how to tie the laces can be a bit confusing.

Fortunately, there are specific techniques for tying the laces on chukka boots that can help you achieve the perfect look and fit. In this article, we will explore the different methods of tying laces on your chukka boots so you can confidently rock them with any outfit.
Basic Technique: Criss-Cross Lacing
The most common and traditional way to tie chukka boot laces is through the criss-cross lacing method. This technique provides a secure and snug fit, ensuring that your boots stay in place throughout the day.
To start, thread one end of the lace through the bottom eyelet, leaving equal lengths on both sides. Then, take each end of the lace and thread it through the next higher eyelet on each side, forming an “X” pattern.
Continue this criss-cross pattern until you reach the top of the boot, pulling the laces tight after each cross. Once at the top, tie a knot to secure the laces in place.
Advanced Technique: Straight Bar Lacing
For those looking for a more unique and refined look, straight bar lacing is an excellent technique to try on your chukka boots. This method involves creating a straight bar across the middle of the boot, instead of the criss-cross pattern seen in basic lacing.
To start, thread both ends of the lace through the bottom eyelets and pull evenly to create an even amount on each side. Then, take one end of the lace and thread it through the opposite eyelet on the same side, creating a horizontal bar.
Next, take the other end of the lace and thread it straight across to the opposite eyelet on the other side. Continue this pattern until you reach the top of the boot, pulling tight after each cross.
Once at the top, tie a knot to secure the laces in place. This technique may take some practice to get right, but the end result is worth it for a sleek and sophisticated look.
Alternative Technique: Hidden Knot Lacing
For those who prefer a clean and minimalistic look, hidden knot lacing is an excellent option for chukka boots. This method hides the knot inside the boot, creating a neat appearance with no dangling laces.

To start, thread both ends of the lace through the bottom eyelets and pull evenly to create an even amount on each side. Then, take one end of the lace and thread it through the next higher eyelet on the same side.
Next, tuck this end of the lace into the boot, hiding it between the leather and your ankle. Repeat this process with the other end of the lace on the opposite side.
Continue threading and tucking the laces until you reach the top of the boot, pulling tight after each cross. Once at the top, tie a knot inside the boot to secure the laces in place.
Conclusion
In conclusion, tying chukka boots may seem intimidating at first, but with a little bit of practice, it becomes second nature. Remember to use the appropriate knot depending on the length of your shoelaces, and always make sure to tuck in any excess laces for a polished look.
Additionally, it is important to note that there are many variations of tying chukka boots, and it is always a good idea to experiment and find the method that works best for you.
Whether you prefer a traditional or more unique style of tying, the key is to ensure that your boots are secure and comfortable. I hope this article has been beneficial for learning how to tie chukka boots. Make Sure the precautionary measures are followed chronologically.