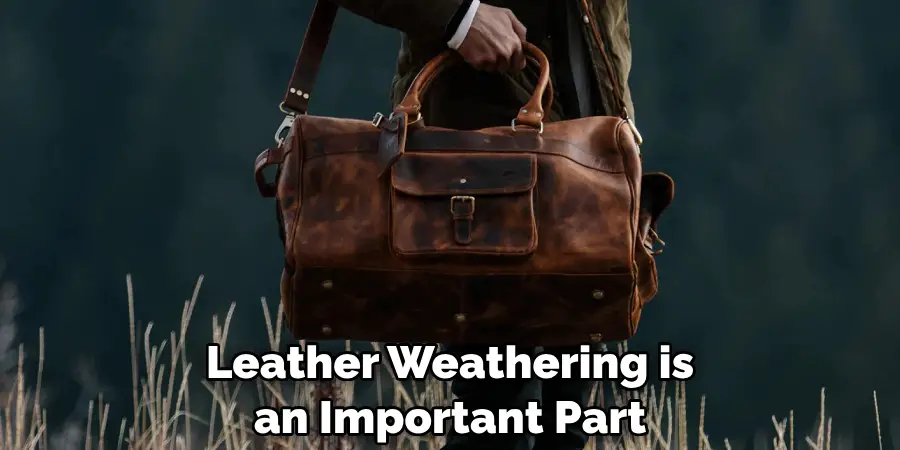
Are you looking to learn how to properly take care of your leather items? Are you interested in learning the tricks and tips for making sure that your favorite leather jacket, shoes, or bag stay at its optimal condition regardless of the weather conditions outside? If so, then this blog post is for you.
Investing in quality leather and taking good care of it can add years and character to some of your favorite items–but only if you know what steps to take.
We’ll be breaking down all the basics on how to weather leather here, from determining which type of treatment is right for each item to detailing the actual process involved with each method, as well as throwing out a few key tips along the way. So sit back, relax, and get ready to find out everything there is to know about weatherproofing those beloved pieces made from real genuine Leather!
Why Do You Need to Weather Leather?
1. To Maintain
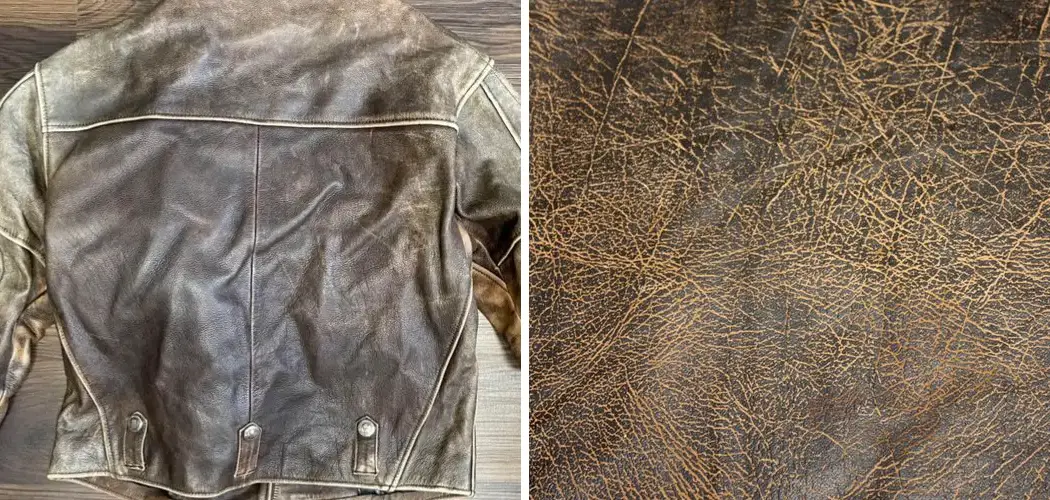
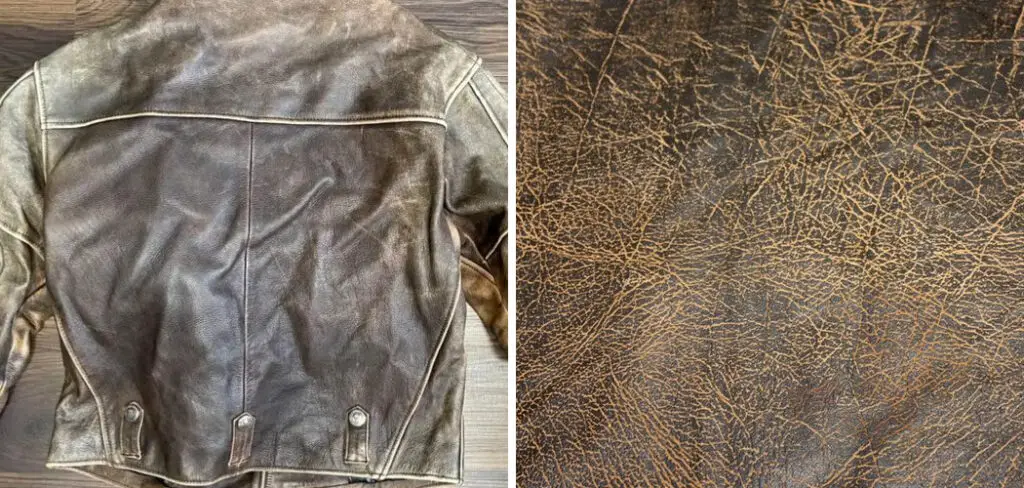
Leather is a natural material that’s been used for centuries to make clothes, shoes, furniture, and accessories. It’s strong and durable but also requires some special attention in order to keep it looking its best. The weather can wreak havoc on leather if left unprotected, so it’s important to regularly clean and condition the item(s) in order to maintain their appearance.
2. To Protect
Leather is susceptible to the elements, ranging from dryness and cracking due to sun exposure, rain damage, or even mold. Proper weatherproofing can help protect against these factors and prolong the life of your leather. It’s also a great way to keep dirt and grime from staining the surface of items such as jackets and purses.
Required Items
- Cleaning & Conditioner
- Leather Protector
- Soft Brush
These items are all essential to properly weatherproofing your leather items and preserving their life and appearance.
10 Steps on How to Weather Leather
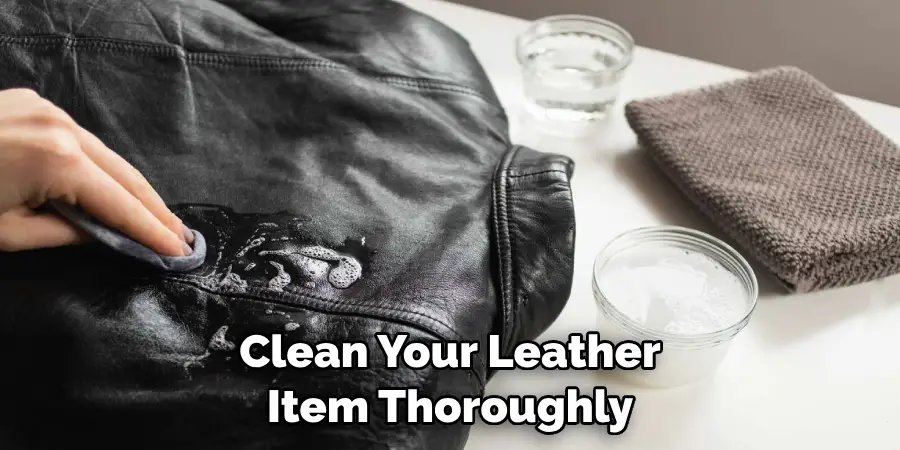
Step 1: Clean the Item
Clean your leather item thoroughly to remove any dirt and grime. Also, make sure to remove any existing leather conditioner or protector that may be on the item. This should be done before you apply any new treatments.
Step 2: Apply Cleaner and Conditioner
Once your item is clean, use a quality cleaner and conditioner specifically designed for leather items. Apply it evenly across the surface using either a cloth or a soft brush. Allow the item to sit for a few minutes before wiping off any excess with another dry cloth.
Step 3: Allow to Dry
Allow the cleaner and conditioner to air dry completely before moving on to the next step. This should take about an hour or so, depending on how much product was used.
Step 4: Apply a Leather Protector
Once the item is completely dry, apply a quality leather protector to the surface. This will help protect against any rain or moisture damage as well as provide an extra layer of protection from dirt and grime.
Step 5: Allow Protector to Dry
Allow the protector to air dry completely before using or storing your item. This usually takes around an hour or two. Also, make sure to store the item away from direct sunlight or heat sources so as not to damage the leather.
Step 6: Clean Again
Once your item has been fully protected, clean it once more with a quality cleaner and conditioner to remove any excess protector. Repeat steps 1-5 if needed.
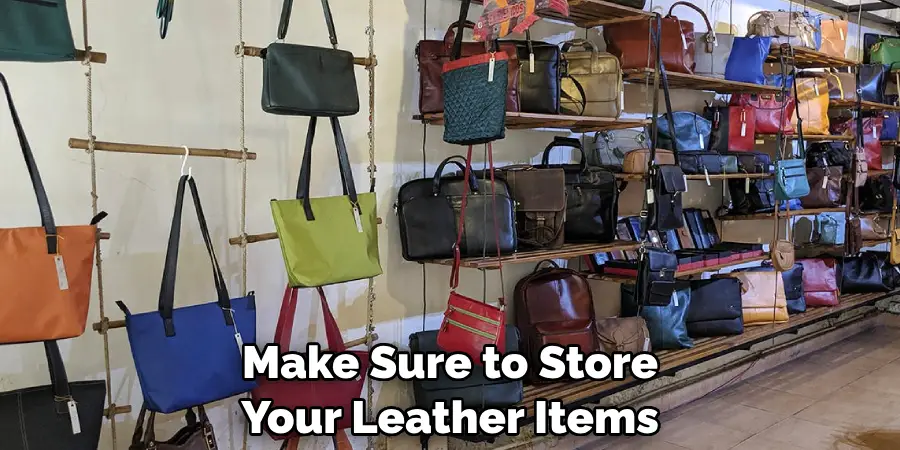
Step 7: Store Appropriately
Make sure to store your leather items in a cool, dry place. Avoid direct sunlight or any other sources of heat which can damage the item(s) over time. When possible, store items in their original packaging or a breathable bag to keep them safe and secure.
Step 8: Inspect Regularly
Check your leather item(s) every so often for any signs of wear and tear or damage from the elements. If you notice any issues, such as cracking, fading, or mold, it’s best to take it to a professional cleaner or repair shop right away for proper treatment.
Step 9: Re-Treat As Needed
If you live in an area with drastic temperature changes, or harsh weather conditions, or if you simply find that your item isn’t maintaining its condition as it should, then you may need to re-treat it. This means repeating the entire process from start to finish every few months, depending on how much wear and tear the item is subject to.
Step 10: Enjoy!
By following these steps, you can ensure that your leather items stay in top condition for years to come. Now you can relax and enjoy all those favorite pieces without worrying about them wearing down!
Weatherproofing your leather items may seem like a daunting task, but if you take the time to learn and understand the process, then it can be a breeze.
Plus, this small investment of time and effort will pay off in spades as you get years of use out of those beloved garments, furniture pieces, or accessories. So start weatherproofing today and enjoy leather that looks great and stands the test of time!
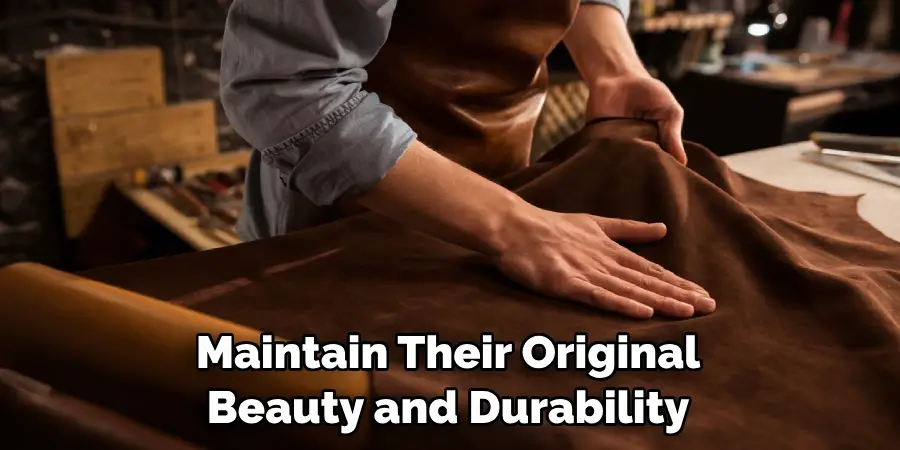
8 Maintenance Tips for Weathering Leather
Leather weathering is an important part of leather care and maintenance. Here are 8 tips that can help you to maintain your leather items:
- Use natural cleaners specifically designed for leather whenever possible, as these will be gentler on the material than harsher detergents or abrasives. Natural cleaners also help to remove dirt and debris that may be stuck in the leather.
- Apply a leather conditioner after cleaning using a soft cloth or sponge. This will help to keep the leather from drying out and cracking, as well as helping it to maintain its shape and color.
- Avoid using plastic or rubber materials on leather, as these can damage the material over time. Plastic items can also leave an imprint on the leather, so be sure to use protective measures when handling these items.
- Avoid placing your leather item in direct sunlight for extended periods of time as this will cause the material to fade or crack over time. Periodically rotate and move the location of your leather item to help minimize sun damage.
- If you plan on storing your leather items, be sure to use a breathable fabric such as cotton or muslin for protection. This will help to keep air circulating around the leather, which will reduce sweat and moisture buildup that can cause mildew or mold formation.
- Keep leather away from direct heat sources such as radiators, fireplaces, or open flames. Extreme temperatures can cause the material to dry and crack over time.
- When leather gets wet, be sure to allow it to air dry naturally instead of using a hair dryer or other heat source for drying. This will help keep the leather from drying out and cracking.
- If your leather item has been in storage for an extended period of time, be sure to check it periodically for signs of damage or wear. This will help you catch any problems before they become major issues that cannot be repaired.
By following these tips, you can ensure that your leather items remain in great condition for years to come. With proper care and maintenance, your leather items can maintain their original beauty and durability.
Frequently Asked Questions
How Long Will It Take to Finish the Project?
The amount of time it takes to weather leather depends on the size of the project and your experience level. For small projects, you should expect completion in a few hours. For larger projects, such as jackets or saddles, it can take up to two days.
How Much Will It Cost?
The cost of weathering leather largely depends on the materials you use. Generally, you can expect to pay between $20 and $50 for supplies. The cost can go up depending on the type and quality of the leather you are working with.
What Type of Leather Is Best To Work With?
The best type of leather to weather is unfinished, vegetable-tanned leather. The natural grain will absorb water better than chrome-tanned leather, making it easier to shape and manipulate. Additionally, it will resist stretching and cracking much better than chrome-tanned leather.
Conclusion
Weathering leather is a creative way to save money and make your items more unique. Although it’s a lengthy, detailed process, the results can be quite rewarding. It also allows for a greater level of control over the weathering process, meaning that each item will look one-of-a-kind.
Whether you’re using this technique for furniture or apparel, proper techniques are key to taking your items from drab to fab!
To ensure that you do not damage your leather, we recommend following the steps on how to weather leather outlined in this article closely and starting small until you get used to the process. With some practice and patience, you’ll be able to distress and customize all kinds of leather goods with ease!
If you’d like additional advice about how to convert your leather into something truly special, reach out and contact us – we’d love to help out!