
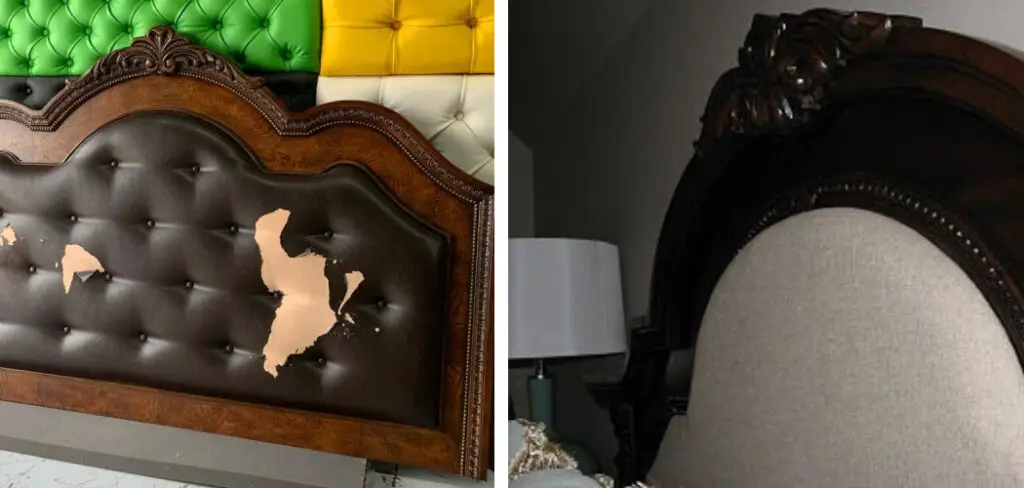
There’s nothing quite like a good night’s sleep in a comfortable bed. If you’re lucky, your bed might even have a headboard. But what do you do if your headboard starts to show signs of wear and tear? You can repair leather headboards using simple tools and supplies that are likely already in your home.
Leather headboards are a popular furniture choice for many people because of their sophisticated and classic look. However, they can also be expensive to replace if they become damaged. If your leather headboard becomes cracked or scuffed, don’t worry – there is an easy way to repair it.
You can have your headboard look new again in just a few simple steps. Follow these simple steps to get your headboard looking as good as new. Keep reading for instructions on how to repair leather headboard.
What is a Leather Headboard?
A leather headboard is simply a bedhead that is made out of leather. Headboards can add a touch of elegance to any bedroom. They can come in various styles and designs, from tufted to the panel. Headboards can add a touch of elegance to any bedroom.
What You’ll Need:
Leather Repair Kit:
A leather repair kit will contain all the necessary materials, including colorants and fillers, for your headboard. You can easily find these kits in most hardware or craft stores. Make sure to choose a kit that matches the color of your headboard.
Leather Cleaning Products:
Before starting, make sure to clean your headboard thoroughly with leather cleaning products. This will remove any dirt and grime that might be on the surface, allowing for better adhesion of the repair material.
Sandpaper:
You will need sandpaper to smooth out the surface of your headboard before and after applying the repair material. Choose a fine-grit sandpaper for best results.
Leather Glue:
Leather glue is necessary to fix any cracks or tears in your headboard. Make sure to choose a strong, flexible leather glue that is specifically made for repairing leather.
Patch Material:
If there are any holes or tears in your headboard, you will need a patch material to cover them up before applying the repair material. You can use a piece of faux leather or another type of durable fabric for this purpose.
10 Easy Steps on How to Repair Leather Headboard:
Step 1: Clean the Area
First, find the damaged area on your headboard. This will be the area that you will focus on repairs. Using a soft cloth, clean and wipe down the damaged area to remove any dirt or debris. Be careful not to use harsh chemicals or cleaning solutions, as these can damage the leather. But if your headboard is really dirty, use a leather cleaner to remove the dirt and grime. It is important to start with a clean surface for the repair process to be effective.
Step 2: Prep the Leather
Once the area is clean, use a hair dryer to gently heat up the damaged area on your headboard (if you do not have a hairdryer, you can also just let it sit in a warm room for about 30 minutes). This will help the leather become more pliable, making it easier to work with. But be careful not to overheat the leather, as it can cause further damage. The leather should be warm to the touch, not hot. Although this step is not necessary, it can make the repair process easier.

Step 3: Apply Leather Filler
Using the repair kit, apply a small amount of leather filler onto the damaged area. Smooth it out using your finger or a tool from the repair kit until it matches the texture of the surrounding leather. Make sure to only use a small amount at first, as you can always add more filler if needed. Allow the filler to dry completely according to the instructions on the repair kit. This will usually take around 24 hours.
Step 4: Sand the Area
Once the filler has dried, use a piece of fine-grit sandpaper to gently sand down the repaired area until it is smooth and even with the rest of the headboard. It is important because it helps blend the repair into the rest of the leather. You can also use a damp cloth to wipe away any excess residue. It is normal for the repair area to look slightly darker than the rest of the headboard at this stage. You can fix this later with the colorant.
Step 5: Apply Colorant
If necessary, use a matching colorant from the repair kit to touch up the repaired area and make it blend in with the rest of the headboard. Use a small amount at first and add more if needed. Smooth out the colorant from the repair kit with your finger or a tool. Allow the colorant to dry completely according to the instructions on the repair kit, usually for about 24 hours. If your headboard is a different color or has a unique pattern, you may need to blend and mix colors to achieve the perfect match.
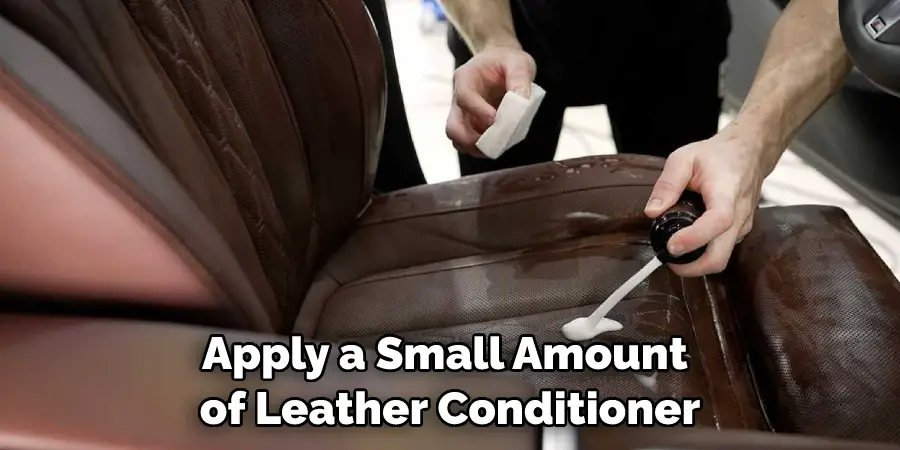
Step 6: Apply Leather Conditioner
Once the repaired area is completely dry, apply a small amount of leather conditioner onto a soft cloth and gently rub it into the repaired area. This will help restore moisture to the leather and keep it from becoming cracked or damaged again in the future. Allow the conditioner to soak in for about 20 minutes before wiping off any excess with a clean cloth. If there are multiple damaged areas on your headboard, repeat steps 2-6 for each one until all damages have been repaired.
Step 7: Add a Clear Finish
To add extra protection to the repaired area and help it blend in even more with the rest of the headboard, apply a clear finish using a small paintbrush or tool from the repair kit. Allow it to dry completely according to the instructions on the repair kit, usually for about 24 hours. This step is optional but recommended for long-lasting results. The finish will also help prevent any peeling or flaking of the repair material.
Step 8: Buff the Area
Once the clear finish has dried, use a soft cloth to buff the repaired area gently. This will help blend it even more and give it a smooth, polished appearance. Don’t buff too harshly, as this can damage the leather. The repaired area should now be almost unnoticeable. If needed, you can repeat steps 5-8 until you are satisfied with the results. But remember, less is more when it comes to repairs. The goal is to make the repair as seamless as possible.
Step 9: Re-condition Periodically
To keep your leather headboard in good condition, periodically apply a small amount of leather conditioner to a soft cloth and gently rub it into the entire surface of the headboard. This will help prevent future damage and keep it looking sleek and polished. You can also use this time to check for any new damages and make repairs as needed. But be careful not to over-condition the leather as this can cause it to become too soft and eventually crack.
Step 10: Enjoy Your Newly Repaired Headboard
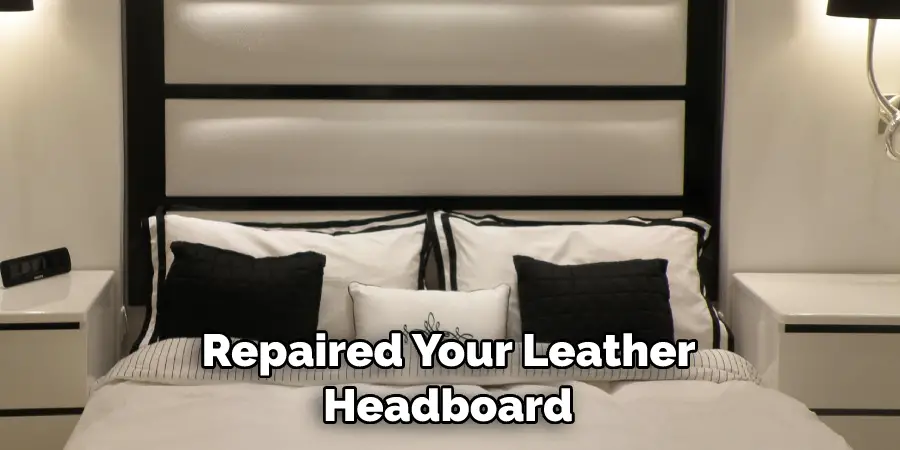
You have now successfully repaired your leather headboard! Enjoy its newly restored appearance and avoid any future damage by taking proper care of it. Remember to always use leather-safe products and avoid harsh chemicals or cleaning solutions. With proper care, your headboard will continue to look beautiful for years to come. So, don’t wait any longer; get your leather repair kit and start fixing your headboard today! Happy repairing!
By following these steps, you can easily repair any damage on your leather headboard and keep it looking new for many years. Happy repairing!
5 Additional Tips and Tricks:
1. Make sure to clean and dry the affected area before starting any repair.
2. Use leather glue, not regular adhesive, for a more durable fix.
3. Match the color of the leather patch or filler as closely as possible to the headboard.
4. Use a leather conditioner to restore shine and softness after the repair.
5. Consider seeking professional help if the damage to the headboard is extensive or complicated.
These tips can help ensure the best and longest-lasting repair for your leather headboard. Happy repairing!
7 Precautions You Can Take:
1. Don’t clean or treat leather headboards with harsh chemicals or detergents. Stick to using a soft, damp cloth and mild soap.
2. Avoid placing your headboard in direct sunlight, as this can cause the leather to dry out and crack.
3. Regularly dust and vacuum your headboard to prevent dirt buildup and wear on the leather surface.
4. Place a protective cover on your headboard when not in use to prevent scratching or damage from pets or children.
5. Use a leather conditioner every few months to keep the material hydrated and supple.
6. Don’t attempt any DIY repairs without proper training and equipment, as this can cause more harm than good.
7. Have any deep cuts or tears professionally repaired as soon as possible to prevent further damage.
Taking these precautions can help keep your leather headboard in good shape for years to come. However, if you do notice any damage or wear on your headboard, don’t hesitate to have it professionally repaired. This will ensure the best outcome and prolong the life of your furniture.
What Can Damage a Leather Headboard?
Direct sunlight: Direct sunlight and high heat can dry out and crack the leather material.
Improper cleaning or treatment: Harsh chemicals, detergents, or abrasive scrubbing can damage the surface of the leather.
Frequent wear and tear: Constant use and pressure on certain areas can cause wear on the surface of the leather.
Scratching or tearing: Sharp objects such as jewelry or pet claws can scratch the leather, while rough treatment can cause tears in the material.
Lack of conditioning: Over time, not properly caring for and conditioning the leather can lead to cracking and drying out.
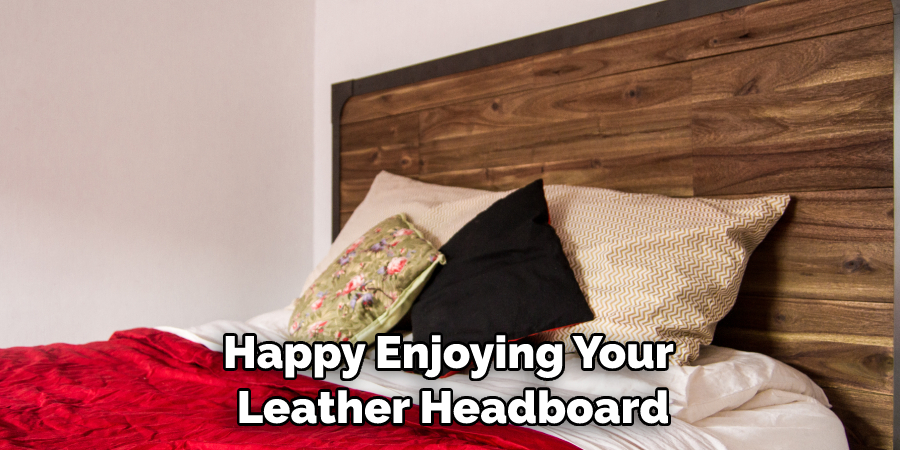
Taking proper care of your leather headboard and fixing any damage as soon as it occurs can help prevent further damage and prolong the life of the furniture. Happy enjoying your leather headboard!
What is the Best Leather Conditioner?
There is no one “best” leather conditioner, as different brands and products may work better for certain types of leather. It’s best to do some research and read reviews to find a conditioner that works well for your particular headboard. Some popular options include Chamberlain’s Leather Milk Conditioner, Lexol Leather Conditioner, and Sof Sole Mink Oil. It’s also important to follow the instructions on the conditioner and make sure it is suitable for your type of leather. Happy conditioning!
You now have all the tools and knowledge to repair your leather headboard and keep it looking beautiful for years to come. Remember to regularly clean and condition your headboard, take precautions to avoid damage, and seek professional help if needed.
Can You Use Olive Oil or Coconut Oil as a Leather Conditioner?
While some people may swear by using olive or coconut oil to condition leather, it is not recommended. These oils can actually cause damage to the leather and attract dirt and grime, leading to further wear on the material. Stick to using products that are specifically made for conditioning leather to ensure the best results and the longest life for your headboard.
You have now completed the guide on how to repair a leather headboard. Remember, with proper care and maintenance, your headboard will continue to look beautiful for many years. Don’t wait until it’s too late; start taking care of your leather headboard today!
Frequently Asked Questions:
Q: How Do I Know if My Leather Headboard Needs to Be Repaired?
A: If you notice any scratches, tears, or discoloration on your leather headboard, it may be time for a repair. It’s important to address any damage as soon as possible to prevent it from getting worse. The longer you wait, the more difficult it may be to fix the issue. But don’t worry; with the right tools and techniques, you can easily repair your leather headboard.
Q: Can I Fix a Large Tear on My Leather Headboard?
A: It is possible to fix a large tear on your leather headboard, but it may require professional help. Attempting to repair a large tear on your own can result in further damage or an unsatisfactory fix. It’s best to consult a professional for the best outcome. It may also be more cost-effective in the long run. You can also prevent large tears by taking proper care of your leather headboard and addressing any damage as soon as it occurs.
Q: How Often Should I Condition My Leather Headboard?
A: It is recommended that your leather headboard be conditioned every few months to keep it hydrated and prevent drying out. However, if you notice any drying or cracking in between conditioning, you may want to condition it more frequently. It’s important to also follow the instructions of your chosen leather conditioner for the best results. The frequency of conditioning may also depend on the type and quality of leather used for your headboard. So, make sure to do proper research and choose a suitable leather conditioner for your specific headboard.
Q: What Type of Leather is Best for a Headboard?
A: Full-grain leather is typically considered the best type of leather for furniture like headboards. It is durable and ages well, developing a unique patina over time. However, there are also high-quality top-grain and genuine leather options that can make for beautiful headboards. It’s best to do research and choose the type of leather that fits your personal preferences and budget. Happy choosing!
Q: Can I Cover Up Scratches on My Leather Headboard?
A: Depending on the severity of the scratch, it may be possible to cover it up with a leather touch-up kit or marker. However, if the scratch is deep or large, it may be best to have it professionally repaired. Attempting to cover up a deep scratch on your own can result in an uneven repair or even cause further damage to the headboard. When in doubt, consult a professional for the best outcome.
Conclusion:
Although it may seem daunting to repair a leather headboard, it can be easily fixed with a little patience and the right supplies. With these tips in mind, your headboard will look as good as new in no time!
Following these steps, you can easily repair your leather headboard at home. Leather is a sturdy and durable material, but it still needs occasional upkeep to maintain its condition. With proper care, your leather headboard will last many years.
So, there you have everything you need to know how to repair leather headboard. With a little time and effort, you can easily remove any unsightly marks or scuffs and restore your headboard to its former glory. Thanks for reading!