
A baseball glove is an essential tool for any player, and breaking it incorrectly can greatly impact your performance. You will be able to catch more balls and have better control over where the ball goes when it’s thrown to you. Breaking in a leather glove also helps to make sure that your glove fits comfortably and securely on your hand.

One of the main advantages of breaking in a leather baseball glove is that it allows the glove to conform more easily to your hand. This makes it easier and more comfortable for you to catch balls.
Breaking in a glove also reduces the time required for you to adjust when switching between gloves, as well as improves the glove’s overall performance and longevity. In this blog post, You will learn in detail how to break in a leather baseball glove.
Step-by-Step Processes For How to Break in a Leather Baseball Glove
Step 1: Inspect the Glove and Lace
Before starting the breaking-in process, it is important to ensure that the glove is in good condition. Check all the laces and ensure they are secure and not frayed. Make sure there aren’t any holes or tears in the leather.
Step 2: Hydrate the Glove
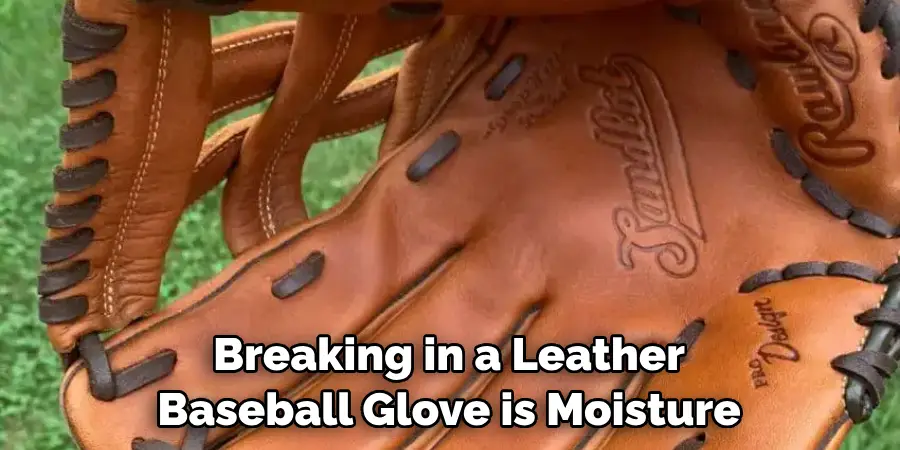
The key to breaking in a leather baseball glove is moisture. Pour some lanolin or rubbing alcohol into a bowl and dip a sponge or cloth into the liquid. Make sure that you don’t saturate the glove with too much liquid, as this can cause damage. Rub the liquid into the leather, working it in with your fingers to really get the leather supple and soft.
Step 3: Stuff the Glove
Once you’ve hydrated the glove, use a balled-up towel or newspaper to stuff it. This will help shape the glove properly so that it forms your hand. Make sure to stuff the glove all the way into the pocket and ensure you don’t overstuff it as this can cause damage.
Step 4: Wrap and Tie
Once you’ve stuffed the glove, use a leather shoe lace or string to wrap around it and tie it off. This will help keep the glove in its shape and also prevent it from shifting while you’re breaking it in. You can use a rubber band or elastic band as an alternative to lace.
Step 5: Leave Overnight
Now that your glove is securely wrapped, you can leave it overnight so that the leather has time to soften and conform to your hand. Make sure that the glove is in a cool, dry place while it is breaking in. After leaving the glove overnight, unwrap it and remove all the stuffing. You should notice that the leather is much softer and more pliable than before.
Step 6: Re-hydrate
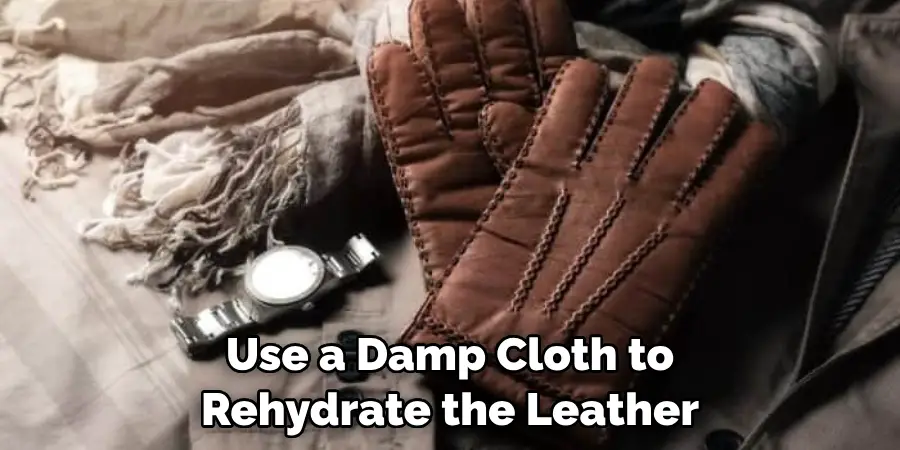
After removing the stuffing, use a damp cloth to rehydrate the leather. Make sure to avoid using too much liquid at this stage, as this can weaken the leather further. To really break in the glove, you need to wear it.
Put your hand inside the pocket and start making catching motions with it. This will help shape the glove correctly and also help form it around your hand better. You should do this for at least 10 minutes each day until you are happy with how the glove fits.
Step 7: Oil and Condition
After you’ve worn the glove, it is important to keep it well-conditioned. Regularly use a leather conditioner like saddle soap or mink oil on the glove. This will help keep the leather supple and prevent it from drying out.
Once you’ve broken in the glove, storing it in a cool, dry place away from direct sunlight is important. This will help prevent the leather from cracking or drying out. Make sure to condition your glove regularly by oiling and cleaning it to keep it in good shape for many years.
By following these steps, you can successfully break in a leather baseball glove and have it fit perfectly into your hand.
Safety Precautions for How to Break in a Leather Baseball Glove
- Wear protective gear such as gloves and safety glasses when breaking in your leather baseball glove. This will protect your skin and eyes from potential mishaps.
- Make sure the glove is wet before beginning the breaking-in process. This allows the leather fibers to take on a softer, more pliable shape that can better form the shape of your hand.
- Use a leather conditioner or petroleum jelly to soften the glove and make it easier to break in.
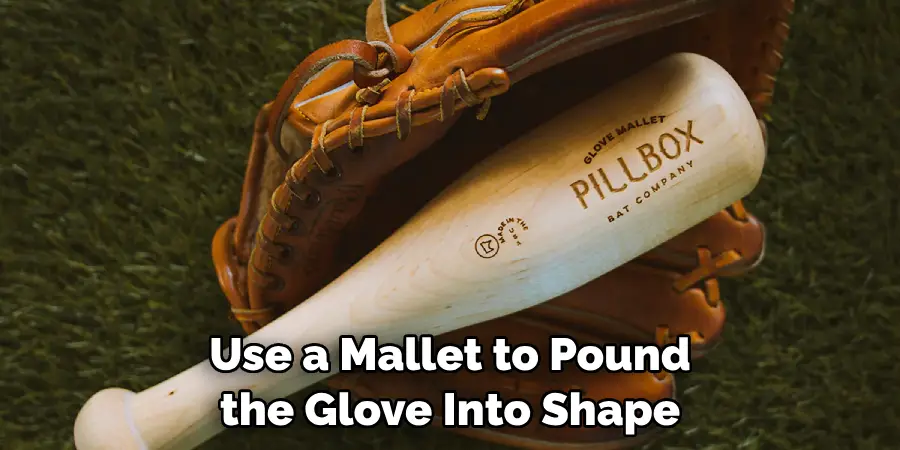
- Use a mallet to pound the glove into shape, but do so gently and with care. Hitting too hard can damage the structure of the glove or even cause them to tear at the seams.
- Bend the fingers inside the glove to help them take on a more natural shape, then use a baseball or other round object in order to break in the pocket of the glove.
- Use a ball in your glove hand and practice throwing and catching with it. This will help work out any kinks that may still be in the glove.
- Allow the glove to dry completely before using, as moisture can weaken the leather over time. Doing this will ensure that your glove is sturdy and long-lasting for many games to come.
By following these safety precautions, you can confidently and easily break in a leather baseball glove.
What is the Best Way to Break in a Leather Baseball Glove?
Breaking in a leather baseball glove is an important part of pre-game preparation. A well-conditioned glove will allow the player to optimize performance by providing a better grip, increased comfort, and improved shape retention. Breaking in a new glove can be done in several ways depending on the amount of time available for the task.
The most popular method for breaking in a new glove is to use the “wrap and set” method. This process involves wrapping a soft cloth (such as an old towel or t-shirt) around the glove and using a heavy object, such as a balled-up sock filled with rice, to press down on areas of the glove where it needs to be broken in.
This method works by allowing the leather fibers to relax and become more flexible through repetitive pressure. Many companies also offer special glove oils and conditioners designed specifically for breaking in a glove. These products are applied directly on the leather or rubbed into the material using a cloth and can help soften the leather while preserving its shape and providing a better grip.
How Long Does It Take to Break in a Leather Baseball Glove?
Breaking in a leather baseball glove typically takes between 2 and 4 weeks. However, this amount of time can vary depending on the glove’s quality and the intensity of workouts you put the glove through. In general, most gloves may require about one hour of active use for each day that passes before they begin to fit your hand comfortably. It’s important to realize that breaking in a glove is an art, not a science.
You should tailor your conditioning program to the specific glove you purchase—with some leather gloves requiring only light oiling and minimal use, while others may require more aggressive stretching and other treatments.
If you’re looking for a quick break-in solution, it’s important to remember that there’s no such thing. Taking shortcuts can damage the leather and prevent your glove from reaching its full potential. Instead of trying to rush the process, take the time to carefully oil and condition your glove in order to form a customized fit.
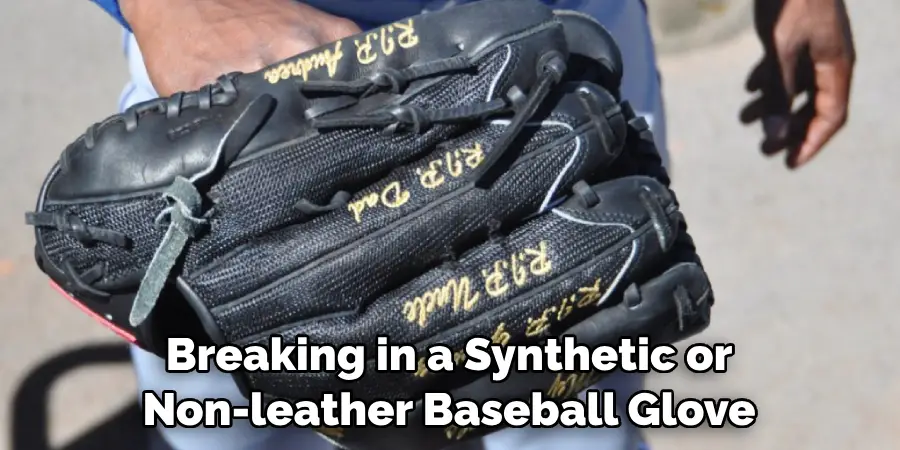
Are There Any Methods for Breaking in Synthetic or Non-leather Gloves?
Breaking in a synthetic or non-leather baseball glove is much easier than breaking in a traditional leather glove, as these gloves are already soft and malleable. Applying oil or conditioner to the material can help further mold it to your hand for better comfort and performance.
Heat treatments may also be used on synthetic materials, such as heating the glove with a hair dryer or placing it in direct sunlight to improve its flexibility.
Gloves made of mesh or other lightweight materials can be gently stretched with your hands to fit better. For any synthetic gloves, be sure to read and follow the manufacturer’s instructions for best results.
In comparison to leather gloves, breaking in a synthetic or non-leather glove is much less time-consuming and can be done in minutes rather than hours. With the proper care and maintenance, these gloves can provide years of reliable performance.
What Are Some Common Mistakes to Avoid When Breaking in a Leather Baseball Glove?
One of the most important steps in breaking in a leather baseball glove is to avoid making common mistakes that can lead to irreparable damage. First and foremost, it’s essential not to use an open flame or heat gun when breaking in a glove. This could potentially cause the leather fibers to dry out and crack, leaving it useless and unable to be used.
Using harsh chemicals, such as oils or sprays, when breaking in a glove should also be avoided. While some of these products might claim that they help soften the leather, applying too much can actually damage the fibers and leave them feeling hard and stiff instead of soft and broken in.
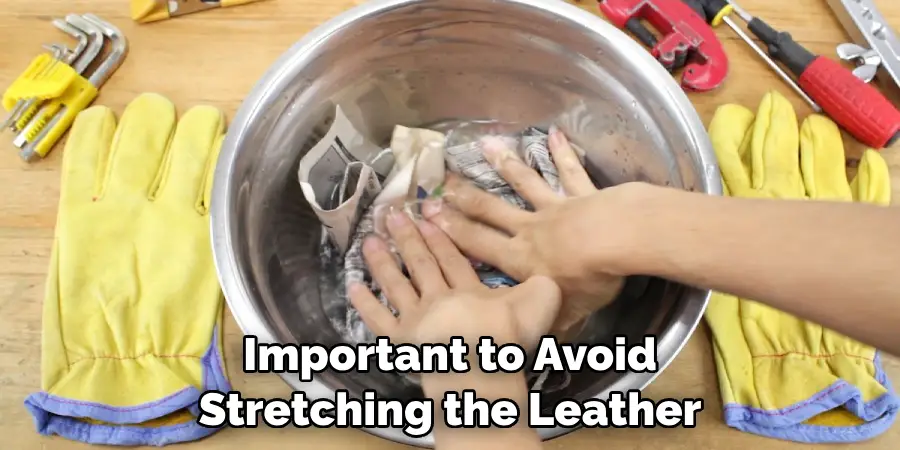
Additionally, it’s important to avoid stretching the leather out too quickly. Taking a glove that has not been conditioned and trying to stretch it or force it into shape can cause tears in the fibers, leaving behind holes or rips.
Conclusion
In conclusion, breaking into a leather baseball glove requires patience and effort. Using proper materials, such as oil, ball-breaking devices, or conditioners, is important. Additionally, you should take time to apply these materials evenly over the glove’s entire surface and gently stretch the leather during the break-in period.
This process may take some time; however, you will be rewarded with a more comfortable fit and easier-to-use glove. Breaking in your leather baseball glove is an important part of preparing for the season and should not be overlooked. I hope reading this post has helped you learn how to break in a leather baseball glove. Make sure the safety precautions are carried out in the order listed.