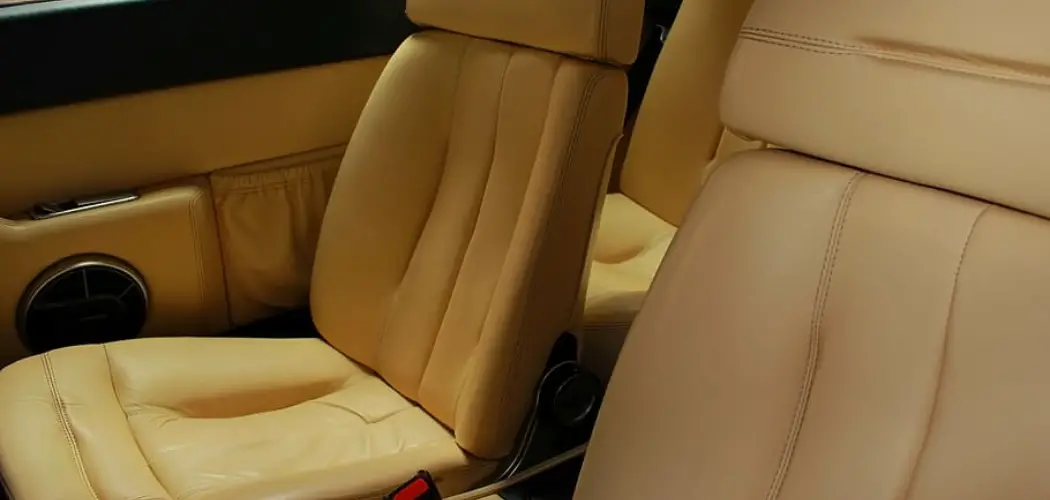
Are you looking to add a touch of luxury and style to the inside of your car? Consider changing those tired-looking cloth seats for something more elegant, like leather.
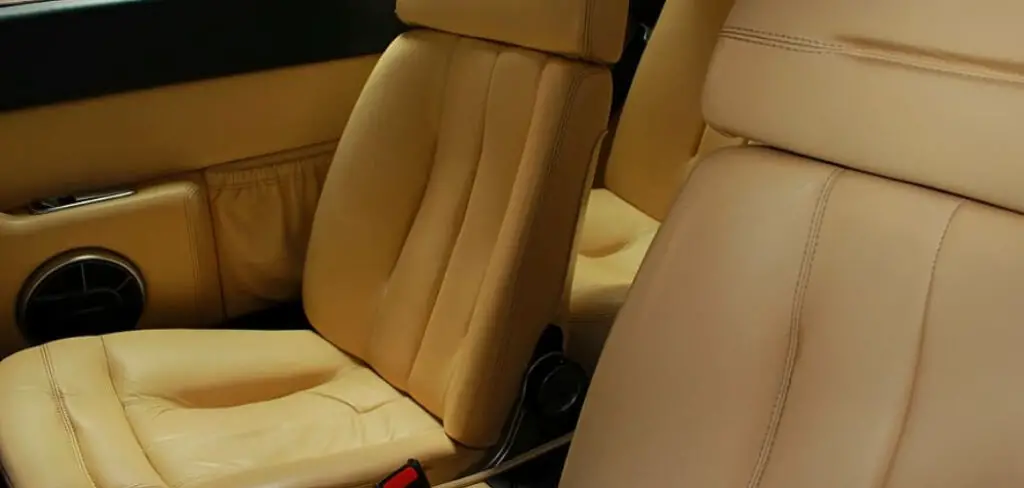
Installing leather seating can be one of the most rewarding investments for your vehicle. Not only is it sure to increase its value, but it also enhances the overall aesthetics of your ride’s interior!
Whether you’re an experienced auto mechanic or new to the DIY auto repair scene, here are some tips on changing cloth seats to leather. When you begin the project, always wear protective gear such as gloves and safety glasses.
Read on as we guide you through how to change cloth seats to leather in an easy step-by-step process that you will feel comfortable completing yourself.
What Will You Need?
Before you begin, make sure to gather all the necessary tools and materials:
- Leather upholstery fabric
- Leather Adhesive
- Scissors
- Screwdrivers
- Foam padding (optional)
- Measuring tape
Once you have everything in place, it’s time to get started.
10 Easy Steps on How to Change Cloth Seats to Leather
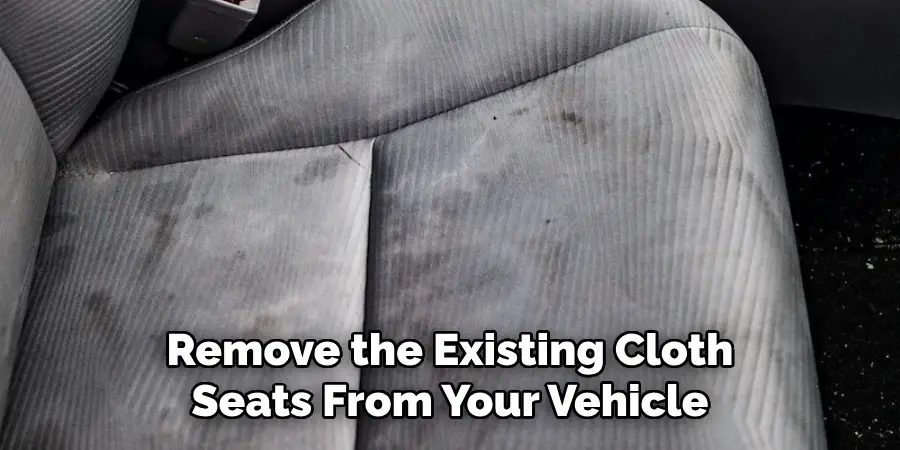
Step 1: Remove the Existing Seats
First, you’ll need to remove the existing cloth seats from your vehicle. To do so, use a screwdriver to unscrew the bolts that secure it in place. Once you have removed all the screws, carefully pull out the seat and set it aside.
Step 2: Measure for Your New Leather Upholstery
Now that you’ve removed your existing seat, measure the dimensions of the vacated area so you know what size leather upholstery fabric to purchase. The dimensions should be taken along the length and width of the seating area plus an extra two inches (to account for any necessary trimming). Write down or take note of these measurements before going shopping for leather upholstery fabric.
Step 3: Install Foam Padding (Optional)
You may include foam padding when installing your new leather upholstery if desired. Foam provides an extra layer of cushioning and comfort for the finished product. To install foam, measure its size against the dimensions of your seat before adhering it in place with a spray adhesive.
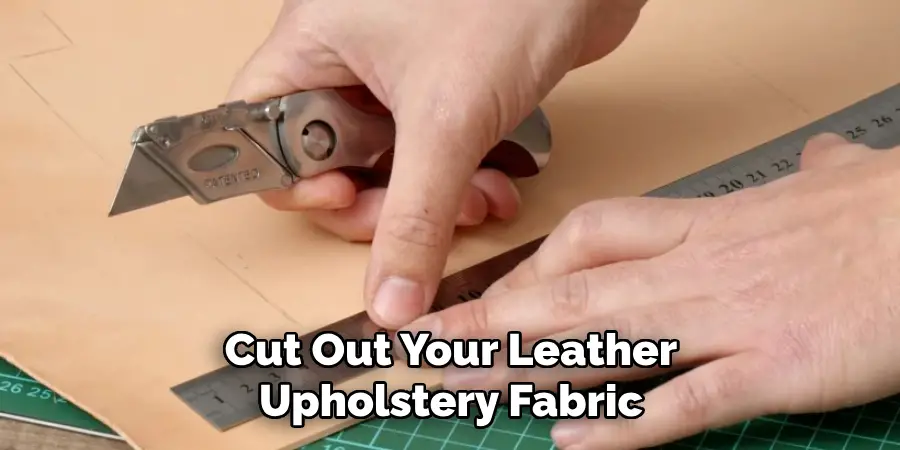
Step 4: Cut Your Leather Upholstery
Using the measurements taken from Step 2, cut out your leather upholstery fabric to fit nicely within the seating area without overlapping or creating any gaps. As you cut, remember that leather is a bit more difficult to work with than regular fabrics due to its sturdiness. You may need to use a sharp pair of scissors to ensure a clean cut.
Step 5: Apply Adhesive
Once you have cut out all the necessary pieces of fabric, begin applying adhesive to each one and let dry according to package instructions. This will ensure everything stays in place once you install your new leather upholstery. Try to be as precise and careful as possible when applying adhesive, paying special attention to the edges of each piece.
Step 6: Install the Fabric Pieces
Begin adhering each fabric piece into place, one at a time. As you go, use a cloth or sponge to gently press down on the edges of the fabric to ensure that it is properly secured. Remember to pull tight when necessary to avoid any wrinkling of the fabric.
Step 7: Reinstall Your Seat
Once your new leather upholstery has been installed and is completely dry, reinstall the seat back into your vehicle using the screws that were removed in Step 1. Make sure everything is secure before moving on to the next step. It will also help to have an extra person hold the seat while screwing it back into place.
Step 8: Trim Excess Fabrics (Optional)
If necessary, trim any excess fabrics around the edges of your seat for a neat finish. This step is optional; you may prefer to leave extra fabric around the edges for a more lived-in look. You may also opt to stitch any excess fabrics in place for added security.
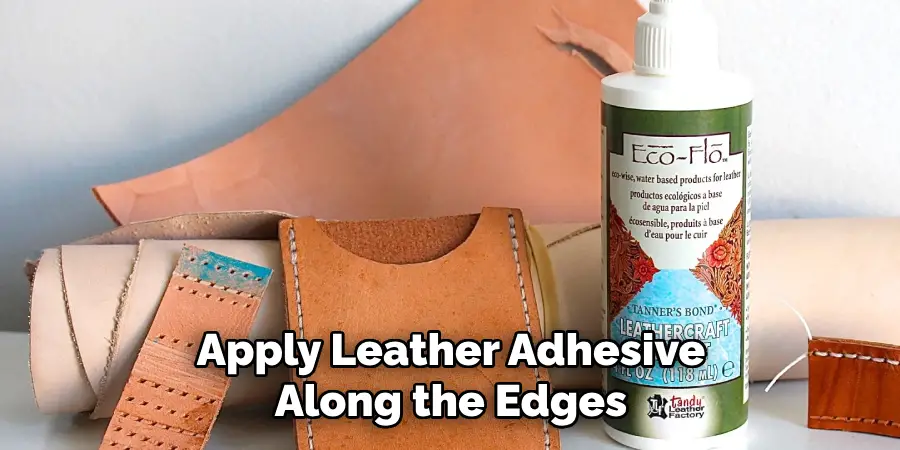
Step 9: Finish with Leather Adhesive
To ensure that all of your hard work lasts, apply leather adhesive along the edges of each seat to keep everything in place and protect it from damage or wear over time. Let dry according to package instructions before using your newly upholstered seat! Remember to clean up any excess adhesive with a damp cloth.
Step 10: Enjoy Your New Leather Seats!
And there you have it—you’ve completed your project! Sit back and admire the beauty of your new seating area. Not only will it look great, but it’s sure to provide years of comfort and luxury as you enjoy your ride.
With patience and the right tools, anyone can learn to change cloth seats to leather. The result is sure to be a beautiful and luxurious addition to your vehicle’s interior!
5 Additional Tips and Tricks
1. Make sure you have the right tools for the job. You’ll need a screwdriver, needle-nose pliers, a heavy-duty staple gun, and leather upholstery fabric.
2. Remove the fabric from your cloth seats by unscrewing them and carefully removing them with your needle-nose pliers. Be careful not to damage any wiring or components attached underneath.
3. Cut the leather upholstery fabric to size – you must cut only a little small as this will affect the way the seat looks when finished.
4. Attach the new fabric to the seat frame using a heavy-duty staple gun, ensuring that all staples are secure without damaging any other parts, such as wires or components connected to the seat frame.
5. Reattach your newly covered seat to the car and enjoy your new leather seats!
Follow these steps carefully, and you can change cloth seats to leather in no time successfully!

5 Things You Should Avoid
1. Don’t use low-quality tools – the wrong tools can damage your seats.
2. Avoid cutting the fabric too small or too big – this will affect how the seat looks when finished.
3. Avoid using an ordinary stapler; a heavy-duty staple gun is necessary for securely attaching the leather upholstery fabric to the frame of your seat.
4. Don’t ignore any wiring or components that may be attached to the frame of your seat – make sure you take extra care when removing and reattaching these parts so they are not damaged.
5. Lastly, take your time with any steps during the process, as taking shortcuts could lead to poor results or even damage to your car’s interior! Take your time and enjoy the process.
Follow these tips, and you can change cloth seats to leather quickly! With patience, you’ll have the perfect interior for your car in no time!
Is Leather or Cloth Seats Better?
The answer to this question comes down to a matter of personal preference. Some people prefer the look and feel of leather seats, while others prefer the comfort and practicality of cloth seats.
Ultimately, deciding which material works best for your needs is up to you. Consider factors such as cost, maintenance requirements, climate preferences, etc., before making your final decision.
Additionally, it’s important to note that changing cloth seats to leather is lengthy and should be taken with seriousness. Take the time to research and understand the processes involved before embarking on this journey, as it can be an expensive and tedious task if done incorrectly!
No matter what type of seat you choose, make sure that you follow proper installation methods so that your car looks its best for years to come.
Do Real Leather Seats Crack?
Real leather can crack over time due to a variety of factors, such as exposure to sunlight, temperature fluctuations, and general wear and tear. A good quality leather conditioner can help protect your seats from cracking, but it is important to note that the cracks will eventually occur no matter what preventative measures you take.
If you’re looking for a more durable option, faux leather is a great alternative and requires much less maintenance. It can be more cost-effective in the long run and will not crack or fade over time as real leather does.
With a bit of knowledge and research, you can make the best decision when it comes to changing cloth seats to leather. Consider all factors before taking on this task, and you’ll have a beautiful interior in no time!
Conclusion
In conclusion, changing out the cloth seats in your car for leather is a great way to achieve a fresh new look. You can take your time and do it yourself with the necessary supplies or work with an auto upholstery shop that can help complete the job faster.
No matter which routes you prefer, tackling this project will surely increase comfort and indicate a degree of personal style. Get creative and choose a custom color, material pattern, or design to make a statement!
Your old cloth seats may no longer be dull or weathered – let them be a stunning feature inside your vehicle. With the right mindset and budget, replacing and upgrading your interior will never be easier.
The article on how to change cloth seats to leather was helpful and informative. Thanks for taking the time to read this article, and we hope you have success with your project!
Good luck!