
Do you have an old leather couch, jacket, or pair of shoes that could use a little sprucing up? Are you looking to give your favorite leather item a new look? Changing the color of leather can be a great way to update furniture, accessories, and clothing. With just a few easy steps, you can bring new life into your leather-clad items by changing the color with some simple dyeing.
In this post, we’ll discuss how to go about changing the color of leather so that it looks stylish and professional. We’ll cover everything from what type of products are best for dyeing leather to preparing the surface for painting and adding extra protection with sealants.
Knowing these techniques on how to change the color of leather will help ensure that whatever you intend on coloring turns out beautifully!
Can You Change the Color of Leather?
The answer is yes! You can indeed change the color of the leather. Before you start, however, you should bear in mind that dyeing leather is a difficult process and requires patience and precision. It’s not something to be rushed or taken lightly. That being said, it’s worth the effort if you’re looking to bring a fresh look to an old piece of furniture or clothing.
Things to Remember While Changing the Color of Leather
Before doing any dyeing, you’ll need to perform a few tasks:
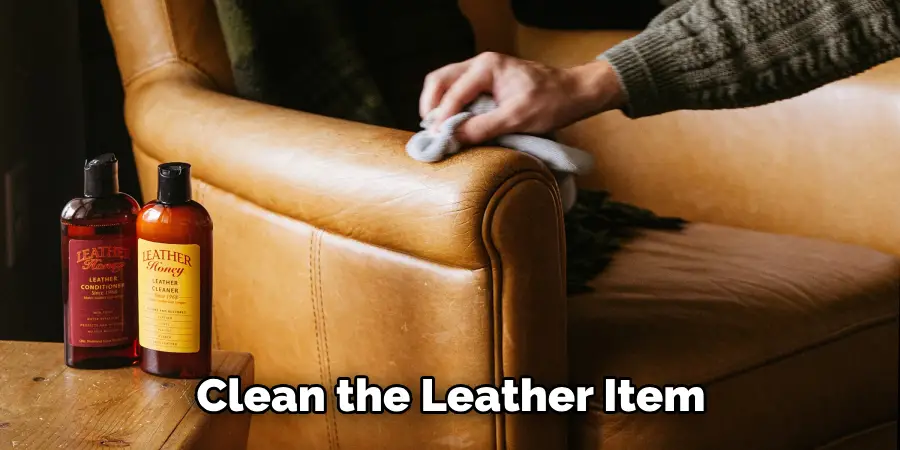
- Clean the leather thoroughly. You should use a damp cloth and saddle soap or something similar to remove dirt, debris, and oils that may have collected on the surface.
- Prepare the leather for painting by lightly sanding it with fine-grain sandpaper. This will help ensure even dye coverage.
- Test the leather for colorfastness. Try a small area first and make sure the color doesn’t run or fade when it dries.
Required Items for Changing the Color of Leather
When dyeing leather, you’ll need a few items to get started:
- Leather Dye- This is the most important item and will be used to color your leather. You can find leather dye at craft stores or online.
- Brushes/Sponges- To apply the dye evenly, it’s best to use a medium-sized brush or sponge.
- Sealant- After you’ve finished dying the leather, you’ll want to apply a sealant to protect it from damage and wear.
10 Ways How to Change the Color of Leather
Now that you have all your required items and materials ready, it’s time to get started on changing the color of the leather. Here are 10 ways you can do this:
1. Choose the Color
Choose a dye color that suits your style and needs. Keep in mind that lighter colors may require multiple coats of dye. While choosing the color, look for one that is non-fading and water-resistant. Also, make sure the dye is compatible with leather.
2. Prepare the Surface
Clean the leather item thoroughly and remove any dirt or debris from its surface. Then use fine-grain sandpaper to lightly sand it down before applying any dye. This will help ensure even coverage and prevent blotchy results.
3. Test for Colorfastness
Before you start dyeing the entire item, it’s important to check if the color will run or fade when it dries. To do this, apply a small amount of dye on an inconspicuous area and let it sit for 24 hours. If the color remains after drying, you can proceed with dyeing the leather.
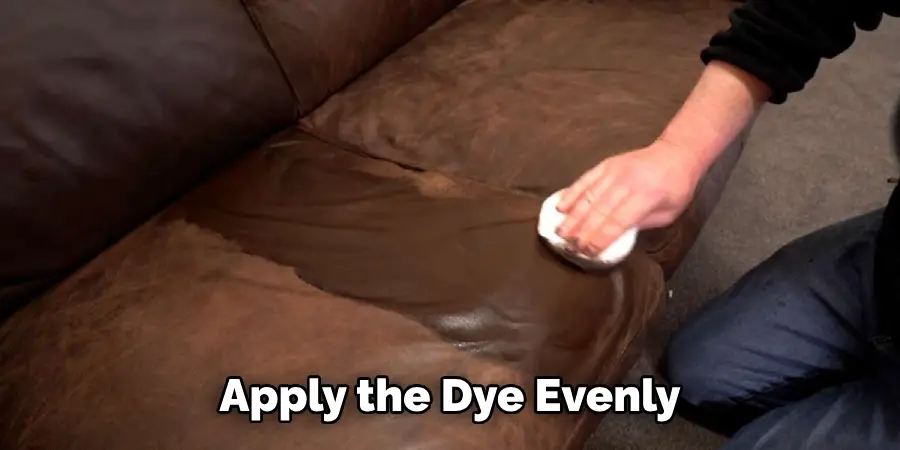
4. Apply Dye
Once you’ve determined the dye is colorfast, you can begin applying it to the leather item. Apply the dye evenly and allow it to dry completely before adding another layer of color. You may need to apply multiple coats depending on the desired shade.
5. Let It Set
Once you’ve finished applying all the layers of dye, let them set for at least 24 hours before moving on to the next step. Setting the dye will ensure that it has fully penetrated the leather and won’t fade or run.
6. Seal It
Once you’ve allowed the dye to set, apply a sealant to help protect against water damage and wear. Use a sealant specifically made for leather, as this will provide the most effective protection. Apply multiple thin coats of sealant, allowing each coat to dry before adding the next.
7. Buff It
Once your sealant has dried, use a clean cloth to buff the leather and give it a smooth finish. This will help increase its durability and make sure that the color doesn’t fade or rub off too easily.
8. Let It Dry
Allow the entire piece of leather to dry completely after you’ve finished buffing. This will ensure that the dye and sealant have fully bonded with the surface of the leather. While it’s drying, keep the leather away from direct sunlight and heat sources.
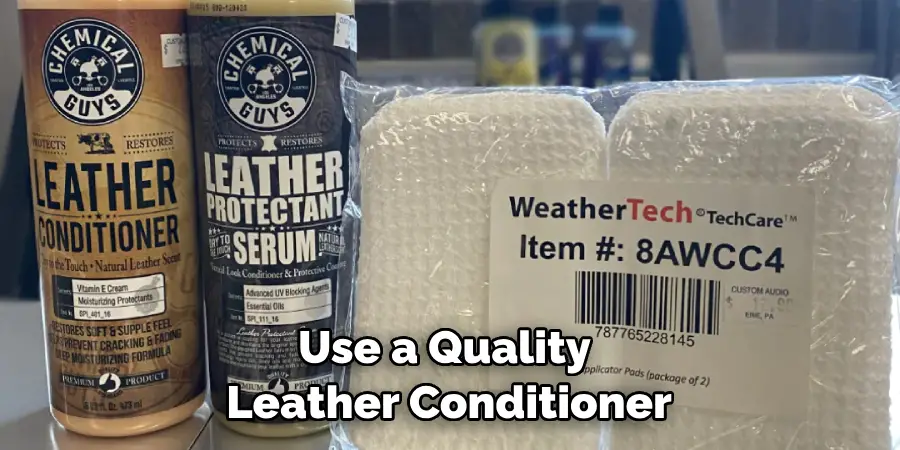
9. Condition It
Once your leather has dried fully, use a quality leather conditioner to nourish and protect it against wear and tear. This will help ensure that your newly dyed item remains in top condition for years to come.
10. Enjoy Your Newly Dyed Leather Item!
Once you’ve finished all the steps, enjoy your newly dyed leather item. It should look as good as new and last for years to come if properly cared for.
Now that you know how to change the color of leather, have fun experimenting with different colors to find the perfect shade for your favorite item. With a little patience and practice, you can easily update any leather-clad item with a brand-new look!
8 Safety Precautions to Follow when Changing the Color of Leather
When changing the color of leather, safety should be the main priority. These eight safety precautions will help ensure your project is successful and all potential risks are mitigated:
1. Wear protective gloves. The chemicals used to change the leather’s color can cause skin irritation or contact dermatitis, so make sure you have the right protection. Wearing plastic gloves is recommended as they are more resistant to the chemicals used.
2. Wear safety glasses or goggles to protect your eyes from any splashes of chemicals. Wearing goggles also helps to protect your skin from any mist of chemicals.
3. Wear a dust mask or respirator to avoid inhalation of chemicals and dust particles that are created when sanding leather. Choose the right mask for the job, as some masks don’t filter out all types of harmful vapors.
4. Work in a well-ventilated area. Make sure you have plenty of fresh air circulating in the room while you are working with chemicals to avoid any potential inhalation issues.
5. Use a respirator when spraying dyes onto leather. The aerosolized dyes can be harmful if inhaled, so wearing a respirator is essential for your safety. Using a respirator will also help prevent any overspray of dye from getting on your skin.
6. Wear old clothes that you don’t mind ruining. Leather dyes and other chemicals can permanently stain fabrics, so it’s best to wear something you won’t miss if it gets ruined in the process.
7. Work on a surface that is protected from any potential dye spills. Plastic sheeting is best for this purpose as it can easily be wiped down if it gets stained. The surface should also be flat and level to ensure even coverage of the dye.
8. Clean everything thoroughly when you’re done. Make sure you dispose of all used rags and gloves safely, as well as any remaining chemicals that were not used in the project. This will help protect your health and your environment from any potential harm caused by these materials.
Conclusion
With so many colors and shades to choose from, the world of leather can be an exciting and creative place. Whether you’re going for subtle beiges or vibrant blues, changing the color of leather is one project that even beginning DIYers can tackle. Plus, by using readily available materials and just a few basic tools, such as a brush and some dye, you can quickly achieve impressive results.
As with any project, it helps to have patience and take your time when changing the color of leather – there are no shortcuts here if you truly want it to last through time. But with the right guides, products, and techniques in hand, you’ll soon find yourself mastering this exciting craft.
Follow the steps on how to change the color of leather and the safety precautions listed above to ensure the best results from your leather-coloring project.