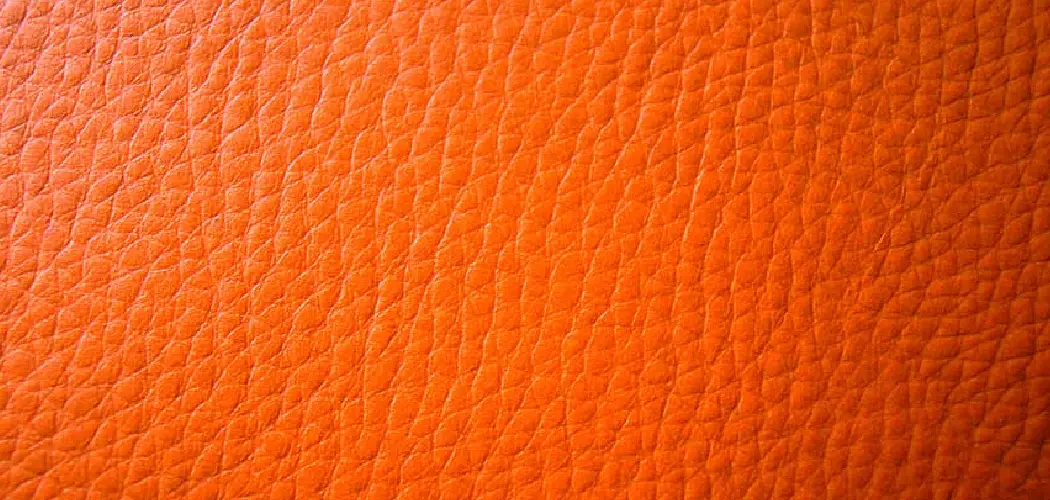
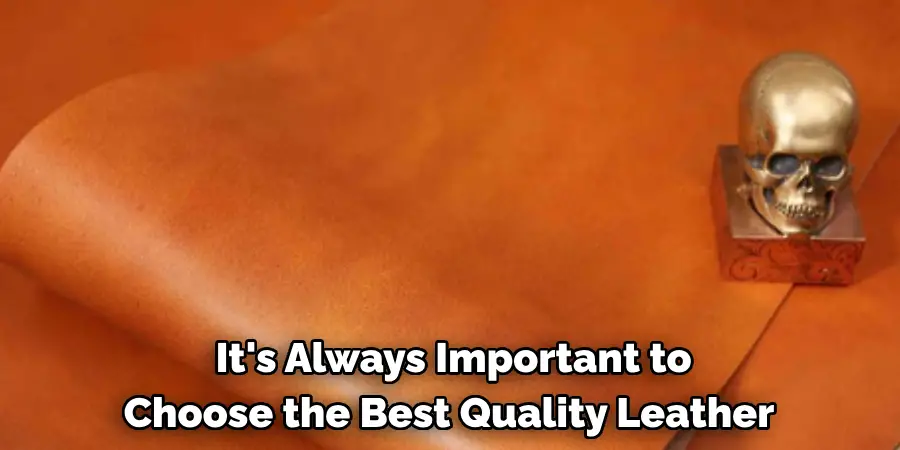
Choosing the right leather for embossing is important because it can greatly affect the outcome of your project. The type and quality of leather you use will determine how well the embossed design will turn out, as well as its durability and longevity.
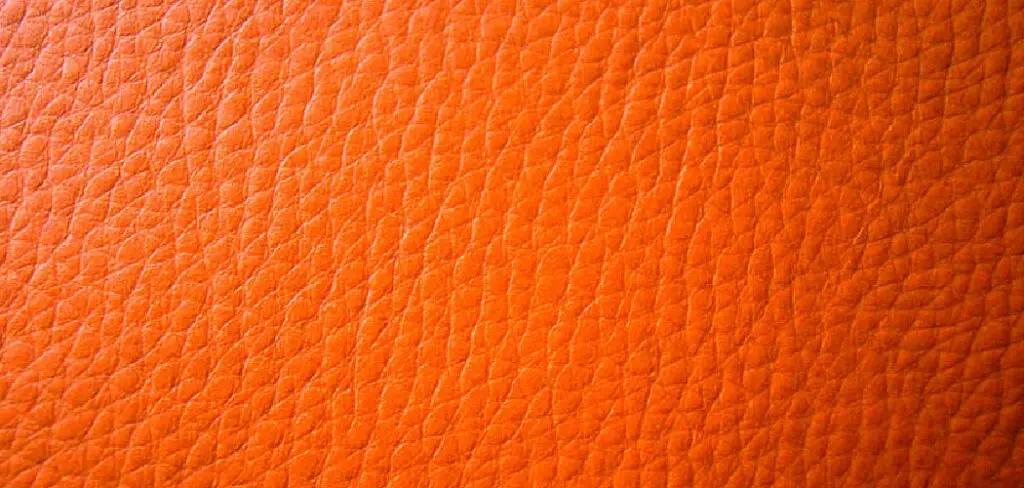
The main advantage of choosing the right leather for embossing is that you will be able to create high-quality embossed leather products. By selecting the appropriate type of leather, you can ensure that your embossed designs will have a lasting impression and will be more durable. In this blog post, You will learn in detail how to choose the right leather for embossing.
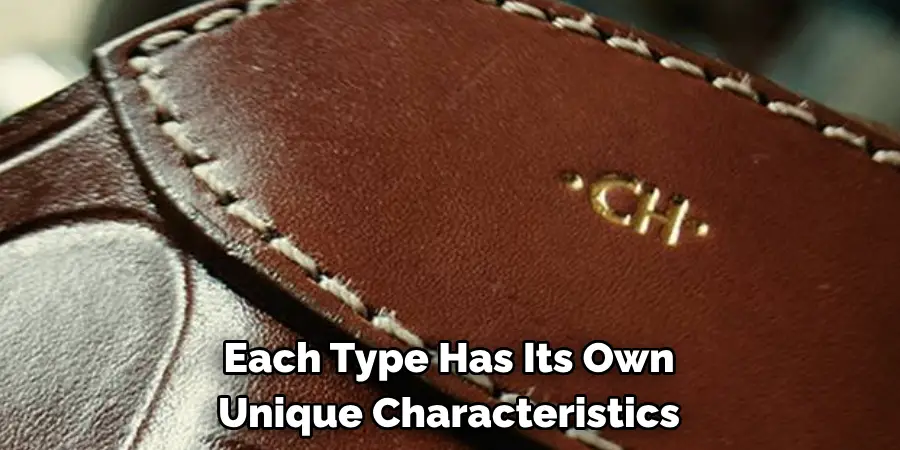
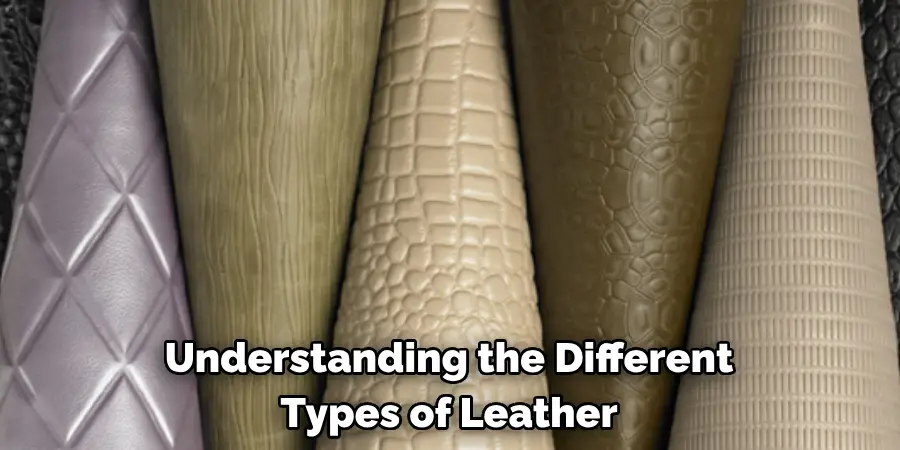
Understanding Different Types of Leather
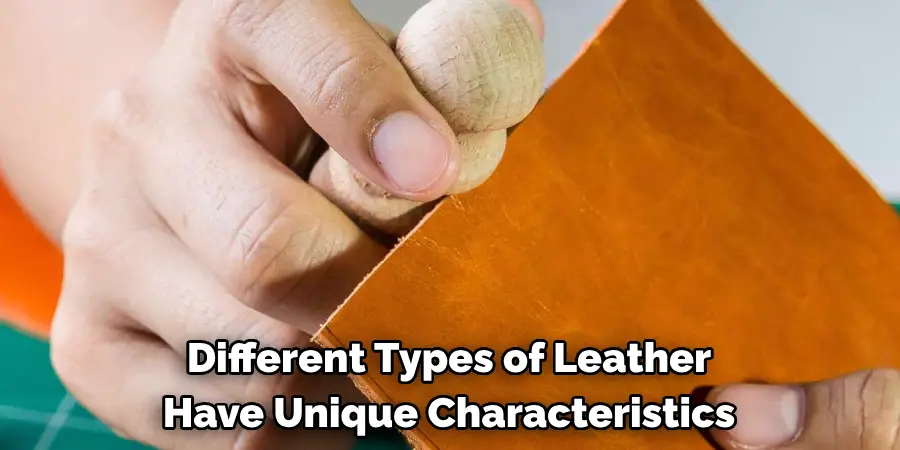
When it comes to leather, there are many different types, each with their own unique characteristics and qualities. Understanding the differences between these types is important for making informed decisions when purchasing leather products.
- Full-grain Leather: This type of leather is considered to be the highest quality. It is made from the top layer of the animal hide, which has not been sanded or buffed to remove imperfections. This results in a strong and durable leather with natural markings and texture.
- Top-grain Leather: Similar to full-grain leather, top-grain leather is made from the top layer of the hide. However, it undergoes a process called sanding or buffing to remove any imperfections, resulting in a smoother and more uniform surface.
- Corrected-grain Leather: This type of leather is made from the lower layers of the hide, which are sanded down to create a smooth and uniform surface. It is then embossed with a fake grain pattern to give it a more natural look.
- Split Leather: Also known as suede, this type of leather is made from the bottom layer of the hide. It is sanded down to create a soft and velvety texture, but it is not as strong and durable as other types of leather.
- Bonded Leather: This type of leather is made from leftover scraps of leather that are bonded together with adhesive and then pressed into sheets. It is often used for furniture or accessories, but it is not as durable or high-quality as other types of leather.
Understanding the different types of leather can also help you determine the best care and maintenance practices for your leather products. Full-grain and top-grain leather, for example, are more durable and can withstand tougher conditions, while corrected-grain and split leather may require more delicate handling.
5 Ways to Choose the Right Leather for Specific Projects
When it comes to choosing leather for your projects, you want to make sure you’re getting the best quality and type of leather for the job. With so many different types of leather available, how do you know which one is right for your specific project? In this guide, we’ll cover 5 ways to choose the right leather for your specific projects.
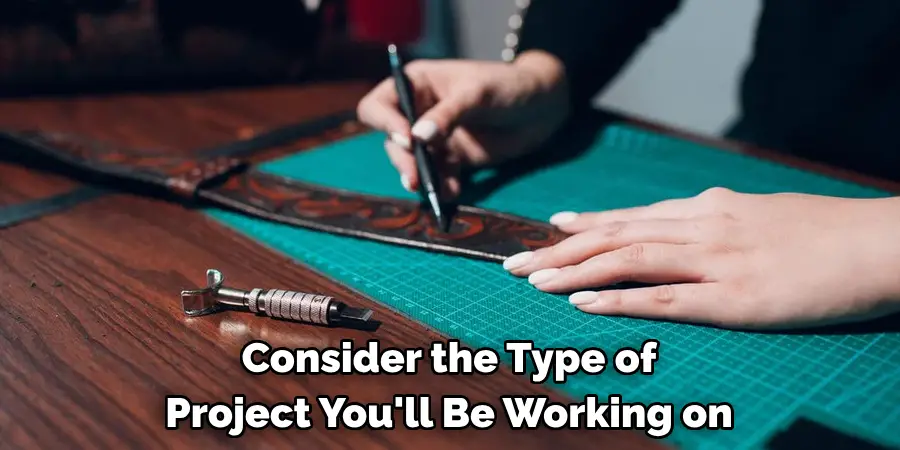
1. Consider the Type of Project
The first step in choosing the right leather is to consider the type of project you’ll be working on. Will it be a small craft project, such as a wallet or keychain? Or will it be a larger project, like a jacket or bag? Different types of projects may require different types of leather, so it’s important to keep that in mind when making your decision.
2. Determine the Durability Needed
The durability of the leather is also an important factor to consider. If you’re creating something that will be used daily and needs to withstand wear and tear, you’ll want to choose a thicker and more durable leather. However, if you’re making a decorative piece that won’t be handled as often, a thinner and more delicate leather may be suitable.
3. Think About the Appearance
The appearance of the leather is another crucial aspect to consider. Different types of leather have unique characteristics, such as texture, grain patterns, and color variations. You’ll want to choose a type of leather that will complement the overall look and feel of your project. For example, a smooth and shiny leather may be better suited for a dress belt, while a distressed leather would work well for a rustic bag.
4. Factor in Cost
The cost of leather can vary greatly depending on the type and quality. It’s important to factor in how much you’re willing to spend on your project and choose a type of leather that fits within your budget. Keep in mind that higher quality leathers may be more expensive, but they will also last longer and result in a better finished product.
5. Test the Leather
Before making a final decision, it’s always a good idea to test the leather. This can help you determine its strength, flexibility, and overall quality. You can do this by bending the leather, pulling on it, or even cutting a small piece to see how it responds. This will give you a good idea of how the leather will hold up in your specific project.
By considering these factors, you’ll be able to choose the right leather for your specific projects with confidence. Keep in mind that it’s always important to choose the best quality leather you can afford, as it will ultimately result in a better final product.
Tools and Materials You Will Need
- A sturdy work table or desk
- Measuring tape and ruler
- Pencils and erasers
- Hammer and nails
- Screwdriver set
- Power drill with assorted drill bits
- Handsaw or electric saw
- Level tool (spirit level)
- Sandpaper in various grits
- Paintbrushes and rollers
Step-by-step Instructions for How to Choose the Right Leather for Embossing
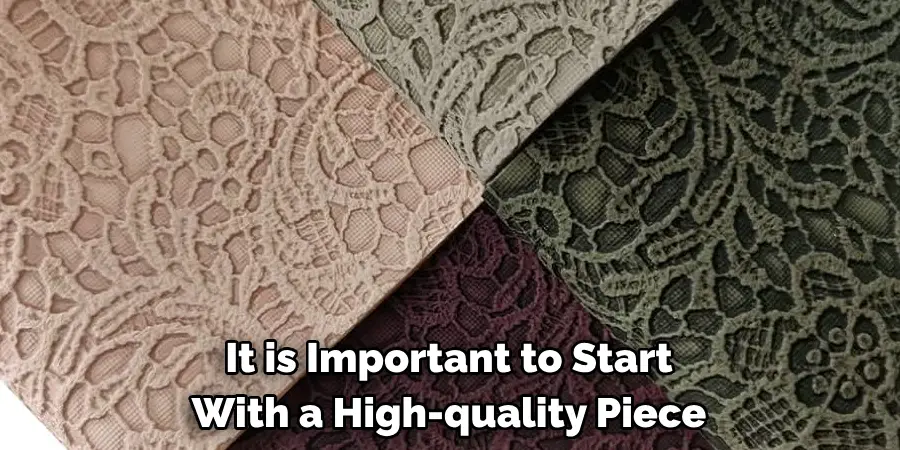
Step 1: Inspect the Leather
When embossing leather, it is important to start with a high-quality piece of material. Inspect the leather for any marks or blemishes that may affect the overall look of your project. The thickness of the leather will determine how deep and defined your embossed design will be. Thinner leather works best for detailed designs, while thicker leather is better for larger and simpler designs.
Step 2: Choose the right type of leather
There are various types of leather available in the market, such as cowhide, goatskin, and suede. Each type has its own unique characteristics and may work differently when embossed. Research and choose the one that best suits your project. The color of the leather will also affect the overall look of your embossed design. Keep in mind that darker colors tend to show embossing more prominently, while lighter colors may require a deeper level of pressure for the design to show.
Step 3: Determine the size and shape
Before you start embossing, consider the size and shape of your project. This will help you decide on the appropriate size and placement of your embossed design. To prepare the leather for embossing, lightly dampen it with water to soften it. This will make it easier to work with and prevent any cracking or tearing while embossing.
Step 4: Create a Proper Workspace
Set up a designated area for embossing with all the necessary tools and materials within reach. Make sure you have enough space to maneuver the leather and your embossing tools. Using a pencil, lightly trace or draw your desired design onto the leather. This will act as a guide when embossing and help ensure accuracy.
Step 5: Start embossing
Using your chosen tools, begin pressing and rubbing the design onto the leather. Make sure to apply consistent pressure for a uniform look. You can also use heat to help set the design in place. Once you are satisfied with your embossed design, let it dry completely before applying any finishes or sealants. This will ensure the design stays in place and your project is completed successfully. Remember to clean and store your tools properly for future use.
By following these step-by-step instructions and choosing the right tools and materials, you can create beautiful embossed designs on leather for various projects. Whether it’s a personalized gift or a unique accessory, your embossed leather will surely make a statement.
Safety Precautions for How to Choose the Right Leather for Embossing
- When choosing leather for embossing, make sure to look for natural, full-grain leather as it is the best quality and will give you the best results.
- Avoid using synthetic or faux leather as they do not hold up well under heat and pressure during the embossing process.
- Check the thickness of the leather before purchasing. Thicker leather will hold up better during the embossing process and give you more defined results.
- When working with leather, always wear protective gloves to avoid burns from heated tools and protect your hands from sharp edges or rough surfaces.
- Before starting the embossing process, make sure to clean the leather thoroughly with a damp cloth to remove any dirt or debris that could interfere with the embossing.
- Use a suitable embossing tool for the leather you have chosen. Different types of leather may require different tools, so be sure to do your research and choose the right one for your project.
- Always test your embossing technique on a small piece of scrap leather before working on your final project. This will allow you to make any necessary adjustments and ensure that you are happy with the results before committing to the final piece.
By following these safety precautions, you can ensure a successful and safe leather embossing experience. Remember to also have proper ventilation in your workspace when working with heated tools, and always use caution when handling sharp objects.
Testing Leather for Embossing Suitability
- If you are unsure whether the leather you have chosen is suitable for embossing, try doing a small test on an inconspicuous area first. This will allow you to see how the leather reacts under heat and pressure and if it gives the desired results before committing to your project.
- You can also try using different types of embossing tools on the leather to see which one works best for your project. Some tools may leave deeper imprints, while others may be better for delicate designs.
- Additionally, you can experiment with different levels of pressure and heat to achieve different effects on the leather. Keep in mind that too much heat or pressure can damage the leather, so it’s important to find the right balance for your project.
- If you are still unsure about the suitability of a particular leather for embossing, you can consult with an experienced leatherworker or artisan for their advice and recommendations.
- Remember that leather can vary in quality and thickness, even within the same type of leather. So always test and be prepared to make adjustments as needed for the best results.
By taking the time to properly test and choose the right leather for embossing, you can ensure a successful project with beautifully detailed results.
Long-term Maintenance and Care of Embossed Leather
- To maintain the appearance of your embossed leather, avoid exposing it to direct sunlight for prolonged periods as this can cause fading.
- Keep the leather away from sources of heat and moisture, as these can damage the embossing and overall quality of the leather.
- When cleaning your embossed leather, use a soft damp cloth and gently wipe away any dirt or debris. Avoid using harsh chemicals or abrasive materials as they can damage the embossed design.
- You can also use a leather conditioner to keep the leather supple and prevent cracking over time. However, be sure to test it on a small inconspicuous area first to ensure that it does not affect the embossing.
- Store your embossed leather items in a cool, dry place when not in use to prevent any damage from humidity or extreme temperatures.
- With proper care and maintenance, your embossed leather items can last for many years and continue to look beautiful.
Always opt for natural, full-grain leather and take the time to properly test and prepare your leather before embossing. Remember to also regularly maintain and care for your embossed leather items for long-lasting beauty. With these tips in mind, you can confidently embark on your next leather embossing project.
Are There Any Special Techniques or Skills Required for Embossing Leather?
There are no special techniques or skills required for embossing leather, but having certain knowledge and experience can greatly improve the quality of your work. Here are a few tips to help you get started:
- Understanding the properties of different types of leather is crucial. Some leathers have a tighter grain which makes them easier to emboss, while others may be too soft or stretchy and may not hold the embossed design well.
- Familiarize yourself with different tools and materials used in leather embossing. These include heat embossing pens, metal stamps, embossing wheels, and leather dyes.
- Practice makes perfect. Embossing leather can be a delicate process and it takes time to develop the right touch and pressure needed for a clean and precise embossed design.
- Experiment with different patterns and designs. Don’t limit yourself to traditional or popular designs, try creating your own unique patterns using various tools and techniques.
- Take care of your tools. Make sure they are properly maintained and sharpened to ensure smooth and clean embossing results.
- Patience is key. It may take several attempts and adjustments to achieve your desired embossed design, but don’t get discouraged. With practice and patience, you will become more skilled and confident in your embossing abilities.
Overall, while there may not be any special techniques or skills required for embossing leather, having a strong understanding of the materials and tools used, along with plenty of practice and patience can greatly enhance the quality of your leather embossing projects.

Conclusion
In conclusion, choosing the right leather for embossing is an essential step in creating high-quality and long-lasting embossed designs. By considering factors such as type of leather, grain, thickness, and stretchiness, you can ensure that your embossed design will turn out just as you envisioned.
Additionally, having a good understanding of different tools and techniques used in leather embossing, along with plenty of practice and patience, can greatly enhance the quality of your work. I hope this article has been beneficial for learning how to choose the right leather for embossing. Make Sure the precautionary measures are followed chronologically.