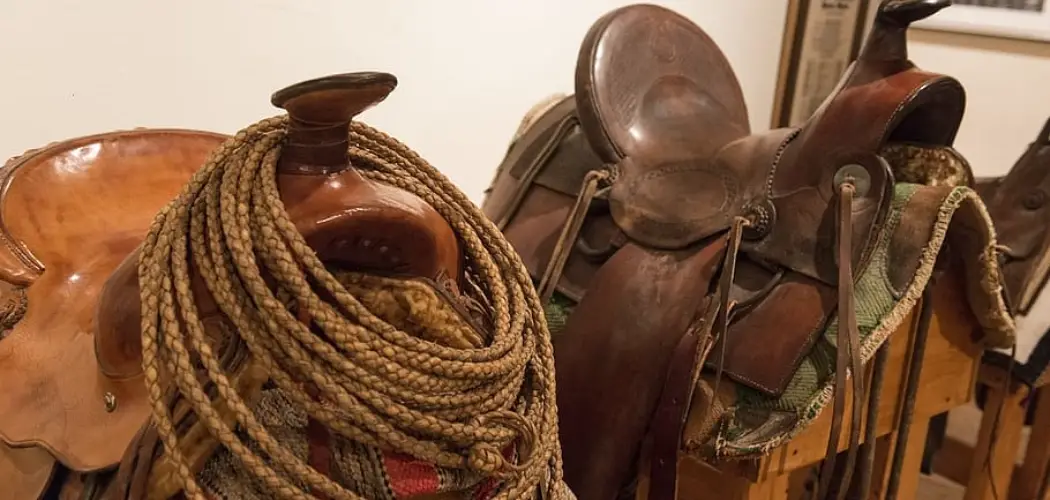
Are you interested in learning how to properly cinch a saddle? Even if you are an experienced rider, mastering this skill is important for ensuring safety and comfort. With the right techniques and equipment, saddling up your horse can be quick and simple.

In this blog post on how to cinch a saddle, we’ll walk you through the process step-by-step so that you can get back out onto the trail with confidence. Read on to learn about everything from selecting the right saddle size to adjusting stirrups for maximum comfort!
Needed Tools and Materials
Given below is a list of tools and materials needed when cinching a saddle:
- A Saddle
- A Cinch Strap or Girth
- Stirrups and Leathers
- An Over Girth (Optional)
- A Saddle Pad
- A Lead Rope
Make sure that all the materials are clean and in good condition before you begin.
11 Step-by-step Instructions on How to Cinch a Saddle
Step 1: Prepare Your Horse
Before you start saddling your horse, make sure they’re calm and relaxed. Brush them to remove excess dirt and tangles. If necessary, check for any sores or injuries that could be irritated by the saddle. You can also use a sweat scraper to help dry them off before saddling them up. This will help prevent saddle sores and sweating.

Step 2: Select the Right Saddle Size
The first and most important step in cinching a saddle is selecting the right size. The saddle should fit properly on your horse’s back, with the gullet of the saddle sitting just behind the shoulder blade. Make sure the height and width of the saddle are both appropriate for your horse. Otherwise, this could cause discomfort or even lead to injury.
Step 3: Place a Saddle Pad on Your Horse’s Back
Before placing the saddle on your horse’s back, you should put a clean saddle pad or blanket over their back. This will help protect their skin from any potential chafing caused by the saddle’s weight and movement.
But make sure the pad is not too thick, as this can interfere with the saddle’s fit. This may also require you to use an over girth, which is an extra layer of cinching that goes over the saddle pad and underneath the saddles.
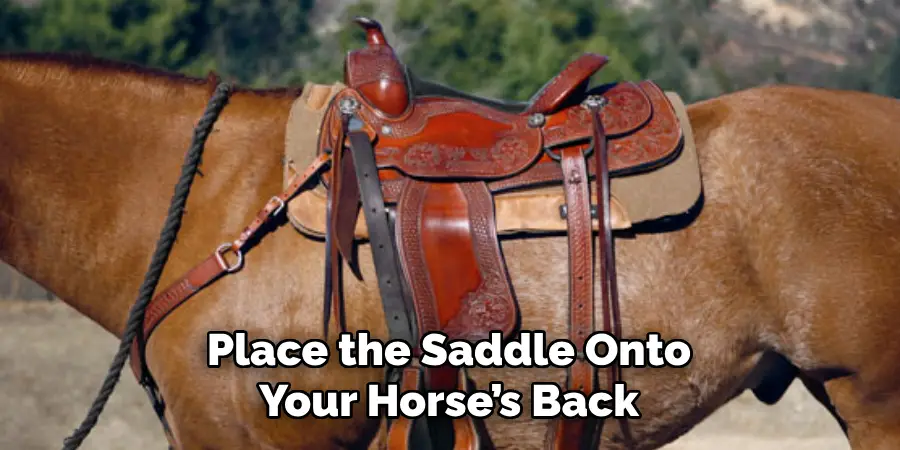
Step 4: Put the Saddle on Your Horse
Once you have a clean and properly-sized saddle, it’s time to place it on your horse’s back. Lift the saddle onto their withers and then slide it back until the gullet sits in the correct position. Make sure the saddle is centered properly on their back. This will help ensure the saddle is evenly distributed and that your horse is comfortable.
Step 4: Place the Saddle on Your Horse’s Back
Next, place the saddle onto your horse’s back. Use your hands to lightly press it down so that it is securely in place. Make sure the stirrups and leathers are facing outwards so that you can attach them later. However, do not cinch the girth or stirrups yet. This should be done after you have tightened the cinch strap.
Step 5: Secure the Saddle with Your Cinch Strap or Girth
Once the saddle is in place, you’ll need to secure it with a cinch strap or girth. This is an adjustable strap that is looped through the saddle and buckled at the back. Make sure it’s not too tight or too loose; you should be able to fit two fingers between the cinch and your horse’s body.
Step 6: Place an Over Girth (Optional)
If you want extra security for your saddle, you can place an over girth around your horse’s belly. This is a soft strap that goes under the saddle flap and helps to keep the saddle in place if your horse moves quickly or jumps. It’s not required, but it can be a good safety measure.
Step 7: Attach Stirrups and Leather
Before hopping on, make sure that the stirrups and leathers are securely attached to the saddle. The stirrup straps should be adjusted so that they sit comfortably on your feet when riding. However, make sure they’re not too tight or too loose. It’s best to use a stirrup leather hole punch to ensure that the holes line up properly.
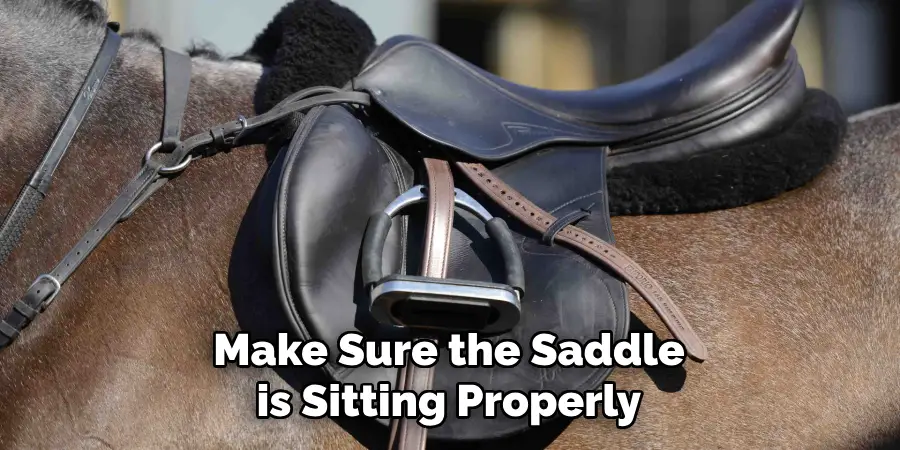
Step 8: Check for Proper Adjustment
Once all of the pieces are in place, take some time to double-check that everything is adjusted correctly. Make sure the saddle is sitting properly on your horse’s back and that all of the straps are secure but not too tight. You should also check the stirrups to make sure they’re adjusted for your height and riding style.
Step 9: Take a Test Walk
Before hopping onto your horse, take them for a short test walk with the saddle in place. This will help you identify any potential issues and make sure that your horse is comfortable with the new setup. Look out for signs of discomfort or resistance, such as bucking or pulling back when asked to move forward.
Step 10: Hop On!
When you’re ready to ride, make sure you are on the left side of your horse. This will make it easier to hold onto the reins and perform any necessary adjustments. To get on, use a mounting block or step up on something sturdy like a fence post or hay bale. This will help you get into the saddle without putting too much strain on your horse.
Step 11: Check for Saddle Security
Once in the saddle, check to make sure that your saddle is still securely in place. Give the cinch strap a gentle tug to make sure it’s not too tight or too loose. If everything looks good, you’re ready to ride! Always remember to thank your horse for its patience and hard work before you jump into the saddle.
Now that you know how to cinch a saddle, all that’s left is to get out on the trail and enjoy the ride. Remember to always check your equipment before riding and practice proper safety techniques when you’re out on the trail. Happy riding!
Tips for Choosing a Saddle
When it comes to choosing the right saddle, fit is key. Here are some tips for selecting the best saddle that fits both you and your horse:
- Make Sure the Gullet of the Saddle is Wide Enough to Accommodate Your Horse’s Shoulder Width.
- Take Note of the Weight and Balance of the Saddle. It Should Sit Evenly on Your Horse’s Back Without Shifting or Slipping.
- Consider Any Special Needs You or Your Horse May Have, Such as a Shorter Length for Petite Riders or a Deep Seat for More Secure Balance.
- Always Take Your Time When Selecting a Saddle and Make Sure to Do Some Research Before Making Your Purchase.
Frequently Asked Questions
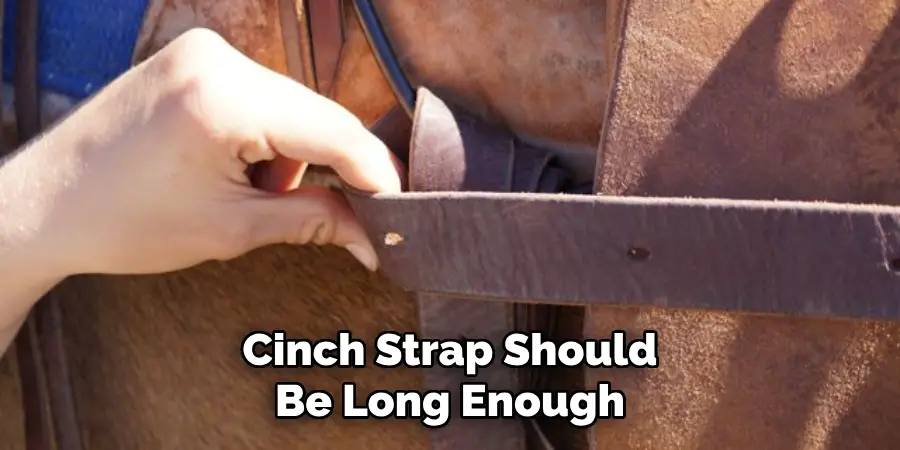
Q: How Long Should a Cinch Strap Be?
A: The cinch strap should be long enough to extend at least three inches below the bottom of the saddle skirt. This will ensure that you can get the tightest and most secure fit possible.
Q: Is It Safe to Ride Without an Over Girth?
A: Yes, it is safe to ride without an over girth but you may find that your saddle shifts more than usual. An over girth helps keep the saddle in place if your horse moves quickly or jumps. So while it’s not necessary, it can provide extra security.
Q: What Is the Best Material for a Saddle Pad?
A: The best material for a saddle pad is one that is breathable and lightweight. Look for a high-quality fabric that won’t absorb moisture or cause chafing. Cotton, wool, and synthetic fibers are all popular choices. Make sure to choose a pad that fits your saddle and also provides enough cushion for your horse.
Q: What Are the Different Types of Stirrups?
A: There are three main types of stirrups: English, Western, and Aussie. English stirrups have a narrow shape and are often used in show jumping or dressage. Western stirrups are wider and have a deeper profile that is great for stock work.
Aussie stirrups are a combination of the two and are popular among recreational riders. Make sure to choose the right type of stirrup for your riding style and discipline.
Conclusion
With the right techniques, cinching a saddle can be an easy task for anyone. When done correctly, the saddle will fit snugly and safely on the animal’s back without slipping or irritation.
It is important to remember that any time you are working with animals, safety should come first. Make sure to choose the correct size of girth for your horse and take extra precautions if cinching a sensitive animal.
It may take some practice to get used to, but with patience and practice, you will be able to successfully cinch your saddle in no time!
From proper use of equipment to developing your own style of cinching based on personal comfort level, there are plenty of ways to ensure properly secure your saddle every single ride. And who knows – you might even grow to love it! Thanks for reading this article on how to cinch a saddle.