Laser engraving is becoming increasingly popular due to its precision, accuracy, and versatility. It’s a great way to create unique gifts or add personal touches to your projects. But after laser engraving, you need to know how to properly clean the leather surface in order for it to last and look its best.

Let’s go over the basics of cleaning leather after laser engraving so that you can keep your projects looking good for years to come. If you want to know more about how to clean leather after laser engraving, keep reading!
Can You Clean Leather After Laser Engraving?
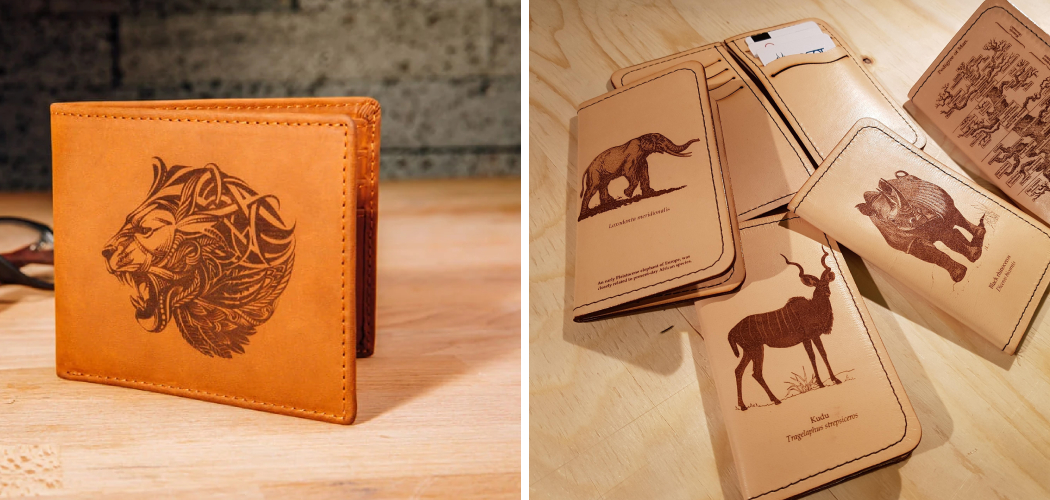
Laser engraving leather can be an excellent way to bring unique flare and detail to any design. With this being said, it is important to understand how to care for the piece of leather after laser engraving.
It is possible to clean newly etched leather, but one must act cautiously and use a soft cloth to gently remove dust, grease, or other small particles that may have built up during engraving.
To ensure the longevity and vibrancy of the engraving, consider using a mild soap/water solution while cleaning the leather. This should help keep the leather in good condition and ensure that your laser-engraved designs are sure to last.
Why Should You Clean Leather After Laser Engraving?
After laser engraving leather, it is important to clean the surface. This helps to keep it safe from germs and other contaminants that may have been present before the engraving process. Additionally, the leather will be more aesthetically appealing after the cleaning because dirt and debris can become trapped in small details of the design.
Cleaning also ensures that the designs remain subtle and consistent, which adds to its overall charm and character when wearing or using leather products.
Finally, cleaning can extend the lifespan of your leather items by preventing damage from dirt buildup over time. All of these benefits make it easy to see why cleaning leather after engraving should become part of your regular cleaning routine.
How to Clean Leather After Laser Engraving in 6 Easy Steps
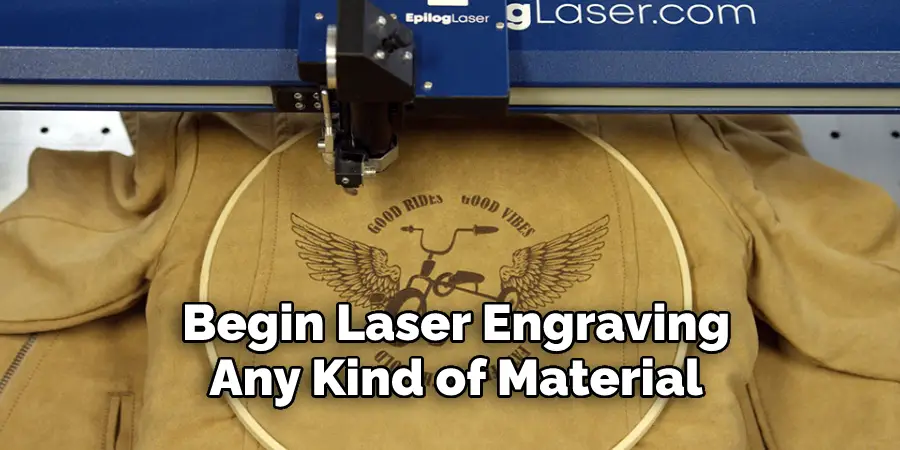
Step 1: Clean Before Engraving
Before you begin laser engraving any kind of material, especially leather, it’s important that you clean it first. This helps remove any oils or dirt on the surface, which can interfere with the laser engraving process and even leave behind residue on the final product.
Various products are available specifically designed for pre-engraving cleaning, but if you don’t have access to these, a soft cloth dampened with water should do the trick just fine. Be sure not to use anything too abrasive, as this could damage the surface of the leather before you even get started.
Step 2: Clean During Engraving
It’s also important to keep an eye on the leather during the laser engraving process, as some materials may create a residue on the surface. If this happens, use a soft cloth dampened with water to clean away any excess residue as soon as possible.
If left unattended for too long, this residue can become bonded permanently into the leather, making it difficult or impossible to remove without damaging it in some way.
Step 3: Clean After Engraving
Once your laser engraving is complete, you should give it one last pass with a dry cloth or feather duster in order to remove any remaining dust or debris from around the edges of your design where they may have collected during production.
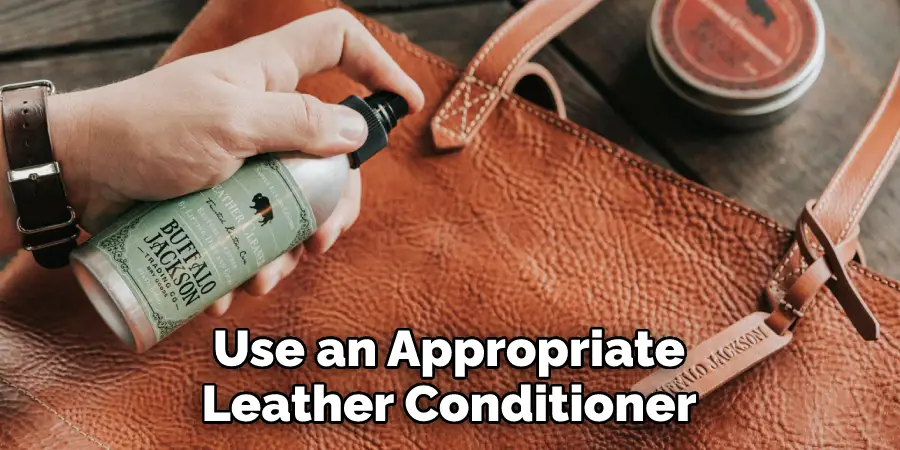
You may also give your leather piece one final wipe-down with an appropriate cleaner, such as saddle soap or leather conditioner, to restore its original shine and luster.
Step 4: Seal the Leather
Once your leather piece is clean, it’s important that you seal it in order to protect it from dirt and moisture. Various sealants are specifically designed for this purpose, so be sure to check which one is best suited for your leather type. Applying a coat of sealant will also enhance the color and vibrancy of your design, making it even more eye-catching.
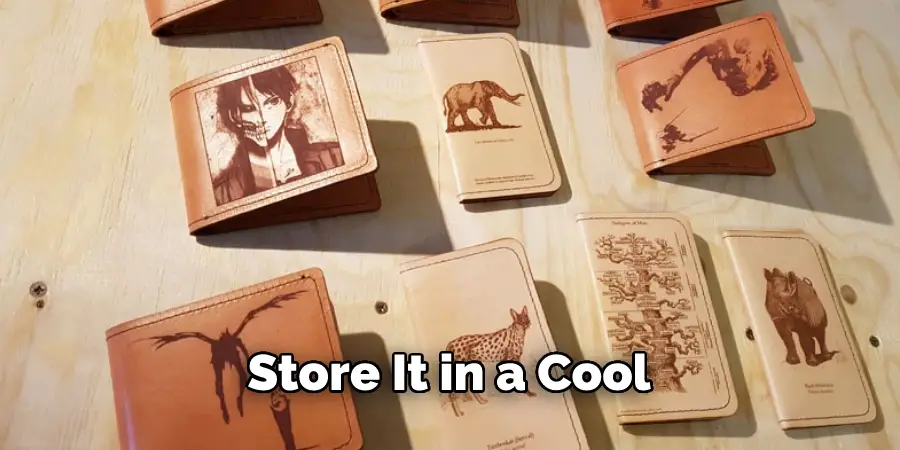
Step 5: Store Properly
In order to keep your leather piece looking great for years to come, it’s important that you store it in a cool, dry place away from direct sunlight or extreme temperatures. This will help ensure that your laser engraving doesn’t fade over time or become discolored due to improper storage conditions.
Step 6: Enjoy Your Work!
Once all the steps are completed, you should have a beautiful and unique leather piece ready to enjoy and share with friends and family. Whether you choose to turn it into a wallet, a bracelet, or something completely different, you can now keep and use it with pride, knowing that you took the time to clean and maintain it properly.
That’s it! You’ve now learned how to clean leather after laser engraving. With these steps, you can ensure that your engravings look their best and last for years to come. So go ahead and start designing and creating your own one-of-a-kind pieces today!
Things You Need to Know Before Cleaning Leather After Laser Engraving
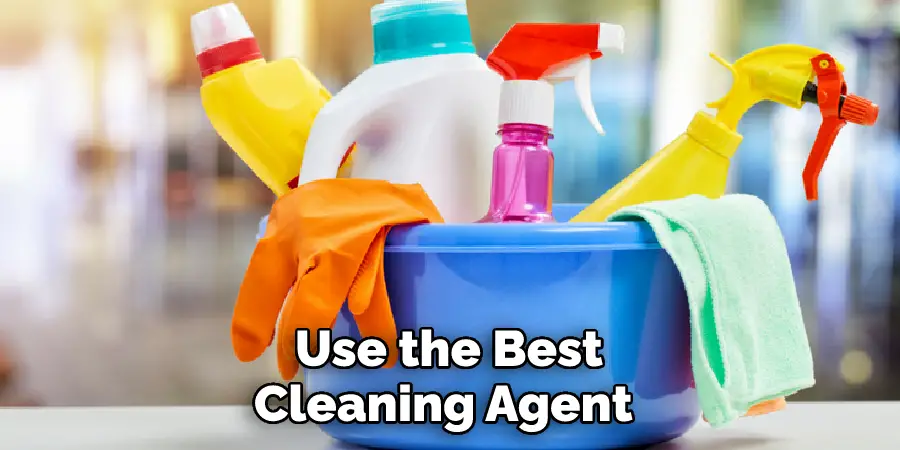
Cleaning leather after laser engraving is an important process that requires careful consideration and the right tools or supplies. Before venturing into this task, knowing what type of leather you are dealing with is important, as some may require specialized cleaners.
Additionally, knowing whether the leather has been previously treated and, if so, with which method of treatment helps ensure that you use the best cleaning agent to avoid damaging or even ruining the product.
It is equally essential to understand the specific items necessary for the job, such as protective gloves, low-grit sandpaper, and an appropriate wax-based cleaner. The right information ahead of you optimizes the chances of achieving a successful outcome when cleaning laser-engraved leather.
Benefits of Cleaning Leather After Laser Engraving
Cleaning leather after laser engraving is vital for preserving the aesthetic appearance and prolonging the life of your engraved products. The main benefit of cleaning leather items post-engraving is removing residue from the laser engraving process that can harm the material’s delicate surface and design quality.
Not only does this improve the overall appearance, but it also protects against dust, dirt, and other potentially damaging elements. Regularly cleaning your engraved leather products makes them look better and last longer. Moreover, regular cleanings help you to maintain quality materials seriously, thus showing respect to your customers and craftsmanship.
6 Common Mistakes People Make When Trying to Clean Leather After Laser Engraving
1. Not Test First
Before you start cleaning, it’s important to test the product on an inconspicuous spot on the leather to make sure it won’t damage or discolor the material.
2. Use the Wrong Cleaning Products
There are various cleaning products available for leather, but not all of them are suitable for use on laser-engraved leather. Avoid harsh chemicals or abrasive cleaners, which can damage the delicate engraved surface. Instead, opt for a gentle leather cleaner specifically designed for laser-engraved leather use.
3. Use Too Much Cleaner
When cleaning laser-engraved leather, less is definitely more. Using too much cleaner can leave behind a sticky residue that attracts dirt and dust, making your leather look dirtier than before you started cleaning it.
4. Rub Too Hard
When cleaning laser-engraved leather, be sure to use a light touch. Rubbing too hard can damage the delicately engraved surface, making it more difficult to clean in the future.
5. Forget to Condition
After you’ve cleaned your laser-engraved leather, it’s important to condition it to help restore moisture and protect the material from future damage. Choose a leather conditioner specifically designed for laser-engraved leather and apply it according to the manufacturer’s instructions.
6. Store Leather in Direct Sunlight
Leather should be stored in a cool, dark place out of direct sunlight to prevent fading and damage.
What Supplies Are Necessary for Cleaning Leather After Laser Engraving?
When it comes to cleaning leather after laser engraving, having the right supplies is essential. It’s important to use a soft cloth and mild soap like saddle soap or Dawn dishwashing liquid, as using harsher products can cause damage to the material.
For polishing, you should use an appropriate leather conditioner to protect the leather from drying out and cracking over time. To ensure that any dirt or residue left after cleaning has been fully removed, try using a vacuum cleaner with a soft brush attachment. Regular oiling will also help maintain the life of your laser-engraved leather product for years to come.
Conclusion
Cleaning leather after laser engraving doesn’t have to be complicated—it simply requires attention and care throughout each process step from the beginning to the end. Taking care of your projects by cleaning them before, during, and after will help ensure they remain looking their best for years.
For website owners and DIYers new at laser engravings, paying close attention and following these simple steps will help ensure that their projects look perfect every time! Thanks for reading our post about how to clean leather after laser engraving.
