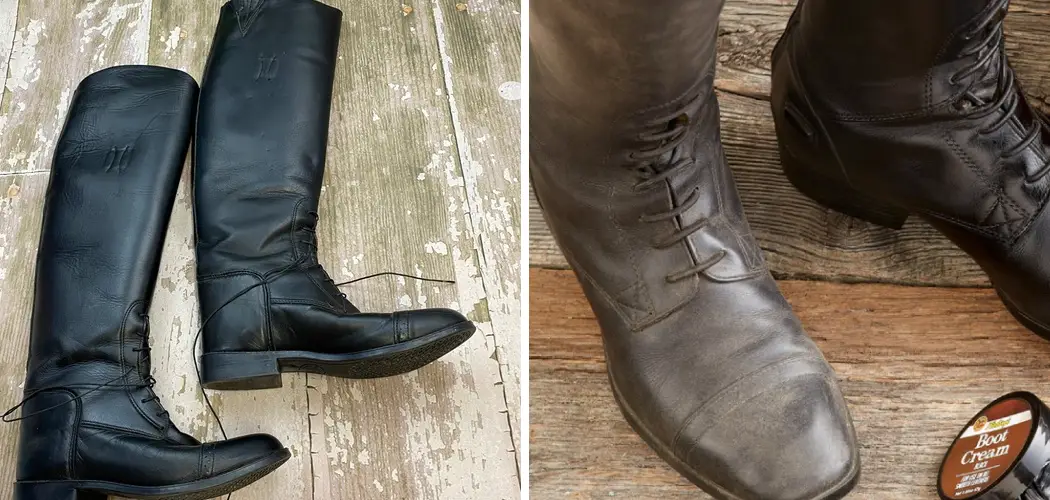
Welcome avid equestrians and horse lovers alike, today’s blog post is dedicated to all of those who appreciate the bond between horse and rider. While owning a pair of riding boots may seem like a simple task, any true horse lover knows that they are an essential part of their attire.

From trail rides to show jumping competitions, these trusty companions have carried us through countless hours in the saddle. However, as with any item we use frequently, our riding boots can get dirty and worn out over time. But fear not fellow riders! This guide will provide you with tips on how to clean riding boots to ensure they last for many more rides to come. So grab your boot cleaner and let’s dive into the world of maintaining our faithful footwear companions.
Supplies You Will Need to Clean Riding Boots
- Boot cleaner or leather soap
- Soft bristle brush
- Clean cloth
- Leather conditioner
- Shoe polish (optional)
Step-by-step Guidelines on How to Clean Riding Boots
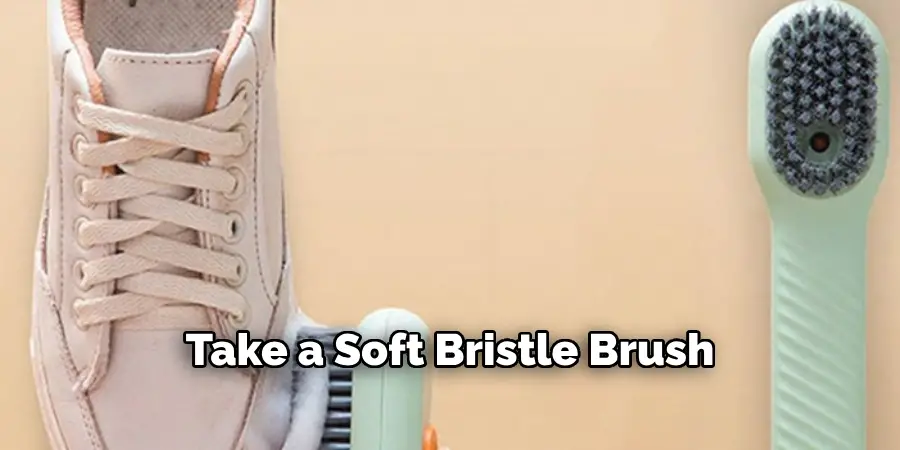
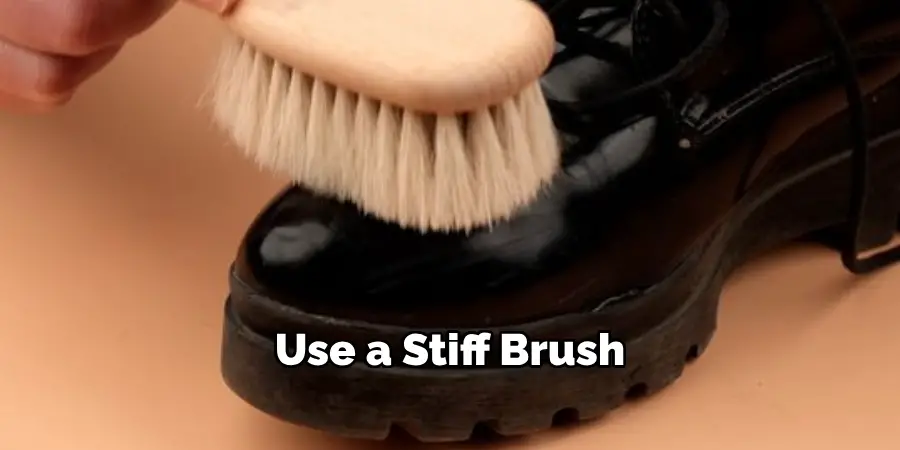
Step 1: Remove Dirt and Debris
Before attempting to clean your riding boots, it is important to remove any dirt or debris that may be stuck on the surface. Take a soft bristle brush and gently brush away any loose dirt from the boot’s exterior. Be sure to pay extra attention to crevices and seams where dirt can easily accumulate. Removing this initial layer of dirt will make the cleaning process more effective.
Step 2: Use Boot Cleaner or Leather Soap
Depending on the material of your riding boots, you can either use a boot cleaner specifically designed for leather or a mild soap such as saddle soap. Apply a small amount of the cleaner onto a clean cloth and gently rub it onto your boots in circular motions. Avoid using excessive amounts of water as it can damage the leather material.
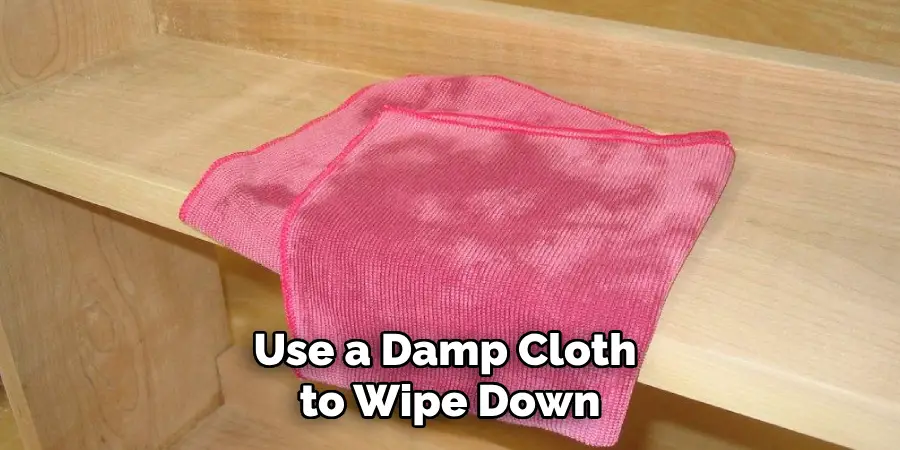
Step 3: Clean the Interior
While most of the dirt and grime may accumulate on the exterior of our riding boots, it is essential to also clean the interior. Use a damp cloth to wipe down the inside of your boots, paying special attention to areas where sweat may have built up. This will help prevent bacteria growth and keep your boots smelling fresh. If your boots have removable insoles, take them out and clean them separately.
Step 4: Condition the Leather
After cleaning your riding boots, it is important to condition the leather to keep it soft and supple. Apply a small amount of leather conditioner onto a clean cloth and rub it onto the surface of your boots. This will help prevent cracking and drying out of the leather, especially in areas that are prone to wear and tear. While some leather conditioners may leave a slight residue, you can easily buff it out with a clean cloth.
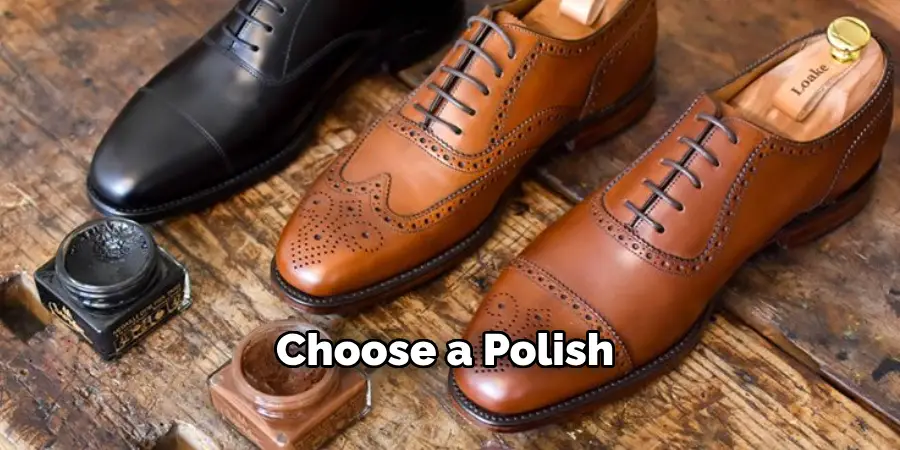
Step 5: Optional – Apply Shoe Polish
If your riding boots have lost their shine and color over time, you can use shoe polish to restore their appearance. Choose a polish that is specifically made for the color of your boots and apply it evenly using a clean cloth. This step is optional, but it can help give your boots a polished and professional look. If you do not have shoe polish, you can also use olive oil to restore the shine of your boots. Make sure to buff it out with a clean cloth after application.
Following these steps will help you keep your riding boots clean and in good condition for many rides to come. Remember to always use products specifically made for leather and avoid using harsh chemicals or excessive amounts of water. With proper care, your riding boots will continue to serve as a reliable companion on all your equestrian adventures. Happy riding!
Additional Tips and Tricks to Clean Riding Boots
- If your riding boots are made of leather, be sure to condition them after cleaning. This will keep the leather soft and supple, preventing cracks and tears.
- For tough stains on leather boots, you can use a mixture of equal parts lemon juice and cream of tartar. Apply this paste onto the stain, let it sit for about 10 minutes, then wipe off with a damp cloth.
- To remove salt stains from leather boots, mix equal parts white vinegar and water and use a cloth to gently rub the solution onto the affected areas. Don’t forget to condition your boots afterward!
- For suede or nubuck riding boots, use a soft brush to remove dirt and stains. If there are any remaining marks, you can use a suede eraser or gentle sandpaper to remove them.
- To prevent your riding boots from getting too dirty in the first place, apply a waterproofing spray before wearing them out. This will help repel water and dirt.
- Always let your riding boots air dry after cleaning them. Avoid using direct heat sources like hairdryers or placing them near heaters, as this can damage the leather.
- For tougher stains on suede or nubuck boots, you can use a small amount of white vinegar mixed with water to gently scrub the stain. Make sure to let the boots dry completely before brushing them off.
- To keep your riding boots looking new and shiny, you can use a leather polish or wax after cleaning and conditioning them. This will help restore their shine and protect the leather from further damage.
- If you have stubborn stains or scuffs on your riding boots, try using a pencil eraser to gently rub the marks away. Make sure to follow up with conditioning and polishing afterward.
- It’s important to regularly clean and condition your riding boots, especially if you wear them often. This will help prolong their lifespan and keep them looking great for years to come.

Following these tips and tricks will not only help you maintain your riding boots but also potentially save you money in the long run by prolonging their lifespan. Keeping your riding boots clean and well-maintained will also ensure that they continue to provide the necessary support and protection for your feet while riding. So don’t neglect this important aspect of caring for your riding gear and make sure to regularly give your boots some TLC! So go ahead and get out there and enjoy your rides with clean, well-maintained riding boots. Happy riding!
Things You Should Consider to Clean Riding Boots
- The first thing to consider when cleaning your riding boots is what kind of dirt or grime you are dealing with. Different types of dirt require different methods and products for effective removal.
- For general maintenance, use a soft cloth or brush to remove any loose dirt or debris from the surface of your boots. Avoid using harsh chemicals or abrasive materials as they can damage the leather.
- If your boots are muddy, let the mud dry completely before attempting to clean it off. Once dry, use a stiff brush or toothbrush to gently remove the dried mud.
- For tougher stains or scuffs, you may need to use a specialized leather cleaner. Make sure to read and follow the instructions on the product carefully, as different cleaners require different application methods.
- When cleaning your riding boots, make sure to pay extra attention to the seams, zippers, and other areas where dirt can easily accumulate. Use a soft cloth or cotton swab dipped in a cleaner to gently remove any dirt or grime from these areas.
- After cleaning, be sure to thoroughly dry your boots with a clean towel. Avoid using hair dryers or other heat sources as they can cause the leather to crack or shrink.
- Once your boots are clean and dry, it is important to condition them to keep the leather soft and supple. Use a specialized leather conditioner for best results.
- In addition to regular cleaning, it is also important to store your riding boots properly when not in use. Make sure to clean and condition them before storing and avoid keeping them in damp or humid environments.
- Another important consideration for cleaning riding boots is the type of leather they are made from. Different leathers require different care, so make sure to check the manufacturer’s instructions or do some research before attempting to clean your boots.
- If you notice any damage to your riding boots, such as tears or scratches, it is best to take them to a professional leather cleaner for repair. Attempting to fix the damage yourself may cause further harm.
Following these considerations when cleaning your riding boots will help keep them looking great and prolong their lifespan. Remember to always use gentle methods and products, and never hesitate to seek professional help if needed. With proper care, your riding boots will continue to serve you well for many rides to come.
Precautions Need to Be Followed for Cleaning Riding Boots
- First of all, make sure that the boots are completely dry before starting to clean them. This is important because any dirt or debris present on the surface can scratch the leather if not removed properly.
- Use a soft cloth or brush to remove any loose dirt or dust from the boots. Avoid using any harsh materials such as wire brushes, as they can damage the leather.
- If there are any stains or scuff marks on the boots, use a leather cleaner specifically designed for riding boots. Apply the cleaner on a soft cloth and gently rub over the affected area in circular motions. Avoid using excessive pressure to prevent any further damage.
- Once the stains are removed, wipe the boots with a clean and damp cloth to remove any residue from the cleaner.
- Inspect your boots for any scratches or cuts on the leather. If you find any, use a leather conditioner to nourish and protect the leather from future wear and tear.
- Let the boots air dry completely before storing them. Avoid using any heat sources such as hair dryers, as they can cause the leather to crack or shrink.
- To maintain the shine and luster of your riding boots, use a leather conditioner regularly. This will also help to prevent the leather from drying out and cracking.
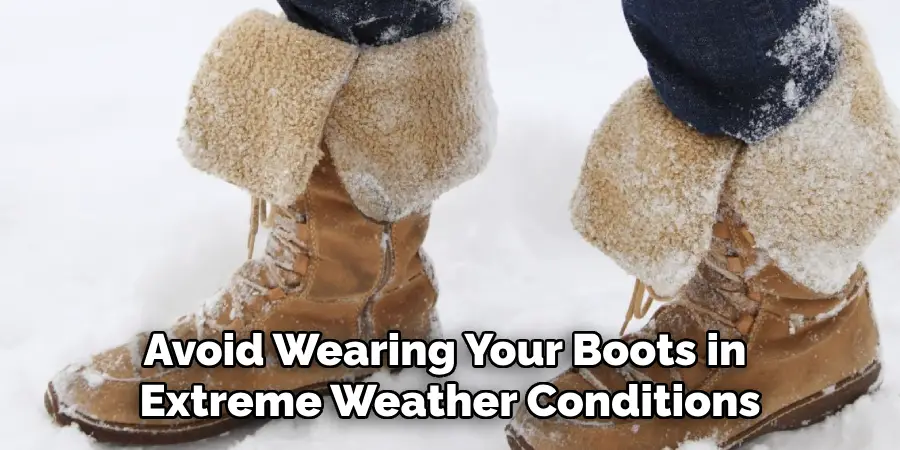
- Avoid wearing your boots in extreme weather conditions as it can cause damage to the leather. If you do get caught in bad weather, make sure to clean and dry your boots thoroughly afterward.
By following these precautions, you can ensure that your riding boots remain in good condition and last for a long time. It is also recommended to clean and condition your boots after every use to remove any dirt or sweat that may have accumulated. With proper care, your riding boots will not only look good but also provide maximum comfort and protection while riding. So make sure to give them the attention they deserve and enjoy your riding experience to the fullest. Happy riding!
Conclusion
Knowing how to clean riding boots is an essential skill for any rider, whether you are a beginner or an experienced equestrian. Regularly cleaning and maintaining your riding boots will not only keep them looking new but also extend their lifespan. By following the steps outlined in this article, you can effectively remove dirt, sweat, and grime from your boots while preserving their quality.
Remember to always use the appropriate cleaning products and techniques for the type of material your boots are made of. With proper care, your riding boots will continue to serve you well on all your equestrian adventures. So don’t neglect them and make sure to give them the TLC they deserve! And if you’re ever unsure about how to clean a specific pair of riding boots, don’t hesitate to consult the manufacturer’s instructions or seek advice from experienced riders. Happy riding and happy boot cleaning!