If you’ve recently purchased a car with ventilated leather seats, you may be wondering how to clean them so that they stay looking new. Ventilated leather seats allow air to circulate between the seat and your skin, keeping you cool and comfortable while driving.
Leather seats can be a luxurious addition to any car, but they require special care to stay looking their best. You’ll need some supplies and a little time to clean ventilated leather seats. Follow these simple steps about how to clean ventilated leather seats, and your seats will look new in no time!
Why is Cleaning Ventilated Leather Seats Important?
Leather seats are an expensive investment for your vehicle, so taking care of them is important. Not only do they add a luxurious look and feel to your car, but they’re also comfortable and durable. However, leather seats can be difficult to keep clean, especially if ventilated.
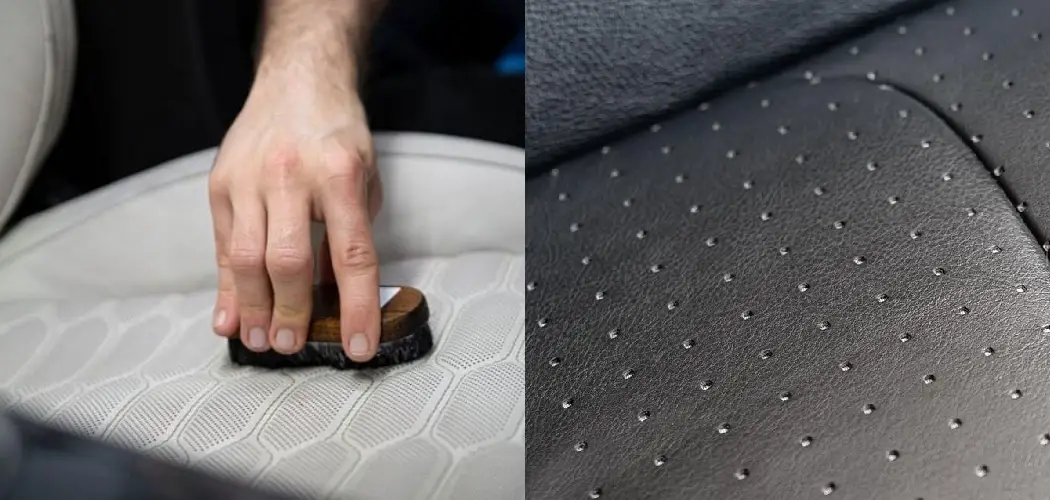
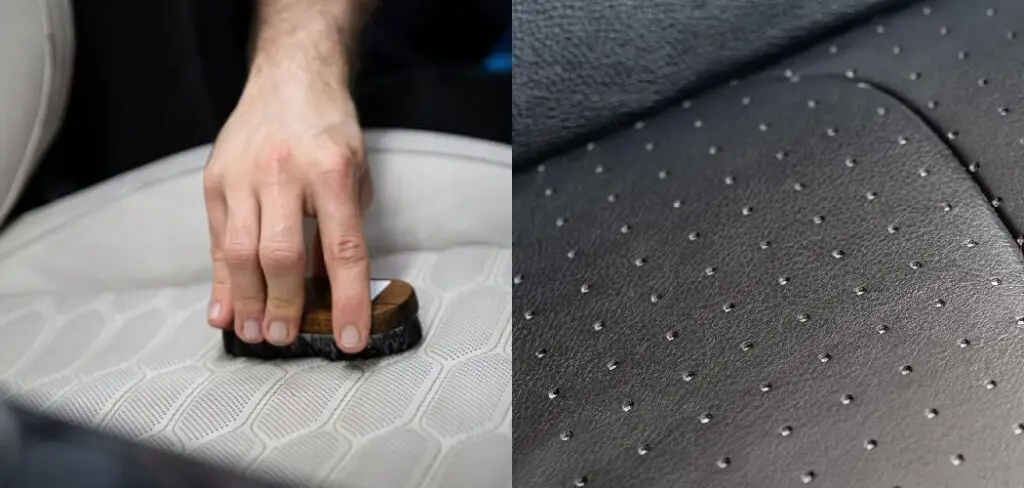
Ventilated leather seats have small holes or perforations in the surface that allow air to circulate. This helps keep you cool and comfortable in warm weather, but it also means that dirt and dust can easily become trapped in the seats. Over time, this can lead to your seats looking dull and worn.
Step-by-step Guidelines on How to Clean Ventilated Leather Seats
You need to go through the following steps to clean ventilated leather seats.
Step 1: Check the Care Instructions
Before you start cleaning your ventilated leather seats, it’s important to check the care instructions. These will be located on a seat label, telling you what products and methods you can use to clean the leather. If you can’t find care instructions or the label is missing, contact your vehicle manufacturer to find out what they recommend.

Step 2: Vacuum the Seats
Use a vacuum cleaner with a soft brush attachment to remove any dirt, dust, or debris from the seats. Be sure to vacuum the front and back of the seat and between the cracks. Otherwise, you may push debris further into the seat, resulting in damage or a more complicated cleaning process.
Step 3: Pre-Treat the Seats
Once you’ve vacuumed the seats, it’s time to pre-treat them with a cleaner. Leather cleaners come in liquid and foam forms, so choose whichever you prefer. First, apply the cleaner to a soft cloth and then rub it into the seats in a circular motion. Next, cover the entire surface of the seat, including cracks and crevices.
Step 4: Allow the Cleaner to Sit
After you’ve applied the cleaner, let it sit for a few minutes so it can work its way into the leather. This will help loosen any dirt or grime stuck to the surface. It can also help with any stubborn stains. But you need to be careful not to let the cleaner sit too long. Otherwise, it may dry out the leather.
Step 5: Wipe the Seats Down
After the cleaner has had a chance to work, use a clean, soft cloth to wipe the seats down, be sure to go with the grain of the leather to avoid damaging it, including any cracks or crevices. You may need to use a little elbow grease to remove tough stains. Also, be sure to pay attention to the stitching on the seats. This is a common spot for dirt and grime to accumulate.

Step 6: Apply a Conditioner
Once you’ve cleaned the seats, applying a conditioner is important to help protect the leather. Leather conditioners come in liquid and cream forms, so choose whichever you prefer. Apply the conditioner to a soft cloth and then rub it into the seats in a circular motion. Be sure to cover the entire surface of the seat, including any cracks or crevices.
Step 7: Allow the Conditioner to Sit
After you’ve applied the conditioner, let it sit for a few minutes so it can work its way into the leather. This will help protect the leather from cracking or drying out. It can also help keep the seats looking shiny and new. Which is the whole point of cleaning them first, right?
Step 8: Wipe the Seats Down
After the conditioner has had a chance to work, use a clean, soft cloth to wipe the seats down, be sure to go with the grain of the leather to avoid damaging it. You may need to use a little elbow grease to remove tough stains. Also, be sure to pay attention to the stitching on the seats. This is a familiar spot for dirt and grime to accumulate.
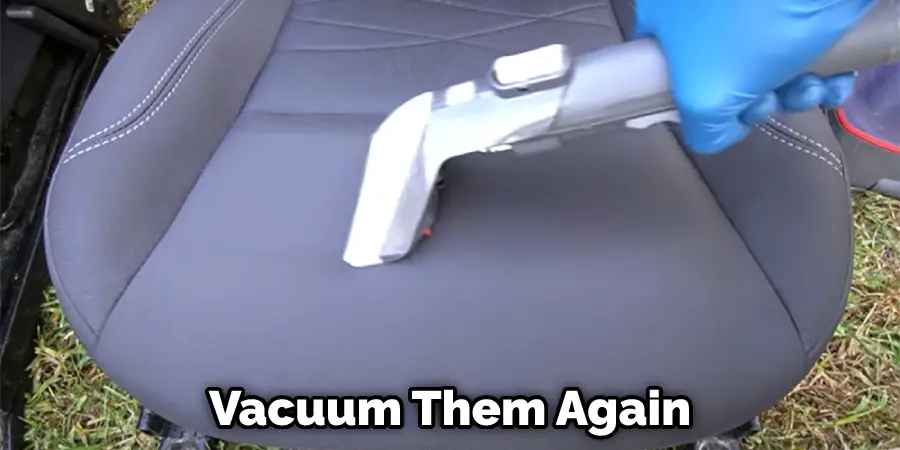
Step 9: Vacuum the Seats Again
After you’ve wiped the seats down, vacuum them again to remove any conditioner left behind. Be sure to review the entire seat, including any cracks or crevices. You need to be careful not to miss any spots, otherwise, the conditioner may not work either. So, you need to be thorough.
Step 10: Maintain Regular Cleaning
You should clean your ventilated leather seats at least once a month to keep them looking their best. But you may need to clean them more often if they’re regularly exposed to dirt and grime. If you have any stubborn stains that don’t seem to be coming out, you can repeat the steps above until they’re removed.
Cleaning ventilated leather seats may seem daunting, but it’s relatively easy. Follow the steps above, and you’ll have clean, fresh-looking seats.
Precautions You Need to Know Before Cleaning Ventilated Leather Seats
- Read the owner’s manual before cleaning ventilated leather seats.
- Avoid using any cleaners that are not specifically made for leather.
- Test the cleaner on an inconspicuous seat area before using it on the entire seat.
- Avoid exposing the seats to direct sunlight or heat sources.
- Do not use harsh scrubbing motions when cleaning the seats.
- Use a soft, dry cloth to wipe away any cleaner on the seat’s surface.
- Avoid using any kind of polish on ventilated leather seats.
- Allow the seats to air dry completely before using them again.
- Repeat the cleaning process regularly to keep the seats looking their best.
- Have any stains or damage repaired by a professional before attempting to clean the seat yourself
Will Vinegar Mess Up Leather Seats?
No, vinegar will not mess up leather seats. It can be used to clean them! Make sure you use a diluted solution of vinegar and water and test it on a small area first to ensure it won’t damage the leather. Leather seats are tough, but they can be delicate, so it’s always best to follow caution.

How to Know if My Leather Seats Need Cleaning?
Ventilated leather seats are perforated with tiny holes that allow air and moisture to pass through them. This helps to keep you cool and comfortable in hot weather, but it also means that dirt and sweat can build up in the seat over time. So if your leather seats start to look dirty or feel sticky, it’s time to give them a good cleaning.
What Should You Not Use on Leather?
There are a few things you should never use on leather, as they can cause irreparable damage. These include:
- Harsh chemicals like vinegar or bleach
- Abrasive materials like sandpaper
- Oil-based cleaners
If you’re unsure whether a product is safe to use on leather, always test it in an inconspicuous area first. And when in doubt, seek professional advice.
What is the Best Homemade Leather Cleaner?
There are many commercial leather cleaners on the market, but you can also make your own at home. You can use various household ingredients to clean your leather seats, and each has its own benefits.
Vinegar
Vinegar is a natural disinfectant that will help remove bacteria from your leather seats and break down grease and dirt. Mix equal parts water and vinegar in a spray bottle to use vinegar. Then spray the mixture onto your seats and wipe away with a cloth.
Baking soda
Baking soda is a natural cleaning agent on many surfaces, including leather. It is effective at removing dirt and stains. To use baking soda, mix one baking soda with two parts of water to form a paste. Rub the paste into the leather in a circular motion and then wipe away with a damp cloth.

Olive oil
Olive oil can be used to clean and condition your leather seats. It will help remove dirt or grime and leave your seats looking shiny and new. To use olive oil, simply apply a small amount to a clean cloth and wipe it over the surface of your seats.
There are many ways to clean your leather seats, but these three methods are some of the most effective. Whichever method you choose, test it in a small area first to ensure that it does not damage the leather.
You Can Check It Out To Care for Leather Jacket
Frequently Asked Questions
What Do Car Detailers Use to Clean Leather Seats?
Leather seats are often very dirty and need a lot of attention. Car detailers use a variety of products to clean leather seats, including leather conditioning agents, leather treatment products, and leather cleaner. Most of these products work by removing dirt, dust, and oil from the surface of the leather.
Can You Use Mr Clean Magic Eraser on Leather Car Seats?
The Mr Clean Magic Eraser can be used on leather car seats, but it is important to note that the Magic Eraser is not designed for this specific purpose and should not be used on leather car seats without first testing it on a small area to make sure it is safe. The Magic Eraser is a powerful cleaner that can remove dirt, dust, and other debris from surfaces, but it may not be effective on delicate leather car seats. If you decide to use the Magic Eraser on your leather car seat, be careful not to scrub too hard or you may damage the seat. Instead, use gentle circular motions with a light pressure to loosen dirt and dust before using the Magic Eraser to clean more deeply.
Is It Ok to Steam Clean Leather?
Steaming leather is a common way to clean and condition it, and it is generally safe to do so. The main concern with steaming leather is the risk of creating water spots or other damage. If you are steaming leather for the purpose of cleaning and conditioning it, be sure to use a low-water pressure setting and avoid using too much steam. Also, be sure to protect the leather surface from moisture and dust by wrapping it in a cloth or plastic wrap before steaming.
How Do You Clean Light Colored Leather Car Seats?
To clean light colored leather car seats, you will need to use a gentle soap and water mixture and a soft cloth. Make sure to avoid using harsh chemicals or scrubbing the seats vigorously, as this could damage the finish. After cleaning the seats, blot them dry with a cloth or paper towel.
Conclusion
That’s it! You’re now ready to enjoy your clean and freshly ventilated leather seats. Just vacuum and clean them regularly to keep them looking their best. And if you have any questions, be sure to contact your vehicle’s manufacturer. They should be able to provide you with all the information you need.
If you read the whole article on how to clean ventilated leather seats, you should have no problem cleaning your leather seats. Be sure to test a small area first, vacuum and clean them regularly, and contact the manufacturer with any questions. You can also find other helpful tips and tricks by reading How to Clean Your Car. Thanks for reading!