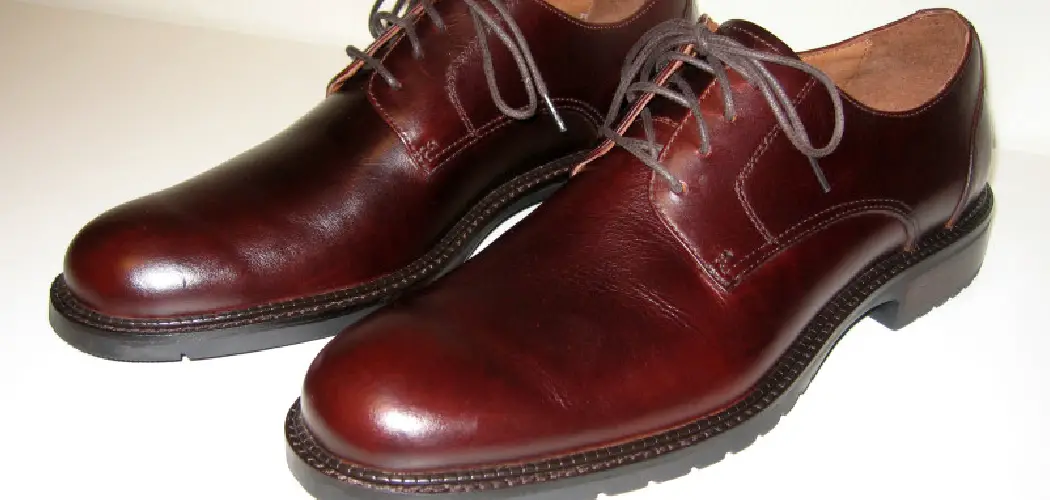
Leather is a great material that can be used to make all sorts of items, from fashion accessories to furniture. Knowing to crease leather correctly is important for your project’s look and longevity. Creasing leather gives it definition and detail, which adds sophistication and beauty to the final product. It also helps the leather last longer by preventing it from cracking or fading over time. Casing leather requires specific tools, techniques, and a good understanding of the material.

One of the main advantages of creasing leather is that it can add a unique touch and stylish look to an item. It further helps to enhance the appearance of any finished product, adding a more polished finish. Creasing also helps to make leather easier to work with, as it allows for better manipulation and shaping when working on projects with this material. Also, creasing leather can help extend the material’s life by preventing it from cracking and warping over time. In this blog post, You will learn in detail how to crease leather.
Step-by-Step Processes for How to Crease Leather
Step 1: Inspect the Leather
Before you start creasing, inspect the leather and determine if it’s the right type of leather for your project. Some leathers are too thick or thin to be properly creased. Make sure you have a comfortable work area with adequate lighting and ventilation. Working on a hard flat surface with a cutting mat is best.
Step 2: Prepare the Leather for Creasing
Start by cutting your leather to the desired size. Trace out the crease you plan on making with a marking pen or pencil. To ensure you won’t cut through the material, use a thick card stock as an interim guide. Place it over the tracing and use an awl or other sharp point to punch through the guide and leather simultaneously.
Step 3: Crease Along the Design Lines
Using a creasing wheel, roll it along the punched line you made in Step 2. Make sure you go slowly and evenly for a precise crease. You can also use your hands if you are experienced with leatherwork. When creasing, make sure to press hard enough to create a clear line but not so much that it cuts through the material.
Step 4: Check How Deep the Crease is
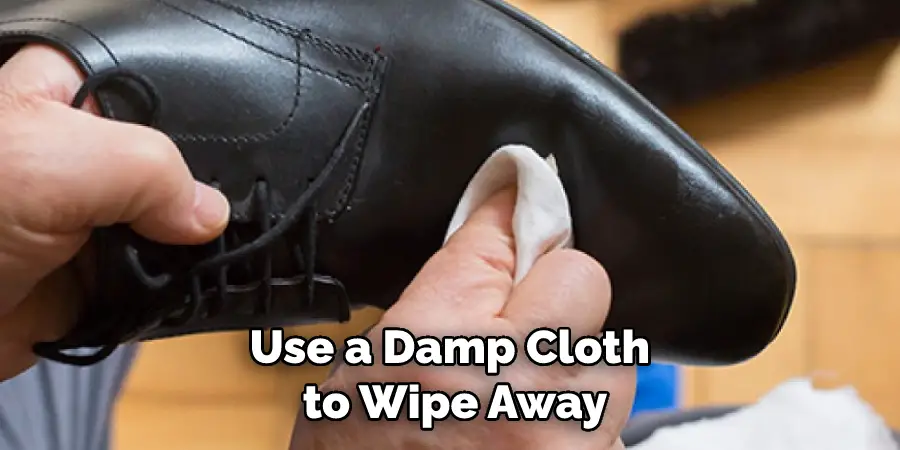
Once you’ve created a crease, use your fingers to feel its depth. If it doesn’t feel deep enough, go back and repeat steps 2 and 3. You can also use a ruler or other device to measure the depth of the crease. When you’re happy with the crease, use a damp cloth to wipe away any excess material from the leather. Once dry, finish off the piece according to your project specifications.
With these steps, you can create leather for any project successfully. Each step is necessary for a clean and precise finish, so don’t skip any of them. Remember to work slowly and carefully with each step; you will surely achieve the perfect crease every time.
Tips for How to Crease Leather
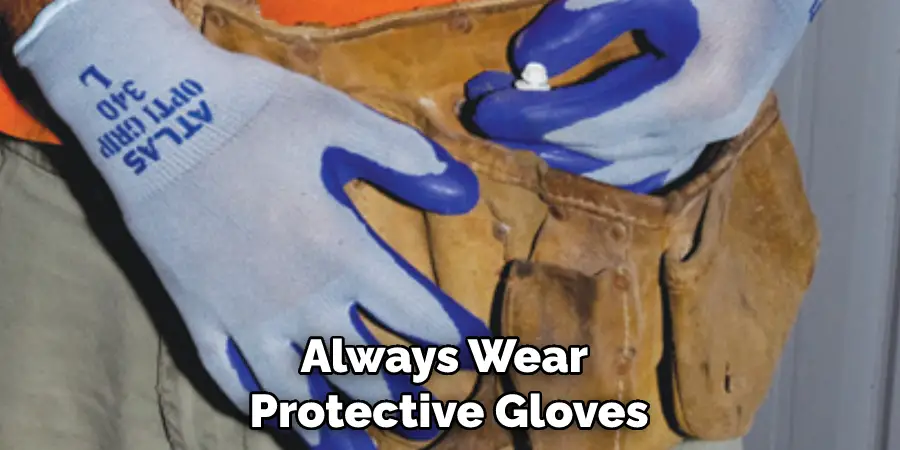
- Always wear protective gloves and eye gear when working with leather to avoid accidental cuts or burns from hot tools.
- Use sharp steel creasing tools for the best results, but be sure to use the correct angle and pressure to avoid tearing the leather.
- Start by making a shallow crease and gradually increase depth as you become more comfortable with the technique.
- Take your time! Rushing through a project can lead to sloppy work and potential injury.
- Crease leather in small sections at a time rather than trying to create an entire piece of leather in one go.
- Always test on scrap pieces before attempting the actual project to make sure your creasing method is correct. This will also help you become more familiar with the technique before using it on more expensive materials.
These tips can help ensure that your project turns out great and you stay safe while working with leather. Casing leather can be a fun and rewarding task with a little practice.
How Can You Avoid Damaging the Leather When Creasing?
- Be sure to use the correct tools when creasing leather. A leather-specific creaser or edge beveled creates a clean fold and prevents damage to the surface of the leather.
- Test out your technique on a scrap piece of leather before attempting it on your final product. This allows you to get familiar with the tools and techniques before applying them to your project.
- Choose small sections of leather at a time to crease, as this helps prevent stretching or tearing of the material.
- Avoid using excessive force when creasing leather; instead, be gentle and not mark the surface of the hide.
- If you’re creasing leather by hand, only use your fingers as tools; avoid using any sharp objects that may tear or puncture the leather.
- Remember that it’s better to make several lighter creases than one deep crease when folding leather. This will help keep the leather from stretching and warping.
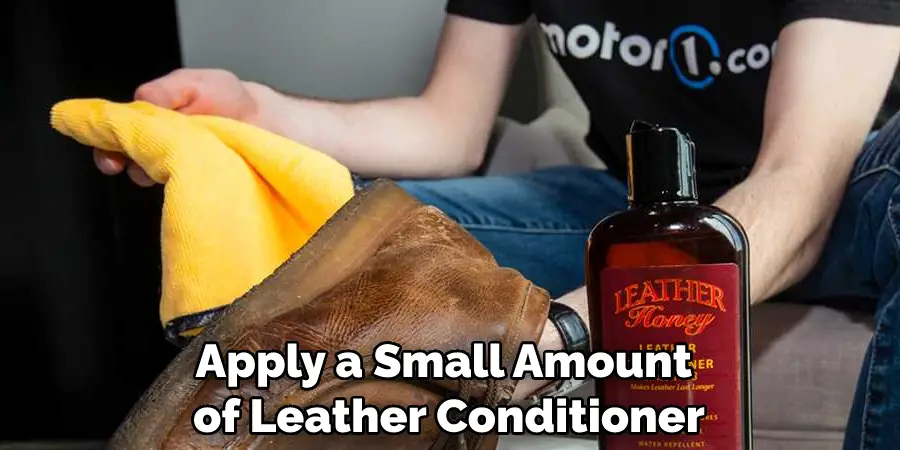
- After creasing, use a leather conditioner or oil to maintain the leather’s moisture level and remain flexible. This will also help keep the hide from cracking over time.
- Finally, store your projects in an airtight container and avoid exposure to direct sunlight or extreme temperatures to prevent drying out the leather.
By following these steps and taking care when creasing leather, you can avoid damaging the material and ensure a flawless finish for your projects.
How Should You Clean the Leather After Creasing It?
- After creasing the leather, it is important to clean the material. To do this, use a soft cloth and a gentle cleaning product designed for leather.
- Gently wipe down the entire surface of the leather with the damp cloth. Take care not to saturate the fabric with too much liquid, as this could cause discoloration or damage to the material.
- Follow up with a dry cloth, wiping away any excess moisture that may be left on the surface of the leather.
- Once all of the dirt and grime have been cleaned away, apply a small amount of leather conditioner to the area, distributing it evenly across the entire surface.
- Allow the conditioner to absorb into the leather for at least a few minutes before wiping away any excess product with a dry cloth.
- Finally, allow the leather to air-dry completely before using or storing it again. This will help keep it looking its best and prevent further damage from occurring. Taking proper care of leather after creasing can help it last for many years.
When cleaning and caring for leather, always avoid using harsh chemicals or abrasive cleaners, as these can damage the material and dull its appearance.
How Can You Prevent Creases From Re-forming on Leather Over Time?
- Clean the leather using a damp cloth and mild soap, then leave it to dry completely.
- Apply a leather conditioner or cream to reduce dryness and keep the leather soft and supple. This will also restore some of the oils that have been lost due to wear and tear.
- Use an iron to press the leather and heat to set the crease lightly. Make sure that the iron is set on a low setting and that you use a pressing cloth or cotton handkerchief between the leather and iron.
- Use an awl or other pointed tool to gently push down along the edges of the crease line, creating a crisp crease that will not easily be undone.
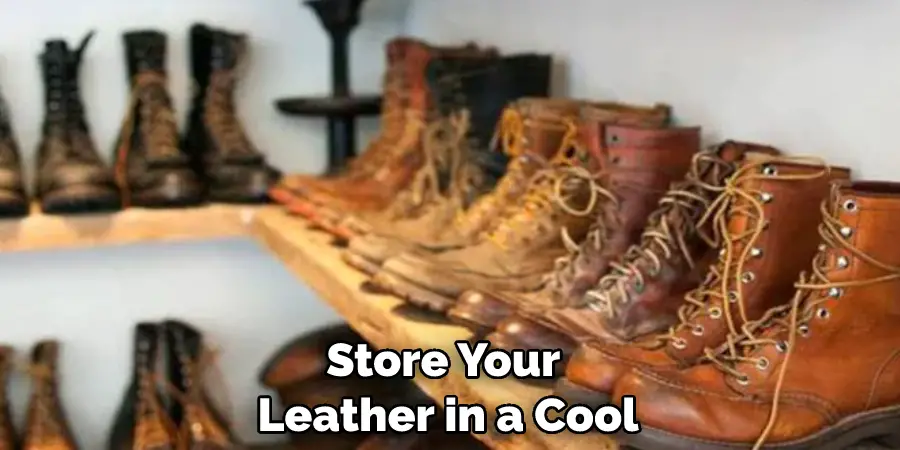
- If possible, store the leather in a cool and dry area away from direct sunlight or heat, as this can cause the leather to become brittle and prone to creasing again over time.
- Regularly re-apply the conditioner or cream to keep the leather soft and supple, allowing it to move freely without too much creasing.
- Brush the leather with a horsehair brush in the direction of the grain to soften any hardened areas that may have become brittle over time due to age or wear and tear. This will also help keep the leather looking smooth and even.
Following these steps, the creases on your leather should remain for years to come. In addition, you can help ensure that your leather remains in good condition by regularly cleaning and conditioning it.
How Do You Care for and Maintain Your Leather After It Has Been Creased?
- After creasing, use a soft cloth to buff the surface of your leather and remove any excess residue.
- You may want to apply a conditioning cream or mink oil for harder leathers to keep it supple and prevent cracking. Be sure to test on a small area before applying it all over.
- Avoid getting your leather wet or exposing it to extreme temperatures, as this can damage the creases.
- Store your leather in a cool, dry place and away from direct sunlight for the best results.
- If you need to clean your leather, use a damp cloth with some mild soap and water, then buff it with a dry cloth.
- You may need to take your leather to a professional cleaner for tougher stains and treat it professionally.
- With proper care and maintenance, the creases in your leather will last many years.
Frequently Asked Questions
Why Does Leather Crease?
Leather creases because it is a natural material that is tough and resistant to wear and tear. Over time, the leather will stretch and contract, which will cause the fibers to pull in different directions. This will cause the fibers to form small folds or wrinkles in the leather.
Does Water Crease Leather?
No, water does not crease leather. This urban legend is likely caused by the fact that water and leather do not mix well, which gives the appearance of water spots on the leather.
Is It Natural for Leather to Crease?
Some people believe that leather should never crease, while others say that it is natural for leather to crease over time. The truth is that it is impossible to answer this question definitively – each person’s experience and opinion will likely vary. Some factors that may contribute to leather creasing include:
1. Age: As leather becomes older, it tends to become more susceptible to creases and wrinkles.
2. Temperament: Some people are more prone to creases than others, based on their personality traits or lifestyle choices.
3. Environment: The conditions in which a leather item is used can also affect its tendency to crease. For example, a leather item that is frequently exposed to moisture or sunlight may become wrinkled more quickly than a leather item that is kept dry and protected from the sun.
Ultimately, the answer to this question depends on the individual’s experience and opinion. If you are concerned about your leather items’ tendency to crease, it may be a good idea to consult with a professional who can help you determine the best way to care for and protect your items.
Can You Crease Leather?
Leather is a natural material that can be creased or wrinkled over time. However, there are a few things you can do to prevent or reduce the chances of creasing or wrinkling leather:
1. Carefully inspect your leather items before you wear them, and make any necessary repairs or replacements as soon as possible. Damaged leather will stretch and cause the fabric to become more fragile and susceptible to creasing and wrinkling.
2. Avoid exposing leather items to excessive moisture or humidity – both of which can cause them to wrinkle and crease.
3. Keep your leather items clean – dusting them with a light coat of oil every couple of weeks will help keep them supple and free from wrinkles.
4. Store your leather items in a cool, dry place – avoid subjecting them to excessive heat or sunlight, which can also cause them to wrinkle and crease.
Conclusion
One of the main disadvantages of creasing leather is that it can cause permanent damage to the material. Leather is a natural material; once it is creased, the fibers weaken and may never return to their original shape. Casing leather may also cause irreversible discoloration or cracking in certain areas. Understanding the potential risks of creasing leather before attempting it is important.
In conclusion, creasing leather is a relatively simple process that requires some patience and finesse. With the right tools, tutorials and practice, you can quickly create beautiful creases in any type of leather material that you have at your disposal. Casing leather will help you achieve your desired look, whether for aesthetic purposes or functionality. I hope this article has been beneficial for learning how to crease leather. Make Sure the precautionary measures are followed chronologically.