Are you looking to give your leather jacket a unique, distressed look? We’ve got you covered! You can give your leather jacket an edgy, vintage look with the right materials and simple steps. Here’s how to distress a leather jacket.

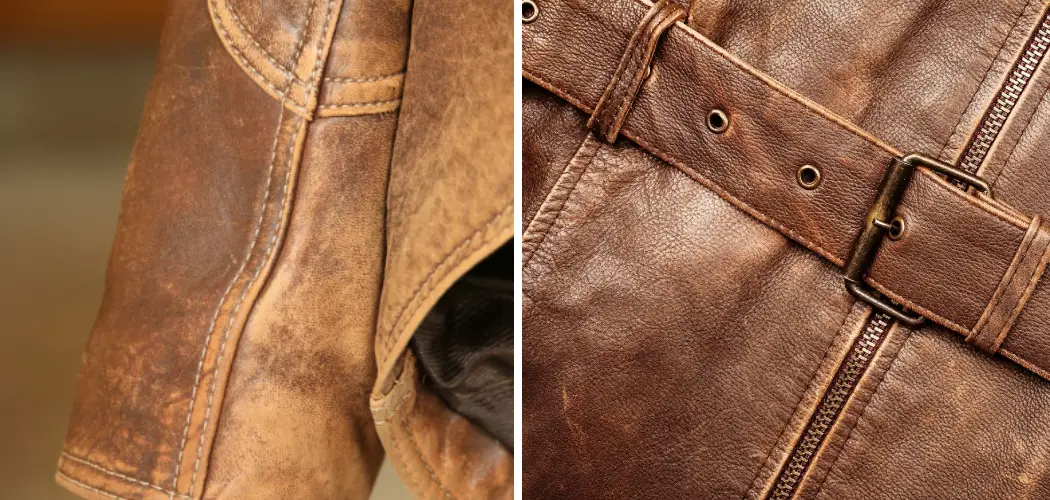
Distressed leather jackets can be a great way to add a bit of edge and style to your wardrobe. Not only are they comfortable and classic, but the distressed look also adds an interesting texture and individuality that can’t be found in other types of clothing.
You may think that purchasing a jacket at full price is your only option if you want to distress it. Still, there are some easy DIY options available for adding unique, personalized details to any piece of leather apparel.
In this blog post, we’ll cover the basics of distressing a leather jacket so you can customize it with the perfect level of distressing!
What Will You Need?
To distress your leather jacket, you’ll want to have the following materials on hand:
- A piece of leather or a leather jacket
- Sandpaper (fine grit)
- Leather dye
- Paint thinner or rubbing alcohol
- A damp cloth
- A dry cloth
- Leather conditioner (optional)
Once you have all of these materials ready, you can begin the process of distressing your leather jacket.
10 Easy Steps on How to Distress a Leather Jacket
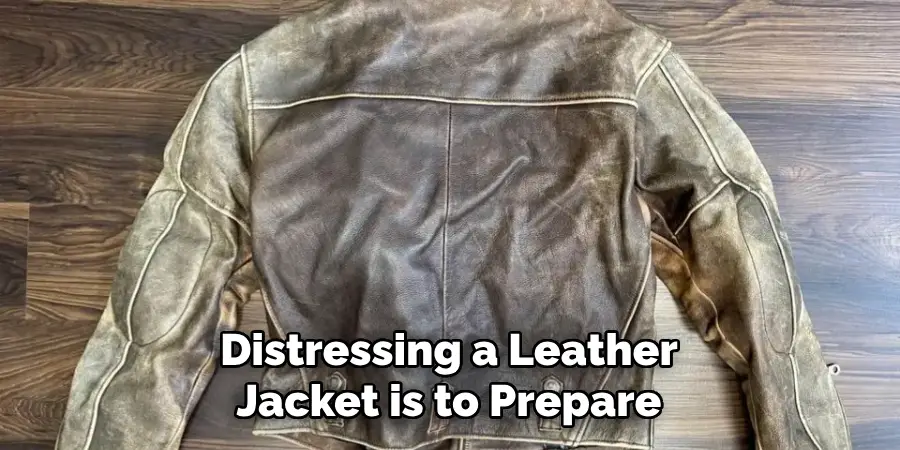
Step 1: Prepare the Leather
The first step to distressing a leather jacket is to prepare the leather. Begin by using sandpaper to lightly rough up surfaces of your jacket that you would like to distress, such as the back, collar, or arms. Ensure not to use too much pressure when sanding, as this could damage the leather.
Step 2: Apply Leather Dye
Once you have roughed up the surface of your jacket with sandpaper, it’s time to apply the dye. You can purchase a bottle of leather dye specifically for distressing purposes or mix different dye colors until you achieve a desired shade. When mixing dyes, wear gloves and work in a well-ventilated area for safety reasons.
Step 3: Apply Paint Thinner or Alcohol
You’ll now need to apply paint thinner or rubbing alcohol to the areas of your jacket you want to distress. This will help create a distressed look on the leather and change its color. Be sure not to use too much of either substance, as this could cause damage and discoloration.
Step 4: Rub With a Damp Cloth
Once you have applied the paint thinner or alcohol, use a damp cloth to rub over the areas where it was applied. This will help further distress the leather and give it an aged look. As you rub, the color of the leather will start to change and become more mottled.
Step 5: Let It Dry
Let the paint thinner or alcohol dry completely before proceeding to the next step. Try to avoid touching the leather while it is drying, as this could affect the overall distressed look. Use a dry cloth to remove any excess moisture if needed.
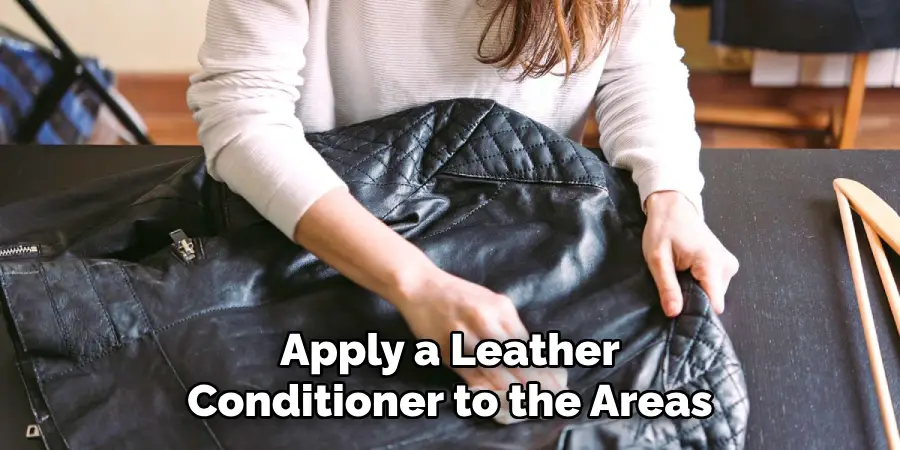
Step 6: Apply Leather Conditioner (Optional)
If you would like, you can apply a leather conditioner to the areas of your jacket that you have distressed. This will help protect the leather from further damage and keep it looking fresh. Additionally, it will help the distressed areas to stay in place and not fade over time.
Step 7: Rub With a Dry Cloth
Once the leather conditioner has been applied, use a dry cloth to rub over the area you’ve just conditioned. This will help remove any excess product or dirt left behind after conditioning. If desired, you can repeat steps 2-7 on other areas of your jacket to create an even more distressed look.
Step 8: Allow to Dry
Once you’ve distressed all of the desired areas of your jacket, allow it to dry completely before wearing or storing it. Be careful not to touch the leather while drying, which could affect the overall distressed look. Because leather is a natural material, it can take longer to dry than other fabrics.
Step 9: Keep Leather Conditioned
Apply a leather conditioner every few weeks to keep your distressed leather jacket in the best condition. This will help protect it from further damage and ensure its color stays vibrant over time. Use a cloth to apply the conditioner, then buff away any excess product.
Step 10: Enjoy Your Distressed Leather Jacket!
Now that you’ve completed all of the steps to distress a leather jacket, you can enjoy your unique creation! Not only is distressing a great way to add some personality to your wardrobe, but it’s also an easy DIY project that requires minimal materials or effort.
Distressing a leather jacket is an easy way to customize any piece and make it unique. With these simple steps, you can take any leather item from dull to dynamic with just a few supplies and some creativity! Have fun experimenting with different techniques and materials until you achieve the perfect level of distressing for your leather jacket. Good luck and happy distressing!
5 Additional Tips and Tricks
- Use a metal brush to create scuffs and scratches on the leather. This will help give it an aged, distressed look.
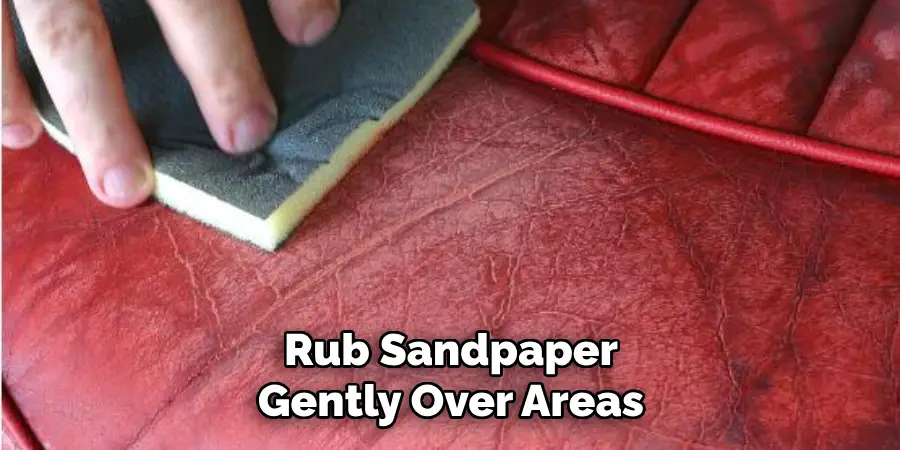
- Rub sandpaper gently over areas of the coat that you want to distress. The rougher the paper, the more distressed the look will be.
- Apply shoe polish or dye in a lighter color than the jacket to create different tones and texture variations.
- Wear your leather jacket often, giving it natural aging and distress marks over time!
- Use a combination of methods to achieve a unique look for your jacket – experiment with different techniques until you get exactly what you’re looking for!
With these tips and tricks, distressing your leather jacket can be a fun and creative way to create your custom look! Enjoy the process of giving your jacket a unique style, and make sure to show off your results!
5 Things You Should Avoid
- Avoid harsh chemicals like bleach or acetone, as these can damage the leather.
- Don’t rub too hard with sandpaper, as this can create permanent scratches and scuffs in the jacket.
- Do not overdo it – too much distress can make your jacket look worn out and tattered rather than stylishly aged.
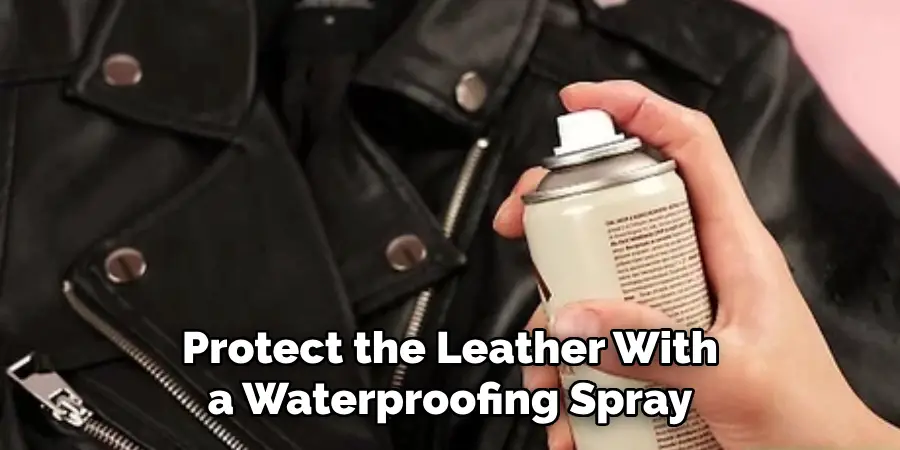
- Don’t forget to protect the leather with a waterproofing spray after finishing your distressing process!
- Finally, avoid any heating element, such as a blow dryer – this could cause irreversible damage to the material!
Distressing your leather jacket is an easy and fun way to achieve a unique look for yourself! With these tips and tricks, you can turn your plain leather jacket into a stylish one in no time.
What Makes Leather Distressed?
Leather is a natural material that can be easily worn down and distressed with specific techniques. These include sanding, applying paint thinner or alcohol to the leather, rubbing it with a damp cloth, and using different dye colors to achieve the desired look. With these methods, you can create a vintage-style jacket full of personality!
Distressing your leather jacket can be an enjoyable project that allows you to customize any piece and make it unique. With creativity and careful application of different techniques, you can turn an ordinary leather product into something truly unique!
Just remember to protect your work when finished so that it lasts many years.
Is Distressed Leather Waterproof?
Distressed leather is not waterproof, although a waterproofing spray can be used to help protect it from damage. It’s important to remember that any kind of distressing will reduce the waterproof qualities of the leather, so you should always take measures to keep your jacket protected from water and other elements.
Applying a leather conditioner after distressing will also help increase its durability.
When dealing with distressed leather, it’s essential to make sure that it is properly cared for to ensure its longevity. With proper maintenance and protection, your distressed leather jacket can look great for years!
Conclusion
To conclude, how to distress a leather jacket can be a truly rewarding experience. By following the steps outlined in this blog post, you can create a unique look that is yours and will last for years.
With all that said, make sure to first try out different techniques on scrap pieces of leather before doing it for your actual garment. Always experiment with colors and materials! Remember, it’s important to continue caring for your distressed leather jacket so it can stay looking just as good as the day you finished distressing.
Furthermore, you may want to think twice before taking on DIY distressing projects if you don’t have patience and dedication—distressing a leather jacket isn’t always easy and requires time. Nonetheless, taking your time with the project will result in a one-of-a-kind look you will be proud of!
So get ready to start the journey towards creating an unforgettable piece of clothing that is also comfortable and durable enough for years of wear.